
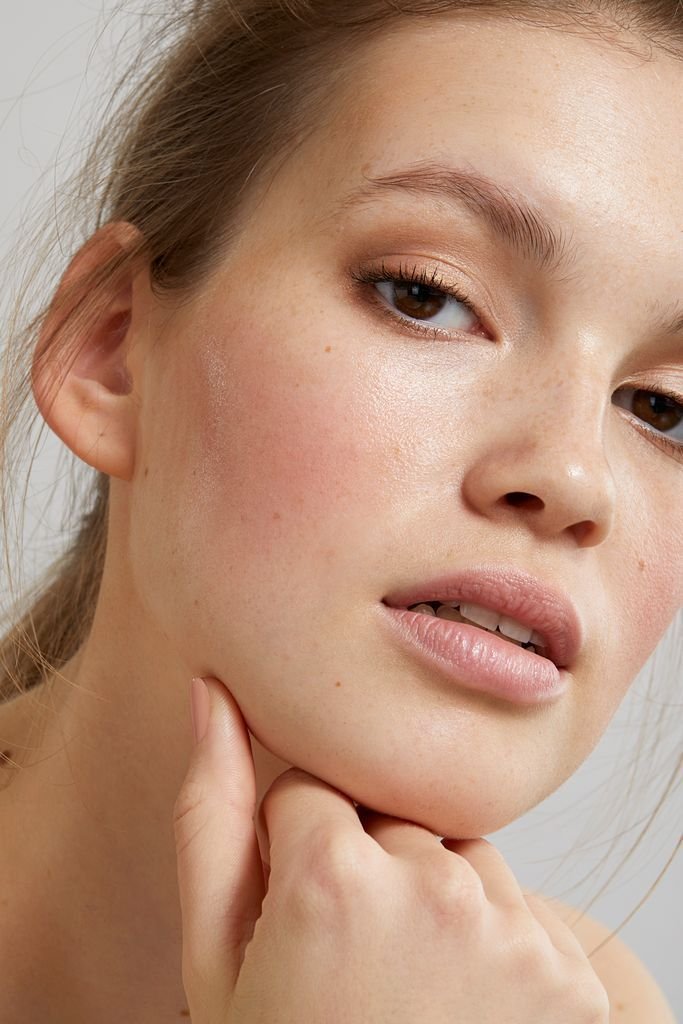
Learning makeup for the first time can feel genuinely overwhelming — the products, the brushes, the techniques, the tutorials that seem to assume you already know what you’re doing. But here’s the truth that experienced makeup artists know and rarely say out loud: natural makeup looks for beginners are actually easier to achieve than dramatic ones. Natural looks are forgiving. They celebrate what you already have rather than requiring you to transform it. And when done correctly, they produce results that look genuinely beautiful without looking like you tried too hard.
The natural makeup looks for beginners in this guide cover everything from the most basic five-minute routine you’ll reach for on busy mornings to soft glam looks appropriate for dates, weddings, and special occasions — all built on techniques simple enough to master in your first week of practice. Each tutorial in this collection uses minimal products, straightforward application methods, and the kind of practical advice that makes the difference between a look that works and one that doesn’t.
1. The No-Makeup Makeup Look

The no-makeup makeup look is the most foundational of all natural makeup looks for beginners — the goal is to appear as though you woke up with naturally perfect skin, bright eyes, and healthy lips, while the makeup itself remains completely undetectable. This is the look you will reach for more than any other in your collection, and mastering it first gives you the confidence foundation that every other tutorial builds on.
The technique centers on skin first, everything else second. A lightweight tinted moisturizer or skin tint (not a full-coverage foundation) applied with fingertips in thin, tapping motions across the face creates the barely-there base that defines this look. Fingers are genuinely the best tool here — they warm the product slightly during application, helping it blend seamlessly into the skin rather than sitting on top of it. Concentrate coverage only where you actually need it: around the nose, any blemish areas, and the chin, leaving the cheeks and forehead largely unenhanced where natural skin texture and tone look beautiful.
Cream concealer in a shade one level lighter than your skin tone applied only under the eyes with a fingertip in a tapping (never rubbing) motion addresses dark circles without creating a heavy, masked appearance. A small amount of clear or tinted brow gel combed through the brows in the direction of natural hair growth shapes them without creating an overly defined or makeup-heavy impression. A single coat of brown or black mascara on the upper lashes only — wiggled from root to tip to separate rather than build — adds definition. A lip balm in a sheer pink or peachy tint that matches your natural lip color within two shades completes the look without adding visible color.
How to achieve it step by step: Moisturize and apply SPF first, wait sixty seconds for it to absorb, then apply tinted moisturizer with fingertips. Tap concealer under eyes. Brush brows. Apply mascara. Apply tinted lip balm. Total time: five to seven minutes.
Pro tip: The single most important product decision in this look is choosing a tinted moisturizer that matches your skin tone exactly — not one shade lighter (which reads as a mask) and not darker (which looks heavy). Swatch three shades on your jawline in natural light and choose the one that disappears.
Best for: All skin tones, everyday and work wear, women who are completely new to makeup
2. The Glowy Skin Base Look
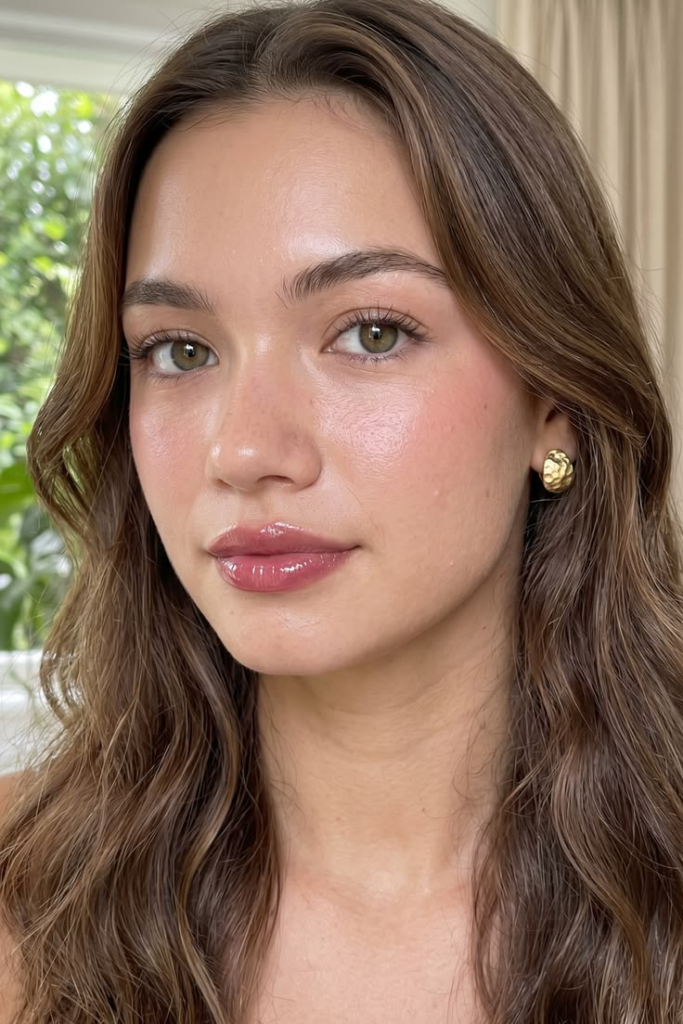
Glowy, dewy skin is one of the most universally flattering aesthetics in all natural makeup looks for beginners, and achieving it is significantly more straightforward than it appears in tutorials. The entire concept rests on one principle: hydration creates glow. When the skin is properly moisturized and the products layered over it have luminous rather than matte qualities, the result is the specific inner-glow effect that everyone is chasing.
Start with a hydrating primer applied after moisturizer — a water-based primer with a slightly tacky texture that catches subsequent products and keeps them from sinking into the skin throughout the day. Over this primer, apply a liquid foundation or skin tint with a luminous finish using a damp beauty sponge — the dampness of the sponge dilutes the product slightly and prevents it from looking cakey, while the pressing and bouncing motion of a sponge application creates the skin-like texture that brush application cannot replicate.
The key product in this look is a liquid highlighter — not a powder highlighter with obvious shimmer particles, but a liquid formula with a subtle pearlescent quality. Applied with a fingertip on the highest points of the face where natural light hits — the tops of the cheekbones, the inner corners of the eyes, the center of the nose bridge, and the cupid’s bow — the liquid highlighter creates the impression of light emanating from within the skin rather than being applied to its surface. A damp beauty sponge pressed lightly over the entire face after highlighter application blends everything into a seamless, unified glow.
How to achieve it step by step: Hydrating moisturizer, wait sixty seconds. Hydrating primer, wait thirty seconds. Luminous foundation or skin tint with damp sponge. Liquid concealer under eyes, blended with sponge. Liquid highlighter on cheekbones, nose bridge, inner corners, cupid’s bow. Press damp sponge lightly over everything. Tinted lip balm. Total time: ten to twelve minutes.
Pro tip: Setting a glowy skin look is a balance — you need enough setting powder to prevent the glow from looking greasy, but too much powder eliminates the dewy quality entirely. Apply translucent setting powder only to the T-zone (forehead, nose, chin) with a large fluffy brush and leave the cheeks completely powder-free.
Best for: All skin types except very oily, every occasion from casual to formal
3. The Five-Minute Everyday Look

When life is busy — which is most days — natural makeup looks for beginners need to be achievable in real time constraints, and this five-minute routine is the most practical and genuinely flattering option for daily wear. The premise is simple: identify the three features that make the most visual difference when enhanced and focus entirely on those.
For most people those three features are the skin (a brief evening of skin tone), the eyes (a single mascara coat), and the lips (a sheer wash of color). A BB cream or CC cream — which combines moisturizer, SPF, color correction, and light coverage in one product — applied quickly with fingertips across the face in thirty seconds addresses the skin. A single coat of black or brown mascara curled first with an eyelash curler adds immediate eye openness and definition that no other single product matches for impact-to-effort ratio. A sheer tinted lip balm or lip oil in a flattering peachy-nude or pink shade that suits your complexion provides the lip color that makes the face look complete and put-together.
The eyelash curler is the single most underused tool in beginner makeup — curling lashes before mascara application creates an eye-opening effect that makes eyes look larger, brighter, and more awake. Hold the curler at the base of the lashes for ten seconds, then pulse gently toward the tips, holding for five seconds at each position. Apply mascara immediately after curling before the lashes have time to relax back to their natural straight position.
How to achieve it step by step: BB cream with fingertips over entire face. Concealer under eyes only if needed. Curl lashes. One coat mascara upper lashes. Tinted lip balm. Total time: five minutes exactly with practice.
Pro tip: Keep a set of five-minute makeup products in a small pouch separate from your full collection — having the exact products you need for this look always together means you can apply it on the go, in a car, or in any five-minute window without hunting through a full makeup bag.
Best for: All skin tones, busy weekday mornings, school and work environments
4. The Soft Flush Look

A soft flush of color across the cheeks, nose, and forehead that mimics the natural rosiness of healthy, active skin is one of the most universally flattering natural makeup looks for beginners because it references something the skin already does naturally — it simply amplifies and perfects it. This look is particularly beautiful in spring and summer when sun-warmed skin with natural color is the seasonal aesthetic.
The key to the soft flush look is cream blush applied with fingertips rather than powder blush applied with a brush. Cream blush blends into the skin rather than sitting on top of it, creating the impression of color coming from within — which is exactly the quality of natural facial flushing. Apply a small amount to the fingertip and tap onto the apples of the cheeks (the round parts that lift when you smile), then blend rapidly upward toward the temples and outward toward the ears before the cream sets. The movement should be fast and light — cream blush blends most naturally when moved quickly rather than worked slowly.
Extend a very small amount of the same cream blush product lightly across the nose bridge with one finger — this sun-kissed nose reference is the detail that makes the soft flush look genuinely natural rather than simply blushed. A barely-there amount dusted across the forehead with a large fluffy brush completes the all-over warmth effect.
How to achieve it step by step: Apply tinted moisturizer or skin tint as base. Tap cream blush on cheek apples and blend upward quickly. Light touch on nose bridge with same product. Set with a light dust of translucent powder if needed. Mascara and tinted lip balm to complete. Total time: eight minutes.
Pro tip: Choose a cream blush color by holding the product next to your natural cheek flush when you have just walked in from cold air or done light exercise — that natural flush color is exactly the shade that will look most natural on your specific skin tone.
Best for: All skin tones, every occasion, especially beautiful in spring and summer
5. The Defined Brow Look

Eyebrows frame the face more powerfully than any other facial feature, and mastering brow shaping and filling is one of the highest-impact skills in all natural makeup looks for beginners. The goal here is not dramatically different brows but rather a clean, defined version of your own natural brows — filling sparse areas, evening out asymmetry, and setting the hairs in place for a polished, finished appearance.
Begin by brushing brow hairs upward and outward with a clean spoolie brush — the direction in which brow hairs are brushed before filling significantly affects the final result, and brushing upward reveals the natural density and shape of the brow before any product is added. This upward brush also creates the fuller, editorial-style brow that is particularly fashionable in 2026.
A brow pencil in a shade that matches your brow hairs exactly (or one shade lighter for very dark hair to avoid a heavy appearance) used in short, hair-like strokes fills in sparse areas. The strokes should follow the natural direction of brow hair growth — upward strokes toward the arch and outward strokes toward the tail — rather than filling in solid blocks of color, which create an unnatural, drawn-on appearance that is the most common beginner brow mistake.
Finish by brushing through the filled brow with a clean spoolie to blend the pencil strokes into the natural hairs, then apply a clear or tinted brow gel over the entire brow to set the hairs in place and add a slight laminated quality that is one of the defining beauty trends of 2026.
How to achieve it step by step: Brush brows upward with spoolie. Identify sparse areas. Fill with short hair-like strokes in brow direction. Brush through with clean spoolie to blend. Apply brow gel to set. Total time: five minutes per brow with practice.
Pro tip: The arch of your natural brow should align with the outer edge of your iris — use a thin pencil or makeup brush held vertically at the outer edge of the iris to identify where your natural arch falls before filling, and enhance rather than move this natural arch point.
Best for: All face shapes, transforms any other simple makeup look instantly
6. The Mascara-Only Eye Look

Among all natural makeup looks for beginners, the mascara-only eye look demonstrates most clearly how transformative a single well-applied product can be. No eyeshadow, no liner, no complex technique — just mascara applied with intention and precision to create eyes that look wide open, defined, and genuinely beautiful.
The mascara-only look works best with a few preparatory steps that beginners often skip. Curling the lashes before application is not optional — it is the step that creates the eye-opening effect that uncurled lashes with mascara cannot achieve regardless of how many coats are applied. An eyelash primer applied before mascara adds volume and length to the natural lashes so that the mascara has more to work with — this step is particularly valuable for women with short or straight natural lashes.
Apply the first mascara coat by placing the brush at the base of the lashes and wiggling it back and forth slightly before pulling upward to the tip — the wiggling motion at the base ensures the brush separates each individual lash from its neighbors, preventing the clumping that makes mascara look amateur. A second coat applied before the first is fully dry builds volume while maintaining the separation the first coat created. A third coat on the outer corner lashes only creates a subtle lifting and fanning effect that makes the eyes appear wider.
How to achieve it step by step: Curl lashes. Apply lash primer if available. First mascara coat — wiggle at base, pull to tip. Second coat before first is dry. Third coat on outer corners only. Clean up any smudges with a cotton swab. Total time: four minutes.
Pro tip: Apply a thin line of nude or white eyeliner pencil to the inner rim of the lower eyelid (the waterline) — this single detail makes the whites of the eyes appear brighter and larger, amplifying the eye-opening effect of the mascara application significantly.
Best for: All eye shapes and skin tones, fastest eye-enhancing technique available
7. The Monochromatic Look

Using the same color family on eyes, cheeks, and lips in coordinating shades is one of the most sophisticated and foolproof natural makeup looks for beginners because the color harmony eliminates the possibility of a mismatched or clashing result. When all three elements of the face speak the same color language, the look reads as deliberately considered and effortlessly polished.
The most flattering monochromatic palette for natural looks is a warm peachy-nude family — a soft peach eyeshadow on the eyelids, peachy-coral cream blush on the cheeks, and a sheer peachy-nude lip gloss or tinted balm on the lips. Warm peachy tones complement every skin tone from the fairest to the deepest, making this the most universally applicable monochromatic option.
Apply a single peachy-nude eyeshadow across the entire lid from lash line to crease using a flat eyeshadow brush or the fingertip — the fingertip is actually more effective for beginners because it deposits color with more precision and less fallout than a brush. Blend the edges very gently with a clean finger or blending brush to create a soft transition rather than a hard edge. A coat of mascara on top of the eyeshadow defines the look without adding visual complexity.
How to achieve it step by step: Apply skin base. Peachy-nude eyeshadow on lid with fingertip, blend edges. Mascara. Cream blush in coordinating peach-coral on cheeks. Peachy-nude lip gloss. Total time: eight minutes.
Pro tip: The monochromatic look works most naturally when you choose shades that are slightly different in depth rather than identical — slightly deeper eyeshadow, medium blush, and lighter lip creates the tonal variation that keeps the look from appearing flat or one-dimensional.
Best for: All skin tones, first special occasion makeup, date nights and brunches
8. The Glowy Summer Look

Sun-kissed, bronzed, and dewy — the summer glow look is among the most requested natural makeup looks for beginners during warmer months, and it requires fewer products than most people expect. The entire aesthetic is built around the impression that you have spent a beautiful day outdoors and your skin is showing the warmth of the sun.
Bronzer is the defining product of this look, and applying it correctly is the single skill that separates a naturally sun-kissed result from an orange, muddy, or mask-like one. The placement formula for bronzer is the “3” shape — starting at the temples, sweeping down and forward across the cheeks, and then downward to the sides of the jaw on each side of the face, creating a number 3 shape on each half of the face when viewed from the front. This placement mimics the actual areas where the sun naturally deposits color on an outdoor-active face.
A matte bronzer (not shimmer for the base) applied with a large fluffy brush in circular blending motions creates warmth without obvious sparkle. A sheer highlighter on the cheekbones and nose bridge adds the glow that sunlight creates on high points of the face. A peachy-coral cream blush applied to the apples of the cheeks adds the flush of someone who has been genuinely outdoors. Glossy lips in a peachy nude or clear gloss complete the summer aesthetic.
How to achieve it step by step: Light coverage skin base. Bronzer in 3 shape with fluffy brush. Cream blush on cheek apples. Liquid or powder highlighter on cheekbones and nose bridge. Mascara. Glossy lip in peach or clear. Total time: ten minutes.
Pro tip: Apply bronzer before blush in the technique sequence — bronzer creates the warm shadow that blush sits within, and applying blush first then bronzer over it muddies both products and makes the result look heavy and unnatural.
Best for: All skin tones (choose bronzer one to two shades deeper than your natural skin), summer and outdoor occasions
9. The Soft Brown Eye Look

A soft brown eyeshadow look is the entry point into eye makeup for most beginners, and for excellent reason — brown eyeshadow is the most forgiving, the most universally flattering, and the most versatile eye color in existence. It suits every eye color, every skin tone, and every occasion from grocery shopping to wedding guest. Among natural makeup looks for beginners, the soft brown eye is the one that teaches the most transferable skills.
The technique uses two brown shades — a lighter, matte warm brown for the lid and a slightly deeper, slightly cooler brown for the crease — and one blending skill that, once learned, applies to virtually every eyeshadow look. Apply the lighter brown across the entire eyelid from lash line to crease using the fingertip or a flat brush. Then apply the deeper brown only in the crease — the fold of skin between the lid and the brow bone — using a soft blending brush in windshield-wiper motions that move the brush back and forth rather than in a circular motion. The back-and-forth motion blends the crease color into the lid color gradually, creating a soft gradient that gives the eye depth and dimension without any obvious line.
A thin line of brown (not black) eyeliner pencil along the upper lash line, blurred with a small brush or fingertip for a smudged rather than precise line, adds definition. Brown mascara rather than black keeps the overall look soft and natural. A tiny amount of shimmery champagne or gold eyeshadow tapped on the inner corner of the eye with a fingertip creates the bright, open effect that finishes the look.
How to achieve it step by step: Apply light brown to full lid. Apply deeper brown to crease with blending brush, windshield-wiper motion. Blend until no hard line. Brown liner on upper lash line, blur with fingertip. Brown mascara. Champagne shimmer inner corner. Total time: twelve minutes.
Pro tip: If the crease color looks too intense after application, use a clean blending brush with no product on it to gently press and roll over the crease area — the clean brush picks up excess pigment and further softens the transition between crease and lid, which is the most common adjustment beginners need to make.
Best for: All eye colors — particularly stunning on dark brown eyes, all skin tones
10. The Fresh-Faced Spring Look

Spring makeup in its most natural and beautiful form is less about color and more about texture — dewy skin, barely-there color, and a freshness that references the season’s quality of everything beginning again. This natural makeup looks for beginners entry is perfect for the warmer months when heavy makeup feels wrong and skin-forward beauty feels completely right.
A sheer, lightweight foundation or foundation stick — which melts into the skin with fingertip application and provides buildable coverage without weight — creates the canvas. Skip powder entirely for this look unless you have genuinely oily skin that requires it — powder eliminates the spring freshness the look depends on. A berry-toned or soft pink cream blush tapped on the cheek apples and very lightly on the temples adds the season’s characteristic warmth.
A soft pastel eyeshadow — lavender, soft pink, or mint — applied very lightly across the lid with a finger creates the subtle color wash that references spring’s palette without reading as costume-like. The color should be barely visible from a distance, registering more as a skin tone variation than as obvious eyeshadow. A single coat of mascara on upper and lower lashes adds definition. A pink or berry glossy lip ties the color story of the blush and eyeshadow together at the lips.
How to achieve it step by step: Sheer foundation with fingertips. No powder. Berry or pink cream blush on cheeks and temples. Pastel eyeshadow very lightly on lid. Mascara upper and lower. Pink glossy lip. Total time: eight minutes.
Pro tip: The pastel eyeshadow in this look looks most natural when the eyelid is completely clean and unprimed — eye primer creates a base that makes eyeshadow appear brighter and more saturated, which works against the barely-there quality this specific look requires.
Best for: Fair to medium skin tones, spring and early summer occasions
The Most Important Products for Natural Makeup Looks

Building a small but capable collection of products is the foundation that makes all natural makeup looks for beginners achievable consistently. The complete beginner collection does not need to be large or expensive — it needs to be right.
Skin: Tinted moisturizer or skin tint, cream concealer in your skin tone, translucent setting powder.
Color: One cream blush in a peachy-nude or rosy-nude, one bronzer one shade deeper than your skin, a highlighter with subtle sheen.
Eyes: One neutral eyeshadow palette with light and medium brown shades, one mascara in brown or black, an eyelash curler, a brow pencil matching your hair, clear brow gel.
Lips: Two to three tinted lip balms or lip oils — one nude, one peachy, one pink — to suit different occasions.
Tools: One damp beauty sponge, one large fluffy brush for bronzer and powder, one small blending brush for eyes, and a clean spoolie brush.
11. The Romantic Evening Look

Natural does not mean casual, and this natural makeup looks for beginners tutorial proves that a genuinely romantic and special-occasion-appropriate look is completely achievable without complex techniques or dramatic products. The romantic evening look uses the same natural skin foundation as everyday looks but layers in deeper eye definition and a more intentional lip that elevates the overall impression for evening contexts.
Begin with a luminous skin base slightly more polished than everyday wear — a full-coverage foundation applied with a damp beauty sponge provides more coverage than a tinted moisturizer while still looking skin-like. Concealer under eyes and over any blemishes provides the perfected canvas that evening lighting rewards. A warm taupe or brown eyeshadow deepened slightly compared to the daytime brown eye look — spending more time on the crease color and blending it higher toward the brow bone — creates a more deliberate, dressed-up eye.
Soft brown eyeliner along both the upper and lower lash lines, blurred to a smudged rather than crisp line, adds the definition that reads as romantic and thoughtful. Two coats of black mascara (switching from brown to black for evening) intensifies the eye. A lip color with more presence than everyday lip balm — a satin or cream formula in a mauve, dusty rose, or berry shade — provides the evening-appropriate lip that makes the look complete.
How to achieve it step by step: Luminous foundation with sponge. Concealer where needed. Set T-zone lightly with powder. Warm taupe-brown on lid, deeper brown in crease blended high. Brown liner upper and lower lash lines, smudged. Two coats black mascara. Highlight on cheekbones. Mauve or berry satin lip. Total time: fifteen to eighteen minutes.
Pro tip: For evening wear, set the under-eye concealer with a very small amount of loose powder on a tiny brush — evening lighting can make under-eye areas appear creased if the concealer is not set, and a light setting step prevents this without adding a powdered appearance to the skin.
Best for: All skin tones, dinner dates, weddings, evening events
12. The “No Eyeliner” Bold Eye

Many beginners believe that dramatic eyes require eyeliner — but this technique creates genuinely striking eye definition using only eyeshadow, demonstrating that natural makeup looks for beginners can include bold eyes without requiring the precise line-drawing skill that liquid eyeliner demands. This look substitutes a tightlined lower lash line and a deep-blended eyeshadow for the traditional liner-and-shadow combination, producing a result that reads as sophisticated and deliberately made-up while remaining soft and forgiving in its technique.
A medium brown eyeshadow applied with a flat brush along the upper lash line — as close to the lashes as possible — creates the definition of eyeliner in a far more blendable and forgiving format. Apply the shadow first with a precise flat brush directly at the lash line, then blend upward and outward with a soft blending brush to graduate the intensity from its darkest point at the lash line to nothing at the crease. A slightly darker brown or soft black eyeshadow applied wet (with a dampened brush) at the very outer corner of the eye creates a subtle wing effect without the difficulty of actually drawing a wing.
A white eyeliner pencil on the inner waterline makes the eyes appear significantly larger and brighter — this single step counterbalances the darkening effect of the shadow liner and prevents the look from reading as heavy despite the depth of color at the lash line.
How to achieve it step by step: Skin base. Medium brown shadow at upper lash line with flat brush. Blend upward with blending brush. Dark brown or soft black wet shadow at outer corner. White liner inner waterline. Mascara two coats. Neutral glossy lip. Total time: twelve minutes.
Pro tip: Using eyeshadow wet (by dampening the brush before picking up the product) creates a more intense, liner-like deposit of color that dries down to a soft, blended edge — the perfect compromise between the precision of liner and the softness of shadow.
Best for: All eye shapes, beginners who want eye definition without eyeliner skill
13. The Dewy Glass Skin Look
Glass skin — the Korean beauty aesthetic of skin so hydrated and healthy it appears almost reflective — is one of the most admired and searched natural makeup looks for beginners, and its foundation is more about skincare preparation than makeup application. The actual makeup technique is simple; the preparation that makes it work is the more important element.
The glass skin prep sequence is: gentle cleanser, hydrating toner applied in patting motions (never wiping), a hydrating serum, a moisturizer appropriate for your skin type, and a facial mist applied over moisturizer to lock in the layers. This multi-step hydration sequence creates the base of plumped, luminous skin that glass skin makeup builds on — without this preparation, the same makeup products produce a flat, ordinary result rather than the specific glass-like quality the look requires.
Over this prepared skin base, apply a lightweight liquid foundation with a dewy finish using a damp sponge in dabbing motions — never rubbing or buffing, which disrupts the hydrated surface of the skin. A liquid highlighter mixed with the foundation before application creates an all-over glow rather than isolated highlight points. Glass skin is defined by uniform luminosity across the entire face rather than specific highlight placement, which distinguishes it from a standard glowy skin look.
How to achieve it step by step: Full skincare prep — cleanser, toner, serum, moisturizer, facial mist. Mix liquid highlighter with foundation on back of hand. Apply with damp sponge in dabbing motions. Minimal concealer under eyes only. No powder. Clear or nude gloss lip. Total time: fifteen minutes including skincare.
Pro tip: A facial mist applied over the completed glass skin look as a final step adds a fresh, lit-from-within quality that no product can replicate after the fact — a few spritzes from thirty centimeters away refreshes and unifies all products while adding the specific luminosity that makes glass skin so beautiful.
Best for: All skin types (modify moisturizer weight for oily skin), Korean beauty aesthetic enthusiasts
14. The Natural Bridal Makeup Look

The most important makeup look in a woman’s life deserves its own natural tutorial — and the natural bridal look in natural makeup looks for beginners is specifically designed to be beautiful, long-lasting, and genuinely photographable without requiring professional-level technique. The key principle is that bridal natural makeup is the most polished version of your everyday natural look, not a dramatic departure from it.
The skin base for natural bridal makeup requires a primer specifically — bridal events are long, emotionally taxing on skin (tears create their own challenges), and require a foundation that holds through hours of activity, photography, and likely some crying. A pore-filling or blurring primer under a medium-full coverage foundation creates the durability that everyday looks do not need. Set thoroughly with translucent powder, including under the eyes where creasing is most likely.
A champagne or rose gold shimmer eyeshadow on the lid, soft brown in the crease, and a thin brown eyeliner line at the upper lash line — all set with a makeup setting spray — creates the eyes. Soft pink-nude satin lipstick provides the lip. Individual false lashes or a half-lash (applied only to the outer two-thirds of the lash line) add the photographic definition that the biggest photographs of the day reward.
How to achieve it step by step: Primer. Medium-full coverage foundation with sponge. Powder thoroughly. Champagne shimmer on lid. Brown in crease blended. Brown liner upper lash. Full lash or half-lash application. Setting spray. Soft pink-nude satin lip. Total time: twenty-five to thirty minutes.
Pro tip: Practice this complete look at least twice before the wedding day — once a month before and once a week before. This allows you to identify any products that need to be swapped, practice the timing, and ensure the look photographs the way you intend it to in advance rather than discovering surprises on the day itself.
Best for: Brides and wedding party members, formal special occasions
15. The Clean Girl Aesthetic

The clean girl aesthetic — one of the most-searched beauty trends in 2026 — is the most contemporary of all natural makeup looks for beginners: perfect skin, defined brows, gloss lips, and the specific impression of someone who prioritizes genuine skin health over makeup application. The look is aspirational precisely because it appears to require almost no effort, yet the underlying technique — particularly the skin preparation — is more deliberate than it appears.
Clean girl makeup begins with excellent skincare: cleanser, toner, serum, moisturizer, and SPF applied in a ritual that creates the canvas the look depends on. A skin tint or very sheer foundation applied only to areas that need evening out — not as a full-face application — with a damp sponge creates the specific half-coverage that clean girl skin requires: you can see the actual skin beneath the coverage, but it is more even and polished than bare skin.
Perfectly brushed, lightly laminated brows are the defining feature — a clear or light brown brow gel applied after brushing hairs straight upward creates the fluffy, editorial brow quality that reads immediately as deliberately contemporary and on-trend. A single coat of mascara on upper lashes. A touch of cream blush on the cheeks and nose bridge. Glossy lip in a clear or your-lips-but-better nude shade. Simple, considered, and genuinely beautiful.
How to achieve it step by step: Full skincare routine. Sheer skin tint where needed, fingertips only. Cream concealer under eyes. Brush brows upward, apply clear brow gel. One mascara coat upper lashes. Cream blush cheeks and light on nose. Clear or nude gloss lip. Total time: eight minutes.
Pro tip: The clean girl aesthetic is specifically about the quality of the skin appearing genuinely healthy rather than covered — if your skin is congested, tired, or dehydrated, the look reads as thin coverage over imperfect skin rather than naturally beautiful skin. Invest in skincare consistency in the weeks before you begin wearing this look for the best results.
Best for: All skin tones, 2026’s most-trending natural aesthetic, everyday wear
Common Mistakes in Natural Makeup Looks for Beginners

Understanding what not to do is as valuable as technique guidance in all natural makeup looks for beginners. The most common beginner mistakes that undermine otherwise well-executed natural looks are consistently the same across different skill levels and product choices.
The most damaging is foundation shade mismatch — a foundation that is even slightly too light reads as a mask in every lighting condition and undermines every natural look regardless of how well the rest of the application is executed. Always test foundation shades in natural light on the jawline, never the inner wrist, and wear the shade for at least an hour before purchasing.
Over-powdering is the second most common issue — translucent powder should address oiliness and set the skin without flattening its natural texture, and beginners consistently use more than necessary. A single light pass with a large brush covers adequately; multiple passes create the flat, cakey appearance that natural makeup specifically exists to avoid.
Neglecting to blend adequately — whether eyeshadow edges, foundation into the hairline and jaw, or blush toward the temples — creates visible borders between products and the skin that immediately read as amateur application. Blending is not a final optional step but the continuous action that happens during every product application from beginning to end.
Frequently Asked Questions: Natural Makeup Looks for Beginners
What are the most important natural makeup looks for beginners to learn first? The five-minute everyday look, the no-makeup makeup look, and the mascara-only eye look are the three most essential natural makeup looks for beginners to master before any others. These three looks teach the fundamental techniques — skin base application, feature enhancement, and eye opening — that all subsequent makeup skills build on.
What products do I need for natural makeup looks? A tinted moisturizer or skin tint, cream concealer, cream blush, bronzer, mascara, an eyelash curler, a brow pencil and brow gel, one neutral eyeshadow palette, and two or three tinted lip balms cover every natural look in this collection. You do not need a large collection — you need the right products used with consistent technique.
How long does it take to get good at natural makeup looks? Most women find that practicing three to four times per week for three to four weeks produces a significant and noticeable improvement in application technique. Natural makeup looks are genuinely more forgiving than dramatic looks, meaning skill develops faster because minor imperfections are less visible and less impactful on the final result.
What is the difference between a no-makeup look and a natural makeup look? A no-makeup makeup look specifically attempts to be undetectable — the goal is for the wearer to appear genuinely bare-faced while actually wearing makeup. A natural makeup look is visible but enhances features without dramatically transforming them. Both are valid approaches to natural makeup looks for beginners depending on the desired outcome.
How do I make natural makeup last all day? Apply a primer before foundation, set with translucent powder in the T-zone, use a setting spray after completing the look, and carry a blotting paper or compact powder for midday touch-ups. These four steps extend the wear of any natural makeup look significantly without adding complexity to the application process.
Are natural makeup looks appropriate for all occasions? Natural makeup looks span every occasion from grocery shopping to formal weddings — the difference is the level of polish applied within the natural aesthetic. A five-minute everyday look is appropriately casual, while the romantic evening look or natural bridal look are thoroughly appropriate for formal events. The natural framework is infinitely versatile.
Final Thoughts
The natural makeup looks for beginners in this collection prove that beautiful, flattering, and genuinely polished makeup does not require dramatic techniques, expensive products, or years of practice. It requires understanding what you are trying to achieve — enhancing your specific features in their most natural and healthy form — and applying the right products with the right techniques consistently until those techniques become second nature.
Start with the no-makeup makeup look and the five-minute everyday routine. Practice until they feel comfortable. Then add the soft brown eye look and the glowy skin base. Build your collection gradually and your skill set alongside it. Within six to eight weeks of consistent practice, what currently feels uncertain and effortful will feel natural, quick, and genuinely enjoyable.
For complementary beauty inspiration, explore the makeup trends 2026 collection and discover the Korean makeup look 2026 guide on DailyJuggar. Save your favorite tutorials on Pinterest and join our community on Facebook for daily beauty updates.
📌 Save these natural makeup looks for beginners to your Pinterest boards for your next makeup session!
Related: Hair Trends 2026 | Nail Designs 2026 | Hair Care Tips for Beginners
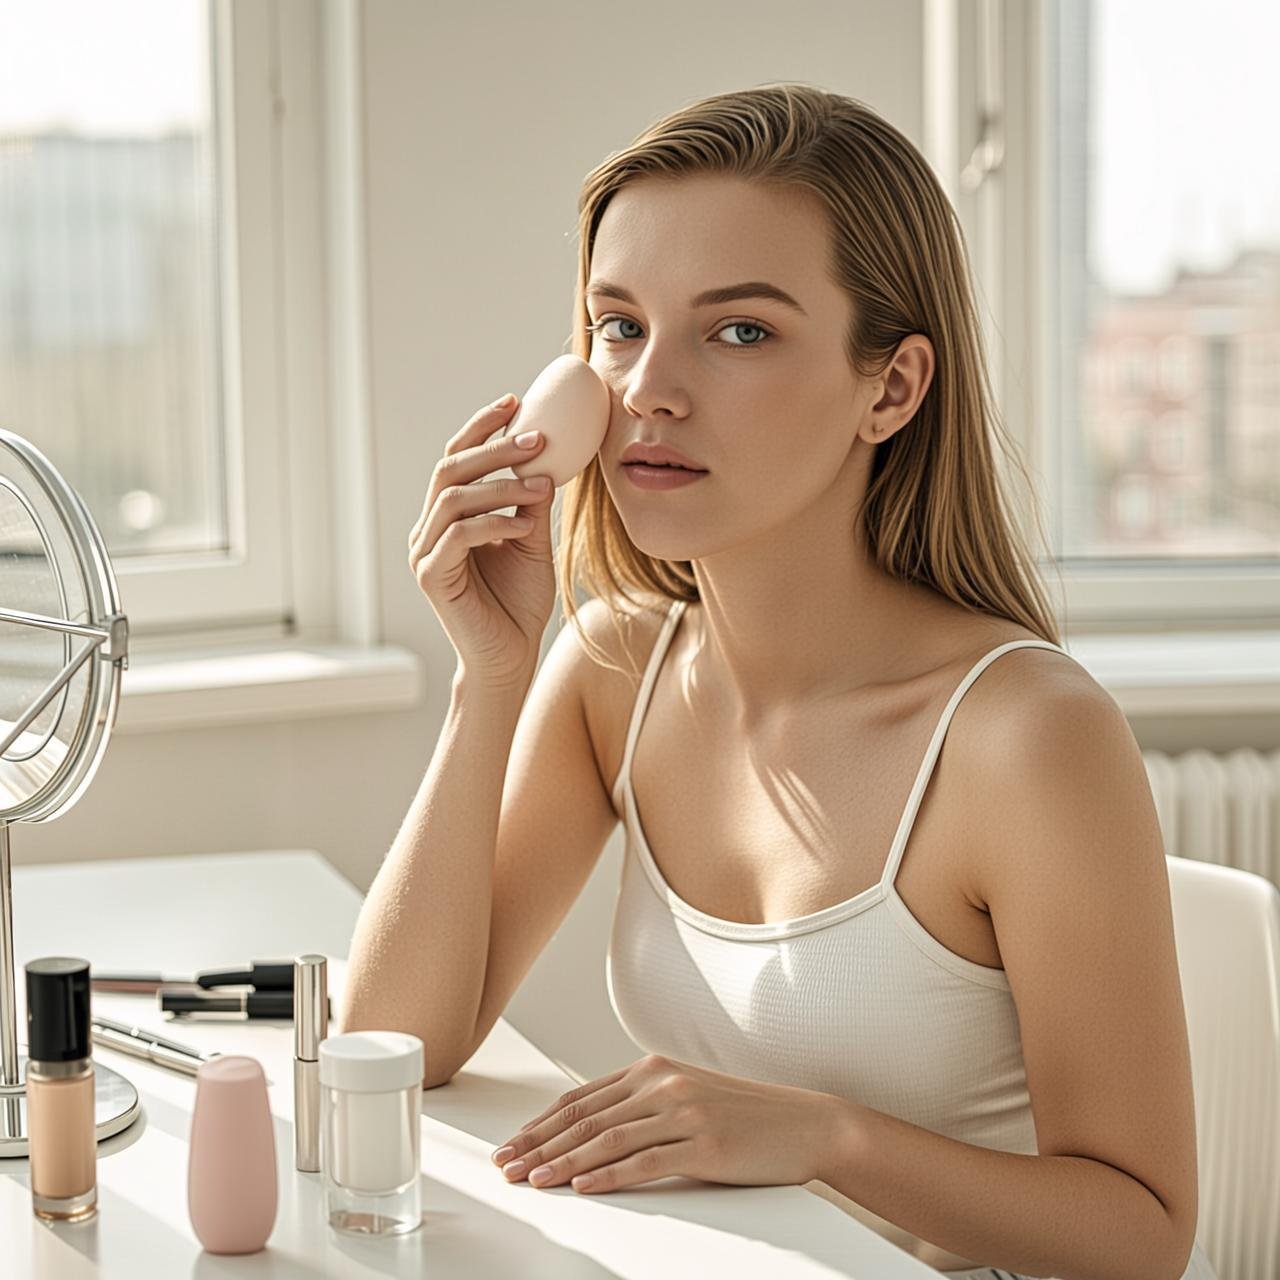

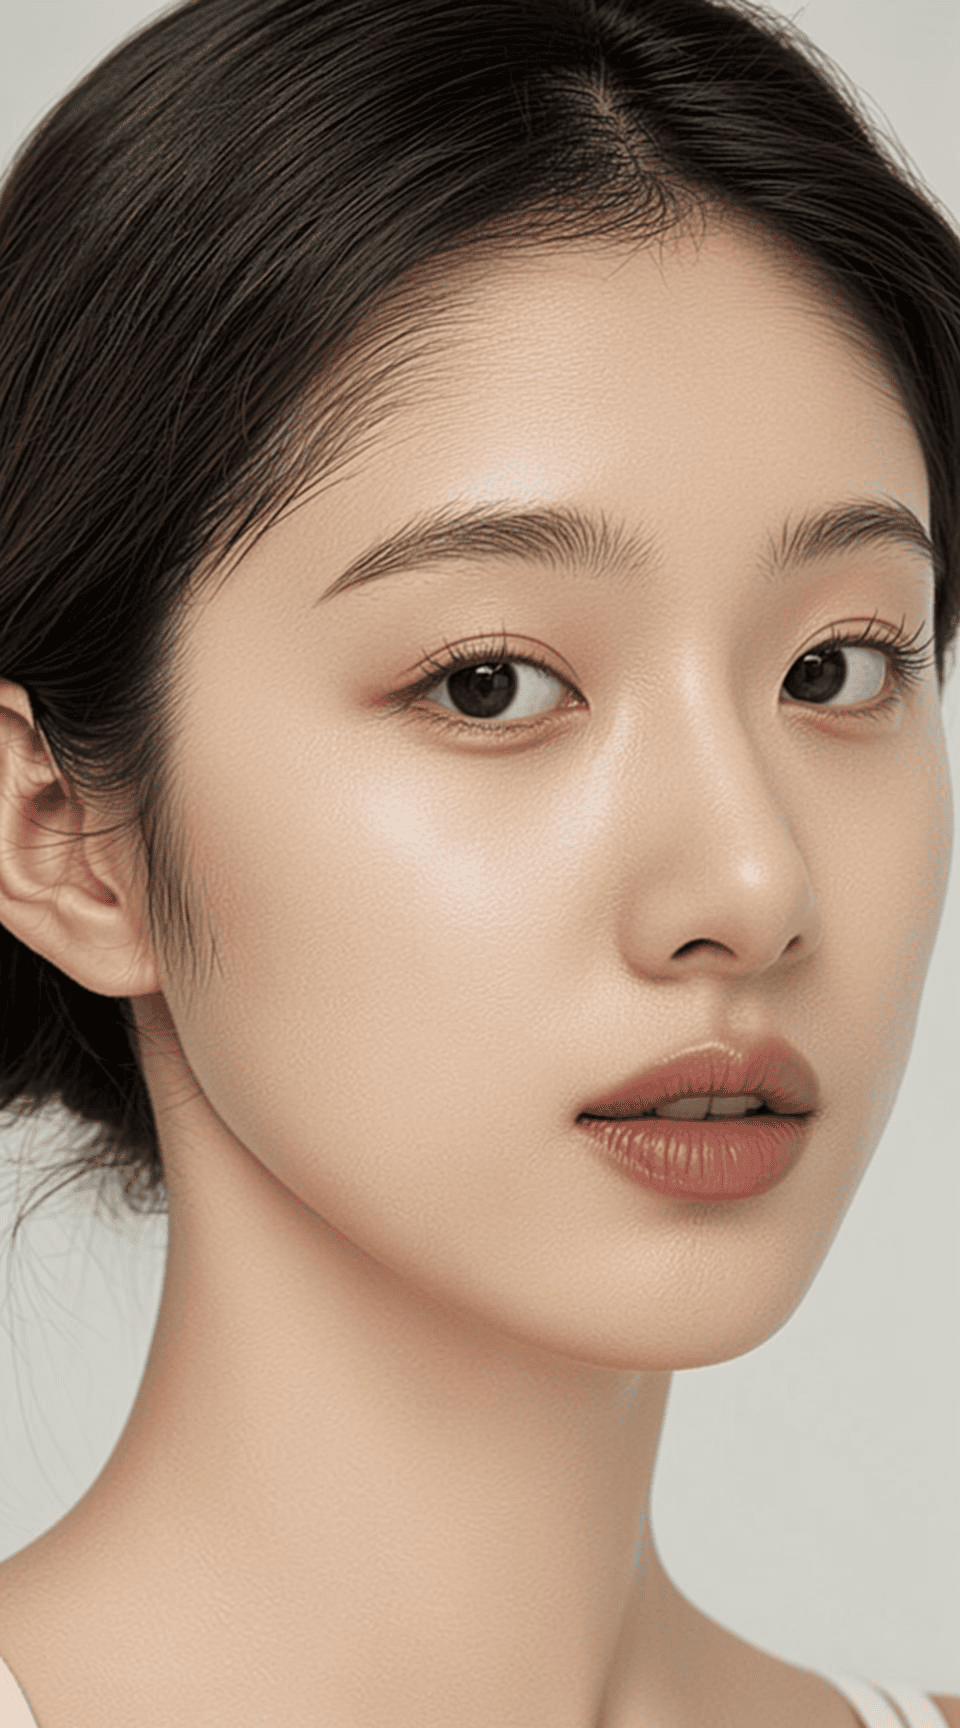
[…] the dimension trio last. The beginner look that uses only the first three steps is decoded in our natural makeup looks for beginners […]
[…] Soft Taupe Sway introduces blending. The fuller face version of the same philosophy lives in our natural makeup looks for beginners, and the two guides share the same low-pressure […]
[…] the steps are ready on the big night. And for finishing touches, browse our fall makeup looks and natural makeup looks for beginners guides for your non-Halloween […]
[…] — swap deep black liner for brown, and let brows be brushed-up rather than filled dark. A natural makeup looks palette with peachy blush and champagne highlighter mirrors what the color is doing. The exception […]