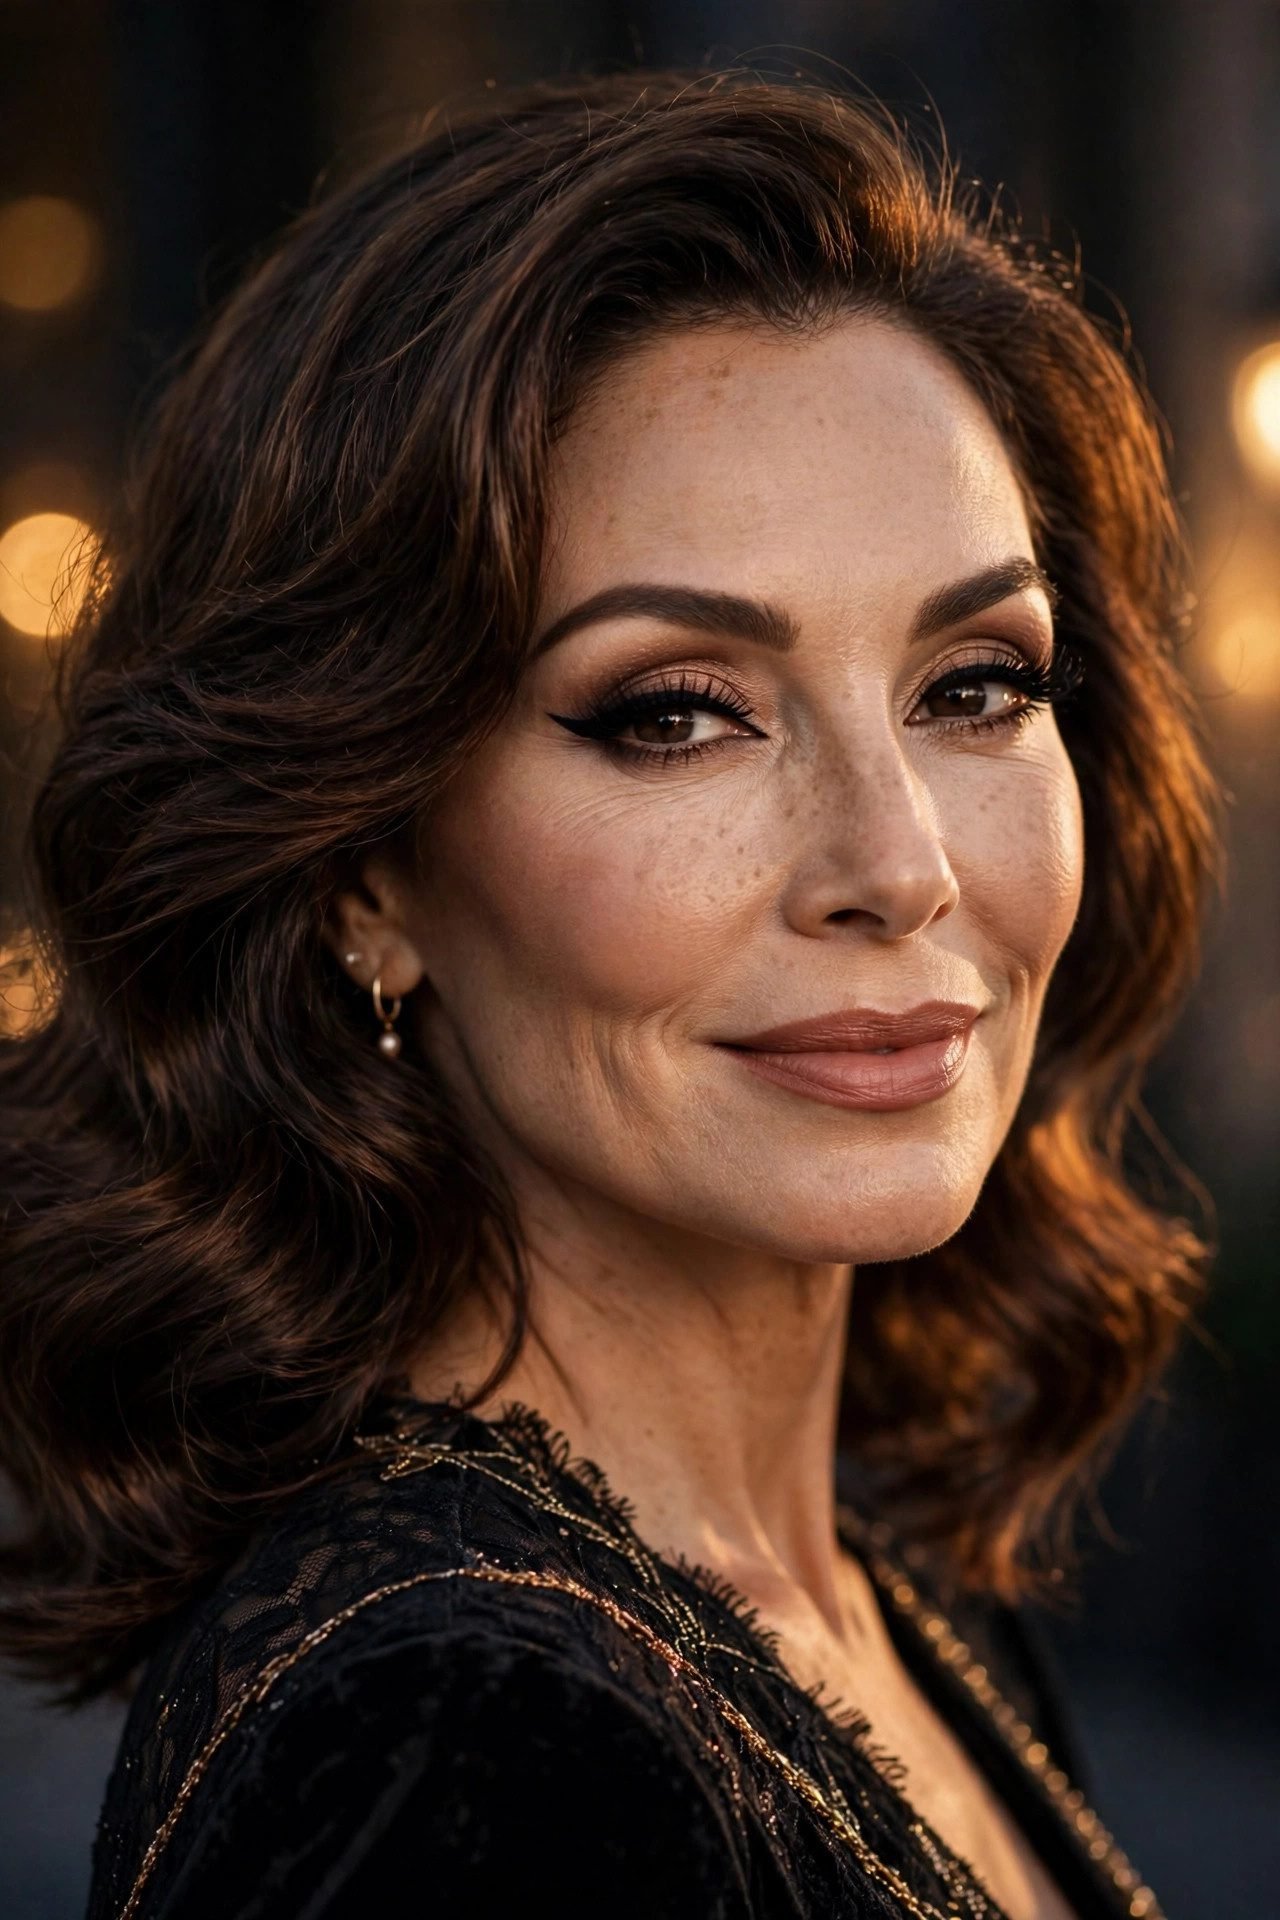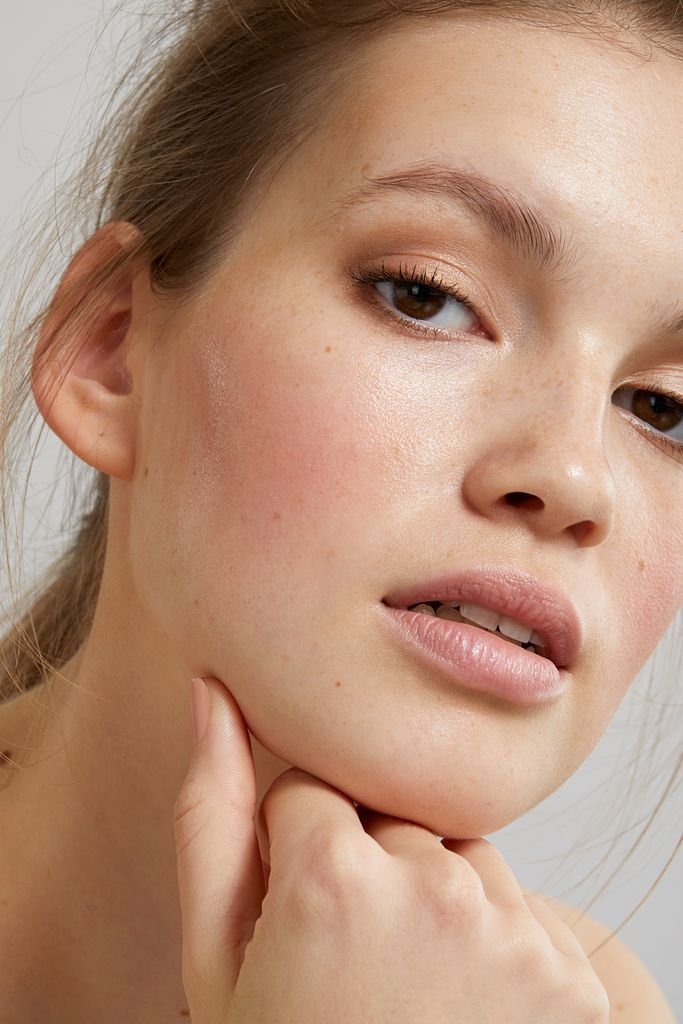
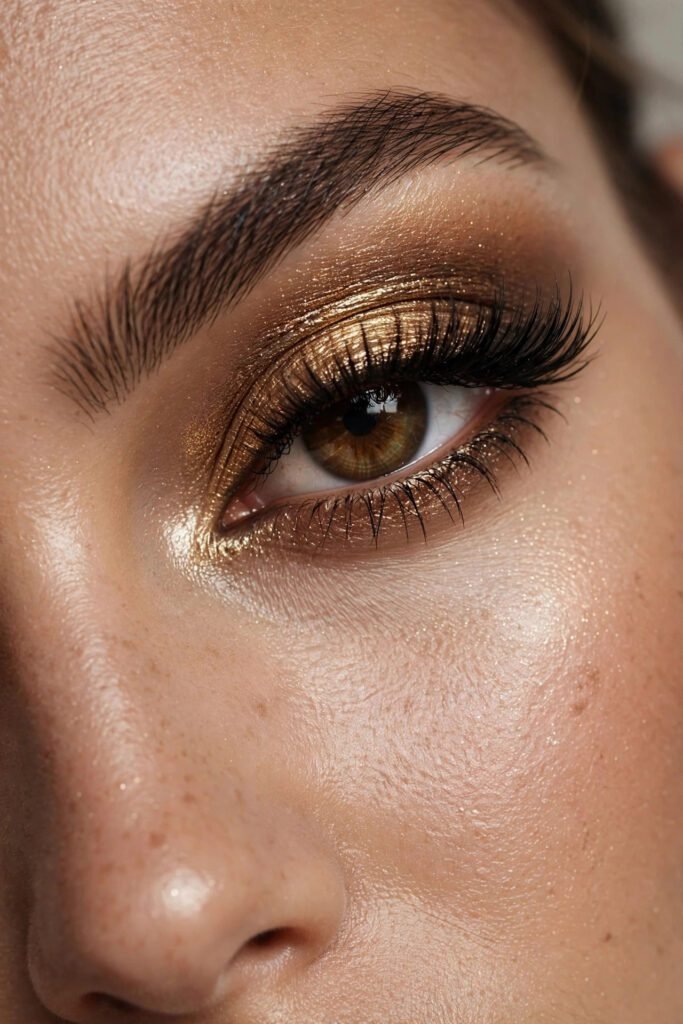
Eye makeup is the fastest mood switch in your whole routine — one sweep of shadow takes a face from fresh-out-of-bed to fully intentional, and the same two lids can carry a Monday meeting and a midnight birthday with nothing but a change of pressure. That range is the entire point of this guide. Instead of one generic list of pretty ideas, these twenty-five eye makeup looks are arranged on a Drama Dial: five levels, five looks each, running from barely-there polish to full editorial drama. Every look comes with a Blend Note — the exact technique detail that decides whether the look reads expensive or unfinished — because in eye makeup, blending is not a step, it is the style.
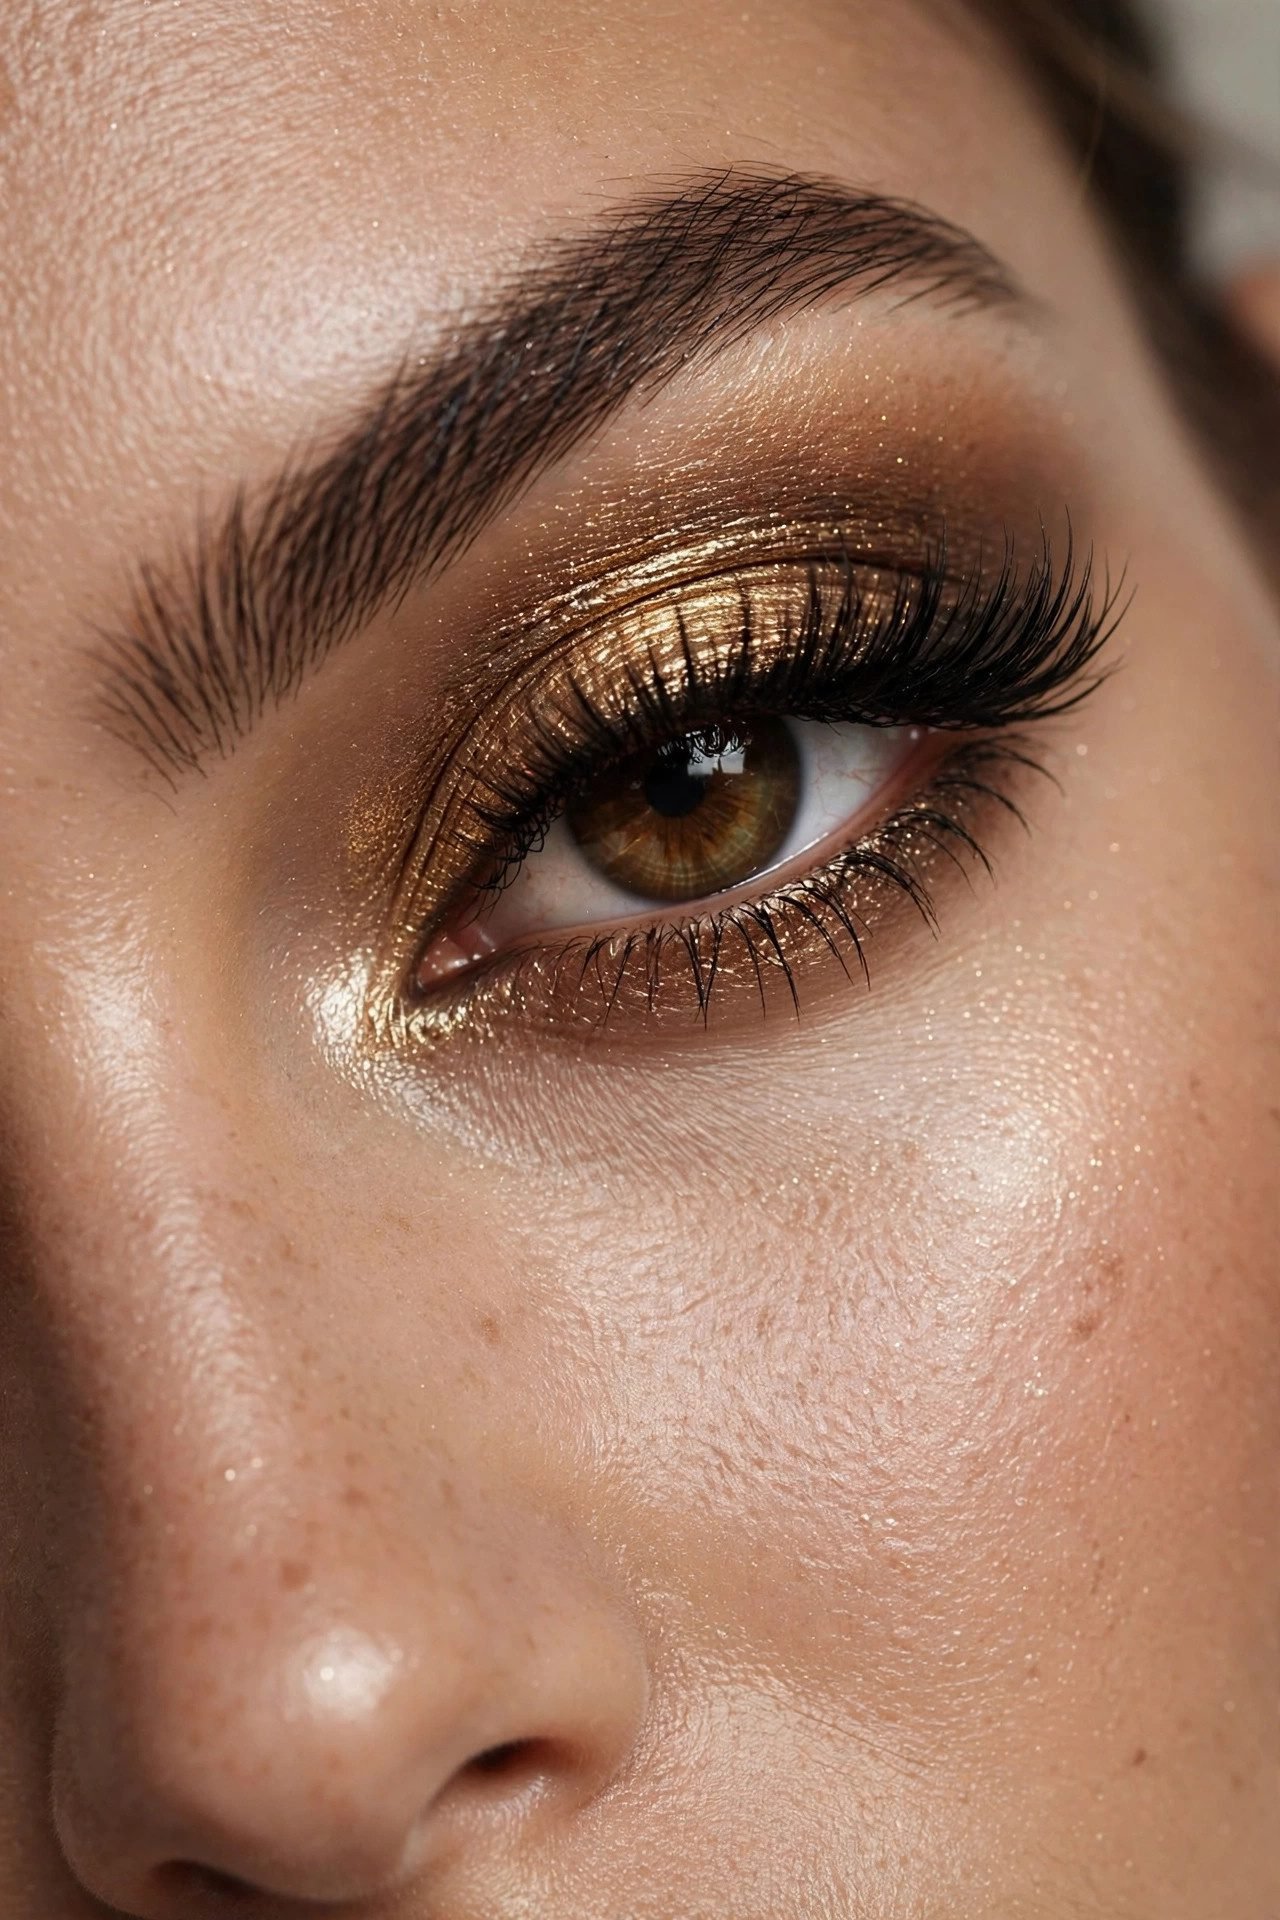
The Prep Rules Every Eye Makeup Look Depends On

Every look on the dial stands on the same three-part base. First, a lid primer or a dot of concealer set with powder — oil is the reason shadow creases by lunch, and no brush can out-blend a slick lid. Second, a transition shade: a soft matte slightly deeper than your skin, swept into the crease before any other color, so every shadow that follows melts instead of sitting on top. Third, clean brushes — one fluffy blender, one flat shader, one small pencil brush — because fingers are fine for balm but never for smoke. The full shadow-by-shadow technique, including how to fix a patchy blend, lives in our eyeshadow tutorial, and it pairs with every look below.
The Drama Dial (How to Pick Your Level)
The dial works on minutes and mood. Level 1 is the two-minute morning, Level 3 is the polished afternoon-to-dinner look, and Level 5 is the after-dark statement that photographs like a plan. Nothing here requires a pro kit — each level simply adds one extra element to the one before it: a second shade, a sharp edge, a texture. If you are brand new to brushes, skim our makeup tips for beginners first, then start at Level 1 and climb one level per week. By the time you reach the top of the dial, the dramatic looks will feel like an extension of the natural ones — because they are.
Level 1 — Barely There (Looks 1–5)
The level that convinces people you simply wake up like this — and it slots neatly into any minimalist makeup routine as the one expressive step.
Look 1 — The Tinted Lid
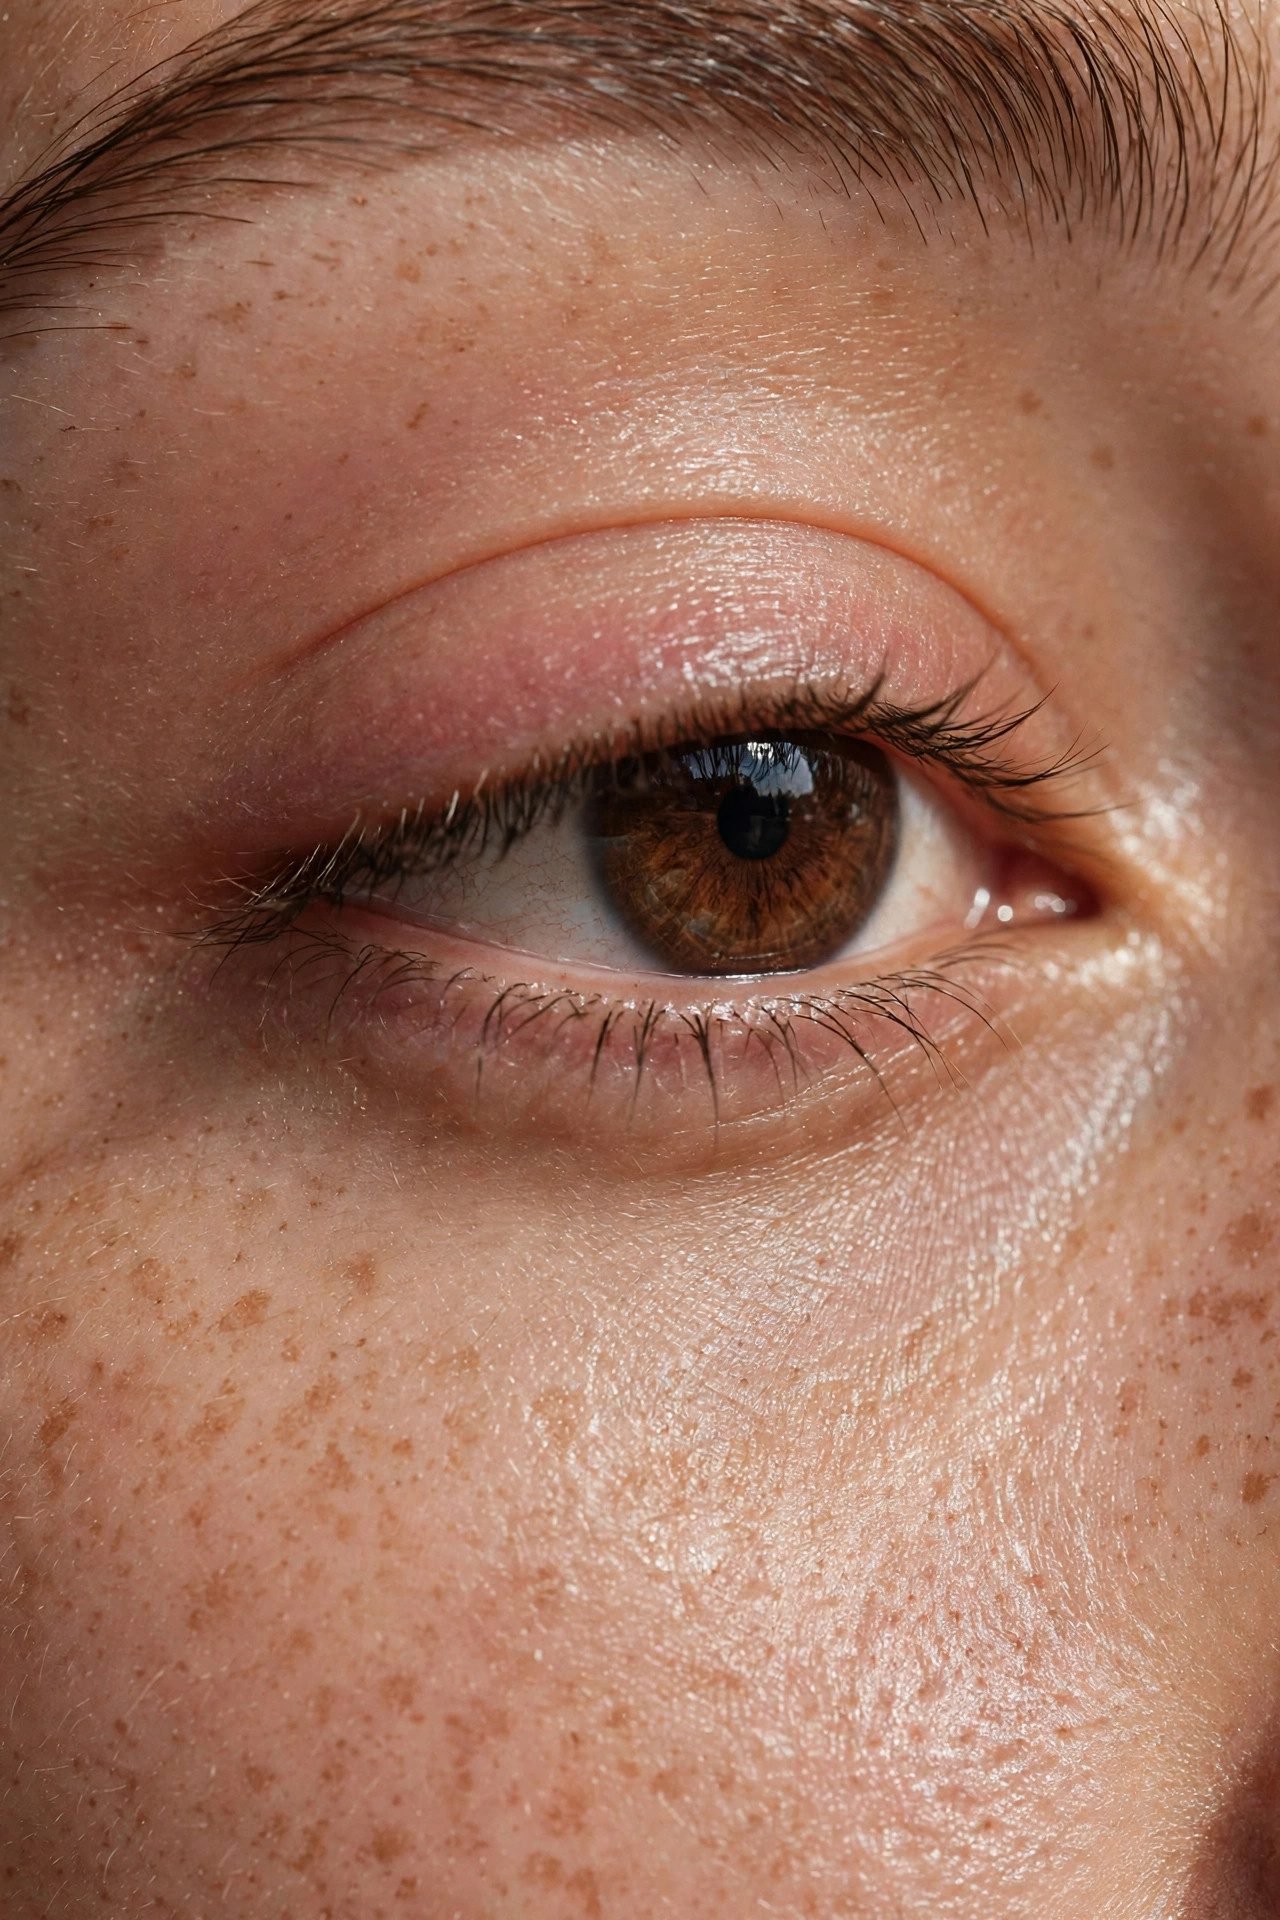
A sheer wash of tinted shadow balm pressed on with one fingertip is the lowest-effort version of put-together. The balm melts into the lid the way a lip tint melts onto cheeks, so there is no powder edge to blend away — just a soft veil of taupe, rose, or champagne that quietly evens the lid. One coat of mascara, and the eye reads awake even on four hours of sleep. This is the natural eye makeup entry point every makeup artist hands to a true beginner.
Blend Note — Press the balm closest to the lash line and feather upward; the color should always be strongest where lashes begin.
Look 2 — The Lash-Only Look
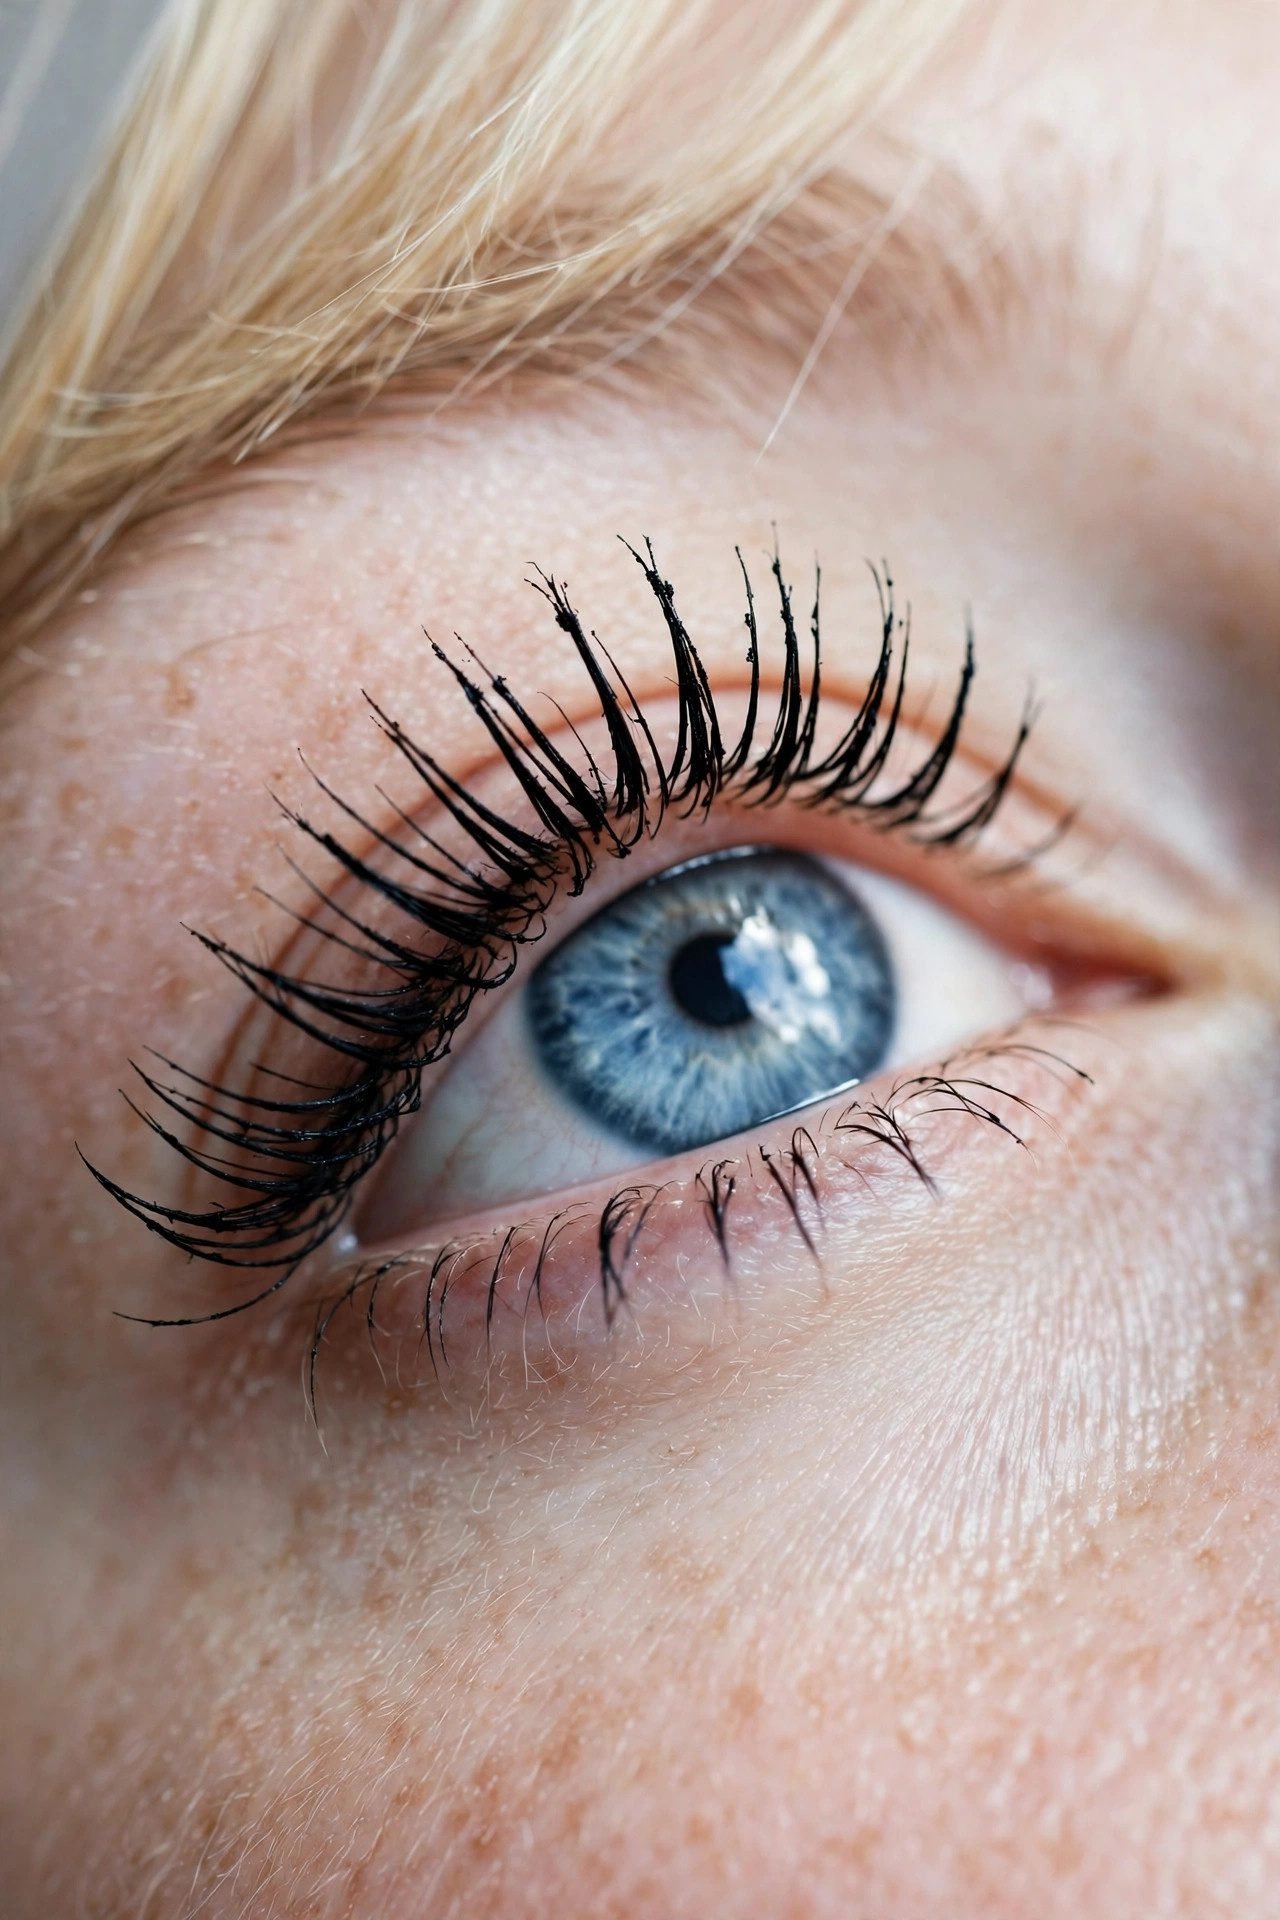
Skip shadow entirely and let the lash line do all the talking: curl hard, hold the curl for ten seconds, and add two coats of a defining mascara, focusing the most product at the outer third. The result is a bright, open eye with zero crease risk — the gym-wear of eye makeup. It pairs beautifully with a bold lip on busy days, and choosing between the different lash styles only changes the mood, not the method.
Blend Note — Wiggle the wand at the base before pulling through; roots, not tips, are what make lashes look naturally full.
Look 3 — The Soft Taupe Sway
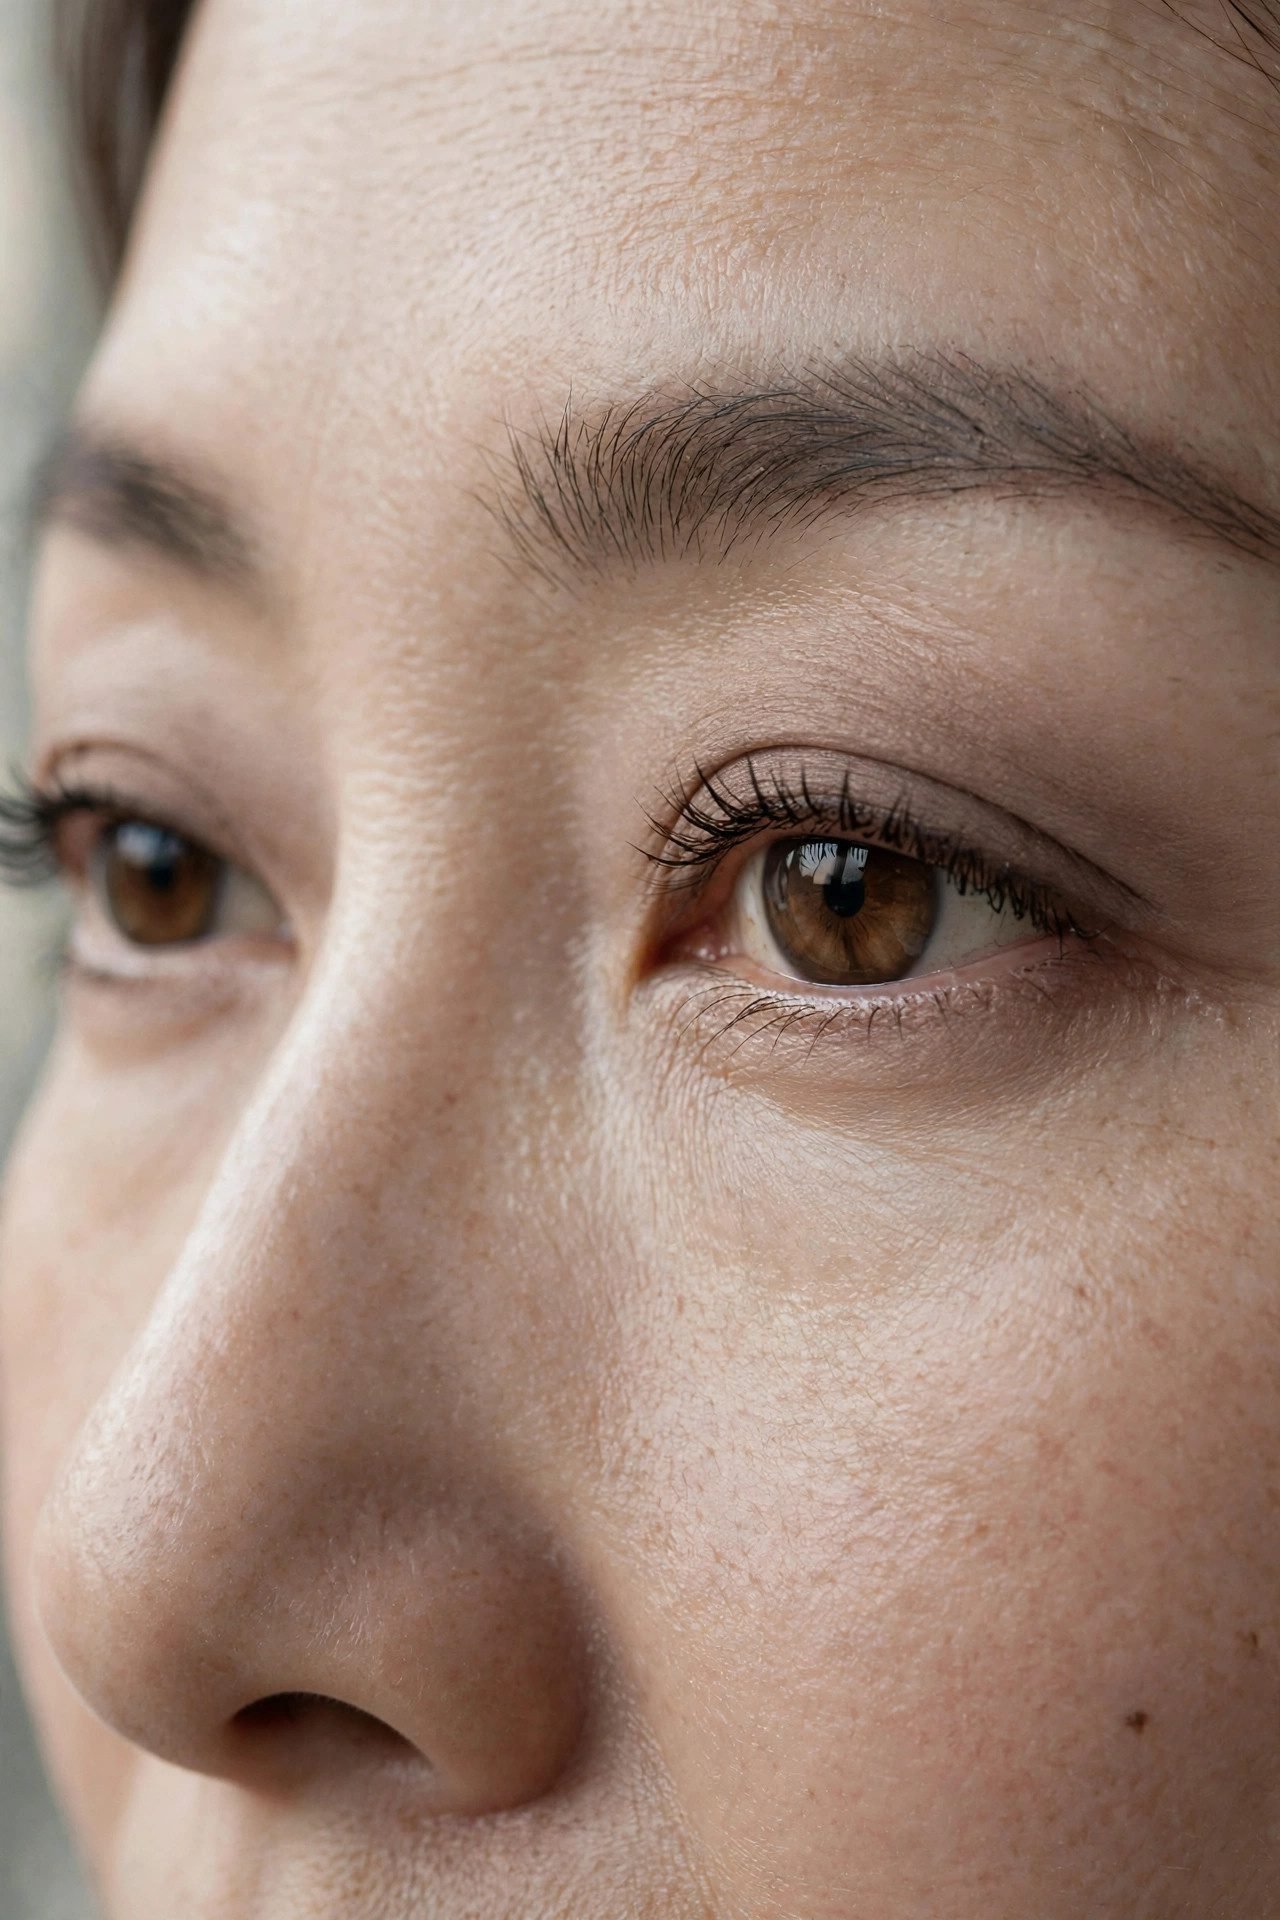
One matte taupe, one fluffy brush, one back-and-forth sway across the mobile lid — this is the single-shadow look that suits every eye color and every age. Taupe reads as shadow’s version of a neutral wall: it gives the lid dimension without announcing itself, and a slightly deeper wash in the outer corner adds just enough shape. Finish with brown mascara instead of black for the softest possible frame.
Blend Note — Stop the color at the crease and use what is left on the brush under the lower lash line; unblended edges are what turn one-shadow looks into two-shadow mistakes.
Look 4 — The Feathered Brow Frame
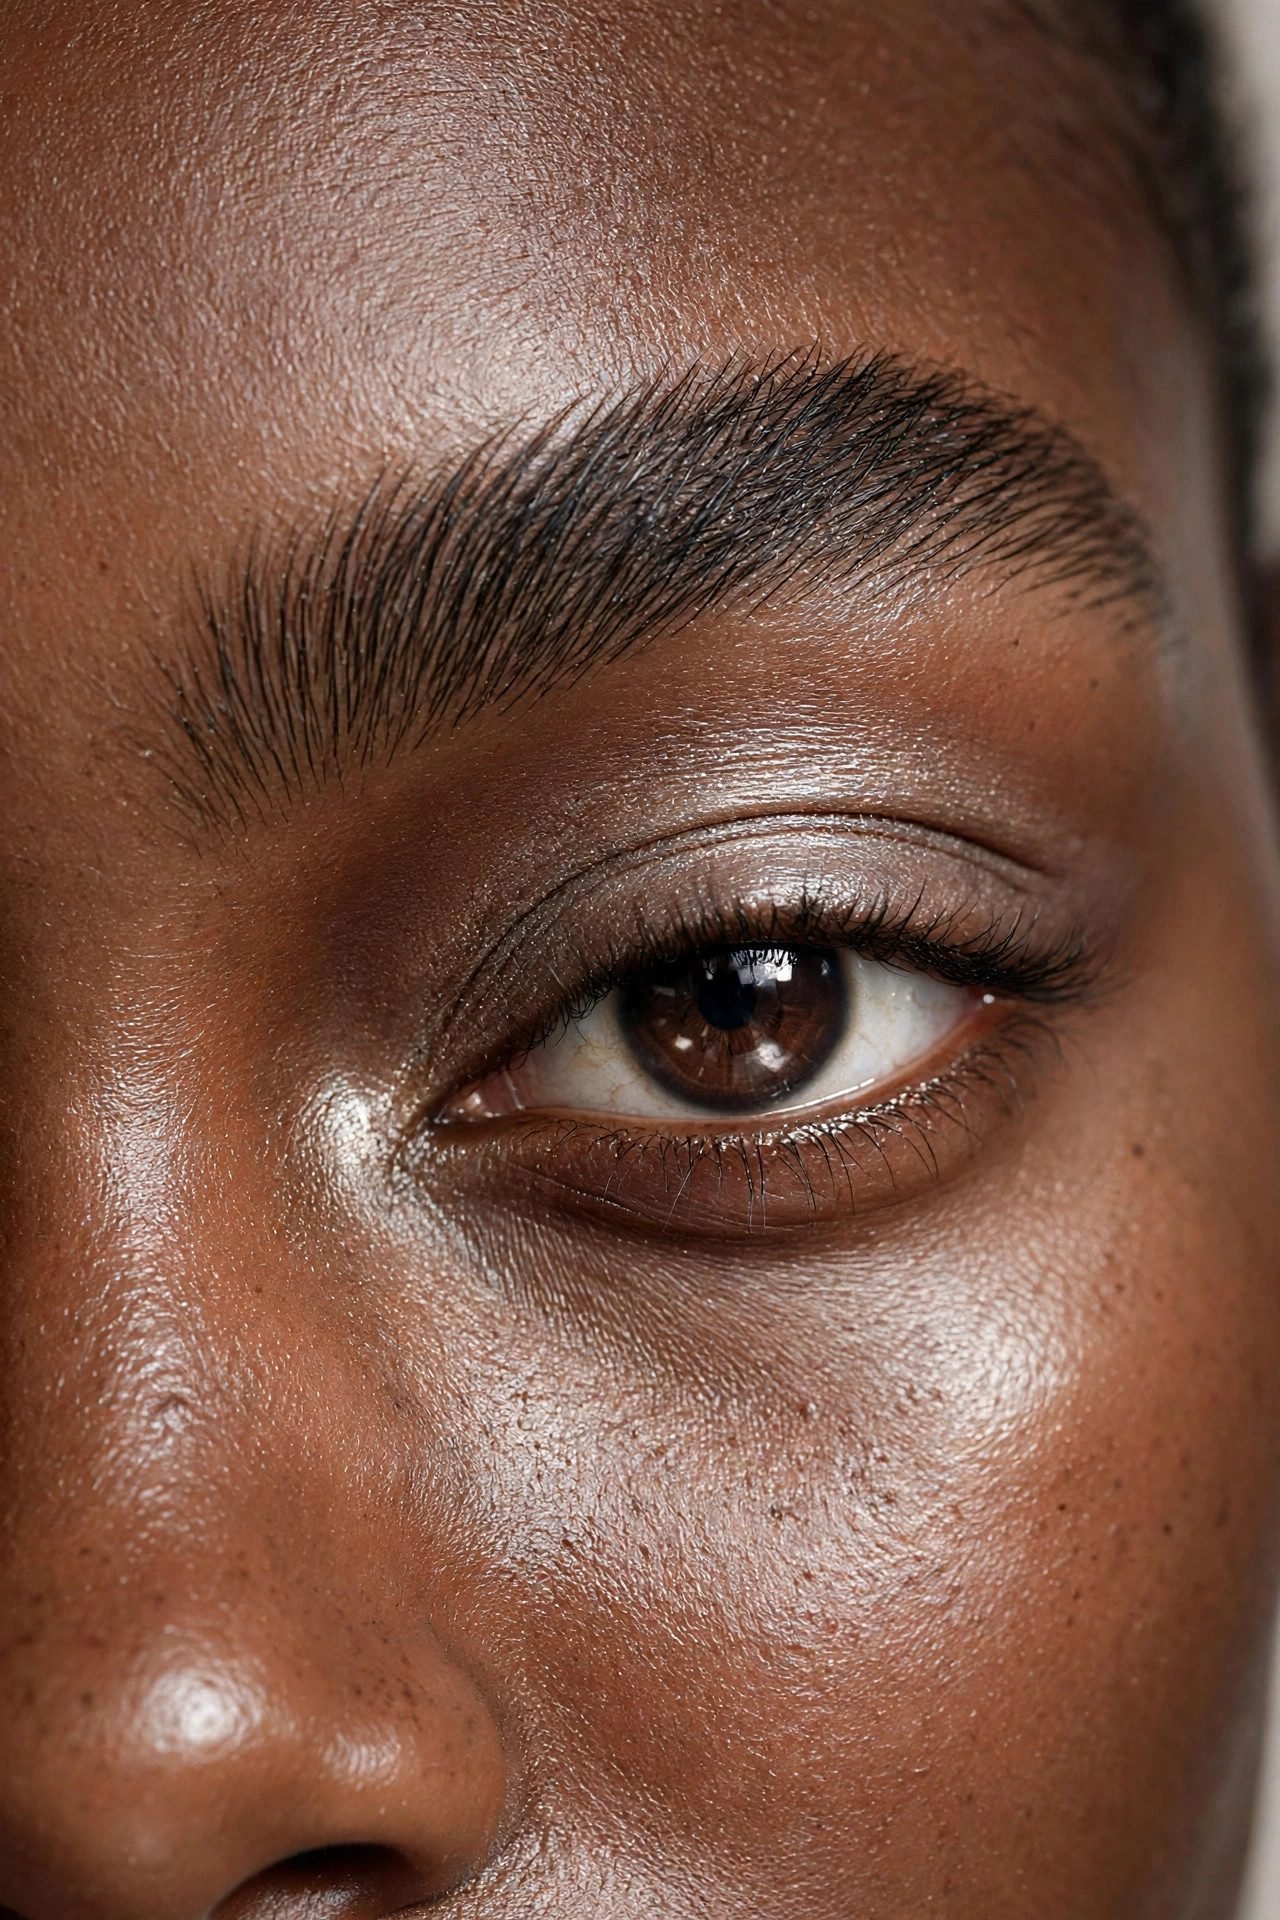
Some faces need bright eyes more than colorful lids, and this look shifts the focus upward. Groom the brows with a clear or tinted gel, brushing upward for that feathered texture, then add only the faintest veil of satin shadow on the lid — half a step stronger than bare skin. The contrast between structured brows and a bare lid reads clean and expensive, and it keeps glasses from swallowing the eyes.
Blend Note — Brush the brow gel through, then immediately press the hairs flat where they spike; the feathered look is styled, not stiff.
Look 5 — The Inner-Light Dot
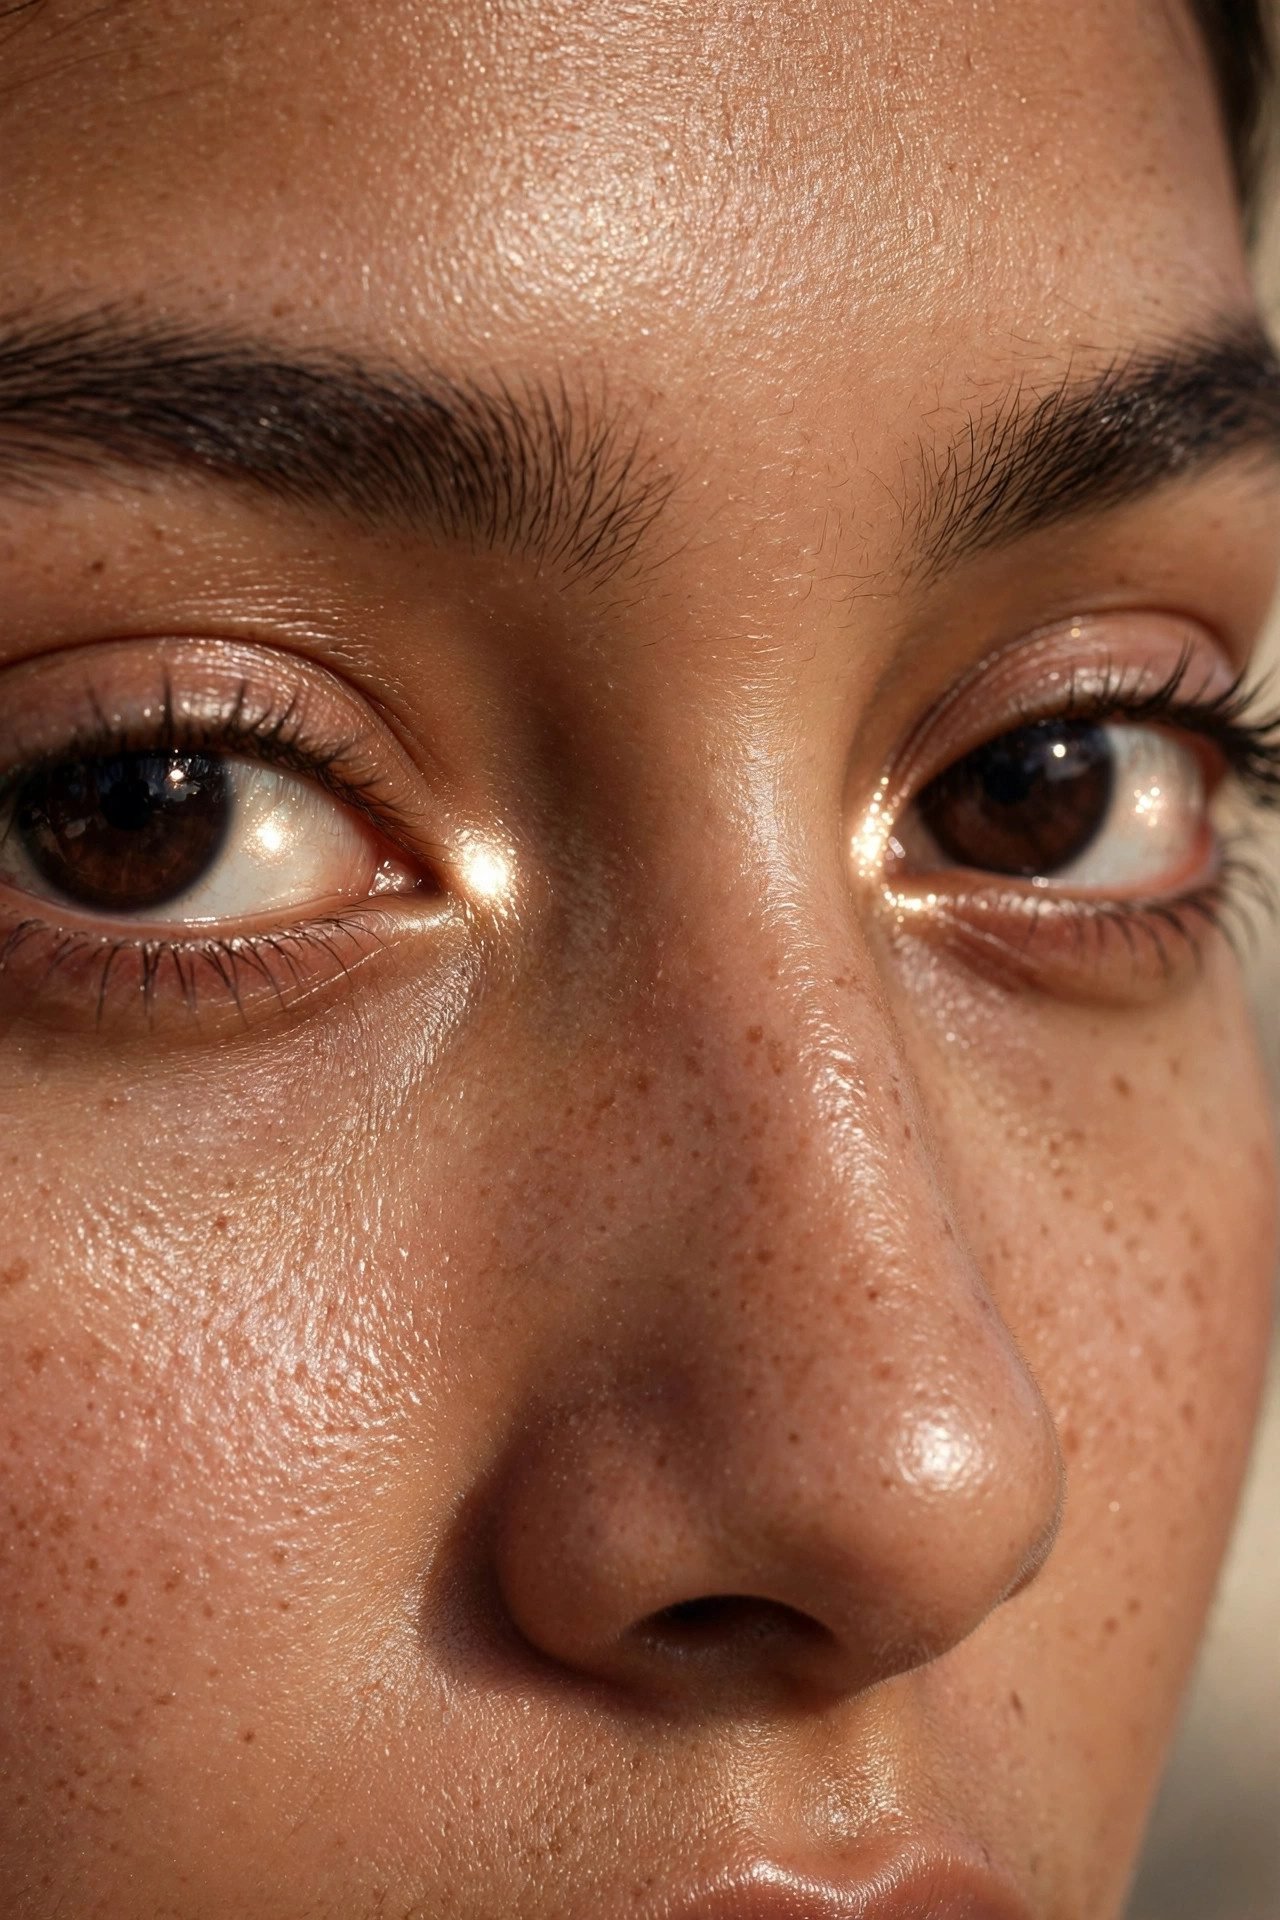
The two-second trick makeup artists use on every red carpet: a pearl or champagne shimmer dot pressed into the inner corner, blended a few millimeters outward. Light gathering at the inner corner visually pulls wide-set and close-set eyes alike toward balance, and the rest of the lid stays bare with a single mascara coat. It is the smallest possible eye makeup look with the largest visible payoff.
Blend Note — Use a fingertip, not a brush, and tap — the warmth melts the shimmer into the skin so it glows instead of glittering.
Level 2 — Soft Everyday (Looks 6–10)
One deliberate step above bare — color appears, but it still whispers.
Look 6 — The Warm Wash
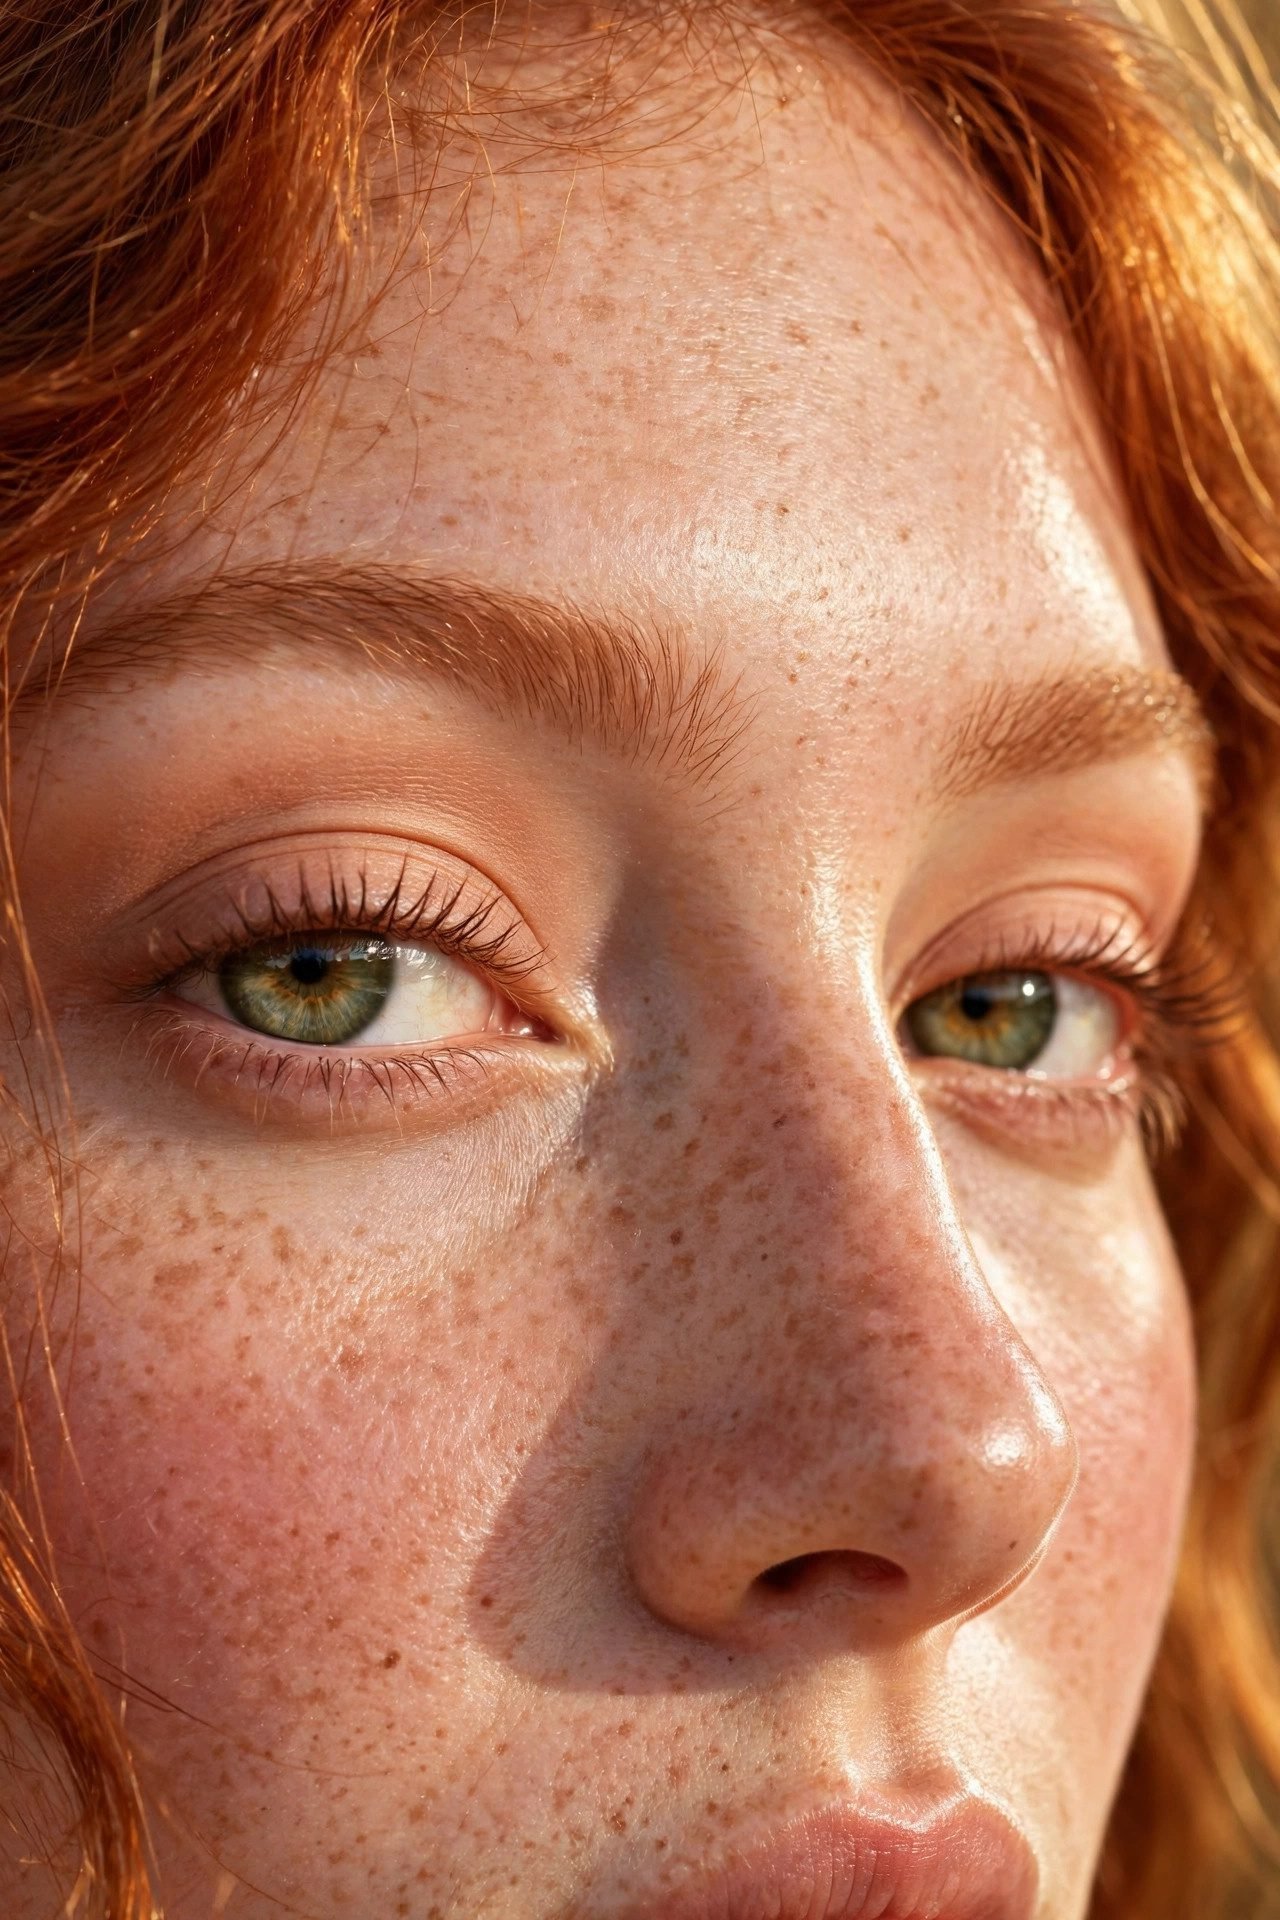
A peachy-tan matte washed across the lid and diffused upward is the universal warmer: it cancels the bluish tint that makes lids look tired and replaces it with a soft, sunlit flush. The shade family matters more than the exact pan — anything between pale apricot and toasted almond works on every skin tone in this range. Mascara on top and bottom lashes finishes what feels like eight hours of sleep in a four-minute application.
Blend Note — Take the wash slightly above the crease and let it fade into nothing; a wash that stops dead at the crease reads as a sticker.
Look 7 — The Tightline Classic
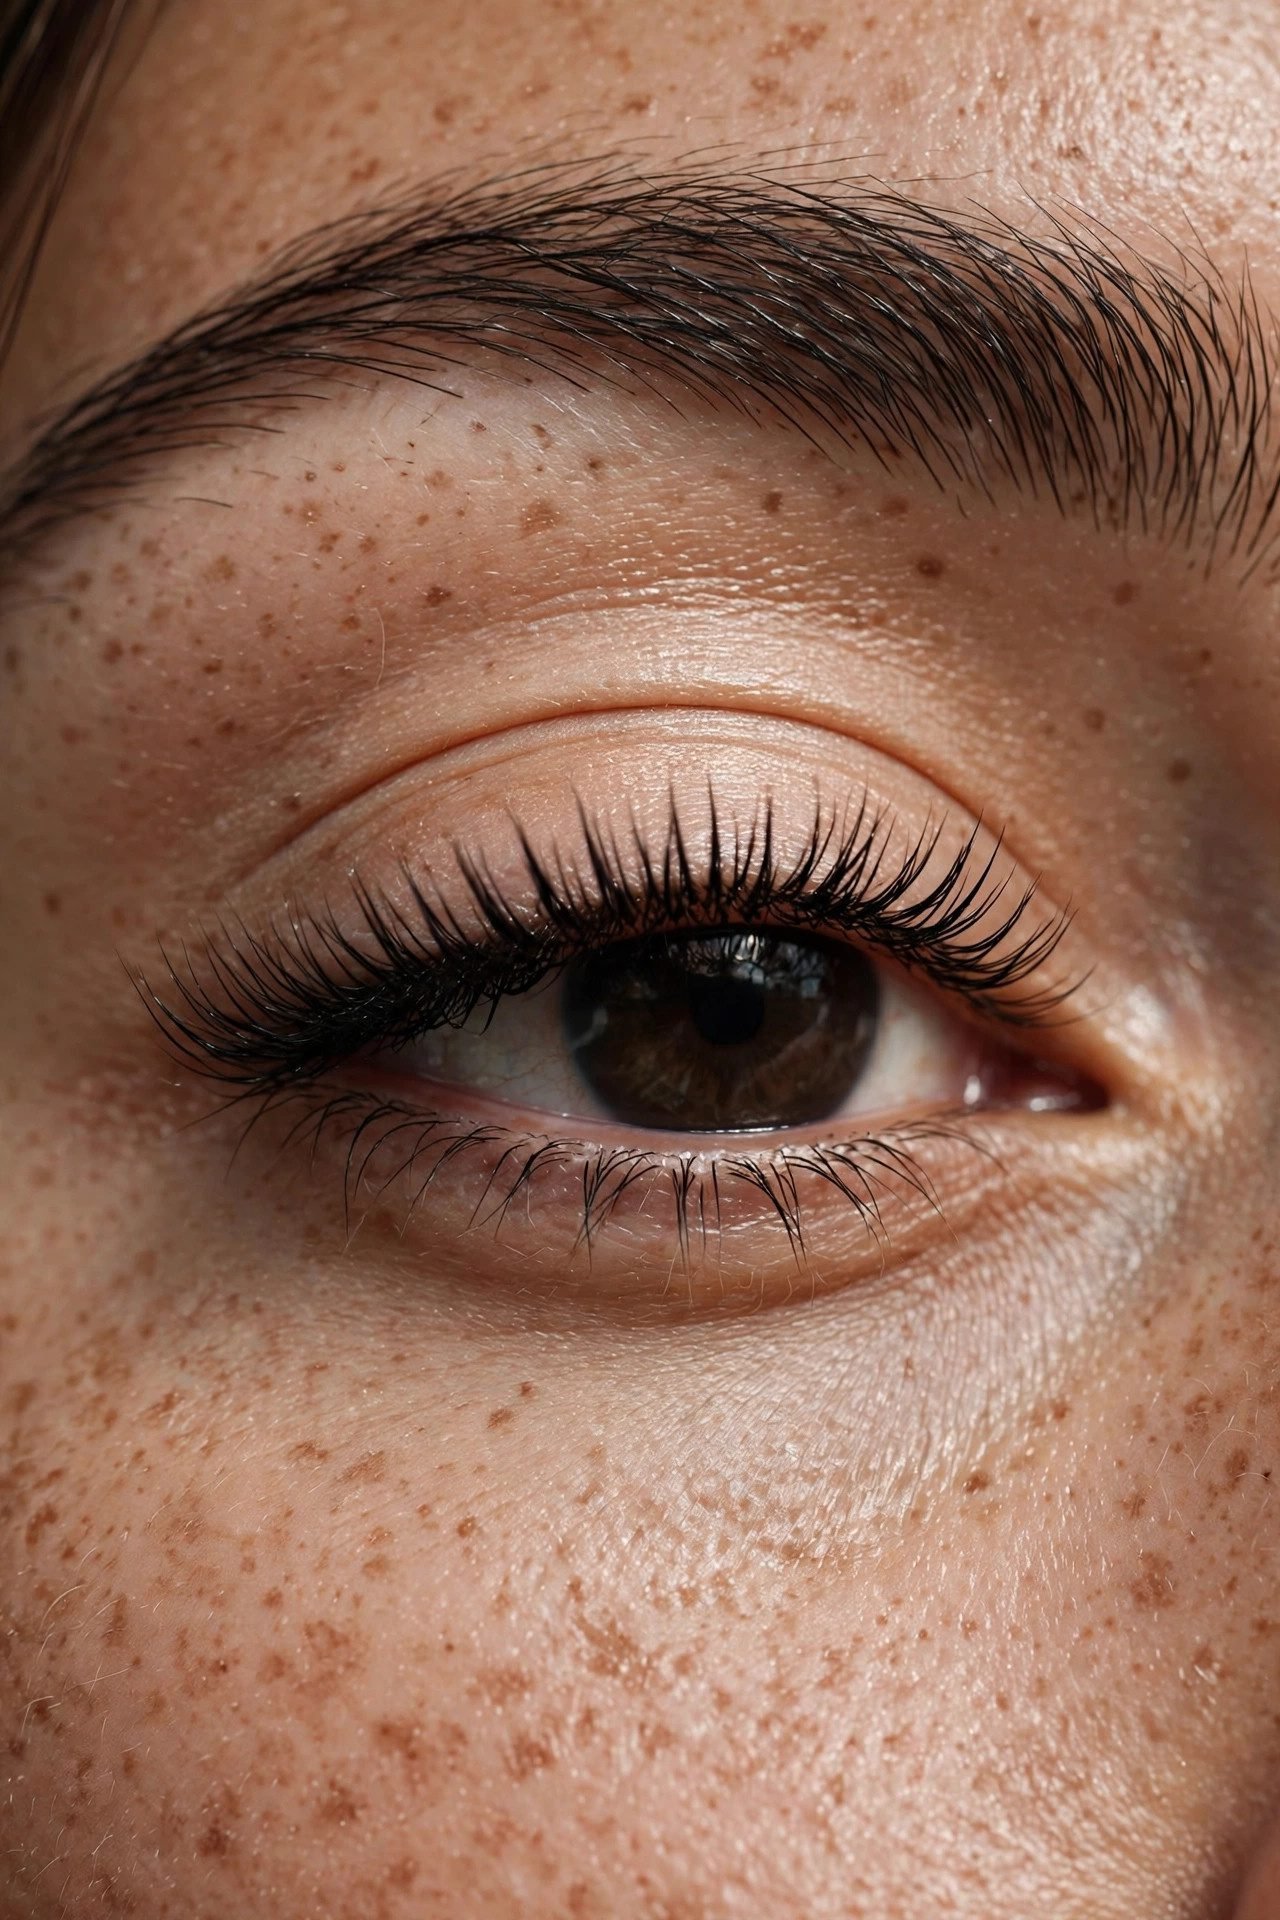
Tightlining — pressing a soft black or brown pencil into the root of the upper lashes — is the oldest trick for lashes that look denser without a visible line. Over it, a nude satin lid and one coat of mascara keep the focus close to the eye. It is the everyday eye makeup that survives heat, gym, and long screens, because there is no wing to melt and no shadow to crease beyond the lash roots.
Blend Note — Use a pencil, not liquid, and work in tiny dashes between the lashes rather than one dragged line; gaps read as fuller roots.
Look 8 — The Soft Brown Swoop
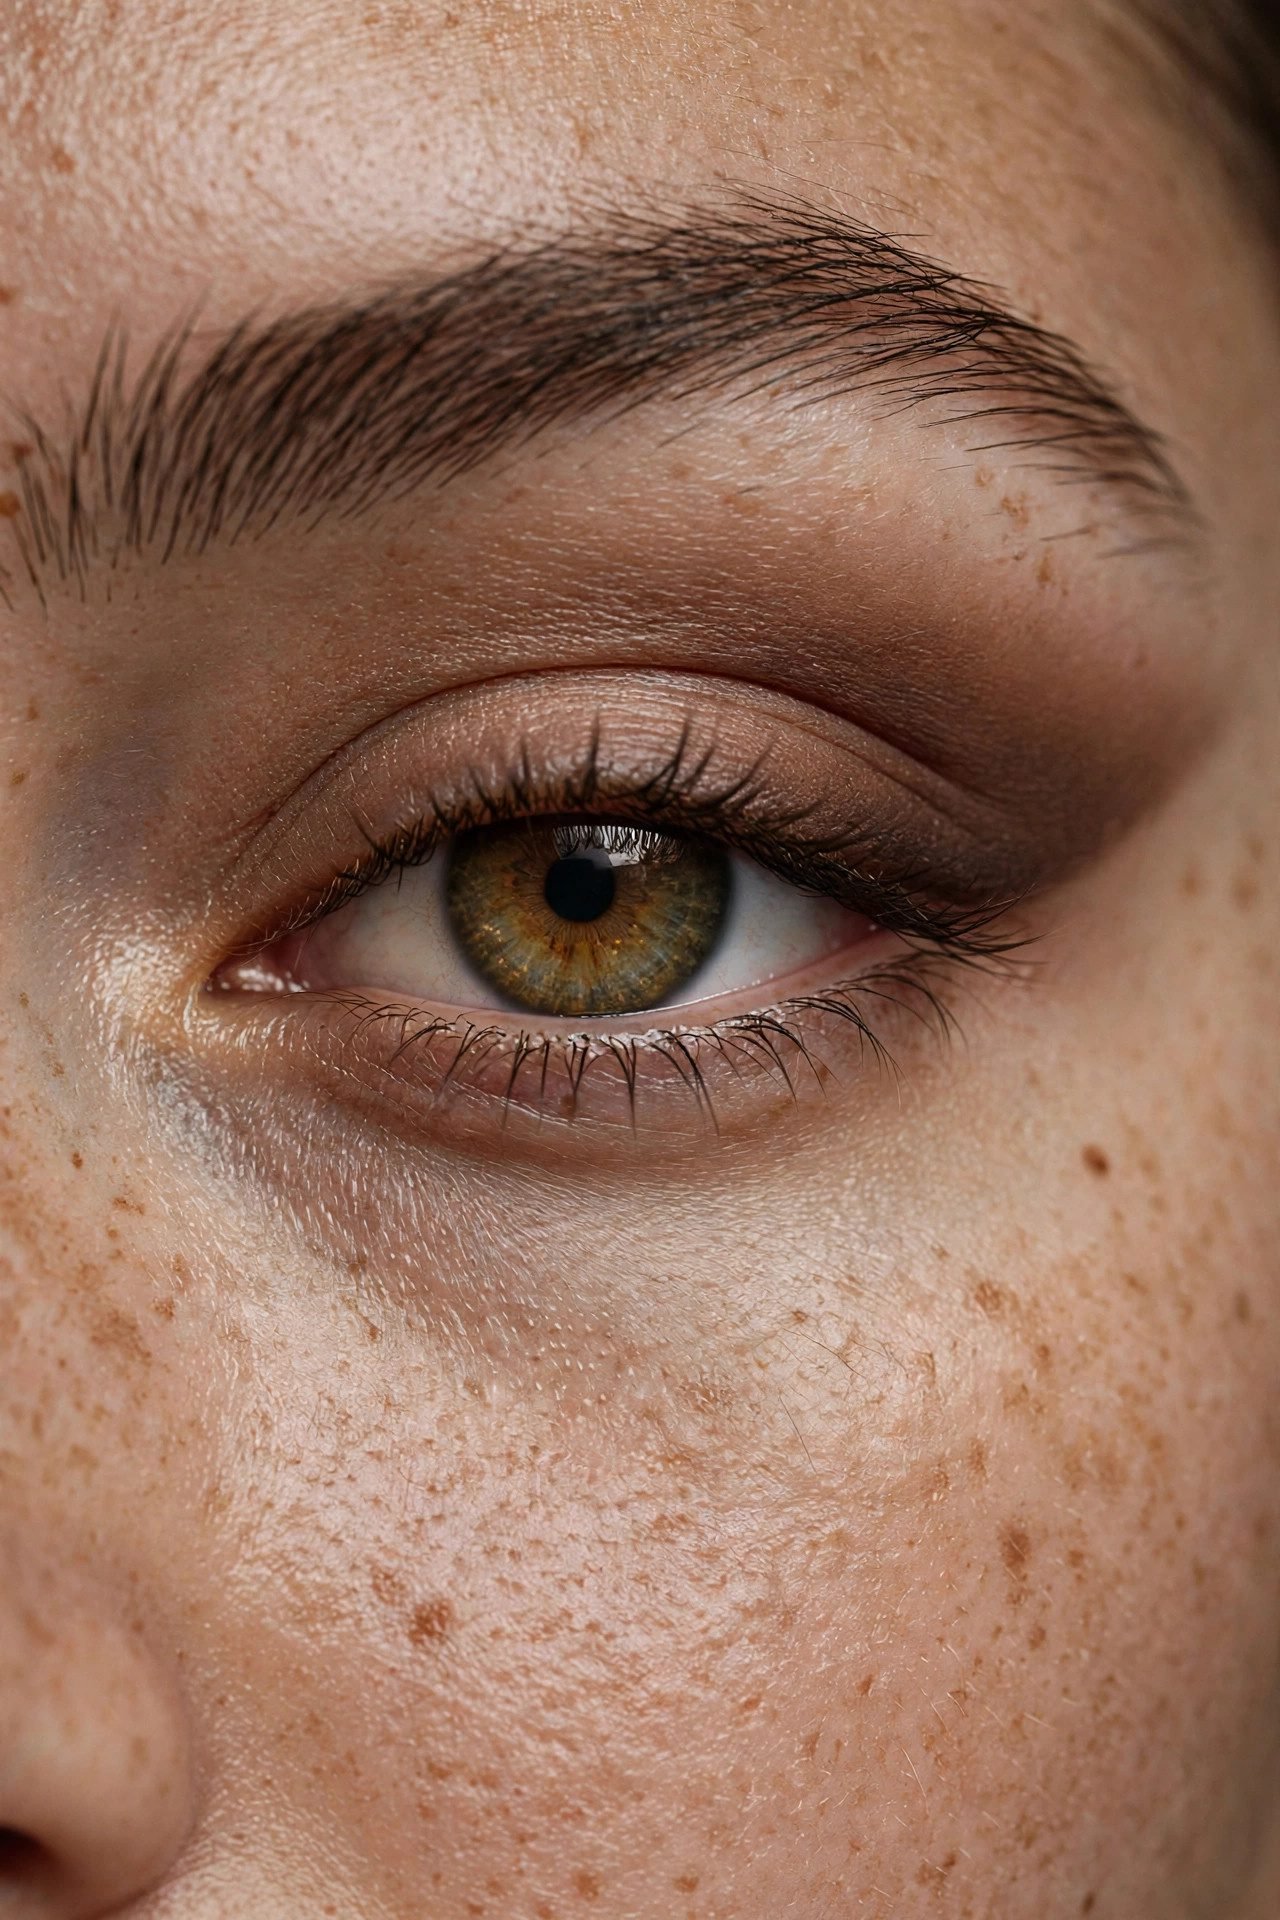
A medium-brown matte swept from the outer corner up toward the tail of the brow gives the lift of a wing with none of the precision. The shape is a comma rather than a line: deeper at the outer third, fading as it moves inward and upward. It rounds hooded eyes, lifts downturned ones, and behaves beautifully on mature lids where graphic lines crease. Brown mascara keeps the palette entirely warm.
Blend Note — Draw the swoop with the eye open, looking straight ahead; you are shading where the lid naturally creases, not where it hides.
Look 9 — The Rosy Morning
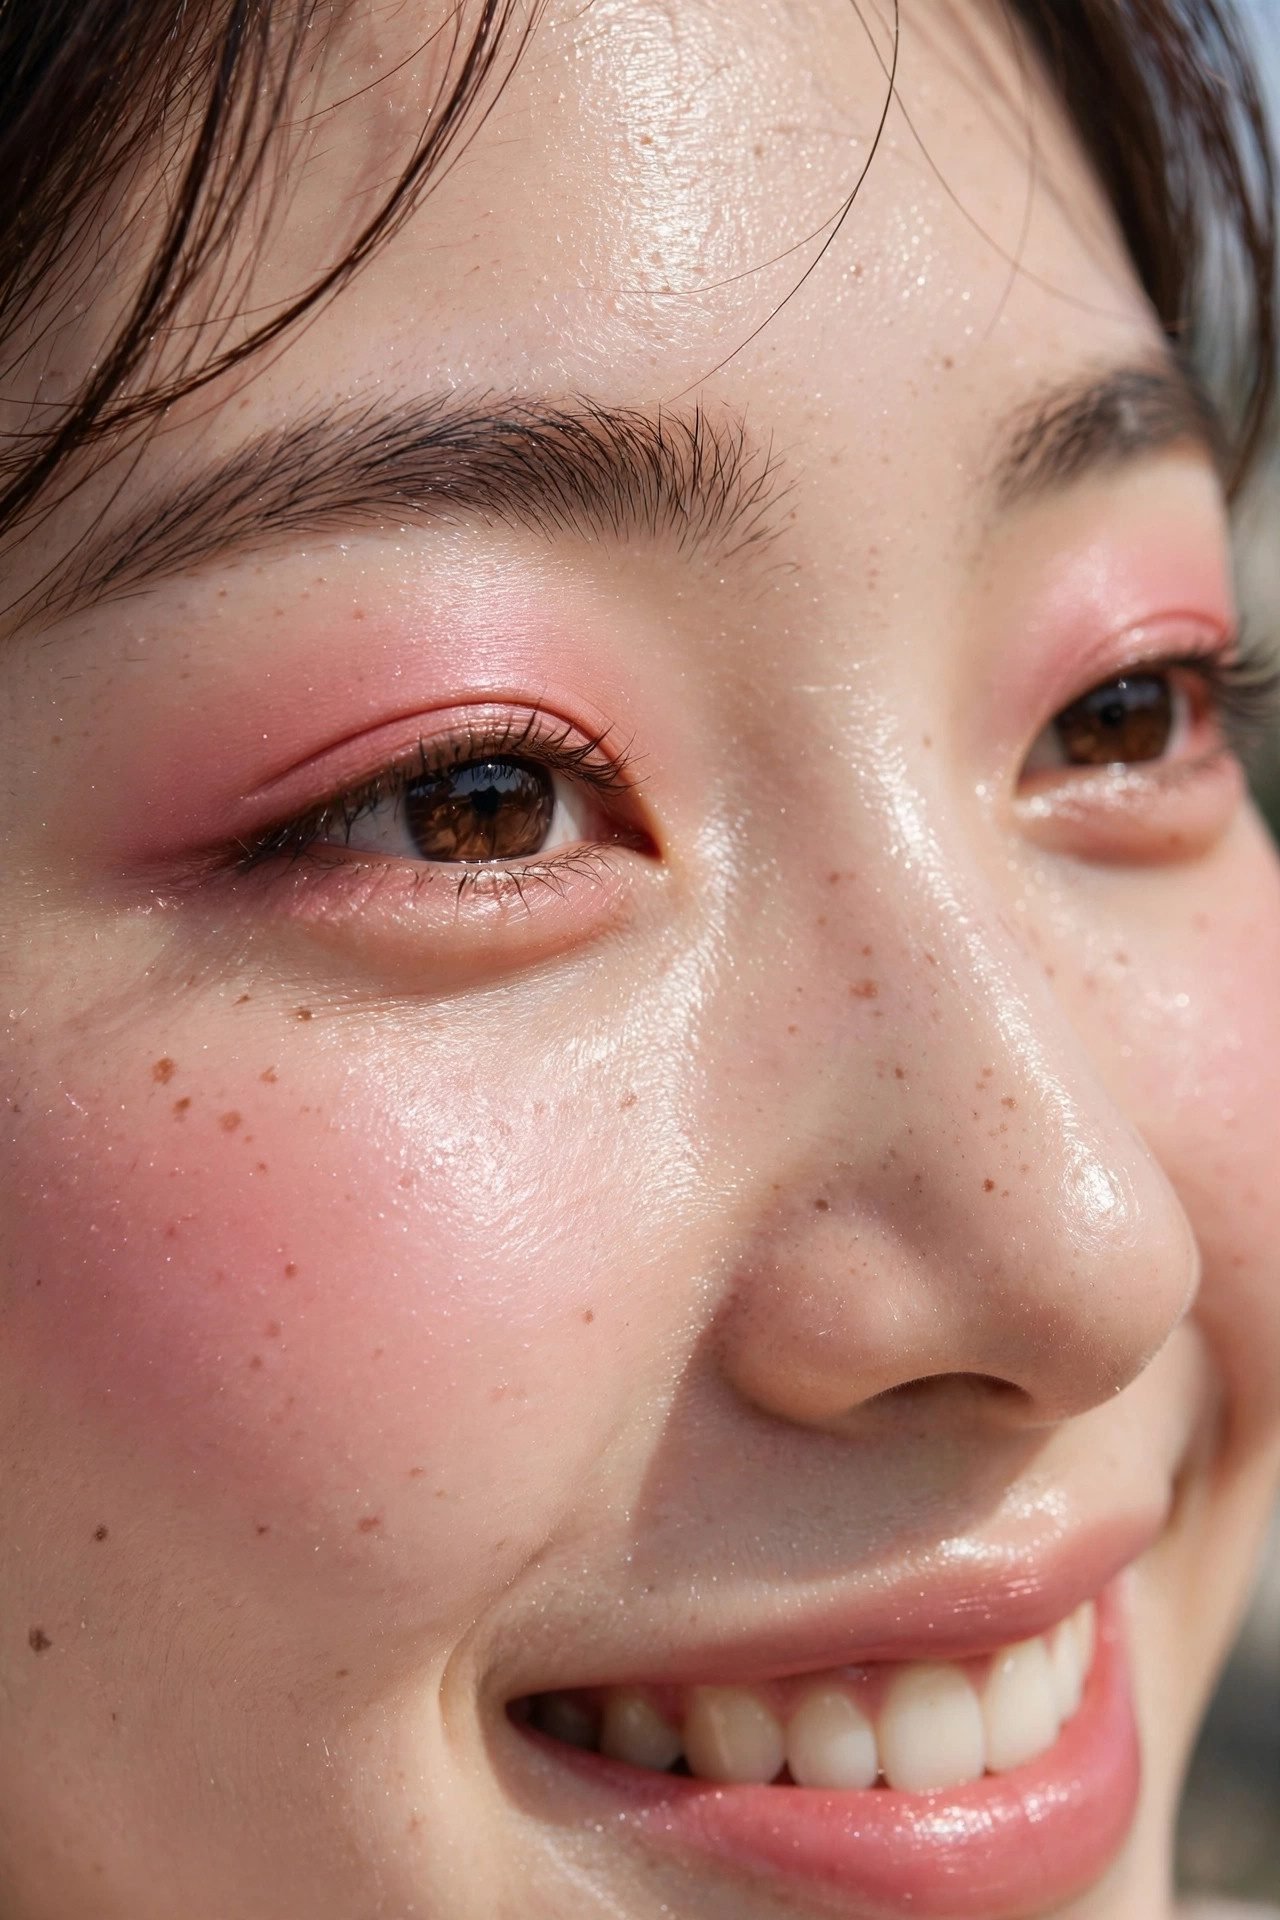
A rose-pink satin pressed across the lid with a whisper of the same tone on the cheeks is the mono-chromatic trick that makes the whole face read intentional. Pink gets a nervous reputation, but in satin — never glitter — and kept off the inner corner, it flatters rather than irritates. Pair it with brown liner smudged at the outer third to keep the sweetness grounded.
Blend Note — Keep pink above the crease and warm the edge with a hint of the taupe from Look 3; pink alone can look irritated, pink edged in taupe looks editorial.
Look 10 — The Bronze Streak
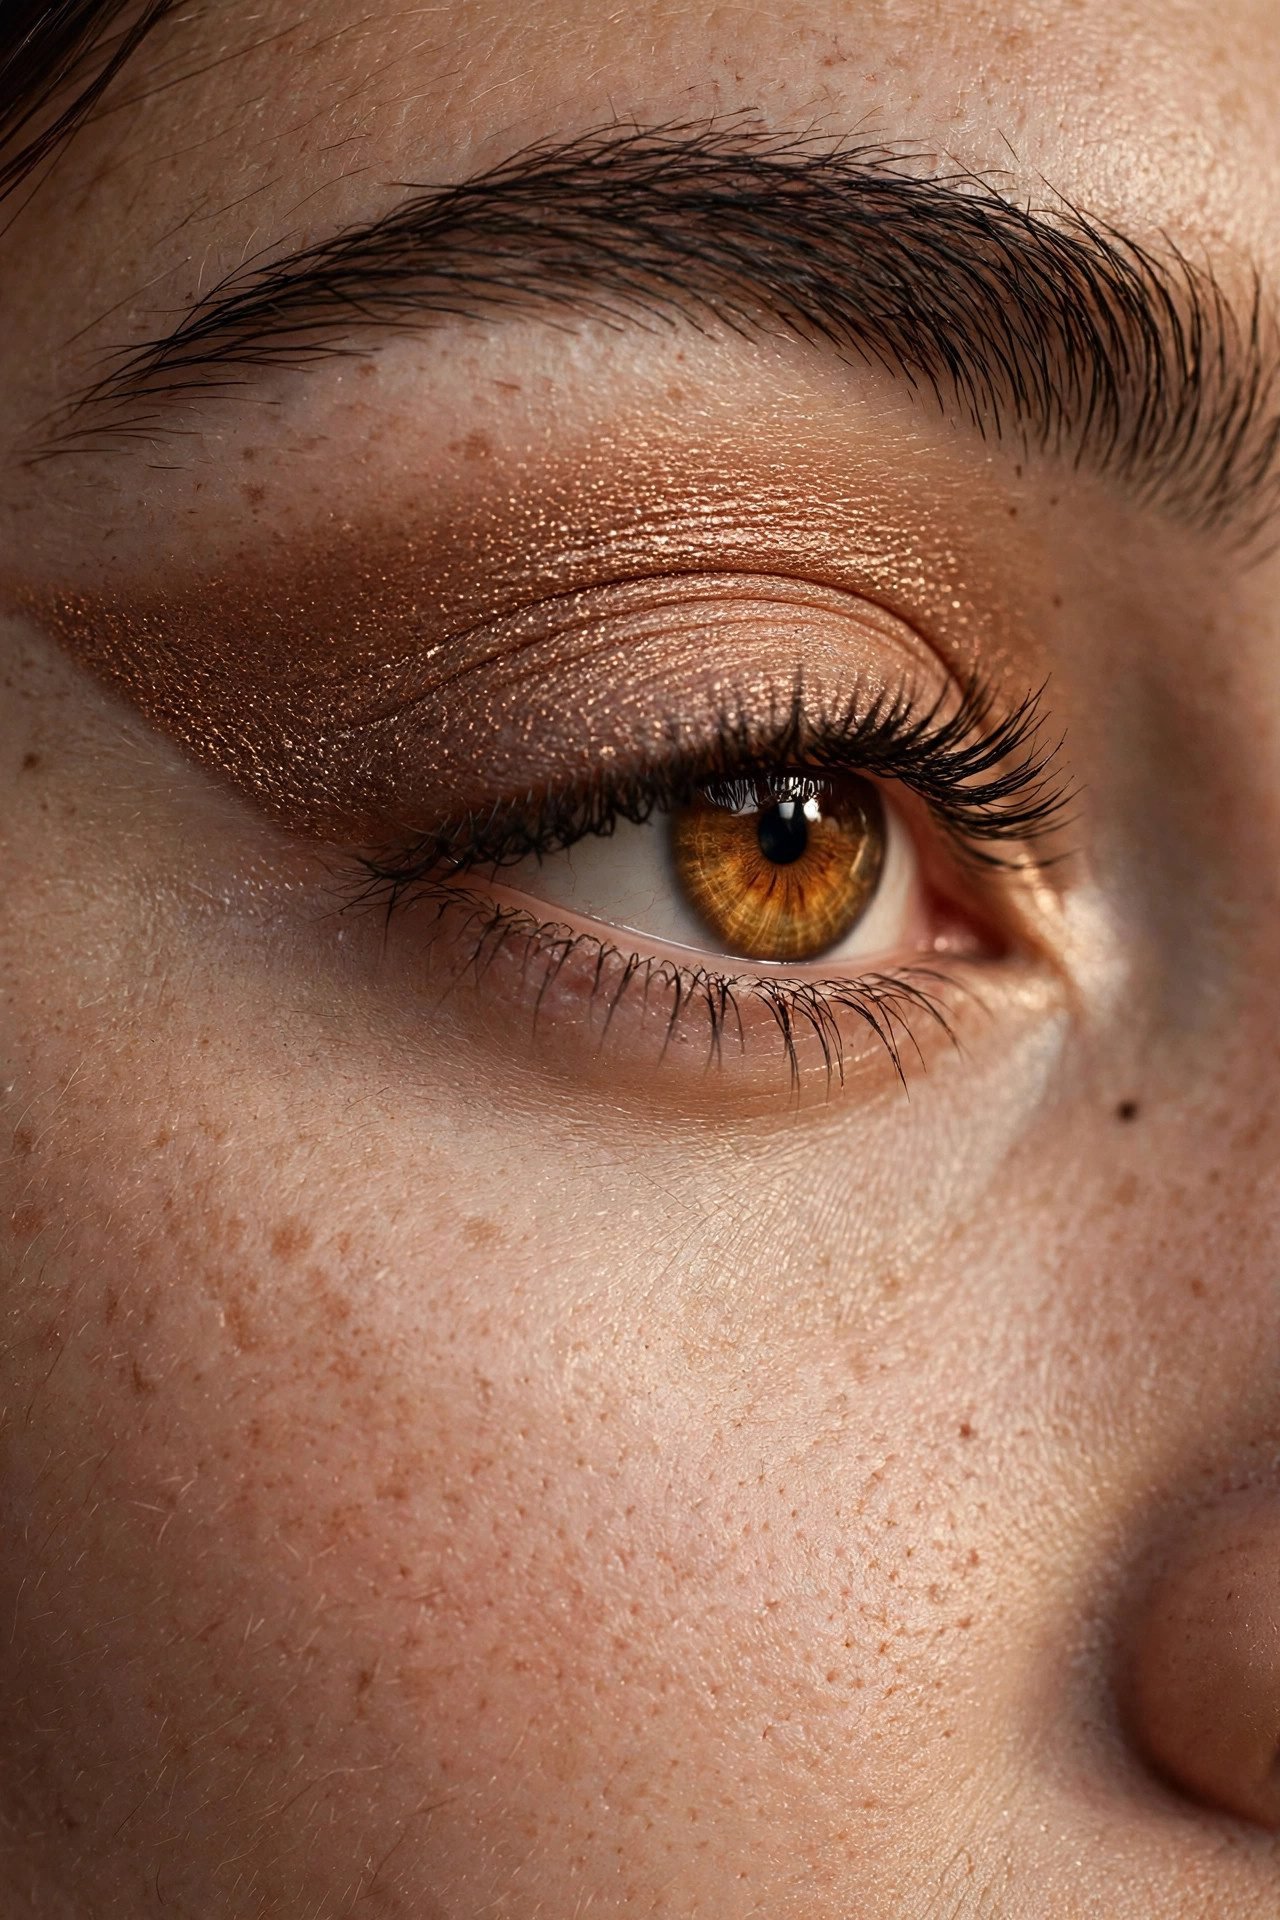
Press a metallic bronze onto the outer half of the lid only, sweeping it slightly upward toward the brow tail, and leave the inner half bare satin. The metallic half catches light where eyes blink and smile, which is why this look photographs so well with so little product. One thin line of brown mascara and the everyday look quietly becomes the dinner look.
Blend Note — The seam between metallic and bare is the whole look — cross it with a clean fluffy brush three or four passes until no line remains.
Level 3 — Polished & Lifted (Looks 11–15)
Structure arrives: wings, halos, and the engineered lift that reads professional at 10 a.m. and intentional at 10 p.m. The liner techniques here follow the same logic as our eyeliner step-by-step, and the overall finish sits one measured step below a full soft glam makeup tutorial.
Look 11 — The Soft Cat Eye
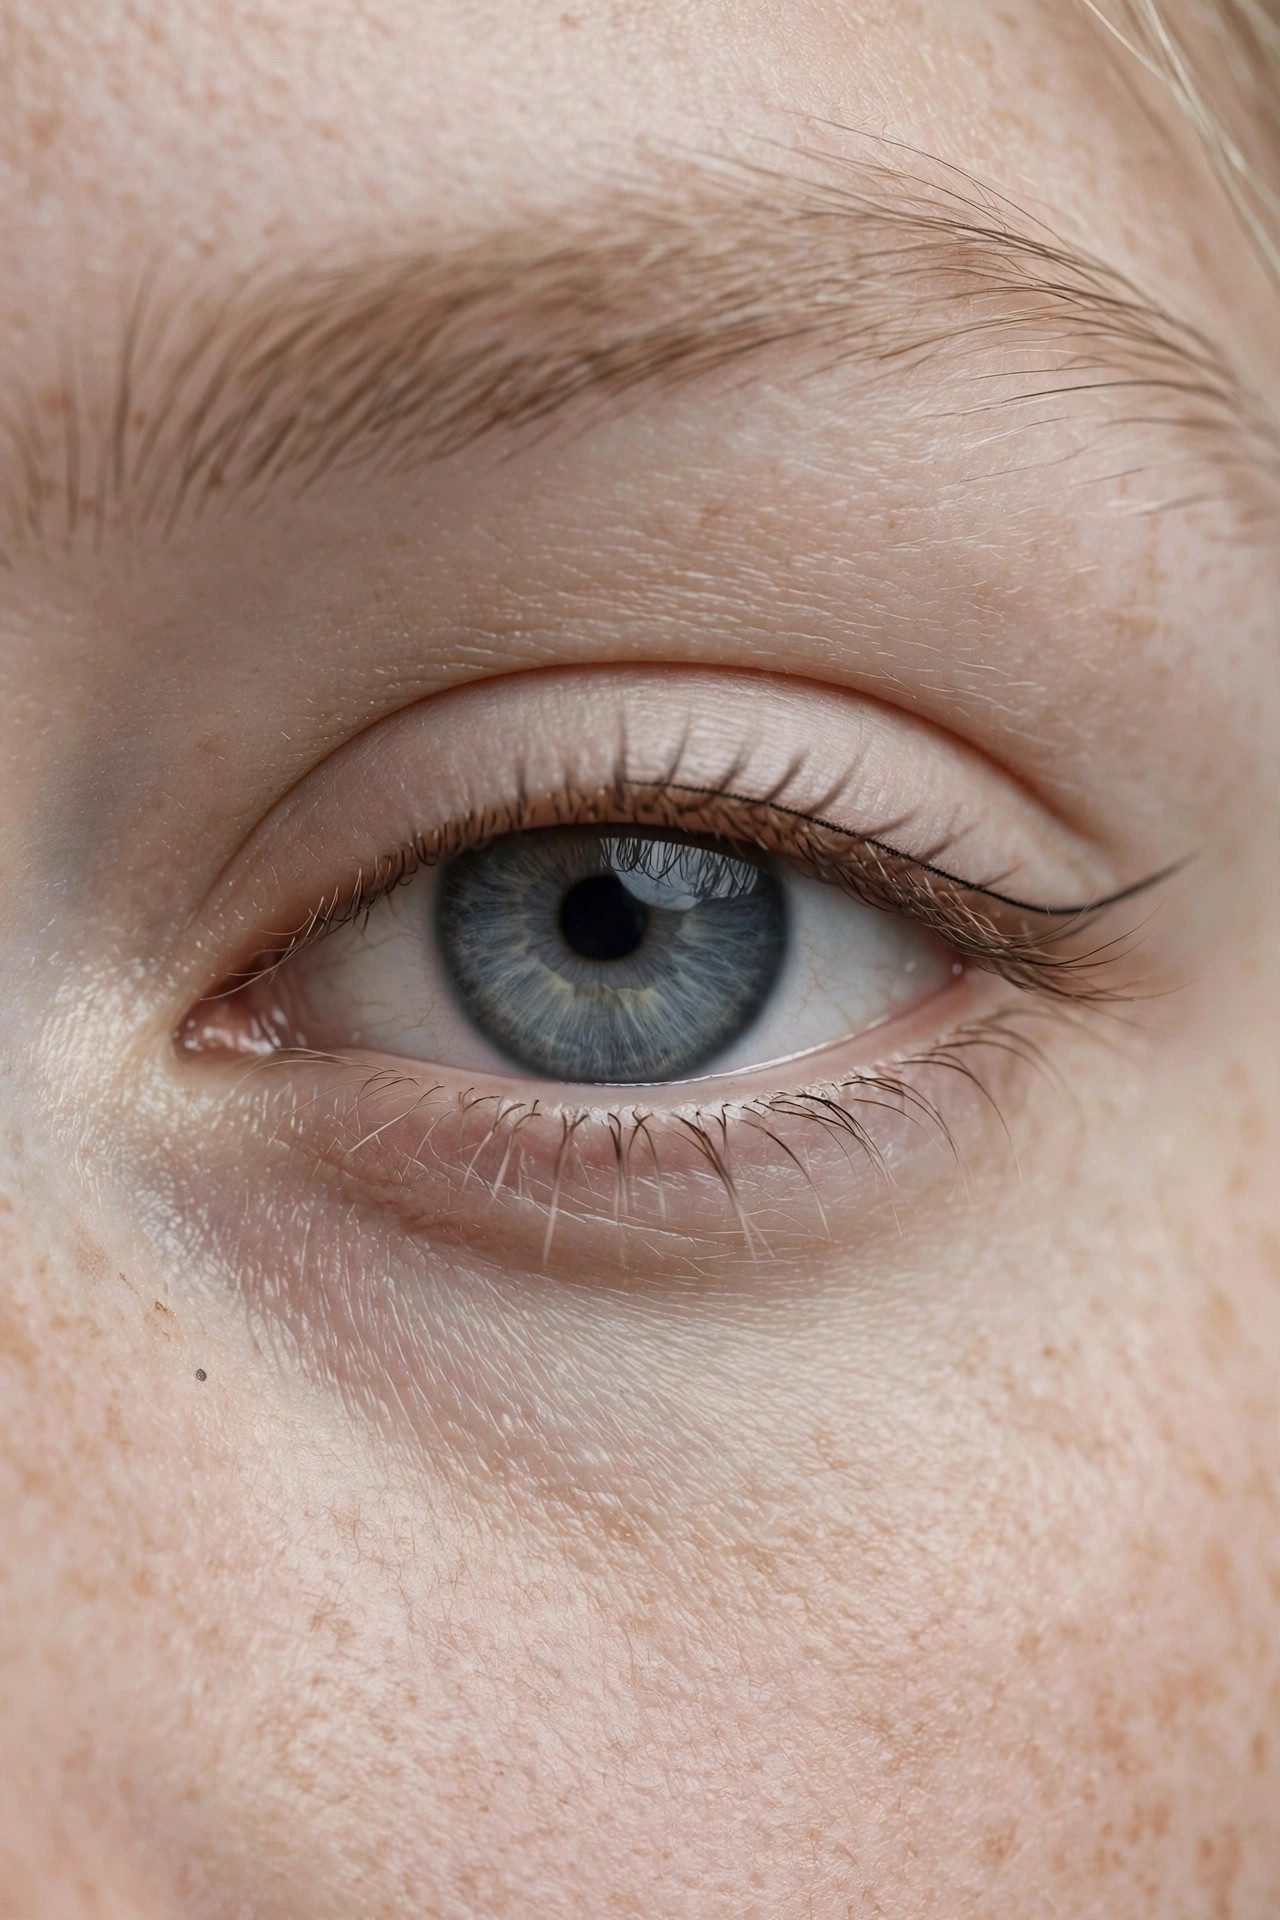
The kitten flick — a wing drawn only along the last quarter of the eye, no thicker than a pencil — is the most universally flattering structure in makeup. It lifts without committing, suits deep-set and almond eyes especially, and pairs with a matte shell or a soft brown lid. Draw it with the chin level and the eye half-open, which is why this technique gets its own walkthrough in the eyeliner guide rather than a one-line explanation.
Blend Note — Before the flick, tightline the outer third; the wing then connects to visible density instead of floating above bare roots.
Look 12 — The Half-Cut Crease
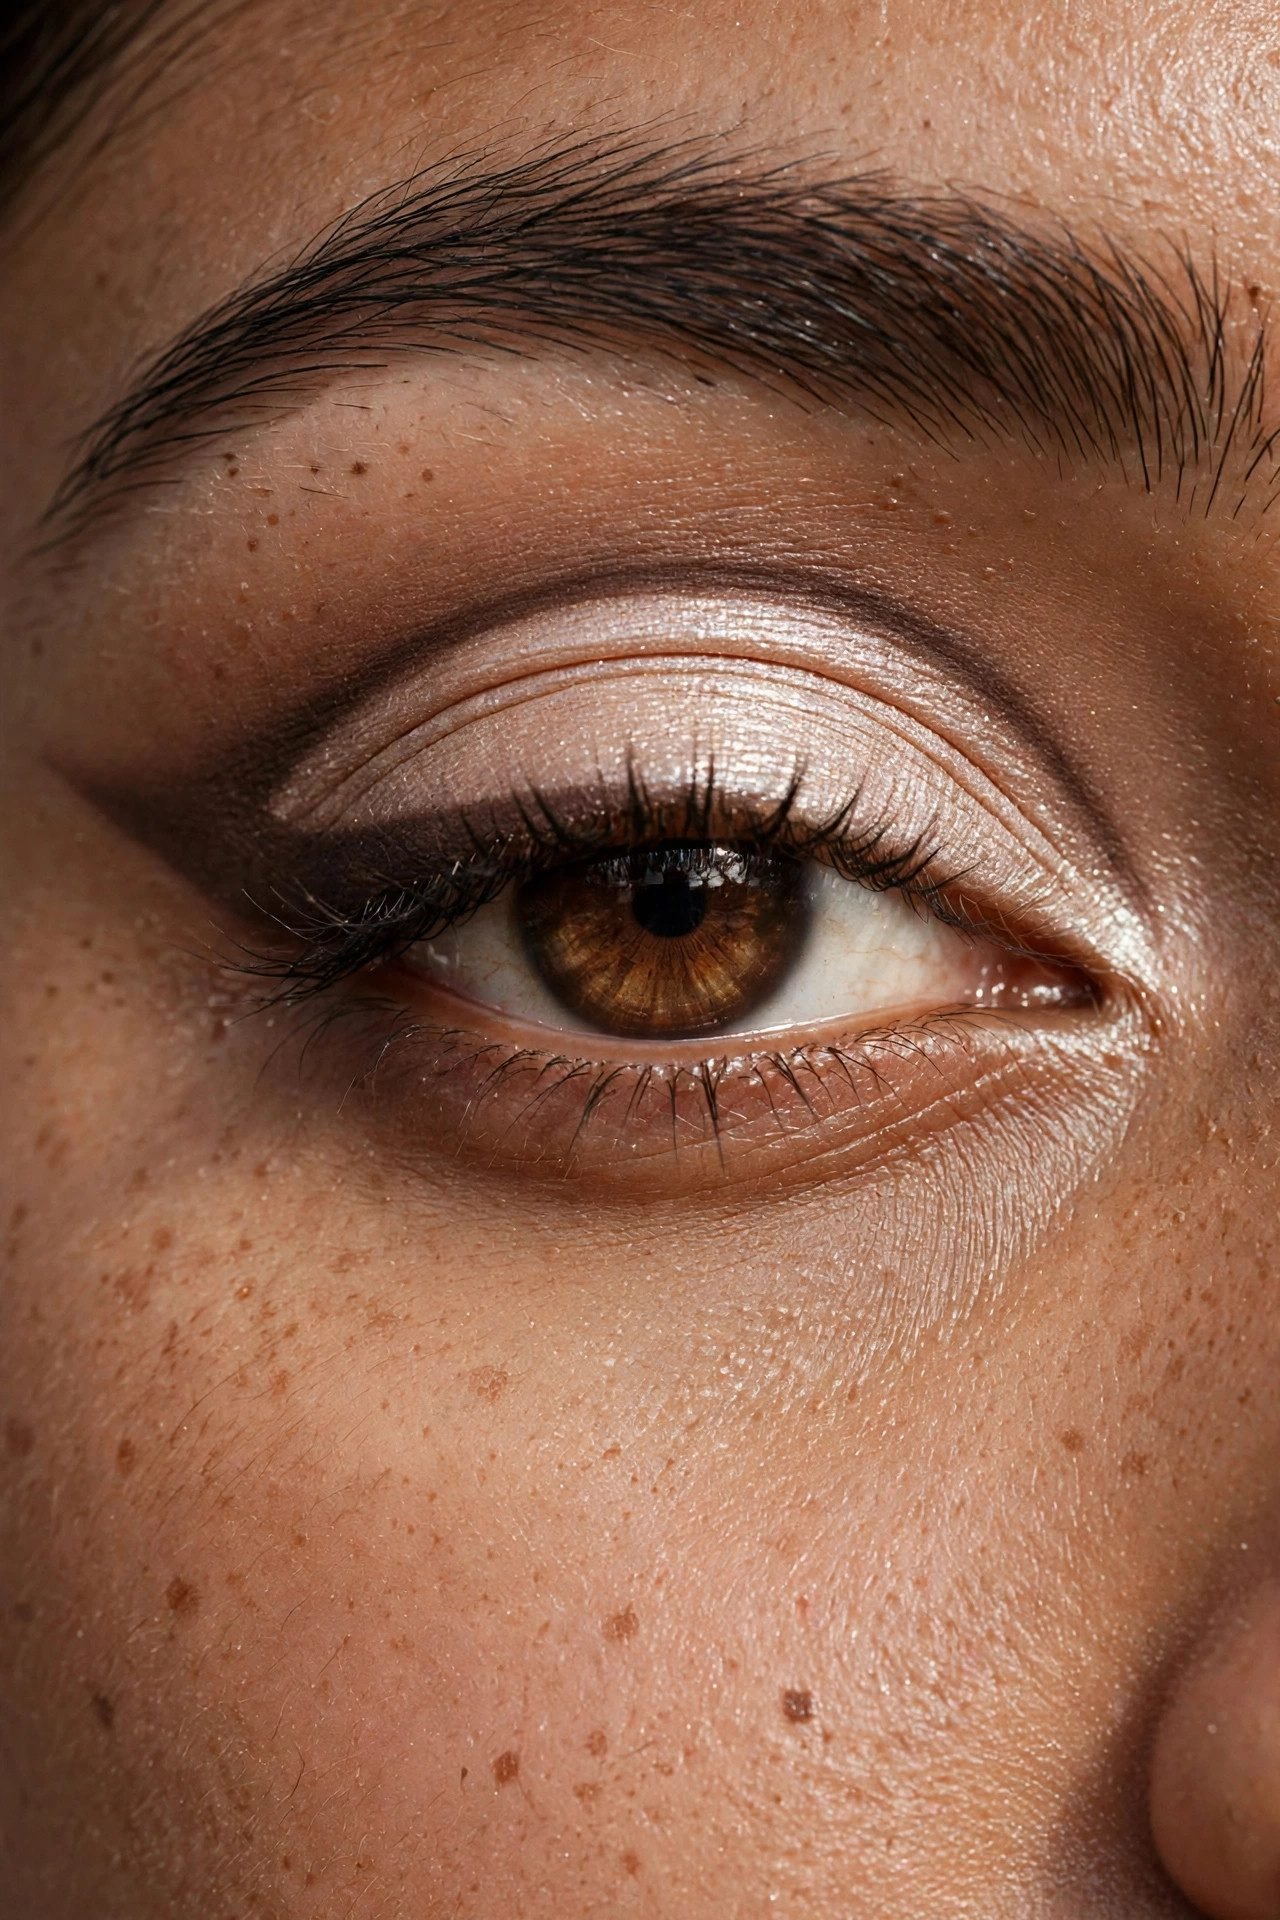
A gentle preview of the full cut crease: the crease line is defined with a small pencil brush and a deeper matte, but only from the center of the lid outward, leaving the inner half open and bright. The effect is a lid that looks bigger and more lifted — the makeup equivalent of a half-tucked shirt. It behaves on hooded eyes better than a full cut, because the open inner half keeps the look visible when the lid folds.
Blend Note — Draw the cut line with the eye open, then blend only its lower edge; the top edge stays sharp, the bottom edge does the melting.
Look 13 — The Champagne Halo
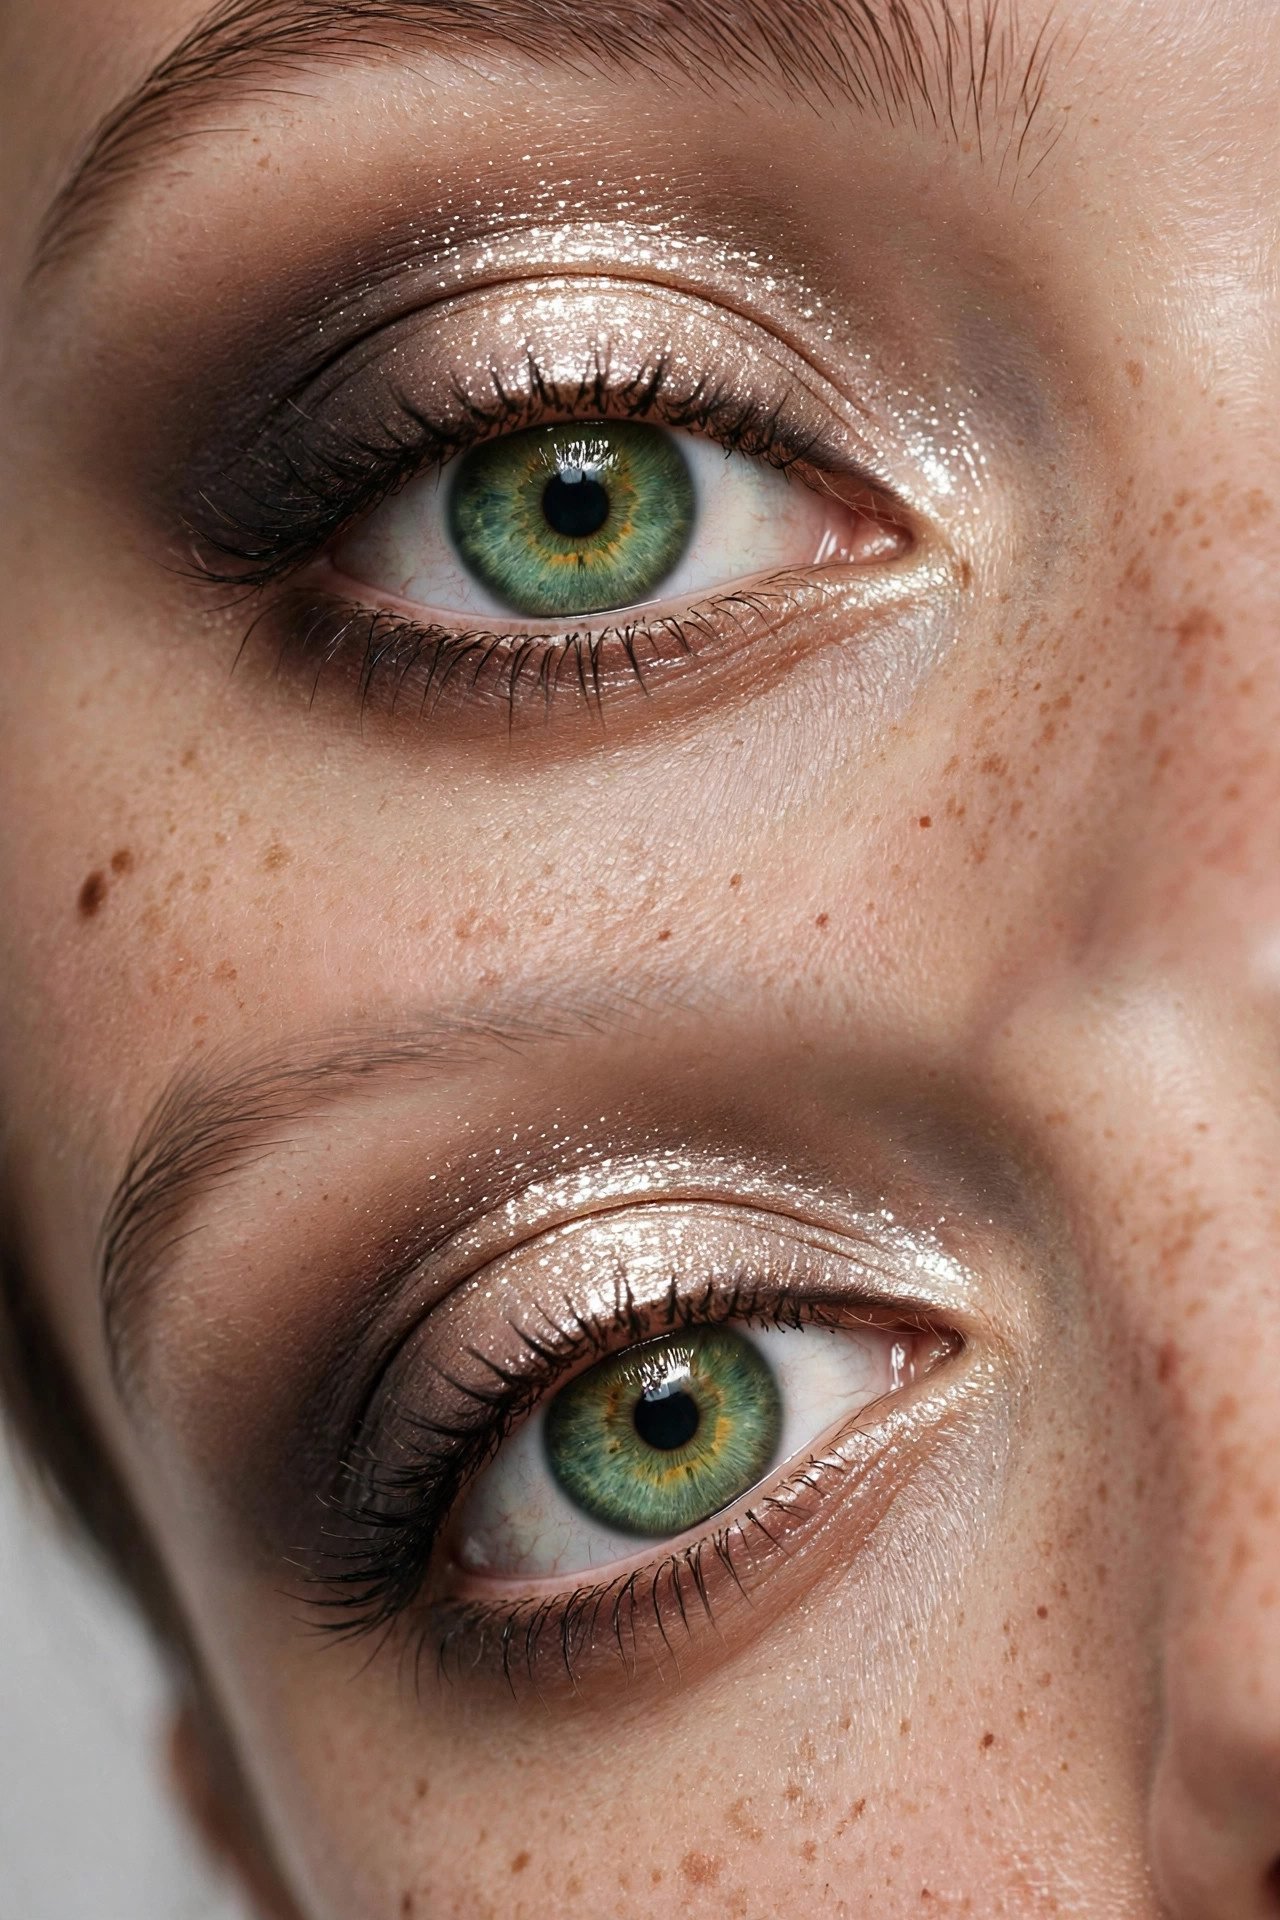
Lightest shimmer at the center of the lid, deepening mattes at both the inner and outer corners — the halo makes round eyes look almond and almond eyes look doll-bright. Champagne is the classic center, but any pearl in the pink or gold family works. The frame on either side does the shaping, so the lashes in between can stay light.
Blend Note — Place the shimmer with a flat fingertip press, then run a clean blender once around its border; the halo should glow out, not sit on top.
Look 14 — The Smudged Pencil Lift
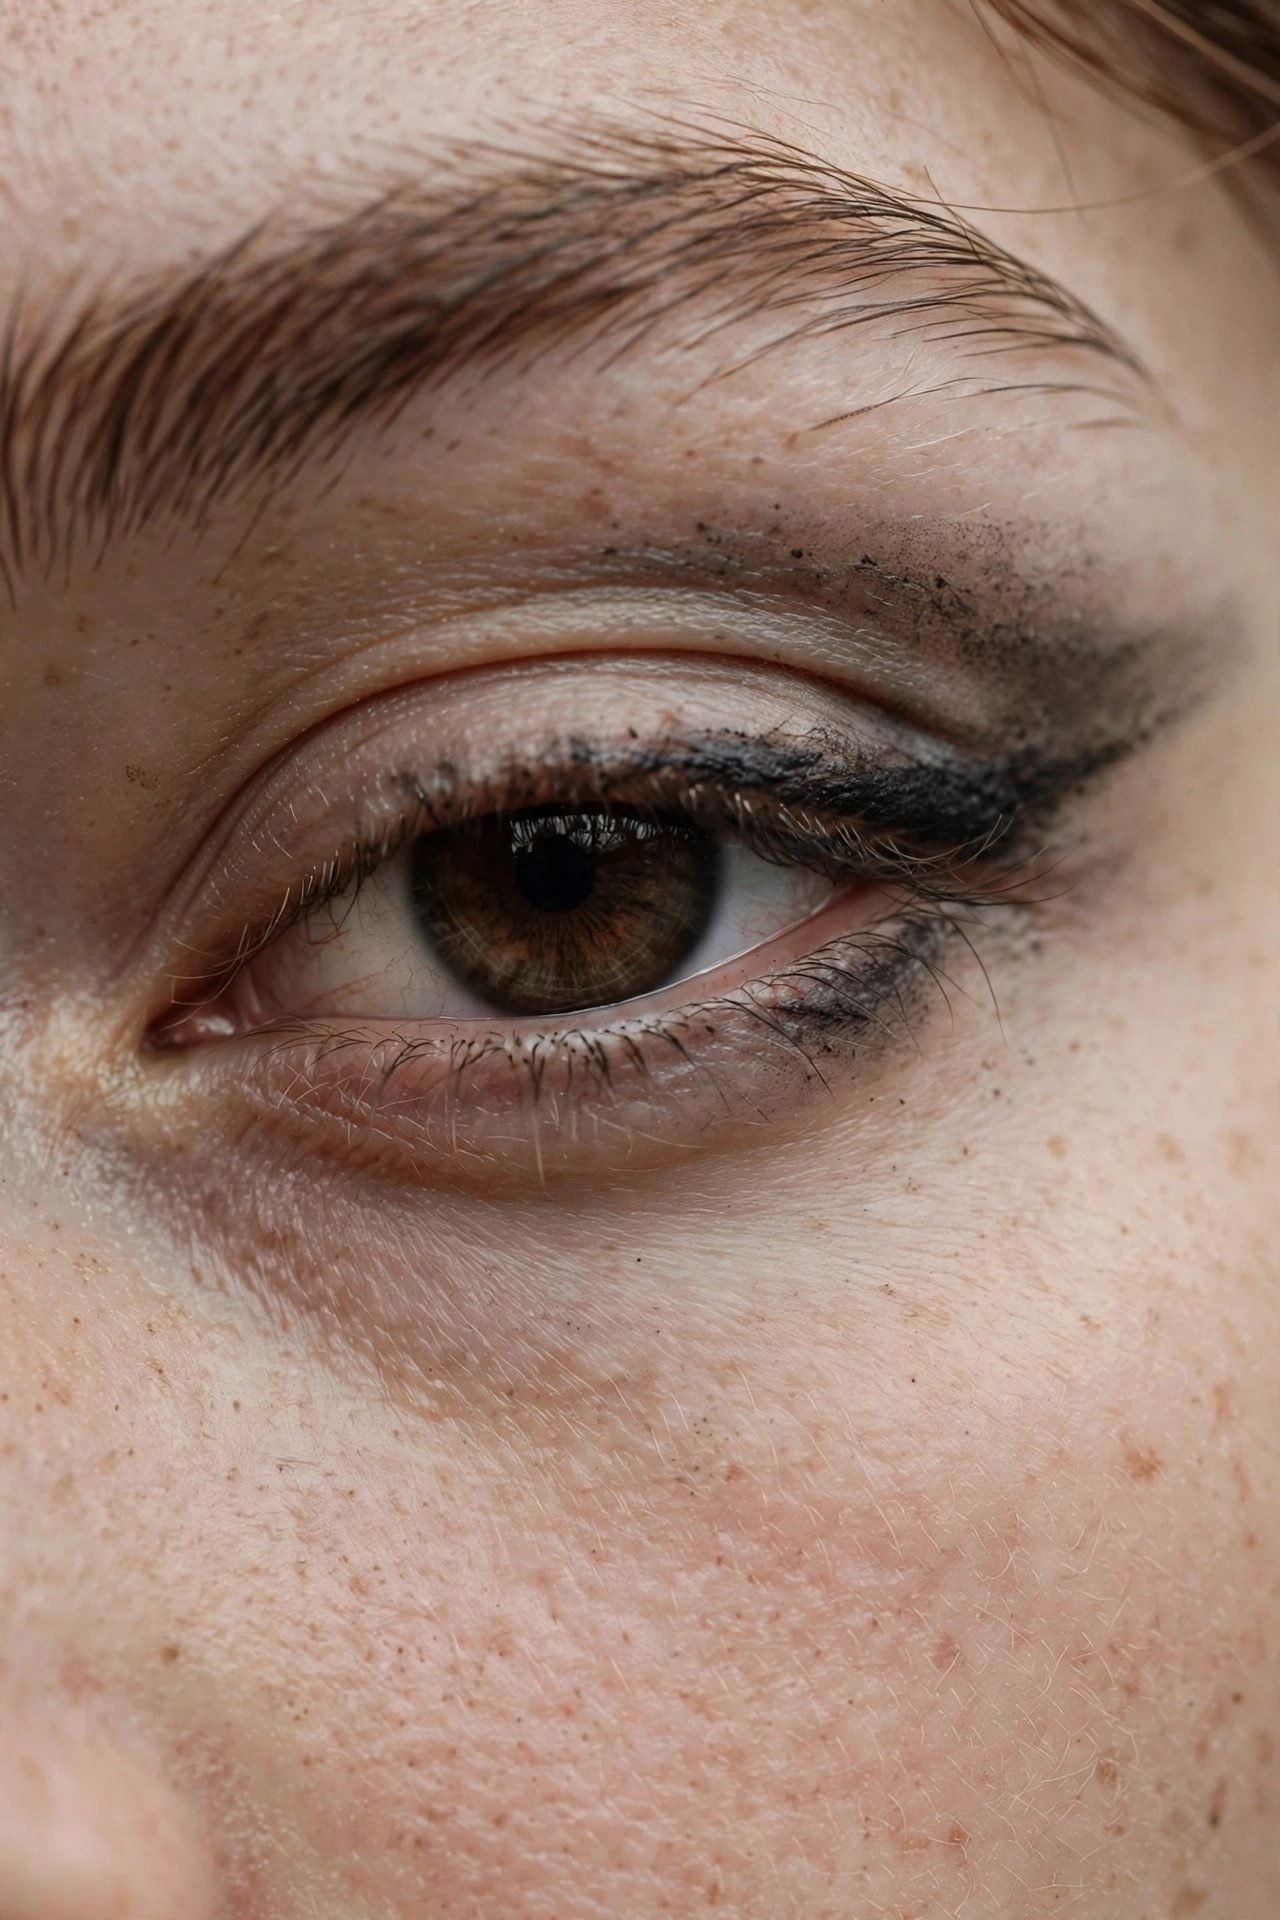
A creamy pencil drawn in a short wing and immediately smudged upward with a pencil brush gives the lift of a cat eye with the softness of a shadow. It is the most forgiving of the structured looks — every mistake reads as texture — and it is the fastest Level 3 look to execute before work. Bronze, espresso, and charcoal pencils all deliver; save true black for Level 5.
Blend Note — Set the smudge with a matching powder shadow pressed over the pencil; unset pencil creases within two hours, set pencil lasts the day.
Look 15 — The Warm Transition Trio
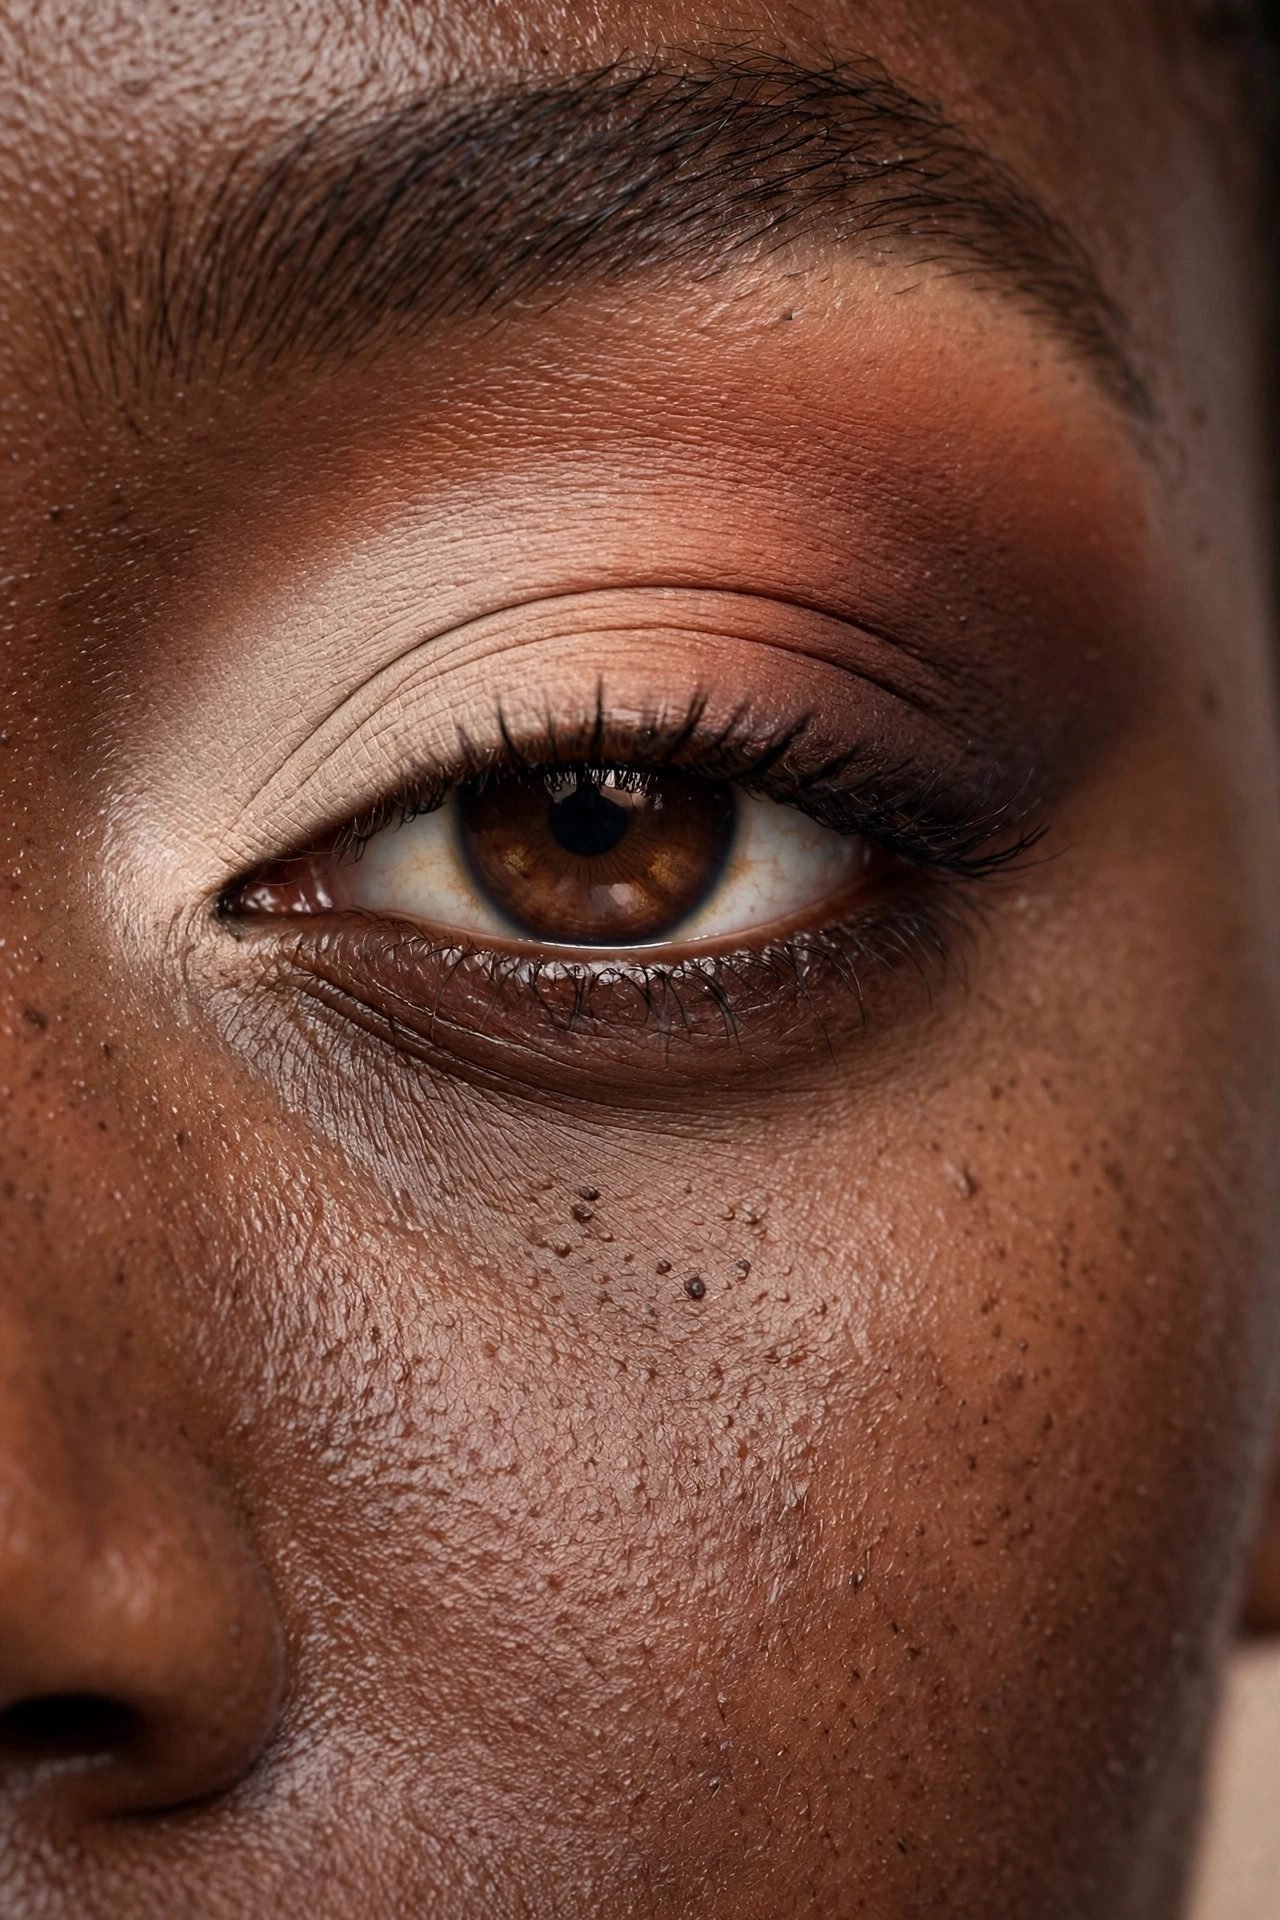
Three mattes in one warm family — a base, a terracotta, and a deep chocolate — laid lightest to deepest across the lid in three clear zones, then fused at the seams. This is the look that teaches blending: each shade gets its own brush, and the only skill is spending an extra thirty seconds where the colors meet. The payoff is depth that no single pan can fake, and it is the direct ancestor of every smoky look above it on the dial.
Blend Note — Always blend the middle shade into both neighbors, not the other way around; the middle tone is the bridge, and bridges get the extra work.
Level 4 — Statement (Looks 16–20)
The lid becomes the outfit’s main accessory — sharp lines, deliberate color, and edges that are meant to stay visible.
Look 16 — The Graphic Flick
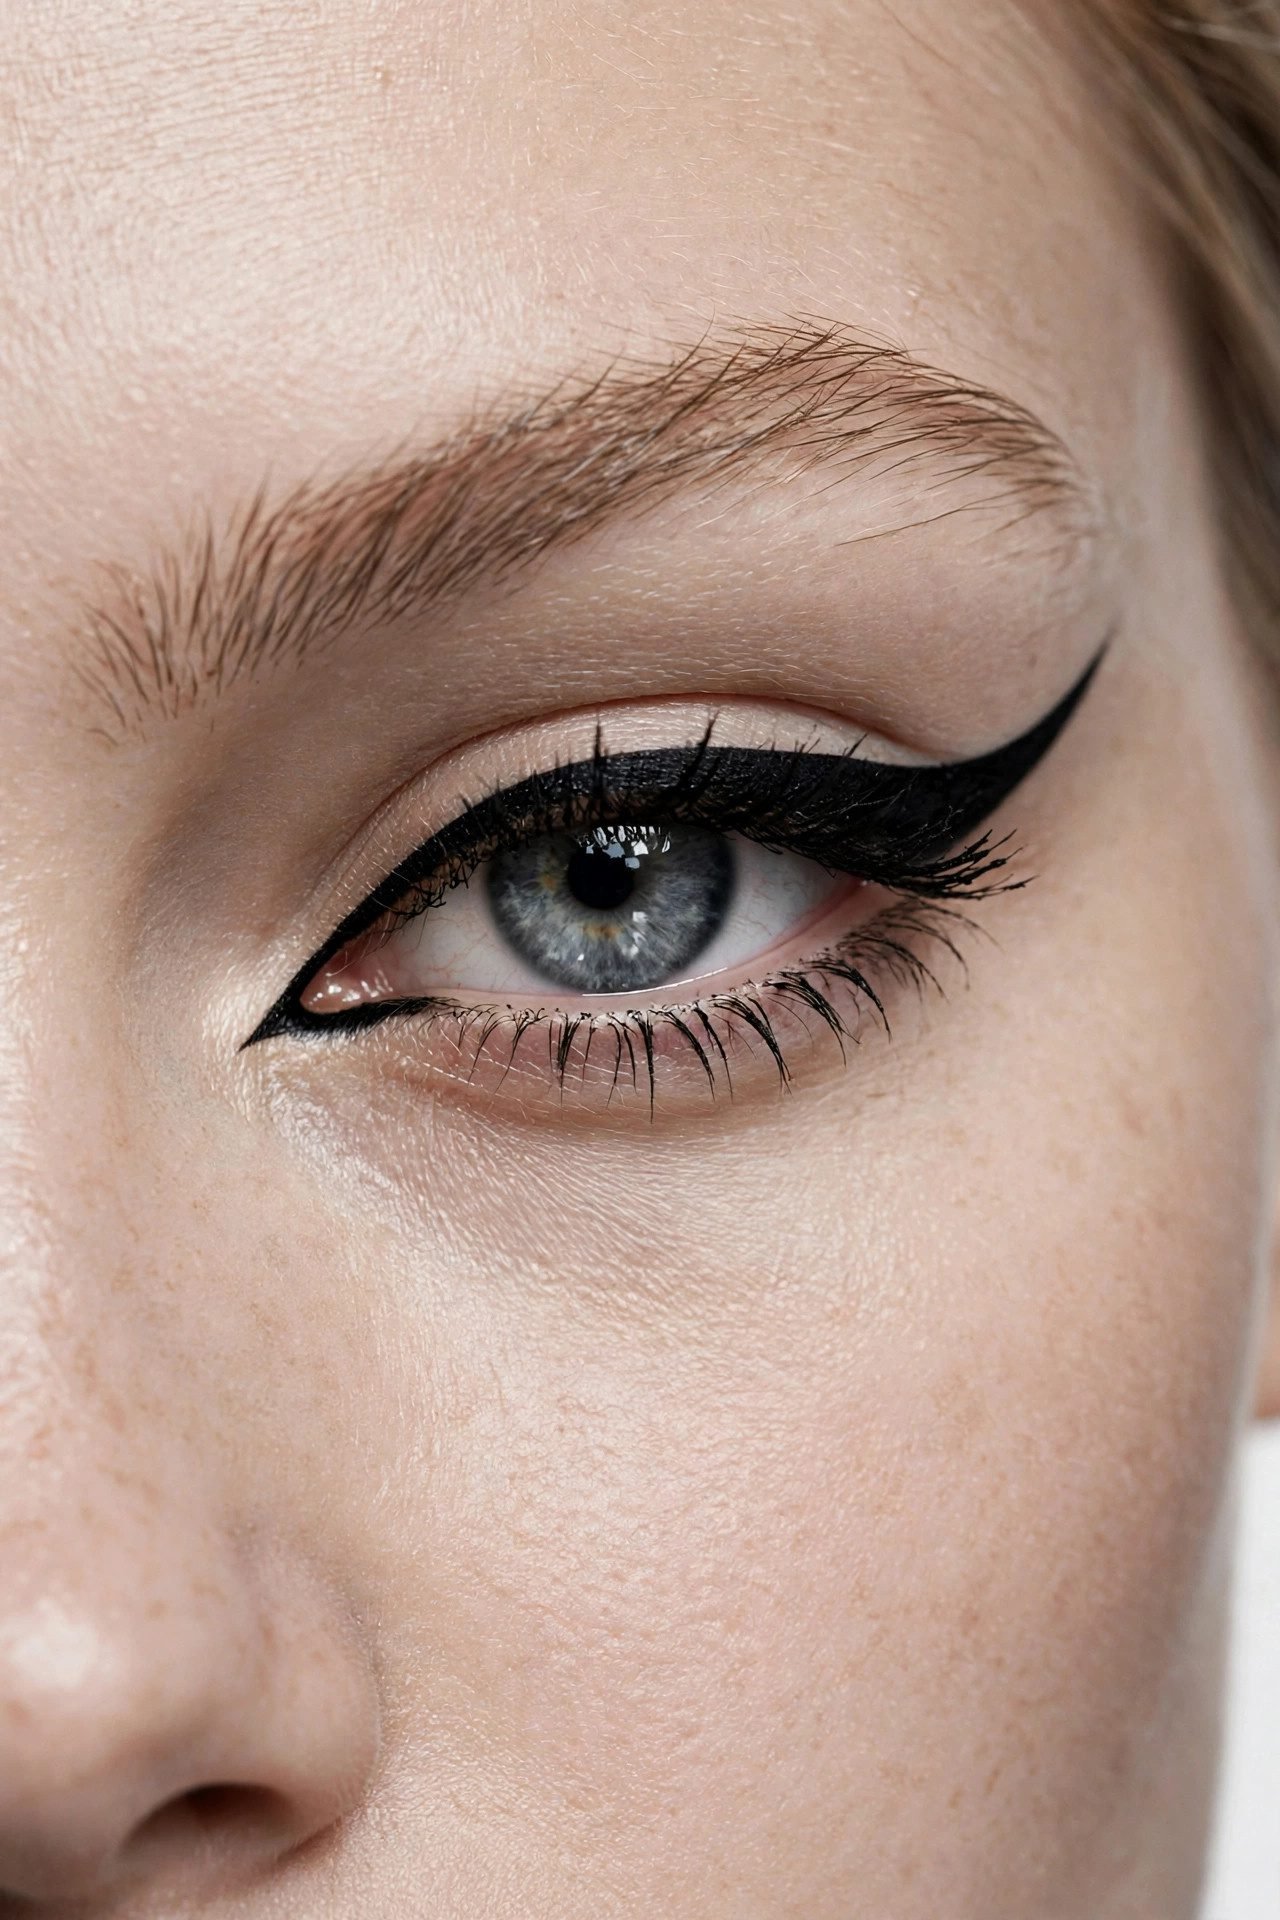
A single dramatic wing, drawn thick from the mid-lid and flicked sharply toward the brow tail, turns bare skin and mascara into a full look. The graphic version differs from the soft cat in one word: intention — the edge stays razor-clean, no smudging, no softening. Matte black liquid on bare lids with strong brows and a bare lip is the entire formula.
Blend Note — There is nothing to blend, which is the trap: clean the edge with a cotton swab dipped in makeup remover, and redraw rather than patch.
Look 17 — The Double Liner
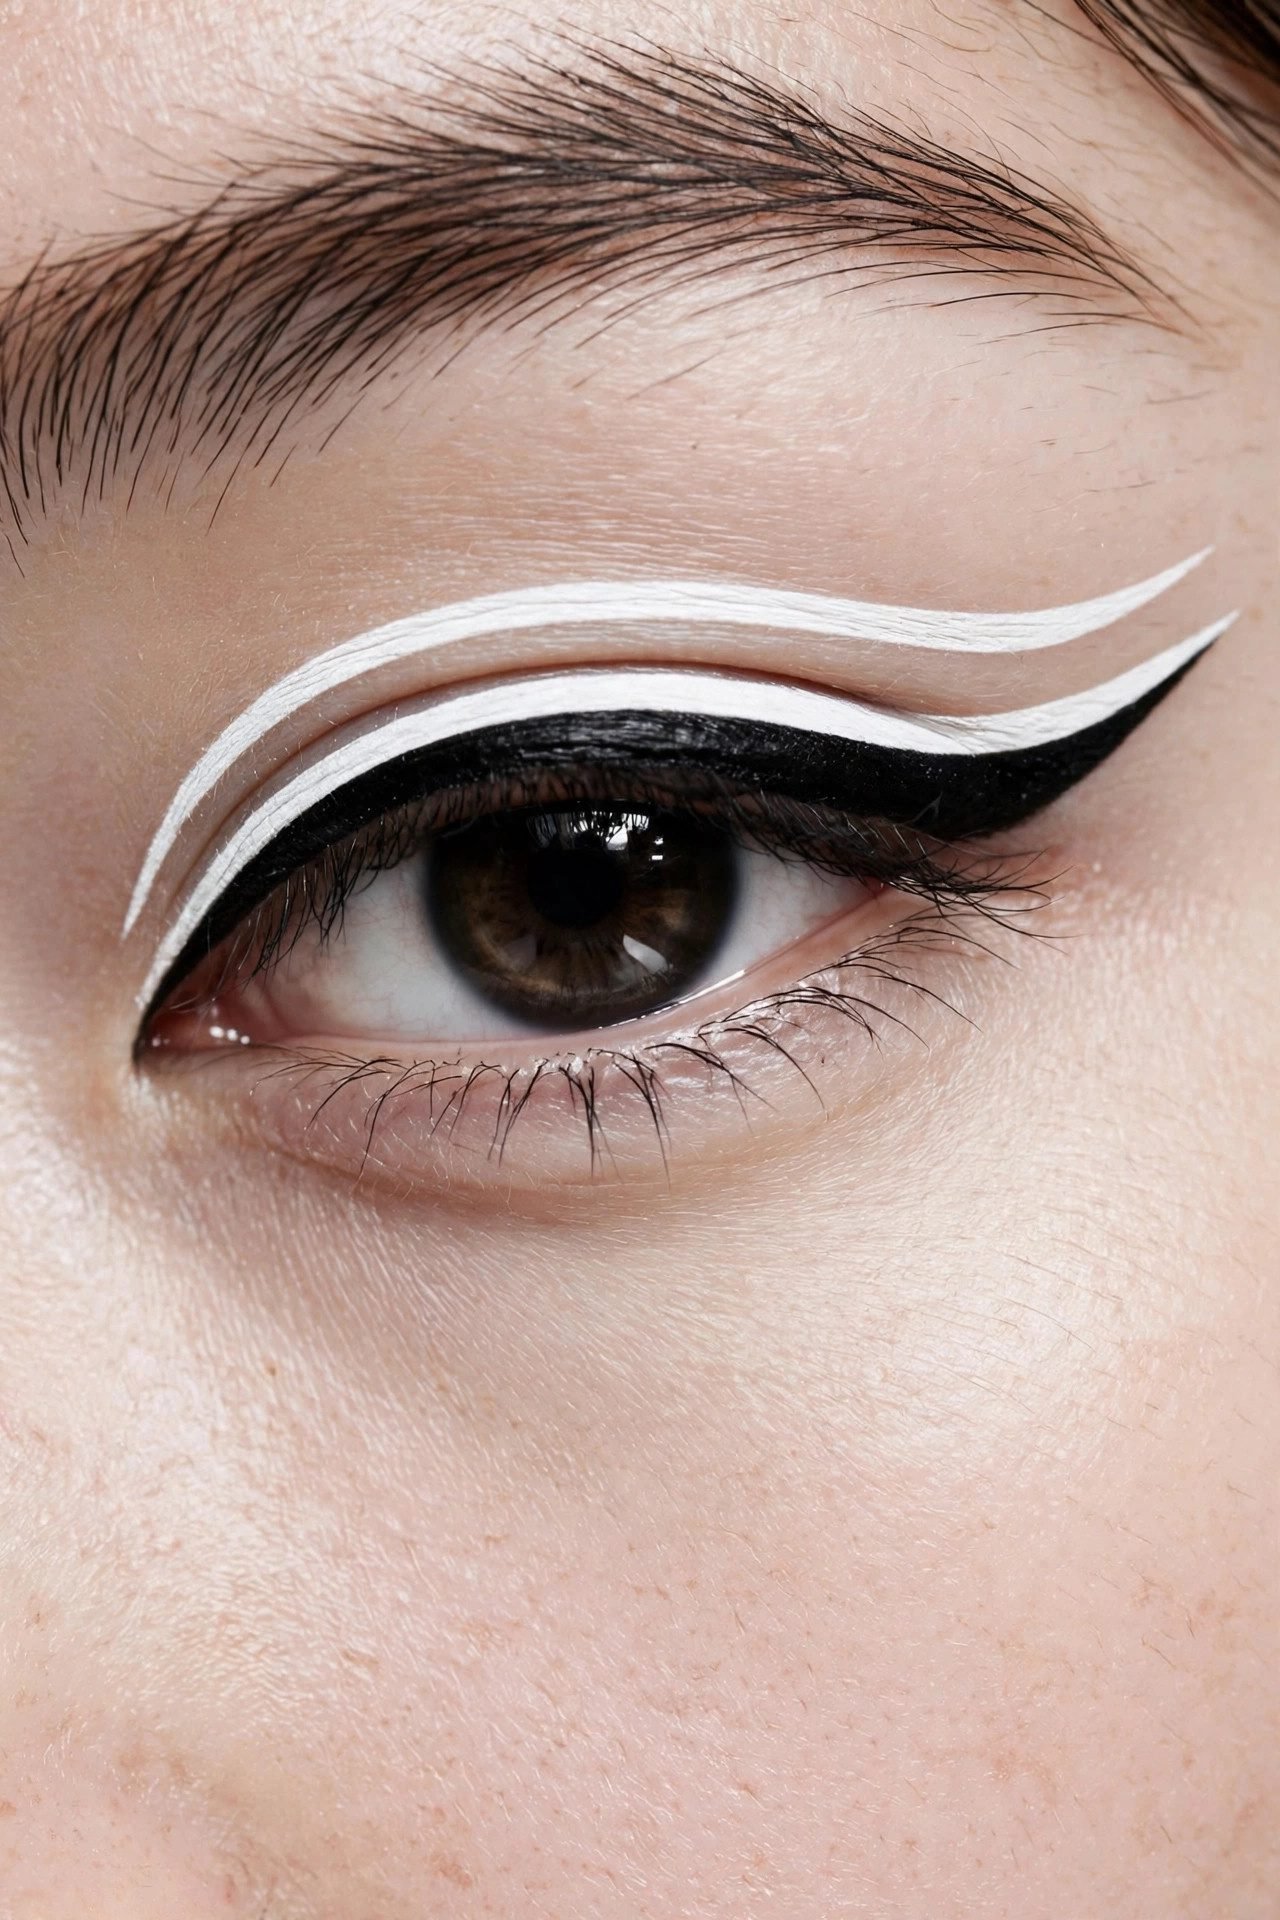
Two stacked wings — a black base and a colored or white line floating directly above it — double the lift and halve the subtlety. Classic pairings are black over white (graphic, sixties), black under cobalt (editorial), and espresso under gold (warm evening). The lower wing does all the work of a shadow, so the lid itself stays bare, which keeps the look modern rather than theatrical.
Blend Note — Draw the black wing first and let it fully set; a wet black base smears the color line above it into one muddy stripe.
Look 18 — The Copper Smoke
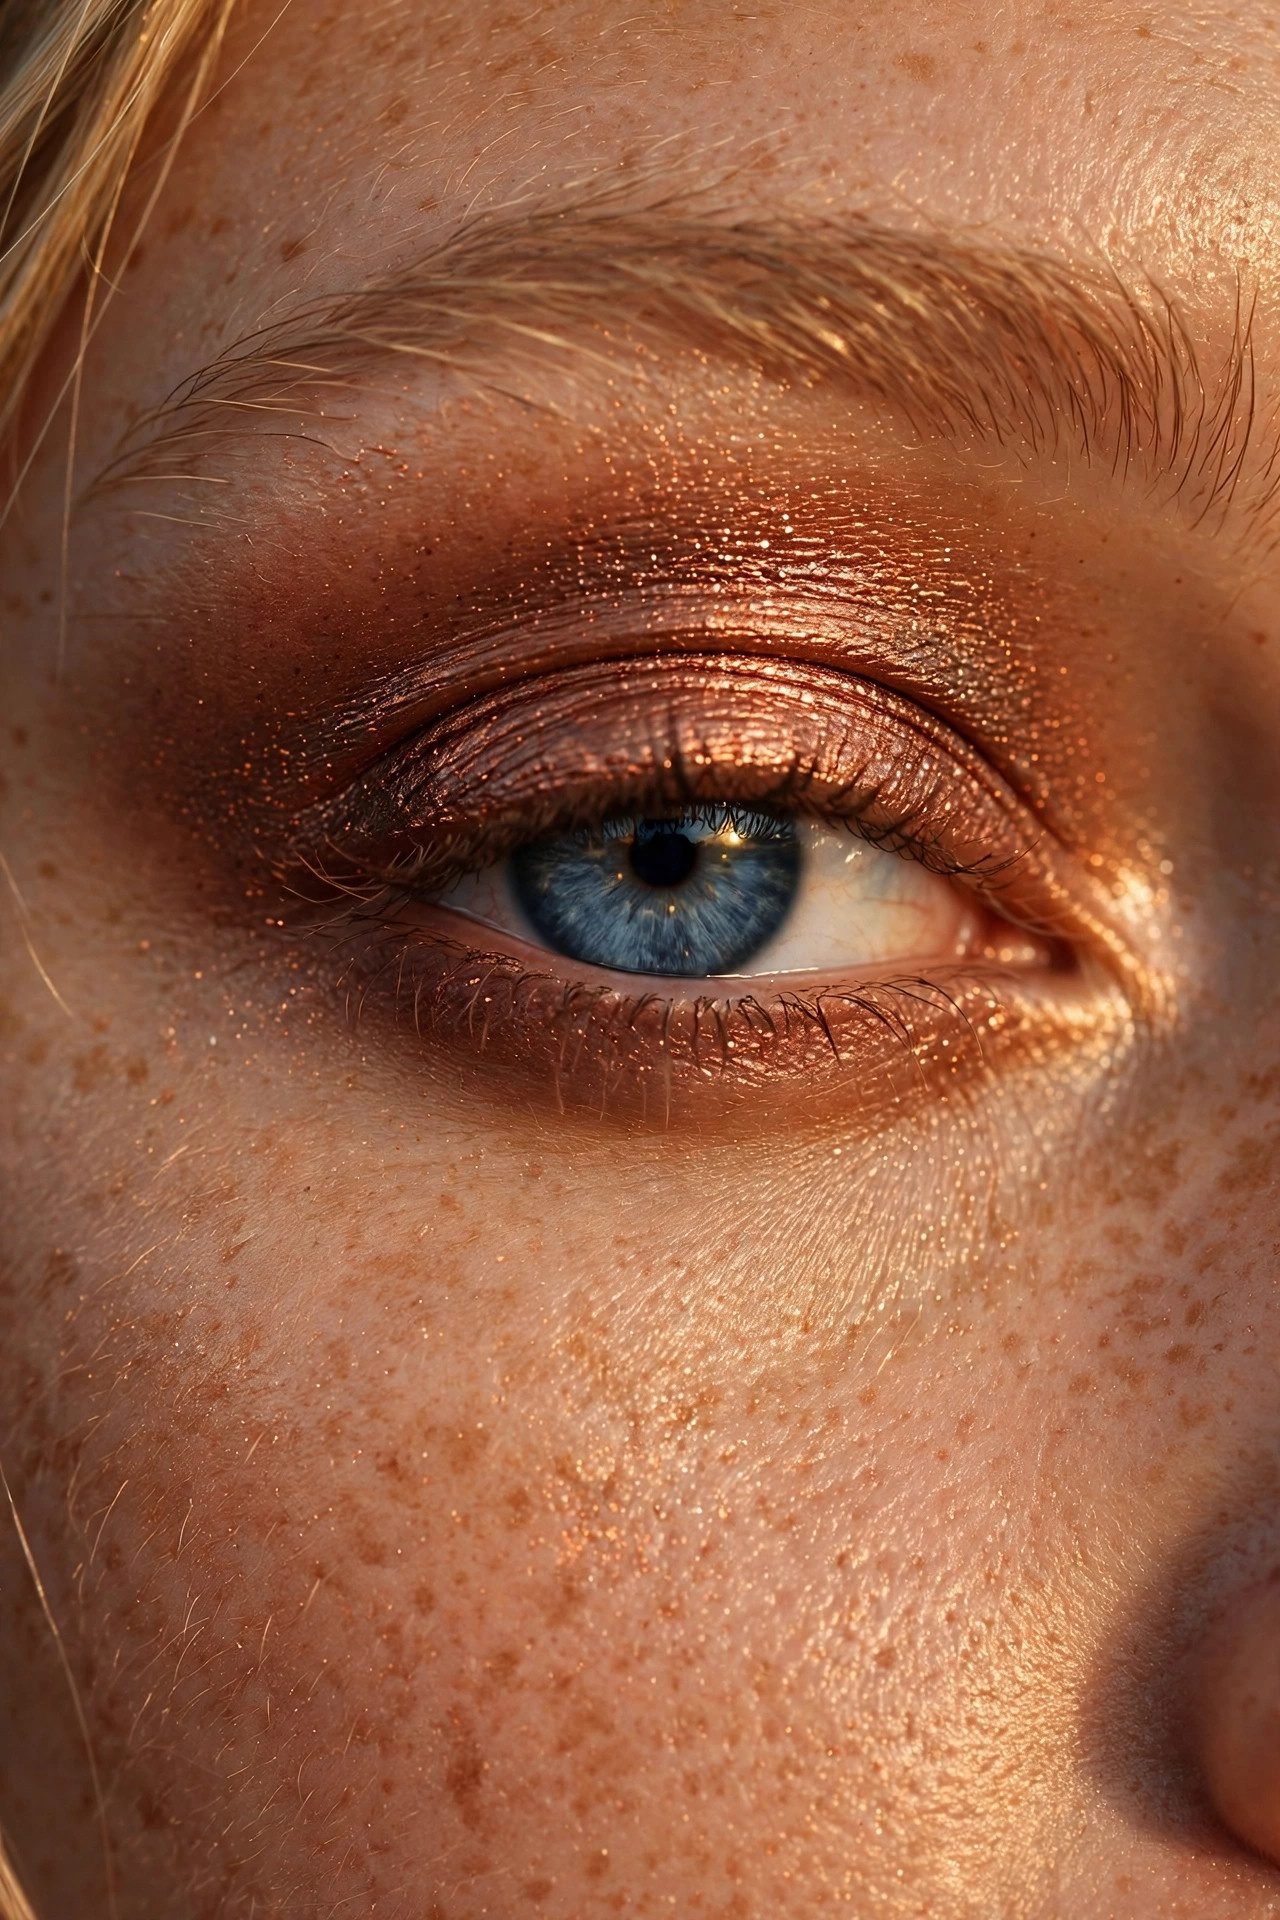
A metallic copper pressed over the whole lid and smoked out with a warm matte in the crease is the friendliest of the dramatic eye makeup looks — it carries the depth of a smoky eye with none of the harshness. Copper flatters brown, green, and blue eyes equally because it pulls warmth from all of them. Tightline the upper lash line, add two coats of mascara, and this look crosses from wedding guest to dinner date unchanged.
Blend Note — Smoke the copper upward with a clean brush until only the outer corner keeps its shine; full-lid shine reads foil, kept-corner shine reads light.
Look 19 — The Negative-Space Wing
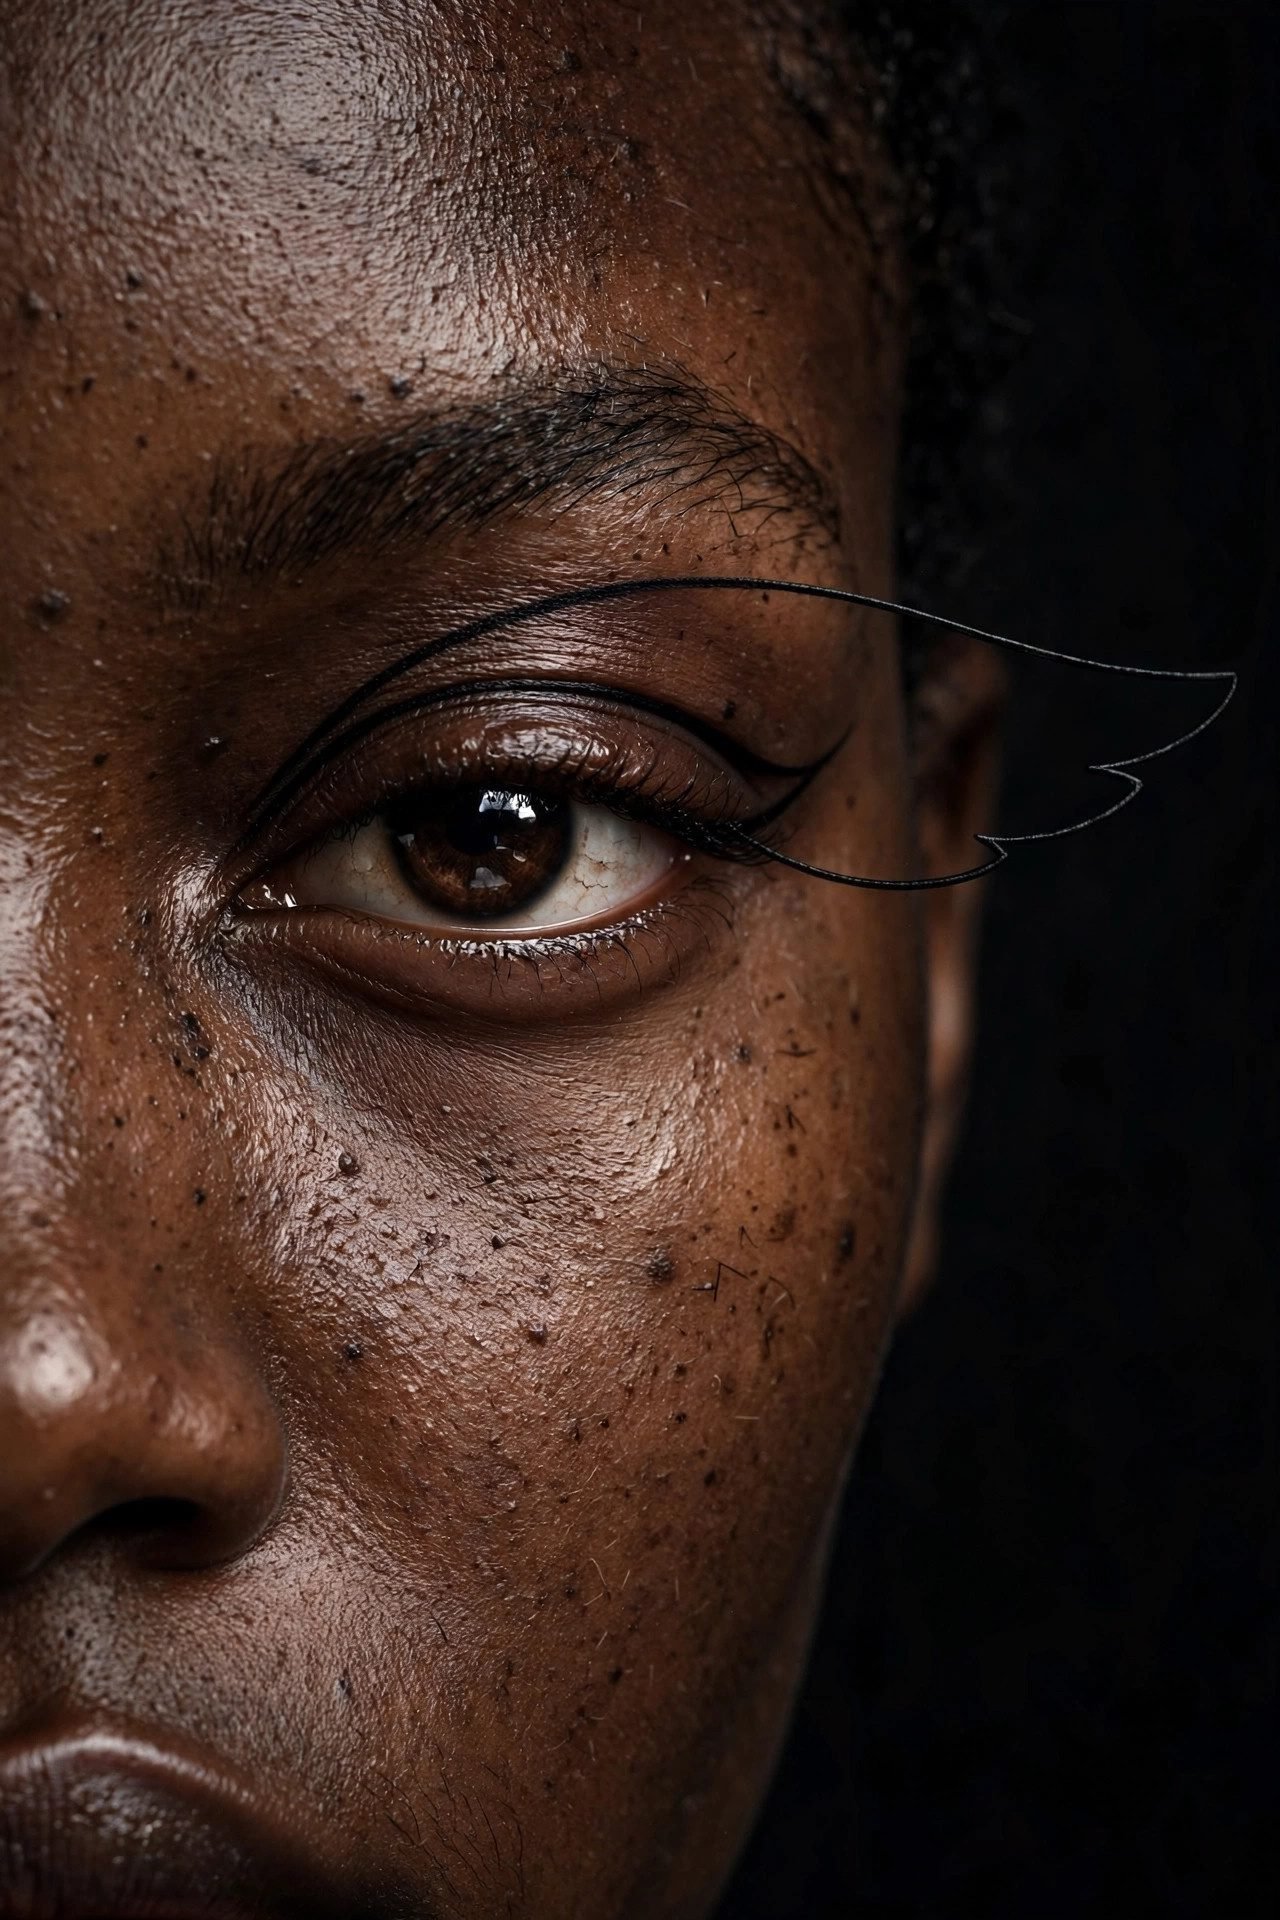
The floating wing: a crisp line drawn through the crease and flicked past the outer corner, deliberately leaving the lash line bare underneath. It is the most architectural look on the dial and the one that benefits most from a rested, primed lid, because the negative space shows every imperfection. Keep the rest of the face minimal and let the geometry argue for itself.
Blend Note — Map the line with tiny dots — inner start, crease peak, outer flick — before connecting them; freehand curves are how negative space turns positive mess.
Look 20 — The Sapphire Accent
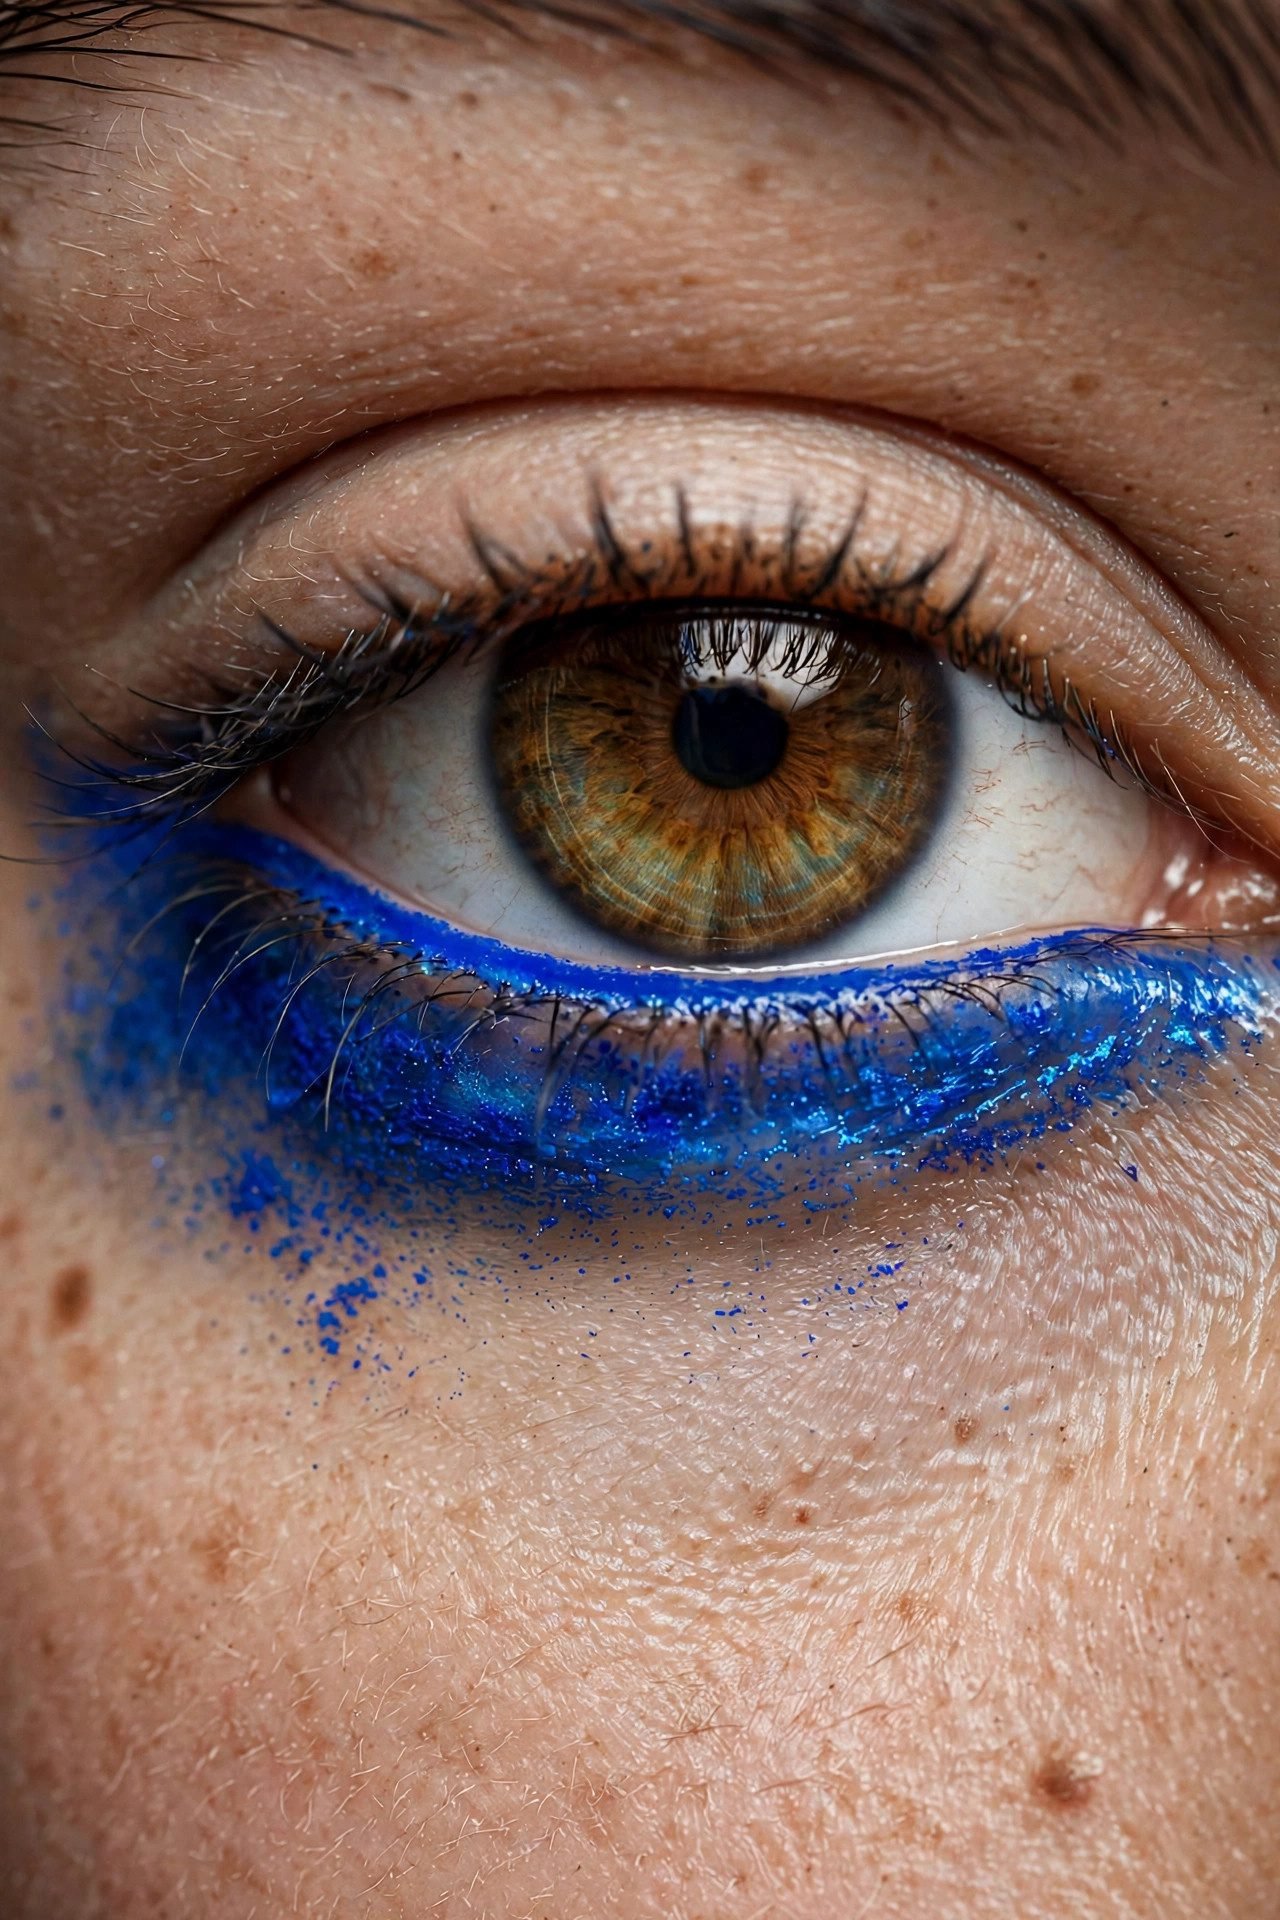
A saturated blue — as a liner, a shadow, or a wash on the lower lash line — is the color statement that flatters every eye color on the spectrum, warming brown eyes and electrifying blue-green ones. The trick is one point of color only: a blue lower line under a neutral lid, or a blue upper wing over bare skin. Everywhere else stays quiet so the blue reads deliberate instead of dated.
Blend Note — Choose a navy base under a brighter blue; the deep layer keeps the bright one from looking chalky against the skin.
Level 5 — Full Drama (Looks 21–25)
The after-dark end of the dial: texture, precision, and the looks that get saved to other people’s boards. Balance is everything here — loud lids earn a quiet mouth, and the best pairings come straight from our best lipstick shades guide, where a soft nude or a blurred berry keeps all the attention exactly where you built it.
Look 21 — The Classic Smoky Eye
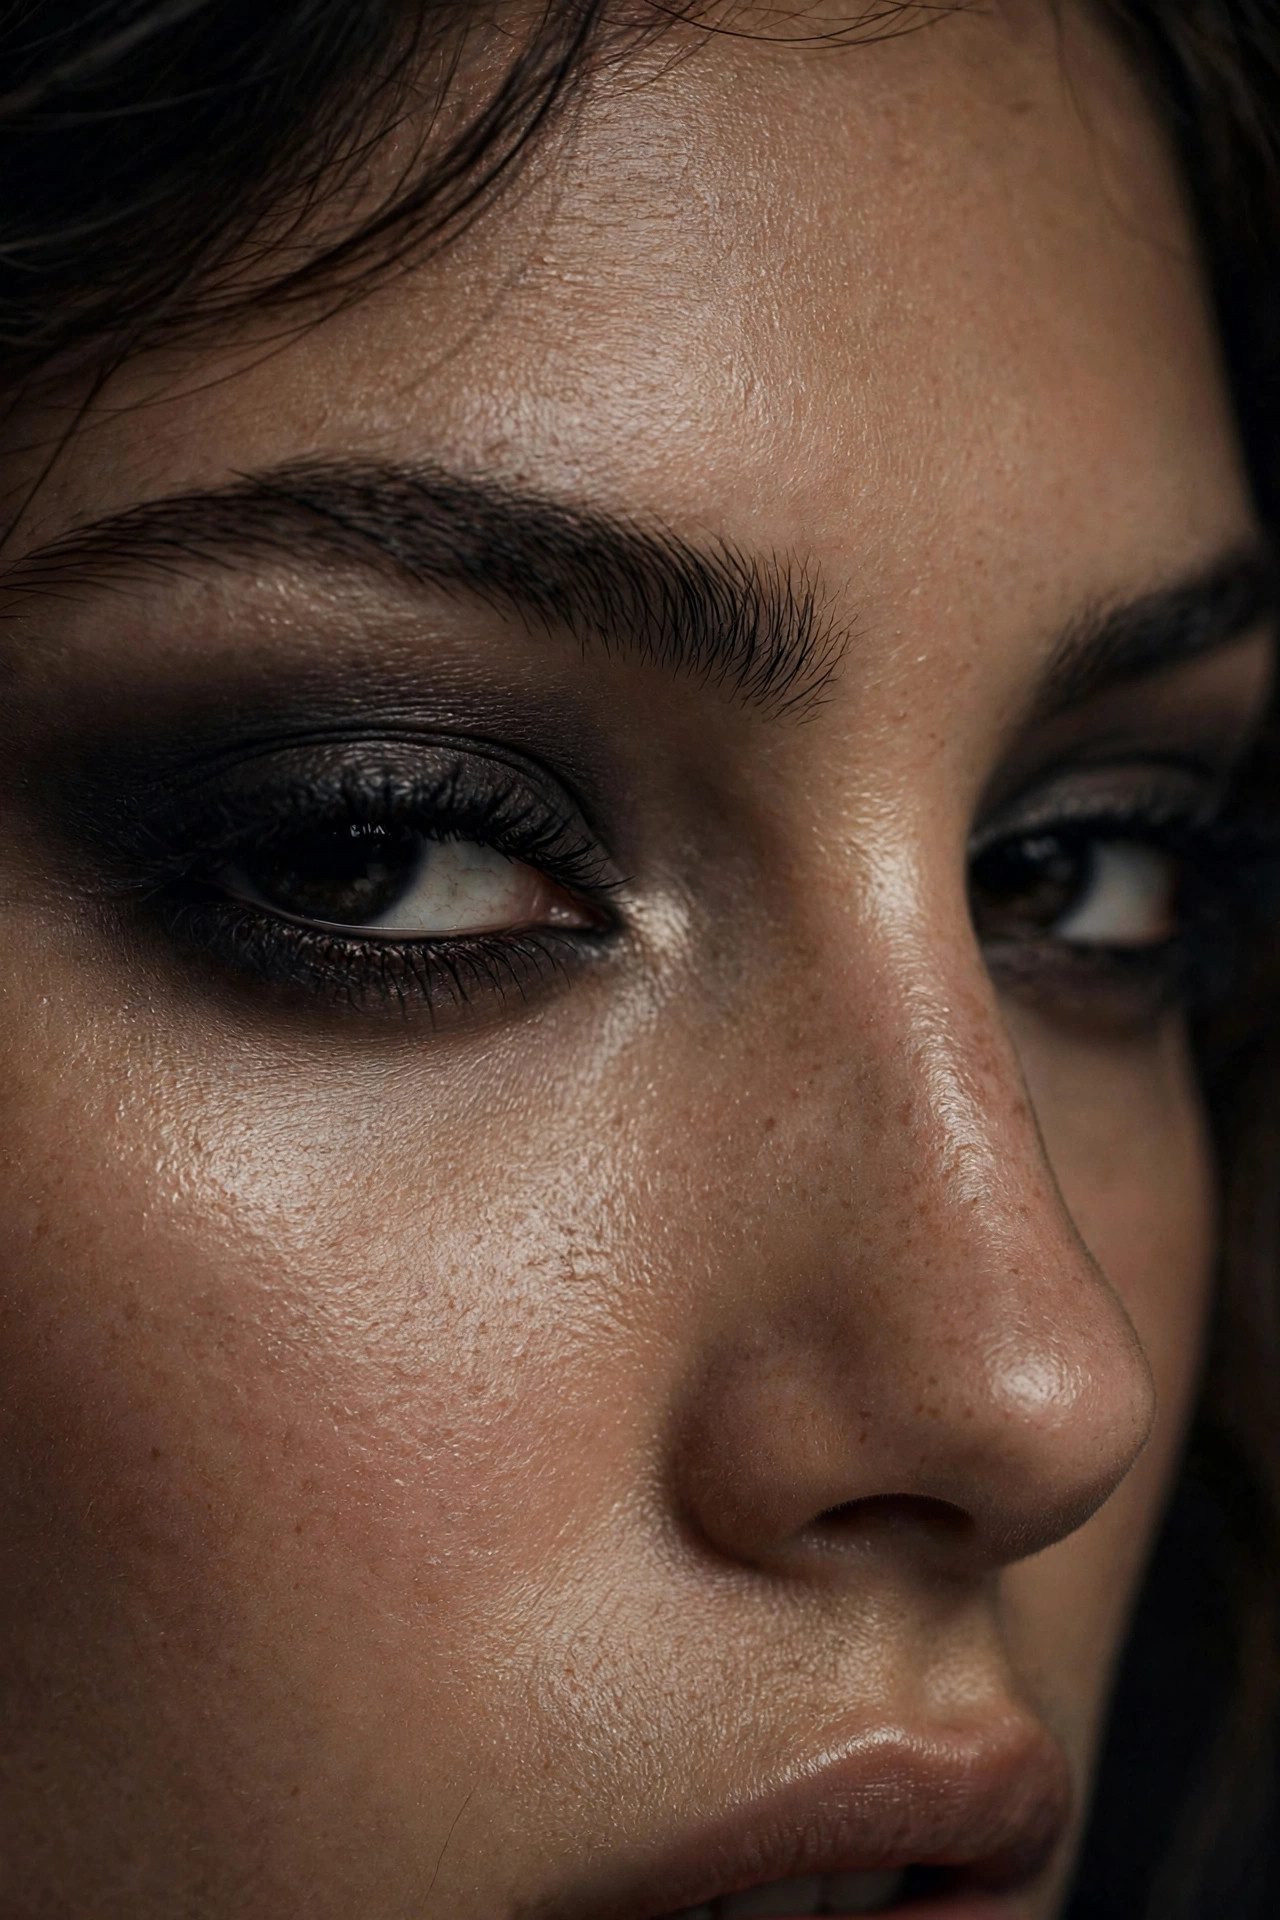
Charcoal and black diffused over the entire lid and lower lash line, with the darkest point at the lashes and nothing crisp anywhere — the smoky eye is drama by diffusion rather than line. The build matters: matte in the crease first, shimmer on the lid second, everything melted third. It is the most requested evening look in makeup for a reason, and it photographs flawlessly in low light.
Blend Note — Do the lower lash line with the same brush you used on the lid, without reloading product; unmatched lower smoke is what breaks the frame.
Look 22 — The Full Cut Crease
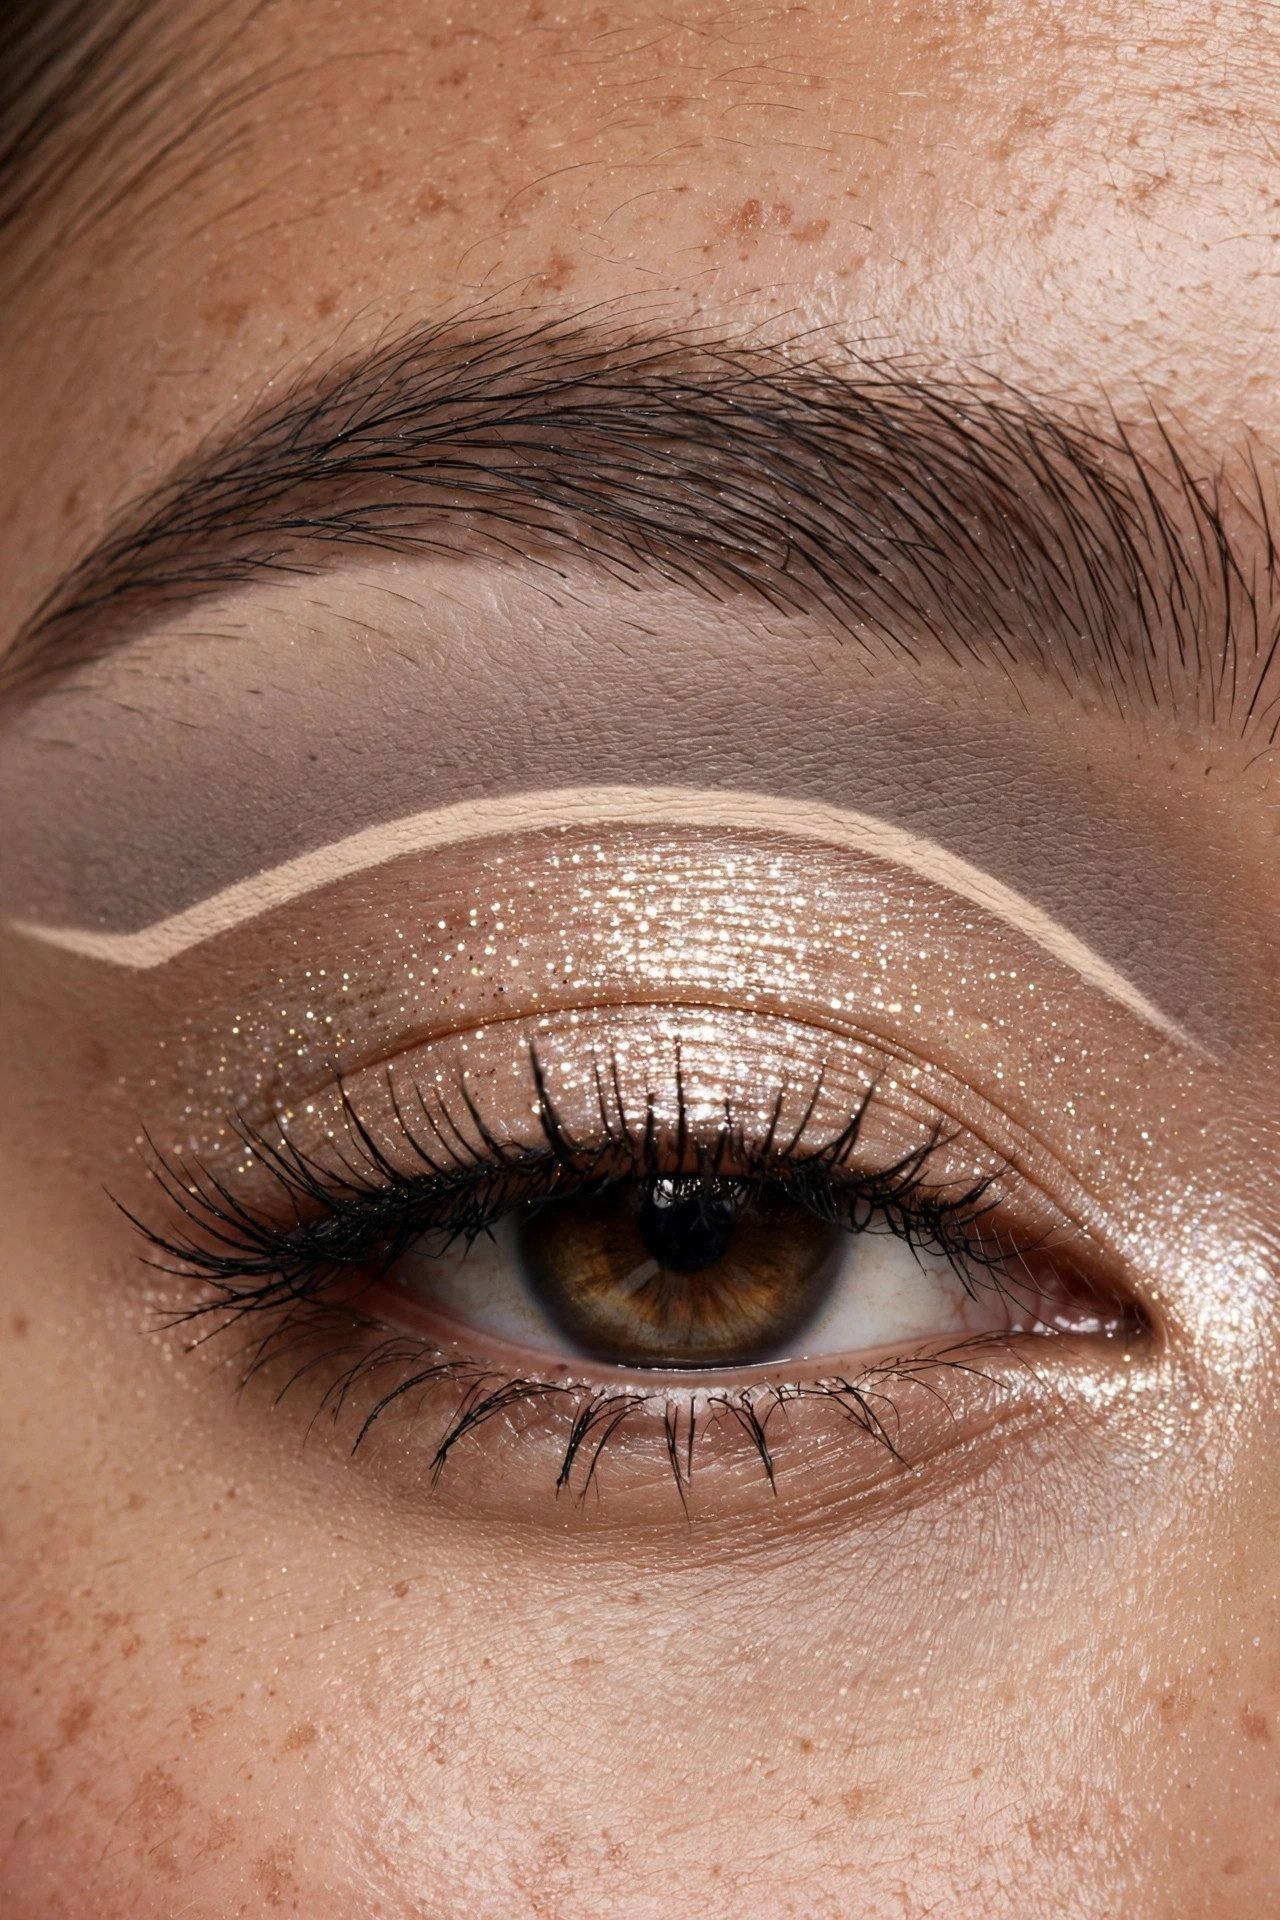
The sharpest structure on the dial: a concealer line drawn across the crease and set with powder, creating a visible shelf above a shimmering lid and below a soft matte brow bone. The cut demands a steady hand and a small flat brush, but it rewards with the most lifted, largest-looking lid in makeup. This is the look for evenings that have a photographer.
Blend Note — Cut with the eye open and confirm the line stays visible when you blink; a cut crease that disappears mid-blink was cut in the wrong place.
Look 23 — The Glitter Lid
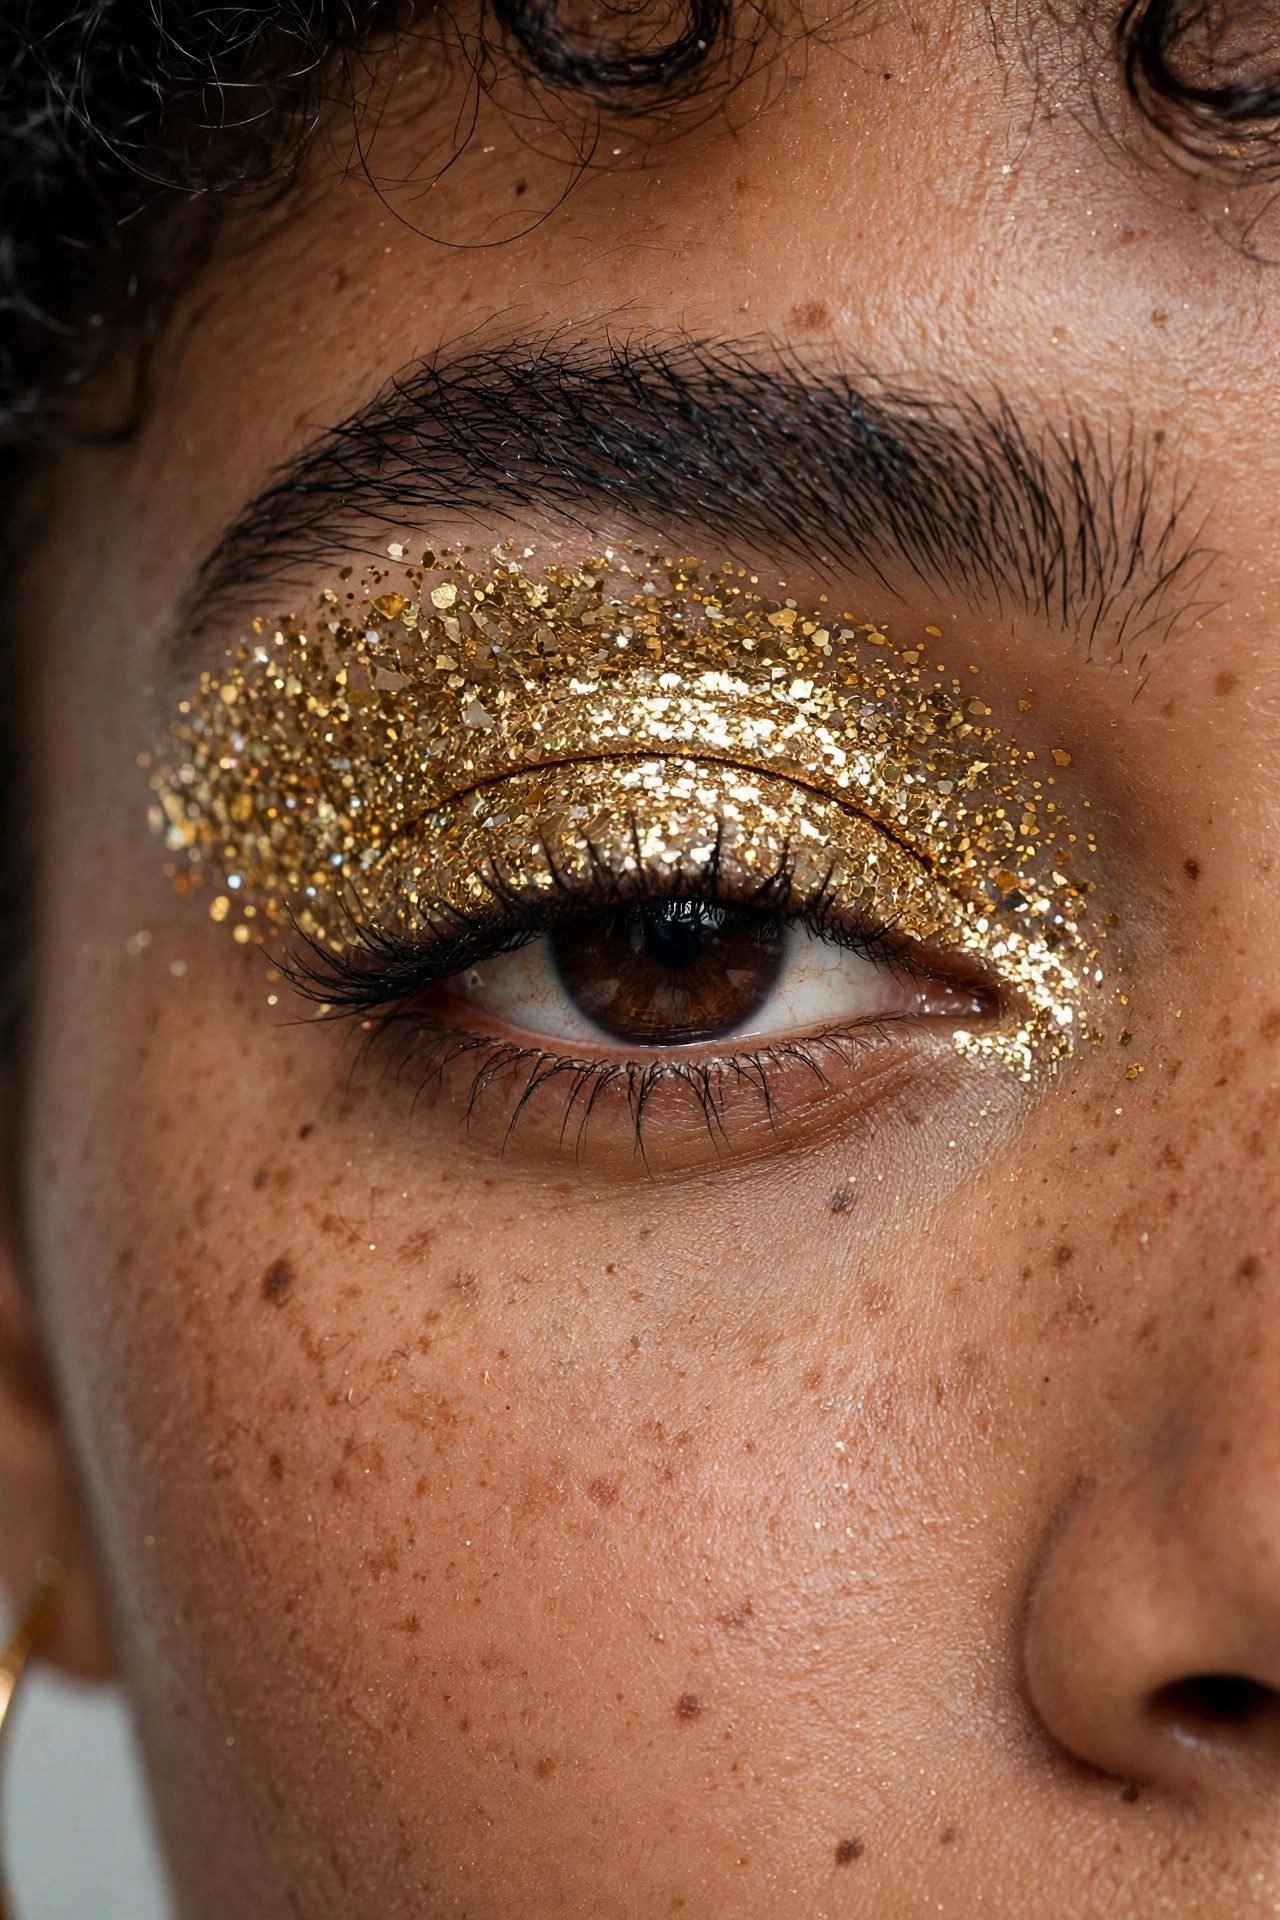
Pressed glitter across the mobile lid, over a matching glitter glue base, delivers the highest-impact texture in makeup — gold and champagne for warmth, silver for edge, rose for softness. The rest of the look stays disciplined: matte crease, clean brows, and lashes that can hold their own beside the sparkle, which is exactly when our false eyelashes guide earns its place in the routine.
Blend Note — Never sweep glitter with a fluffy brush; press it flat with a fingertip or flat brush so the particles lie face-up and catch light instead of scattering.
Look 24 — The Floating Crease
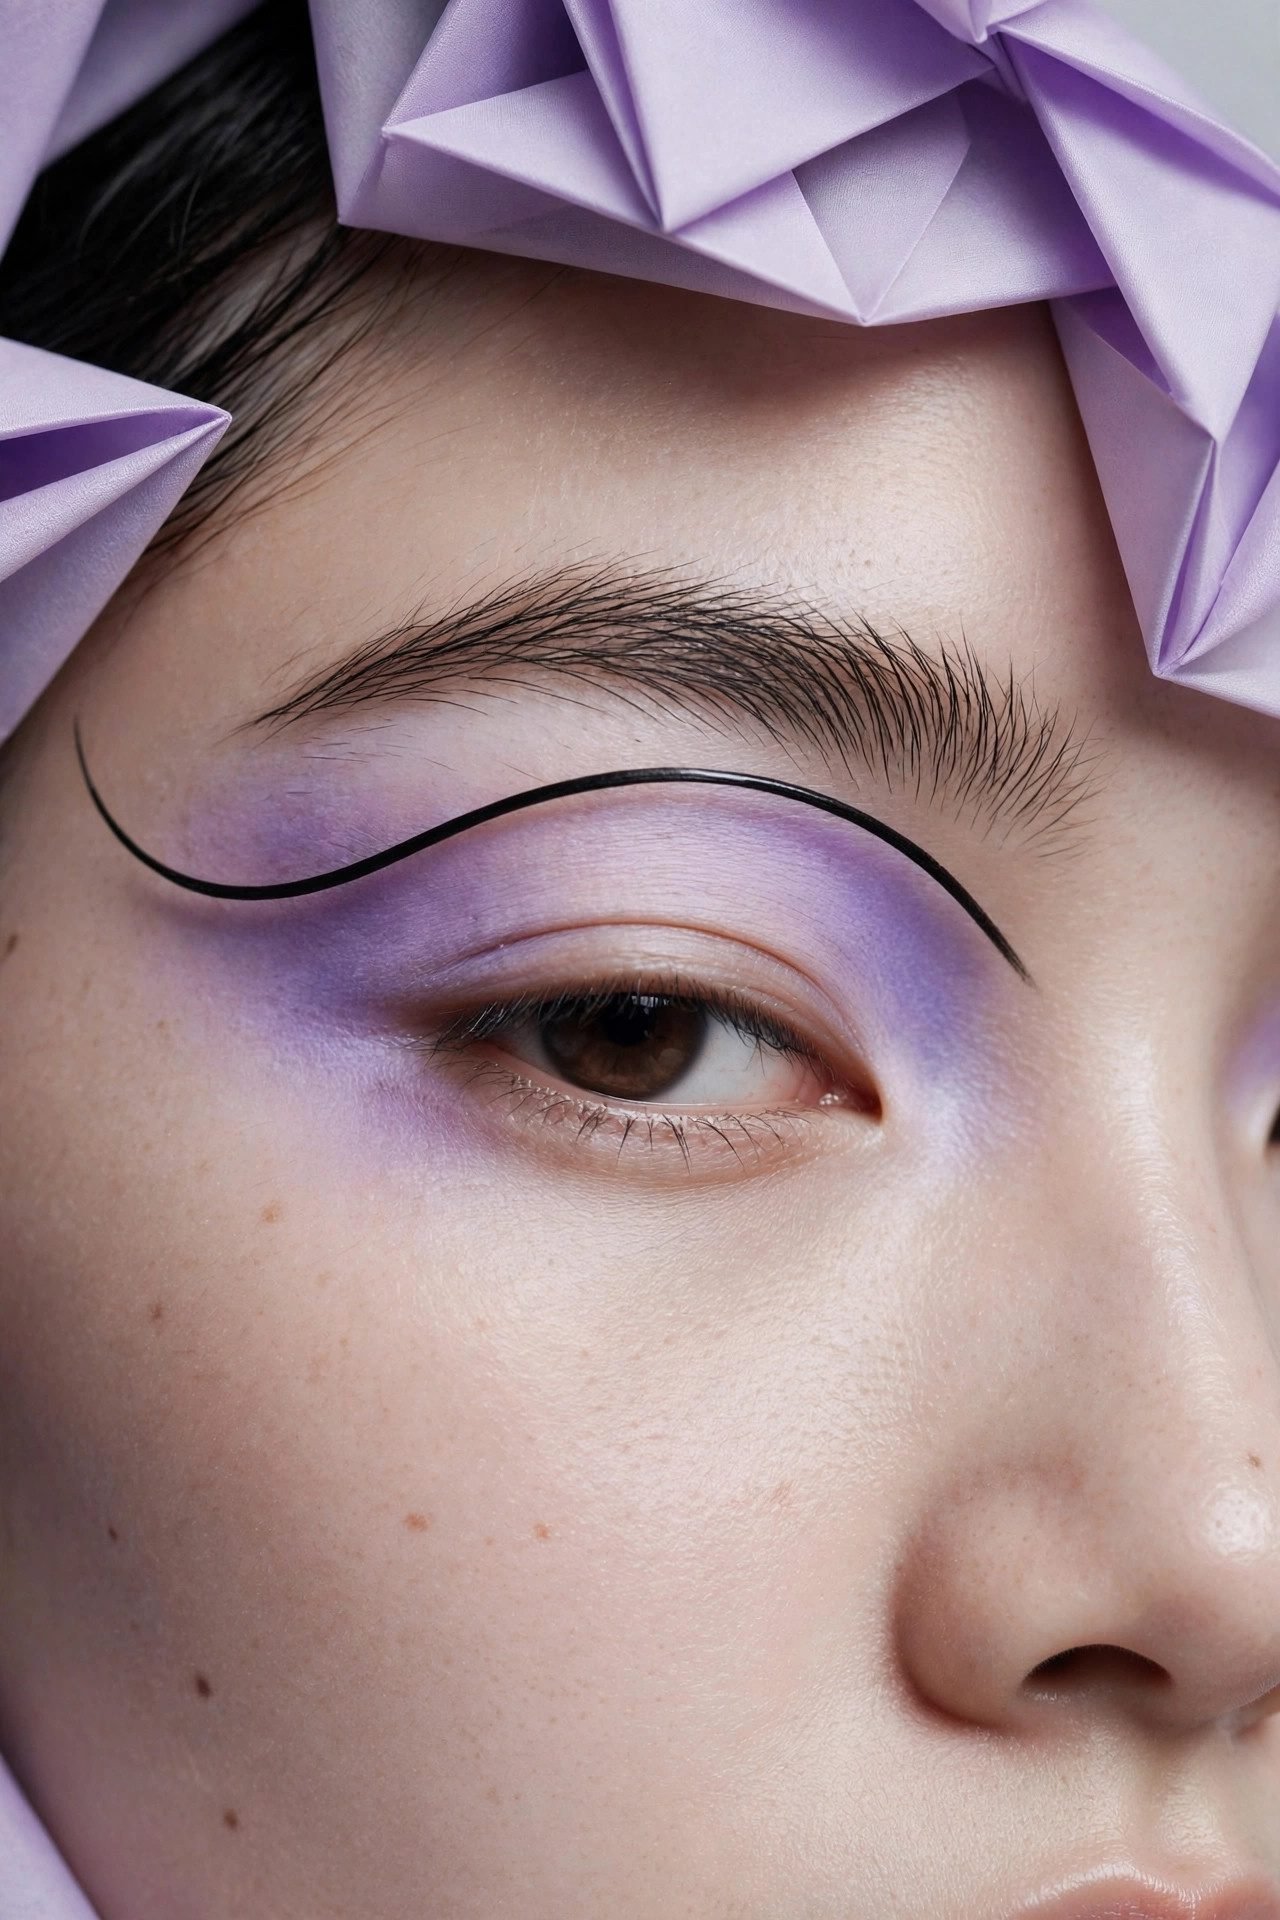
An editorial structure where the crease line is drawn higher than the natural fold — a graphic arc floating above the lid — with the space between either bare or filled with a contrasting wash. It is the look from every backstage makeup looks 2026 roundup, and it turns the lid into pure composition. Oddly flattering on hooded eyes, since the drawn fold sits above the one that hides.
Blend Note — Choose a symmetric height on both eyes by measuring against the brow tail, not against the other eye; faces are asymmetric, brows are the shared ruler.
Look 25 — The Midnight Fox Eye
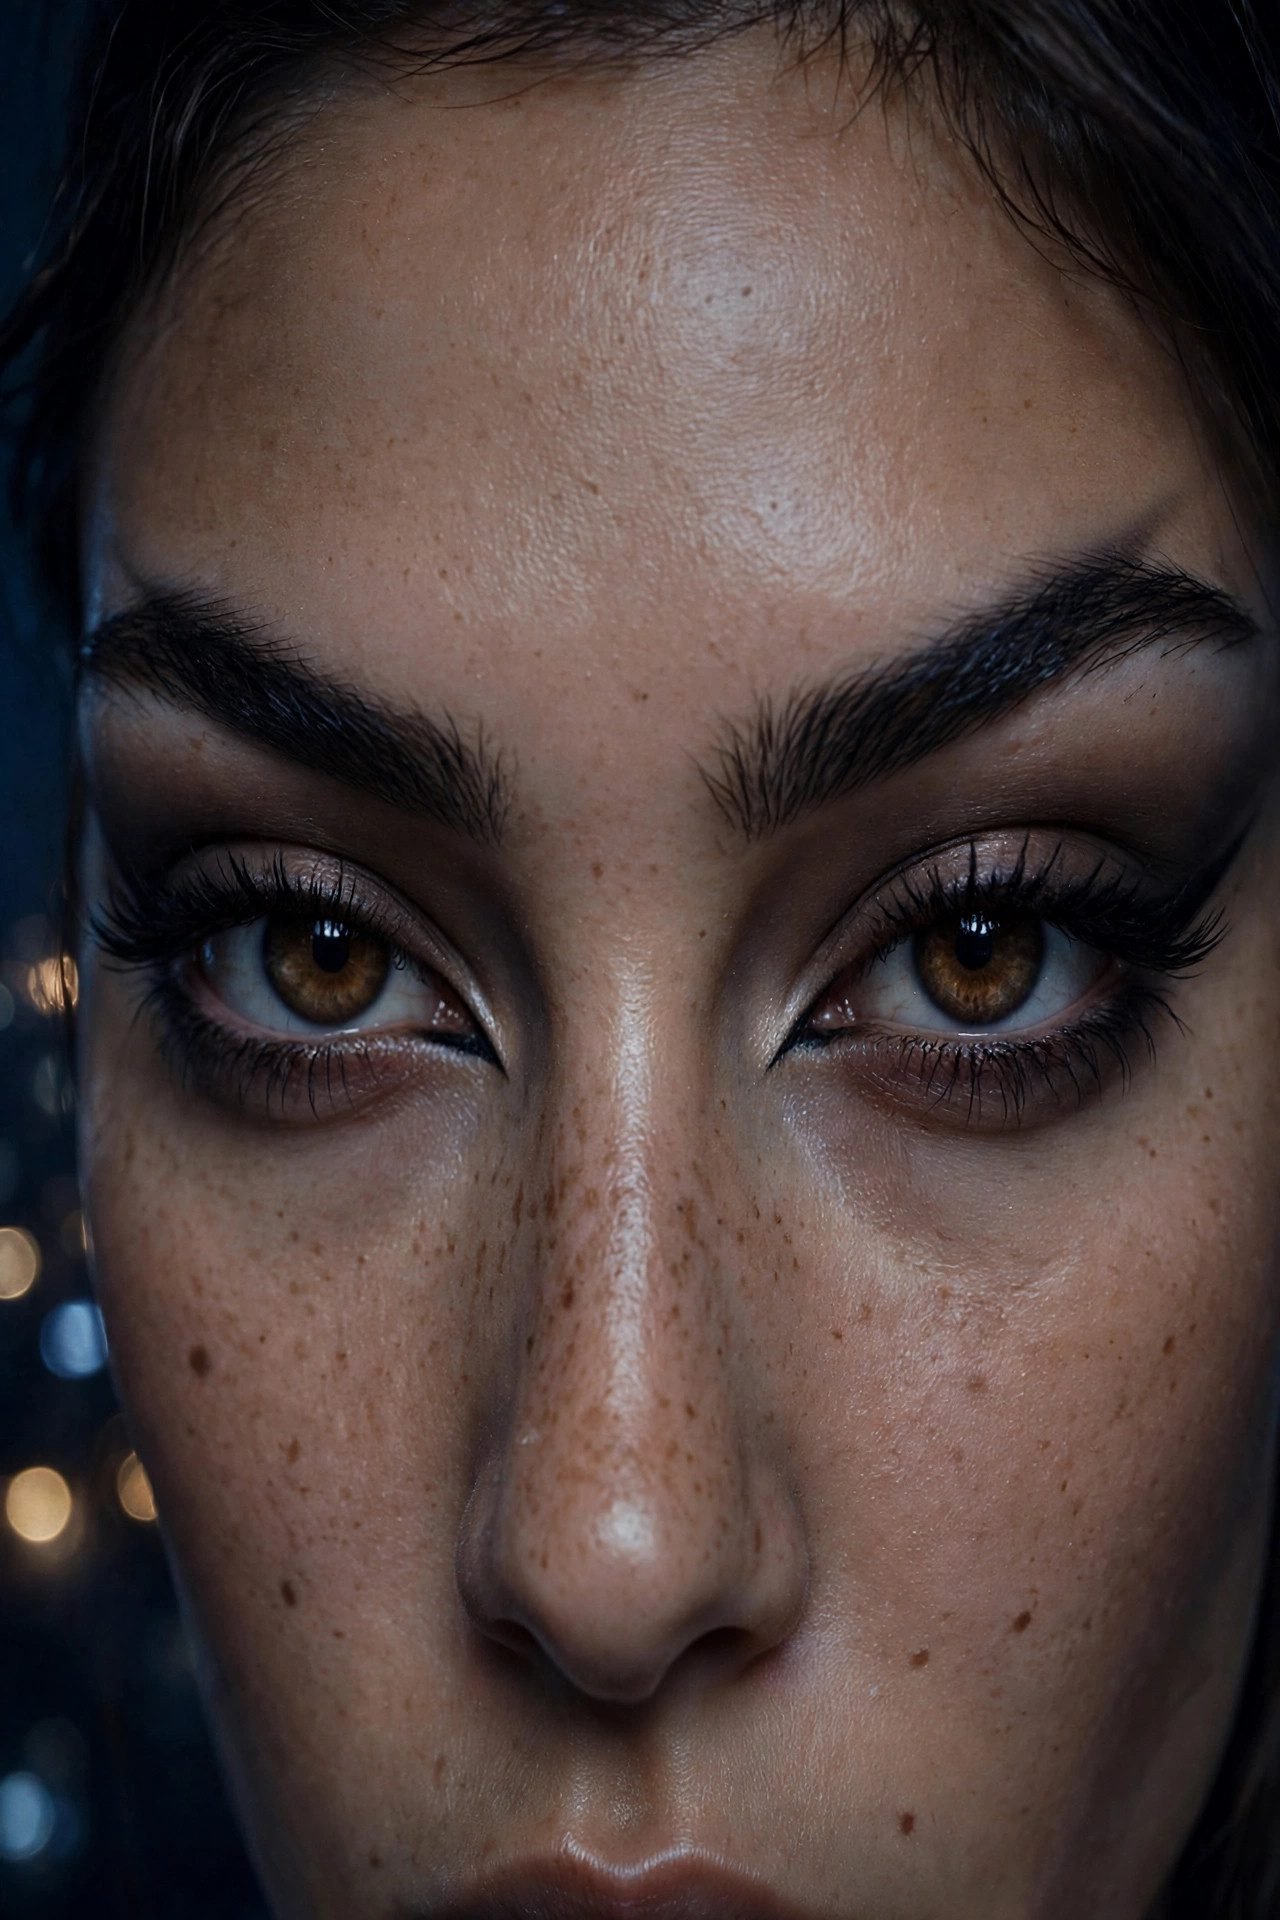
The dial’s finale: an elongated fox eye built from a smoky outer V, a lifted inner corner lined with a thin tail of its own, and shadow swept diagonally up toward the temple. Every line points up and out, which is why the look reads feline, lifted, and slightly dangerous. Black smoke, brushed brows, and one coat of mascara complete the most dramatic natural-feature illusion on the entire dial.
Blend Note — Work the outer smoke on an angle, brush handle held against the brow tail as a ruler; straight-up smoke is a smoky eye, angled smoke is a fox eye.
The Brush Kit That Builds All 25
Nothing on this dial needs more than five tools, most of which are probably already in your drawer. One fluffy blending brush — the workhorse behind every Blend Note in this guide. One flat shader for pressing shimmer and packing matte onto the lid. One small pencil brush for lower lash lines, cut creases, and outer Vs. One angled liner brush, which turns any powder shadow into a liquid-sharp wing. And one spoolie, for brows and for softening anything that went too far. Quality matters less than shape here — a correctly shaped mid-range brush outperforms a badly shaped luxury one every single time.
The Removal Rule (The One That Protects the Whole Dial)
Drama at the top of the dial means heavier product at the bottom of it, and the eye area is the thinnest skin on the face — so removal is technique, not an afterthought. Soak a cotton pad with a dedicated eye makeup remover or balm, hold it on the closed lid for a full ten seconds to dissolve product, then sweep downward once, never scrubbing back and forth. Waterproof mascara comes off with the same press-and-hold method, not with friction. The FDA’s eye cosmetics safety guidance says the same thing from the safety side: never share eye products, replace mascara every three months, and retire anything that caused irritation — the dial only works on healthy lids.
For more ideas and inspiration like this, save your favorites to our Pinterest boards and follow us on Facebook for fresh posts every week.
Eye Makeup FAQ
How do I make eye makeup last all day? Primer first, powder where you plan to place color, and cream products set with their powder equivalents — that stack is what carries a Level 3 look through a full workday. Oily lids should powder even under balm textures. If creasing still appears, the issue is almost always skipped primer rather than the shadow itself.
What is the easiest natural eye makeup look for beginners? Look 1, the Tinted Lid, then Look 5, the Inner-Light Dot — both are fingertip techniques with no brush skills required. Once those feel automatic, the Soft Taupe Sway introduces blending. The fuller face version of the same philosophy lives in our natural makeup looks for beginners, and the two guides share the same low-pressure logic.
How do I take a natural eye makeup look into the evening? Add depth at the outer third, add shimmer at the center, and sharpen one line — that is the entire transformation. A taupe wash becomes a bronze streak with one metallic press; a tightline becomes a smudged wing with one pencil. The level you build in the morning decides how big the evening step needs to be.
What eye makeup suits hooded eyes? Looks that place color above the natural fold — the Soft Brown Swoop, the Half-Cut Crease, and the Floating Crease are all drawn with the eye open for exactly this reason. Avoid designs that only live on the mobile lid, because they vanish when the lid folds. Tightlining and bold lashes do more for hooded eyes than any single shadow placement.
How often should eye products be replaced? Mascara every three months, liquid liners every three to six, pencils about every year with regular sharpening, and powder shadows at the two-year mark or sooner if they smell or crumble. Eye products expire faster than face products because the eye area is more vulnerable to bacteria. Dry, flaking, or oddly scented products retire immediately — no look on this dial is worth an eye infection.
Pick your level, respect the Blend Notes, and climb the dial one look at a time — that is the entire system. An eye makeup look matched to the minutes you actually have removes the morning’s hardest decision before it starts, and the top of the dial stops feeling like a special occasion once the technique underneath it is automatic. Eyes are the final level of the glow up plan for a reason; the full face, step by step, lives in our makeup tutorial, and the looks you save this week are the ones your hands will remember next month. Pin your level’s looks so the next event finds them waiting.
Follow our Pinterest boards for daily beauty inspiration, and join us on Facebook so you never miss a guide.