
Makeup tutorial searches all want the same answer — the order.
Products are rarely the problem. Most people own a foundation, a concealer, a blush, and something for the eyes — and still end up with a face that reads patchy by afternoon, because the steps were applied in the sequence a video happened to show, not in the sequence skin actually accepts.
So this guide is the order — the complete ten-step makeup tutorial from bare skin to fully set, written in the sequence professionals actually work in, with the exact technique at every stage and the pro move that separates a flawless finish from a fast one. Save the order. The face follows.
Follow our Pinterest boards for daily beauty inspiration, and join us on Facebook so you never miss a guide.
The Order Rules (Why the Sequence Is the Tutorial)

Three laws make the ten steps work — break them and no product saves the face.
Law one: liquid before powder, always. Anything wet must go on before anything dry, or the dry layer cakes under it. Law two: eyes before lips, face before eyes — correction happens on the cheapest stage, so lips wait until the eyes are final. Law three: thin layers beat thick ones — two thin passes of everything outlast one heavy pass by hours. The skin beneath all ten steps decides the ceiling — the prep routine lives in our skin care routine guide, and the rules-only version of this tutorial for absolute starters lives in our makeup tips for beginners guide.
The 10-Step Makeup Tutorial (The Application Order)

STEP 1 — Prep & Prime: The Skin Is the Canvas

The Step: cleanse, moisturize, wait five minutes, then prime only where you need it. How It’s Done: cleanse with a gentle wash, apply moisturizer suited to the season, and let it absorb fully — makeup on damp skin slides within the hour. Primer goes on the T-zone, around the nose, and on the eyelids; dry cheeks can skip it. The skin work behind this stage lives in our skin care routine guide. Pro Move: hold the moisturizer for five full minutes before primer — the most-skipped wait in all of makeup, and the difference between blending and sliding.
STEP 2 — Foundation: The Thin-Layer Law
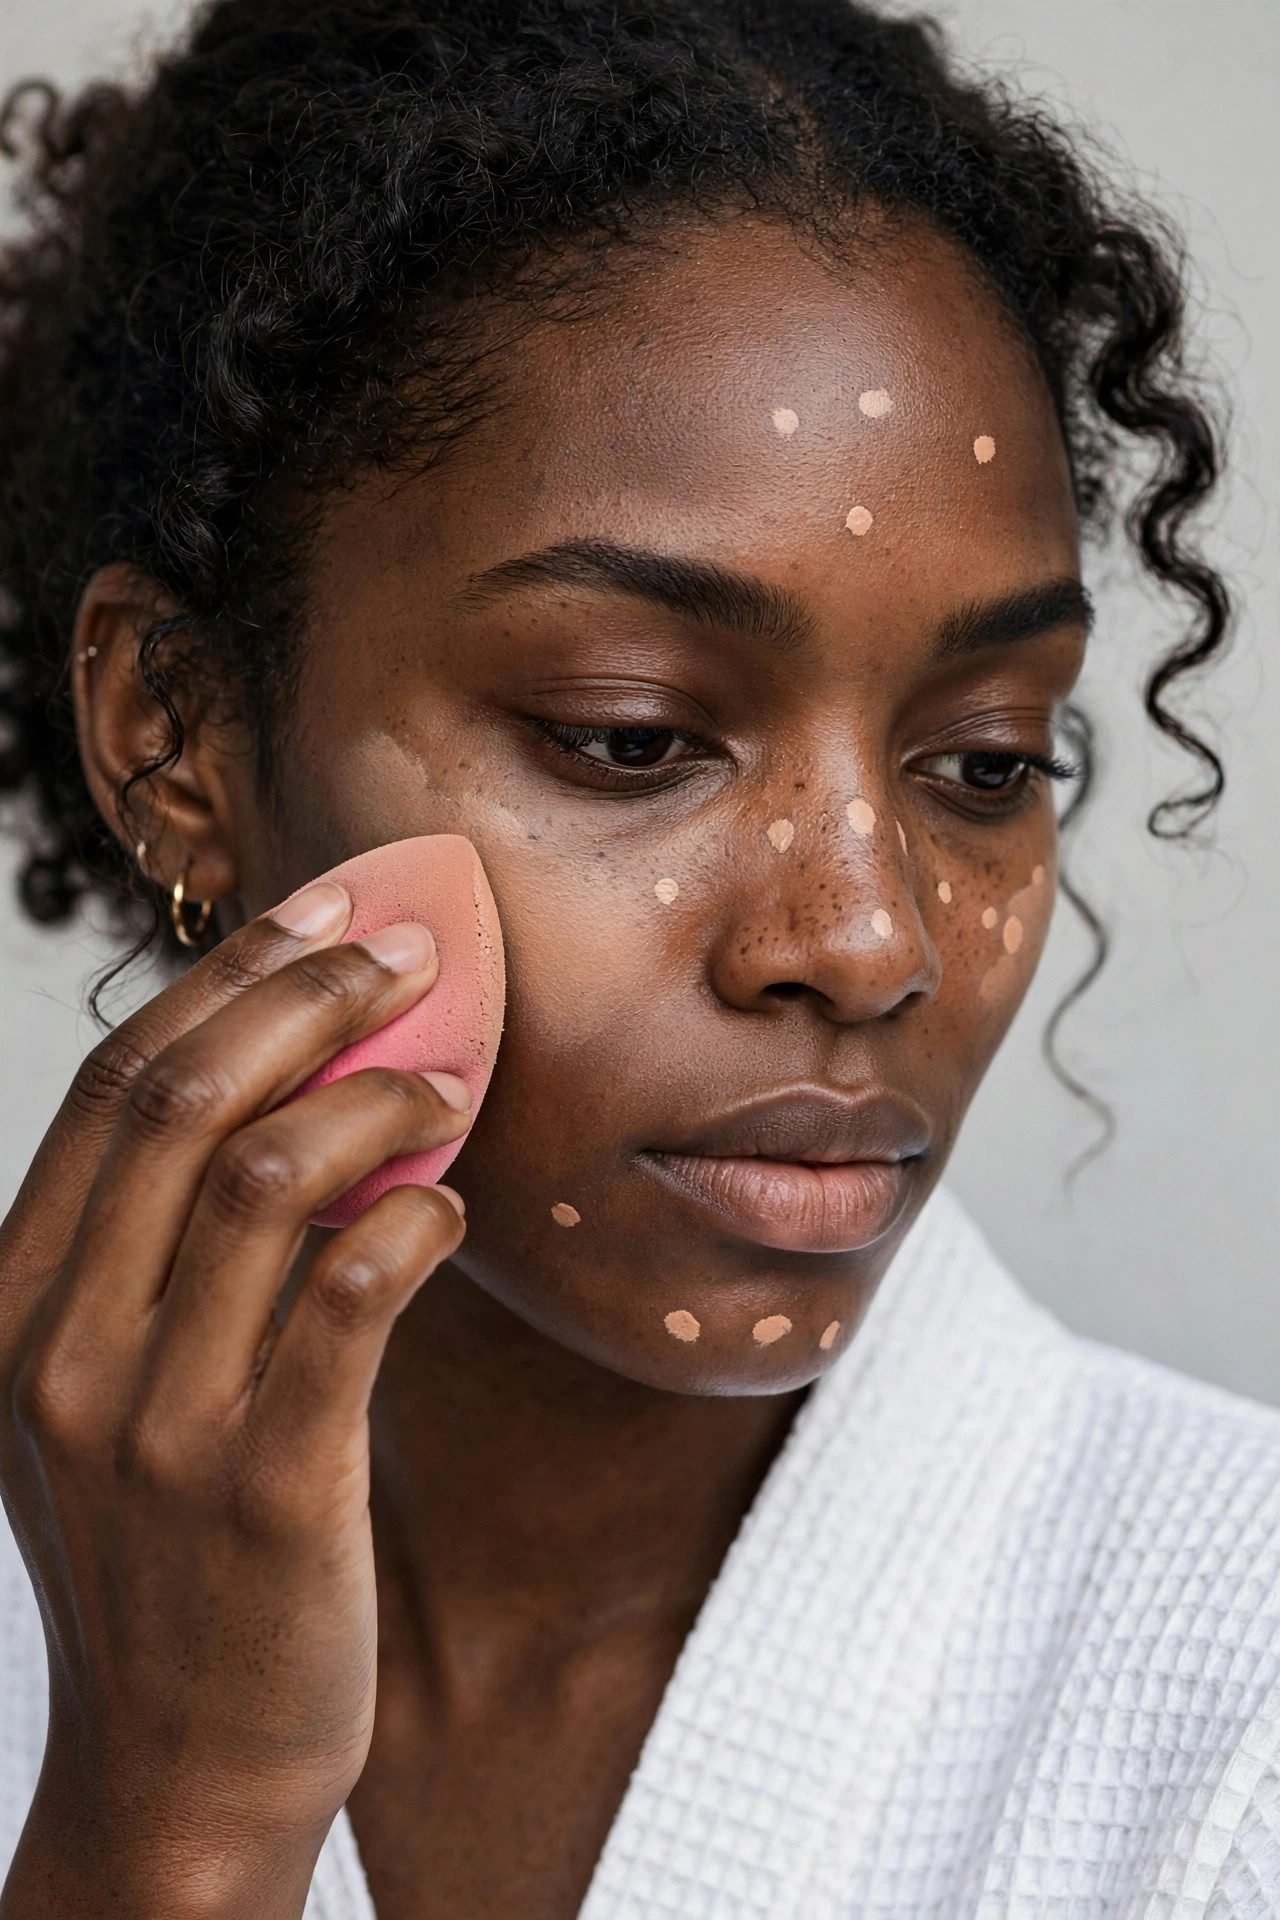
The Step: foundation in thin layers, applied only where the skin actually needs it. How It’s Done: dot foundation across the center of the face, blend outward with a damp sponge in bouncing motions — never wiping. Build a second thin layer only where redness remains, instead of one thick coat everywhere. The full coverage walkthrough lives in our how to apply foundation guide. Pro Move: start from the center of the face and blend outward — the edges should be so thin they disappear without blending into the neck.
STEP 3 — Concealer: The Triangle Placement
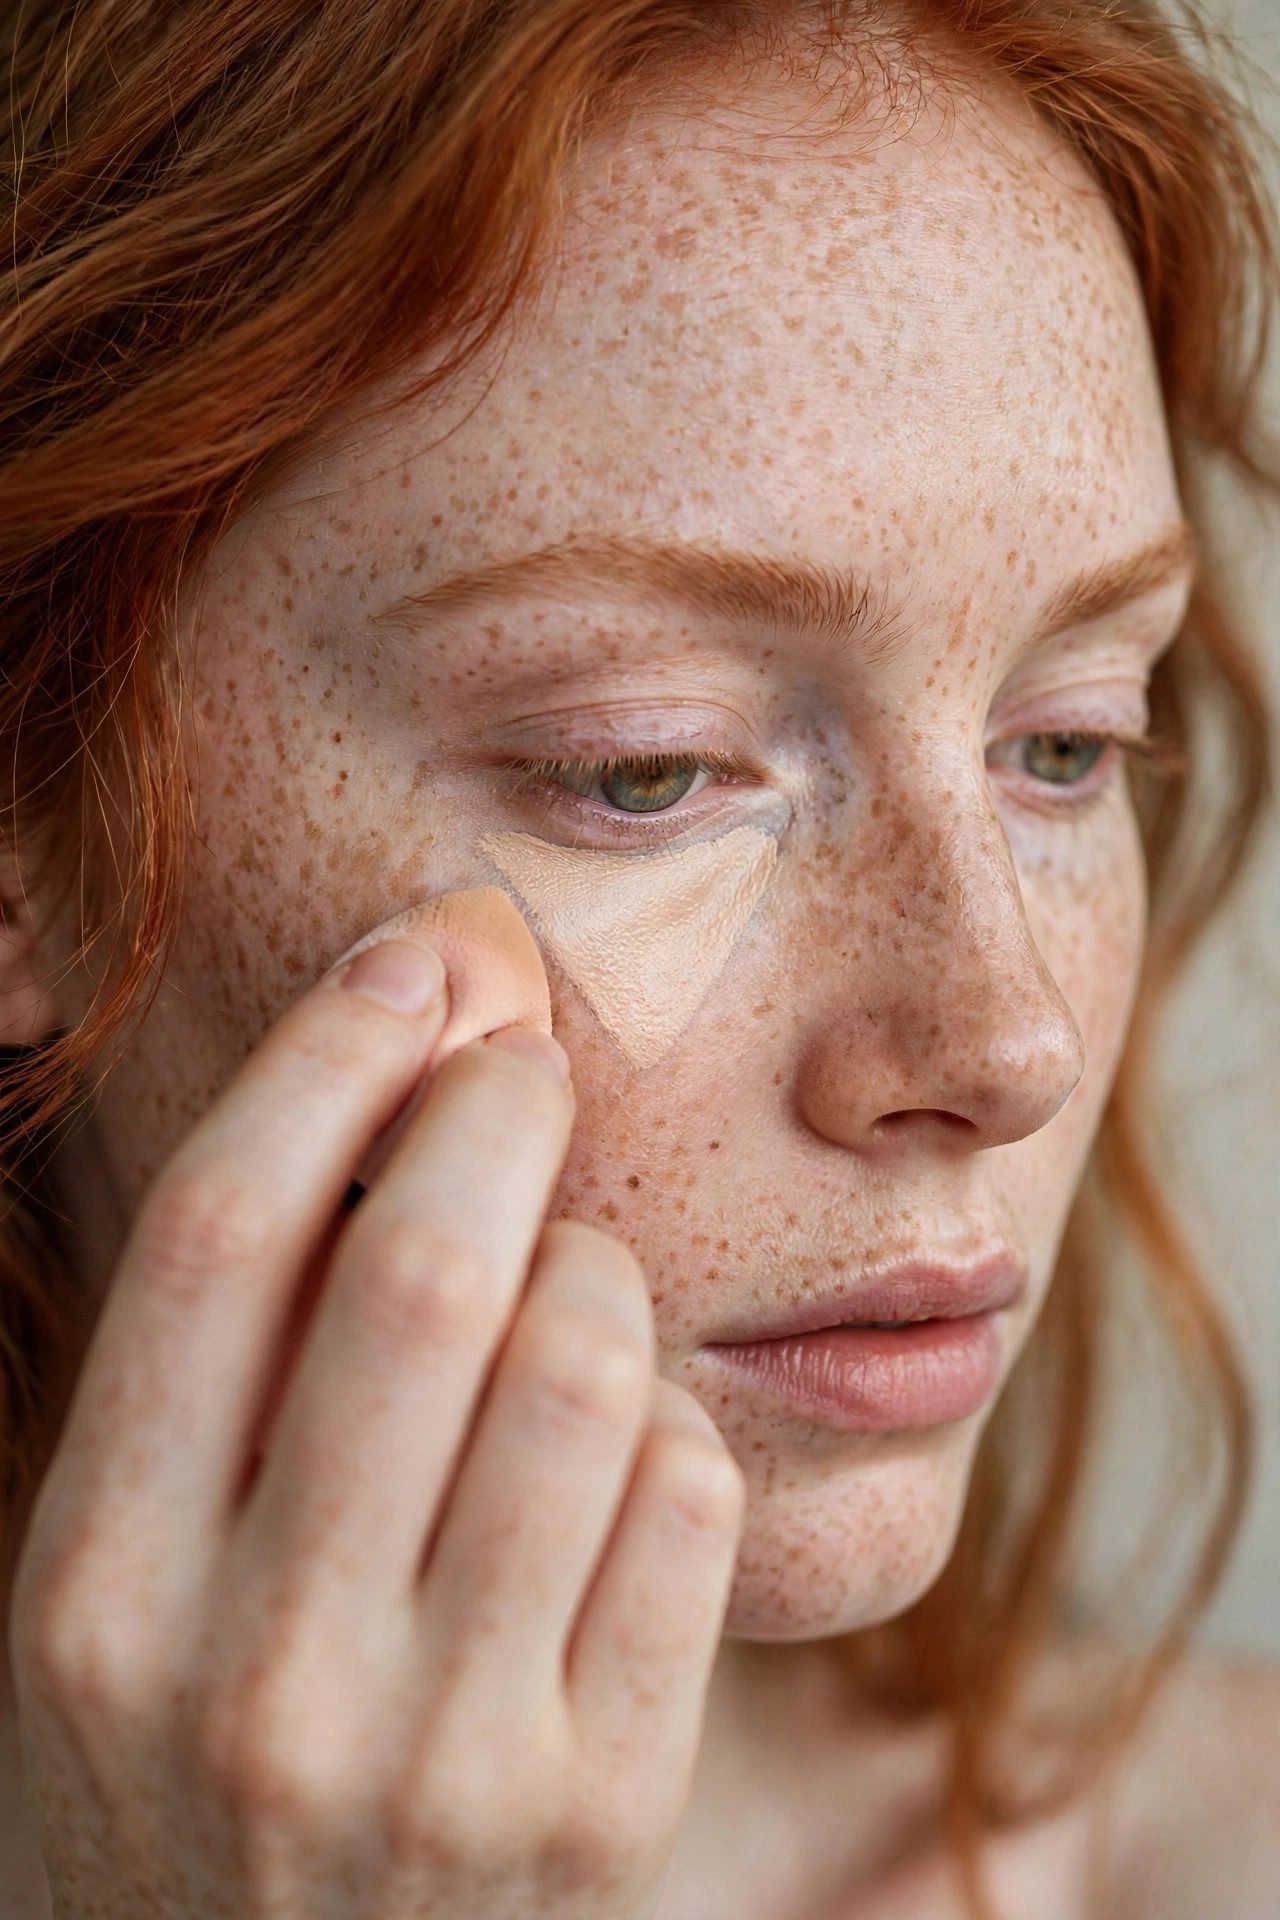
The Step: concealer only where foundation failed — under the eyes, around the nose, on blemishes. How It’s Done: place concealer in an upside-down triangle under each eye, a dot on the nose bridge, and tiny dabs on blemishes — then blend with a sponge, tapping. The full placement map lives in our how to apply concealer guide. Pro Move: concealer one shade lighter, applied in the triangle, lifts the whole eye area — the placement is free brightening that no product alone delivers.
STEP 4 — Brows: The Frame Before the Picture

The Step: brows brushed up, filled where sparse, and set — before any eye color. How It’s Done: brush every hair upward with a spoolie, fill only the gaps with short upward strokes, and lock with clear or tinted gel. Brows come before eyeshadow because they frame everything the eyes are about to do. Pro Move: fill from the bottom edge upward — the top line stays soft, which is what keeps filled brows reading natural instead of drawn.
STEP 5 — Eyeshadow: The Three-Tone Build
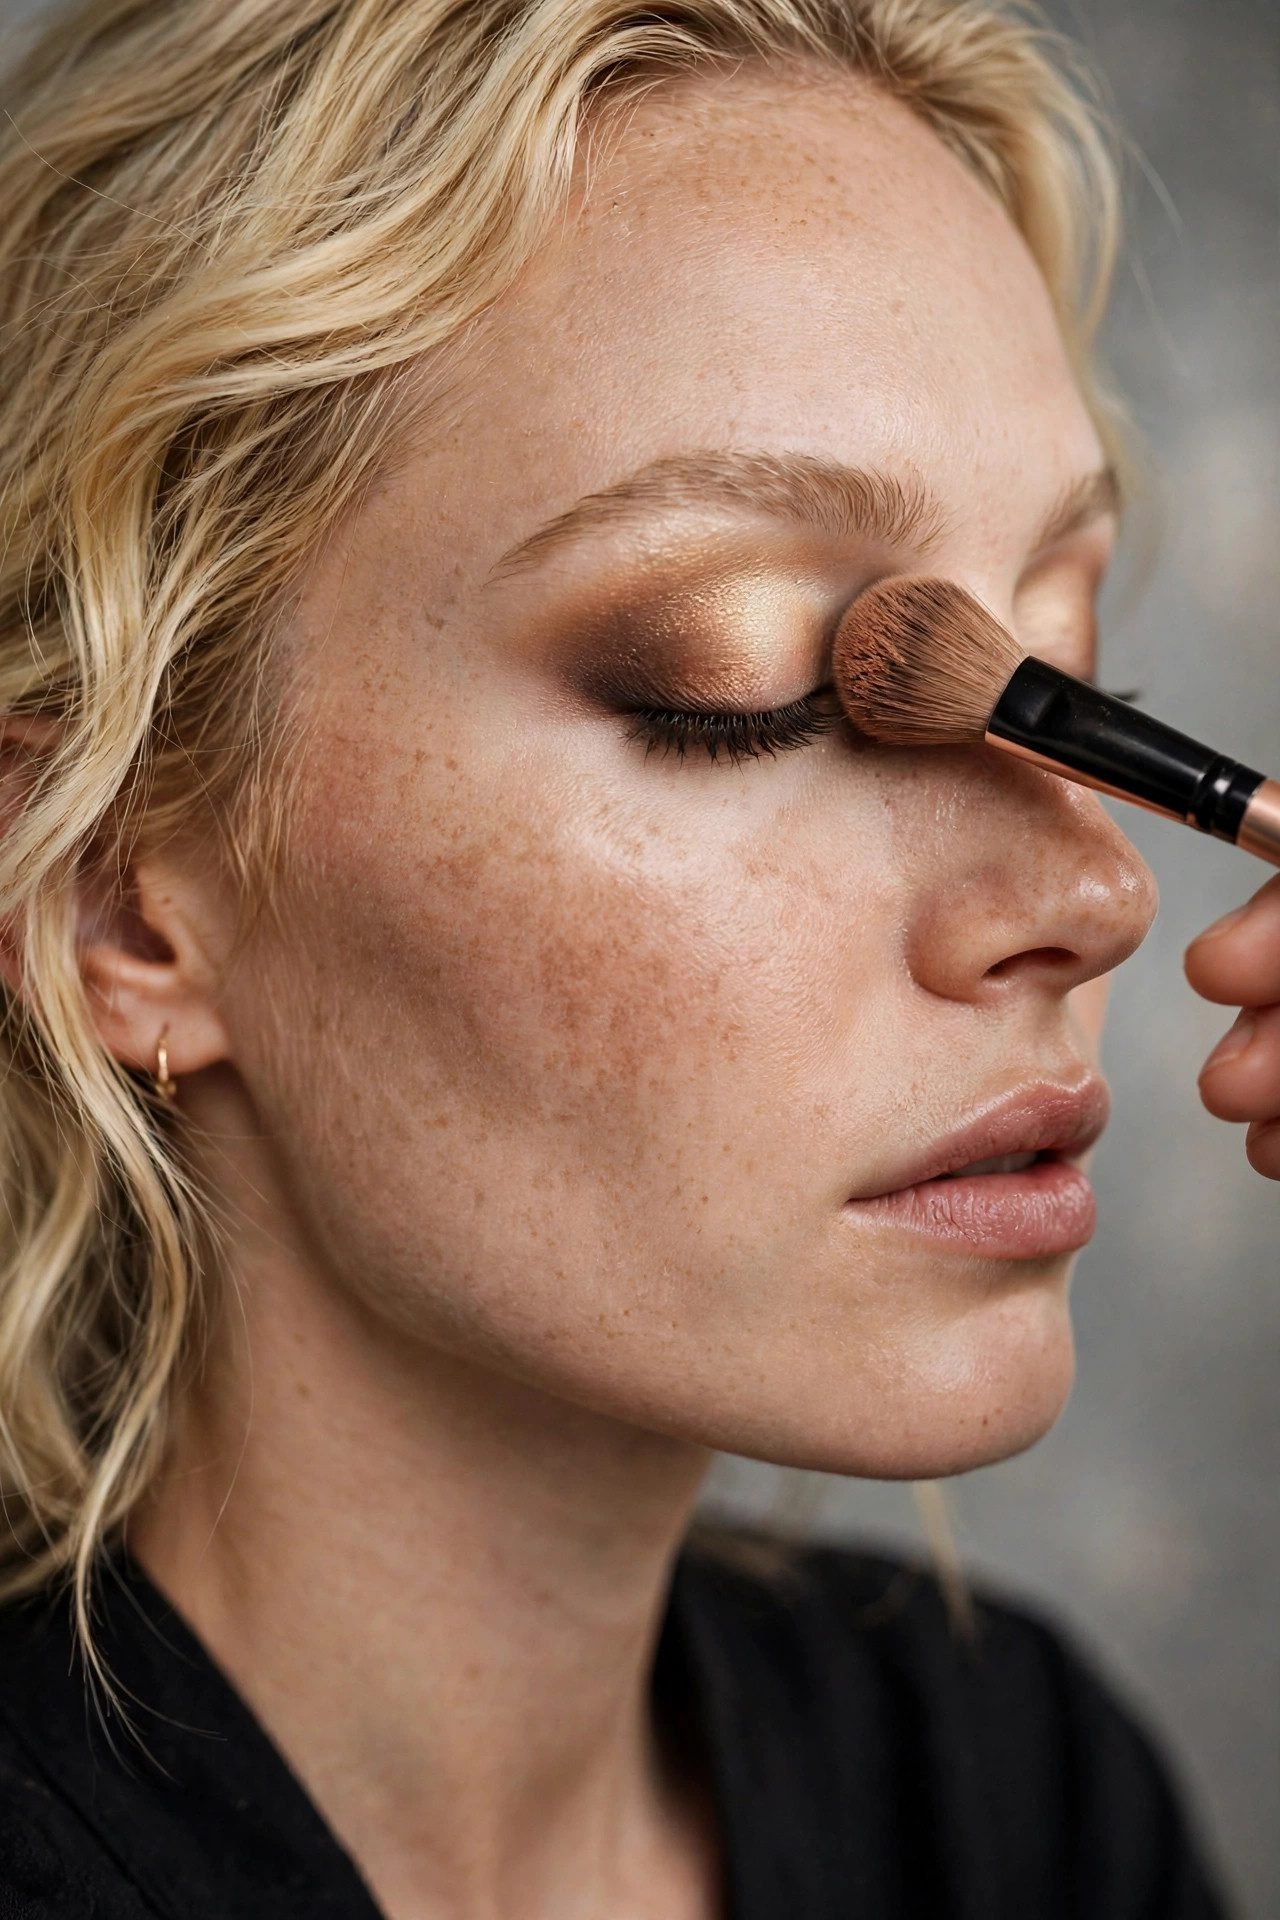
The Step: transition shade in the crease, main shade on the lid, deeper shade at the outer corner. How It’s Done: sweep the lightest tone from lash line to brow bone, pack the main shade on the lid, and diffuse the deepest tone into the outer V — blending after every pass. The complete technique lives in our how to apply eyeshadow guide. Pro Move: tap the brush handle against your wrist between passes — the vibration settles the pigment into the skin instead of sitting on it.
STEP 6 — Eyeliner: The Steady Anchor

The Step: liner along the lash line — tightlined, winged, or smudged, per the look. How It’s Done: anchor your elbow on the table and your pinky on your cheek, draw in short dashes from the inner corner outward, and connect them in one final pass. The full step-by-step lives in our how to apply eyeliner guide. Pro Move: rest a compact mirror flat on the table, look DOWN into it — the eyelid drops slightly open, and the lash line is never hidden.
STEP 7 — Mascara & Lashes: The Frame Finale
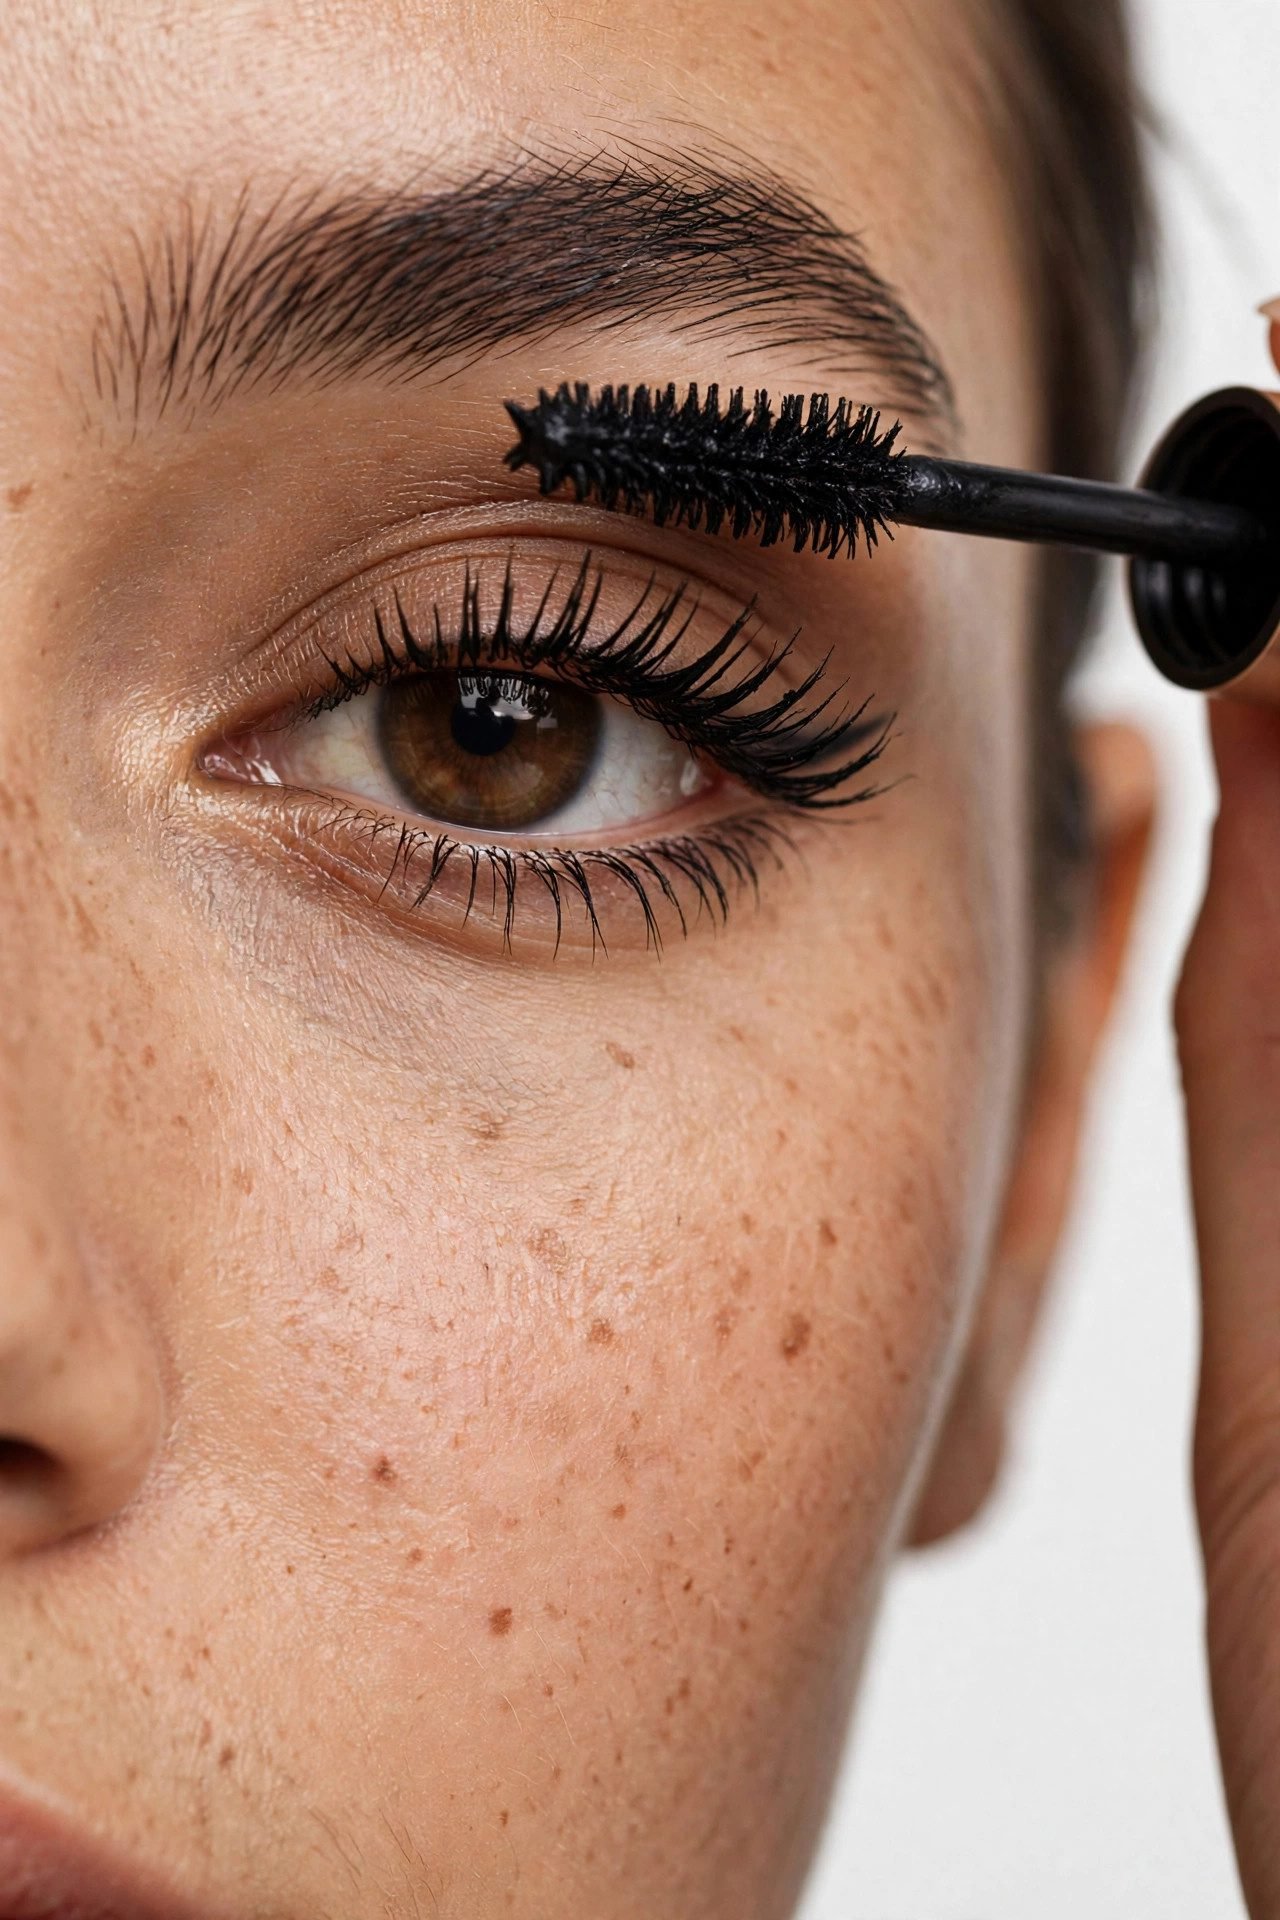
The Step: curl the lashes, apply mascara in a zigzag from the base, or add strip lashes. How It’s Done: curl in three pulses at the base, middle, and tips, then wiggle the mascara wand at the root before pulling through. For events, the strip-lash fitting method lives in our how to apply false eyelashes guide. Pro move: hold the wand horizontal and wiggle at the base only for the first coat — base-volume is what opens the eye; tip-coating just adds clumps.
STEP 8 — Contour, Blush & Highlight: The Dimension Trio
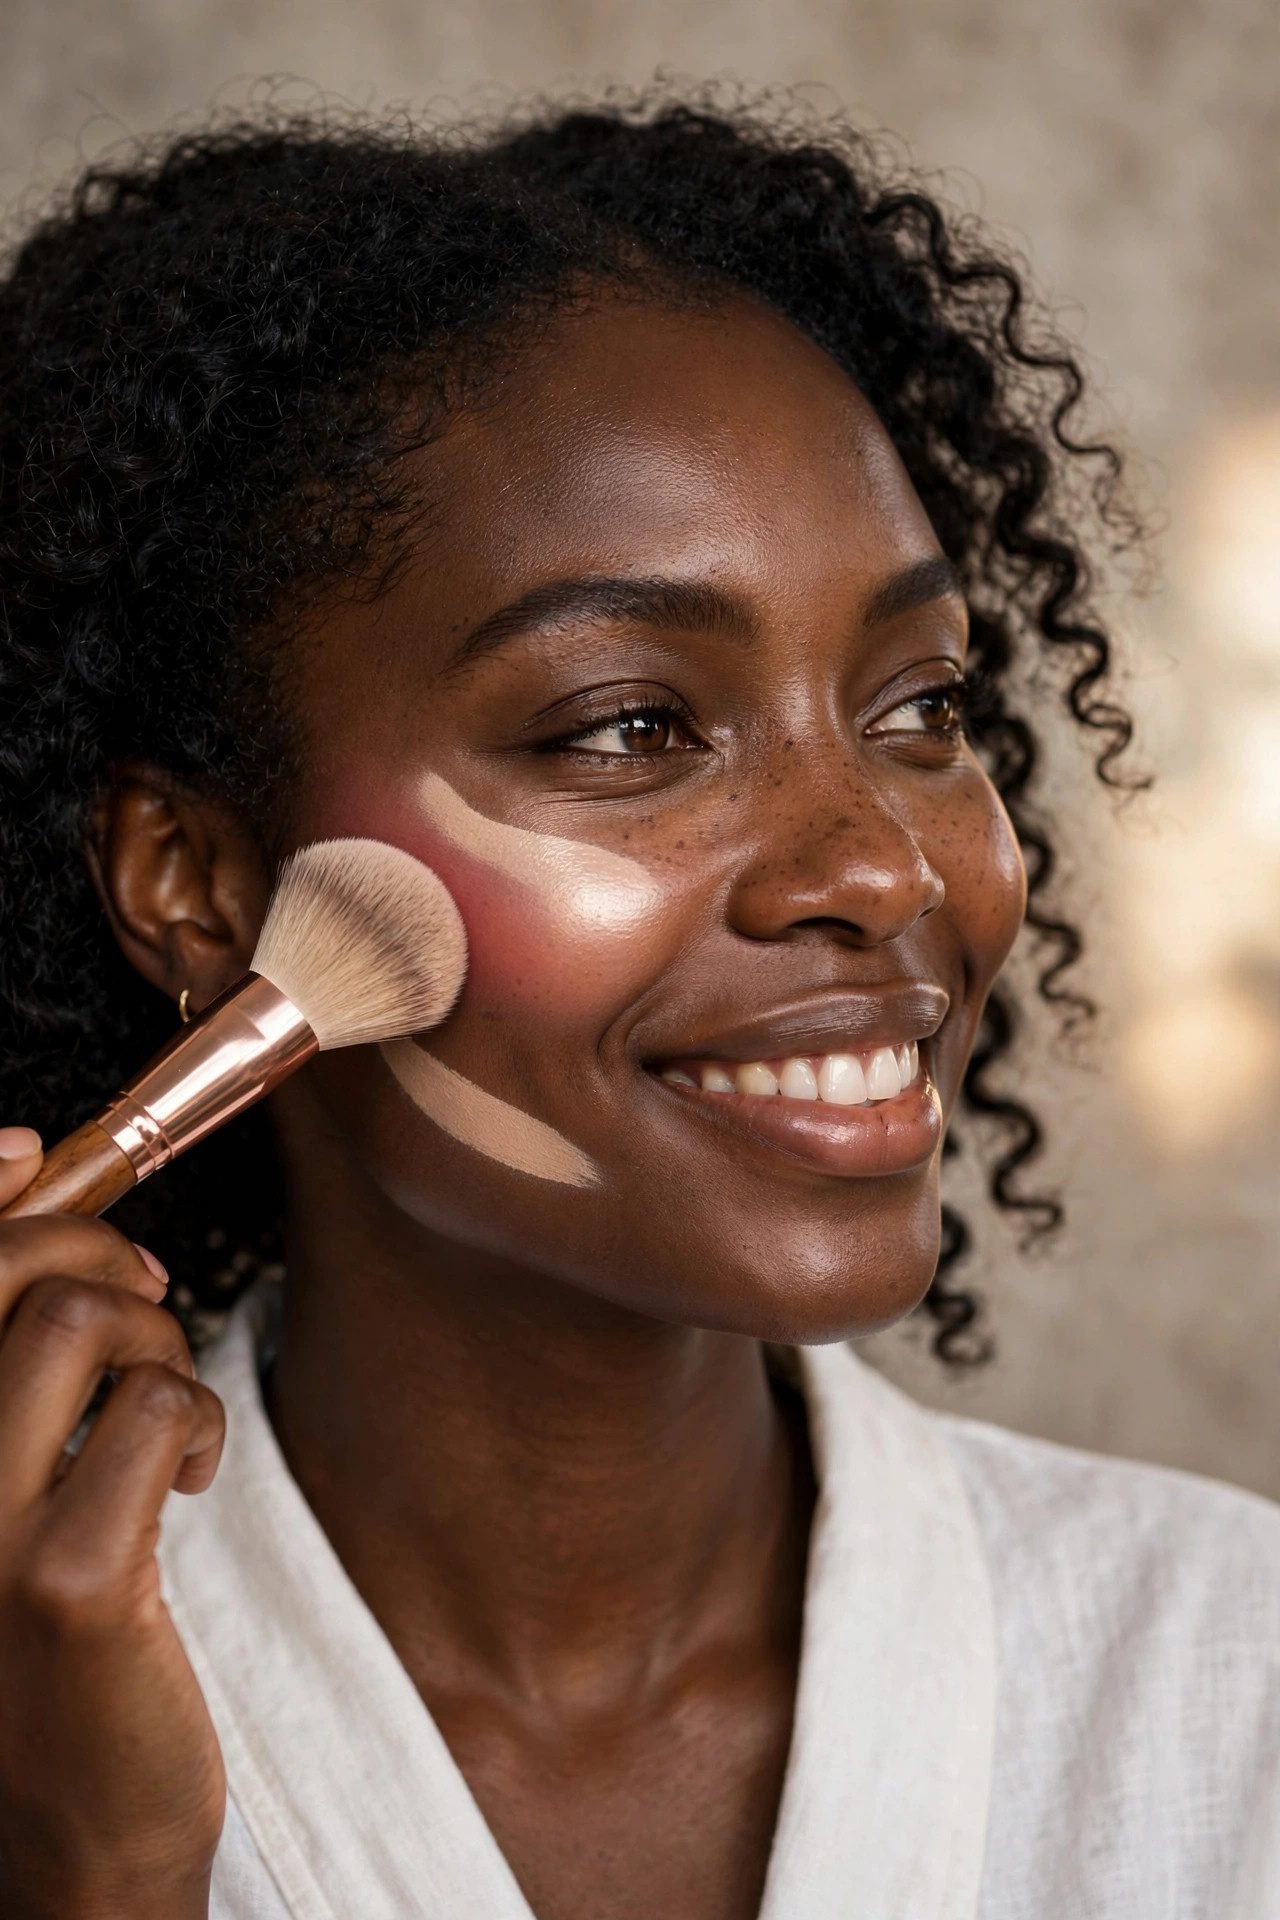
The Step: cream contour under the cheekbones, blush above it, highlight on the high points. How It’s Done: contour in the hollow (suck in the cheeks to find it), blush slightly above on the apples, and highlighter on the cheekbone tops, nose bridge, and cupid’s bow. The full contour map lives in our how to apply contour guide and the blush placement in our how to apply blush guide. Pro Move: apply cream products before any powder — cream over powder is the single most common cause of patchy cheeks in every makeup tutorial failure.
STEP 9 — Lips: The Liner-First Method
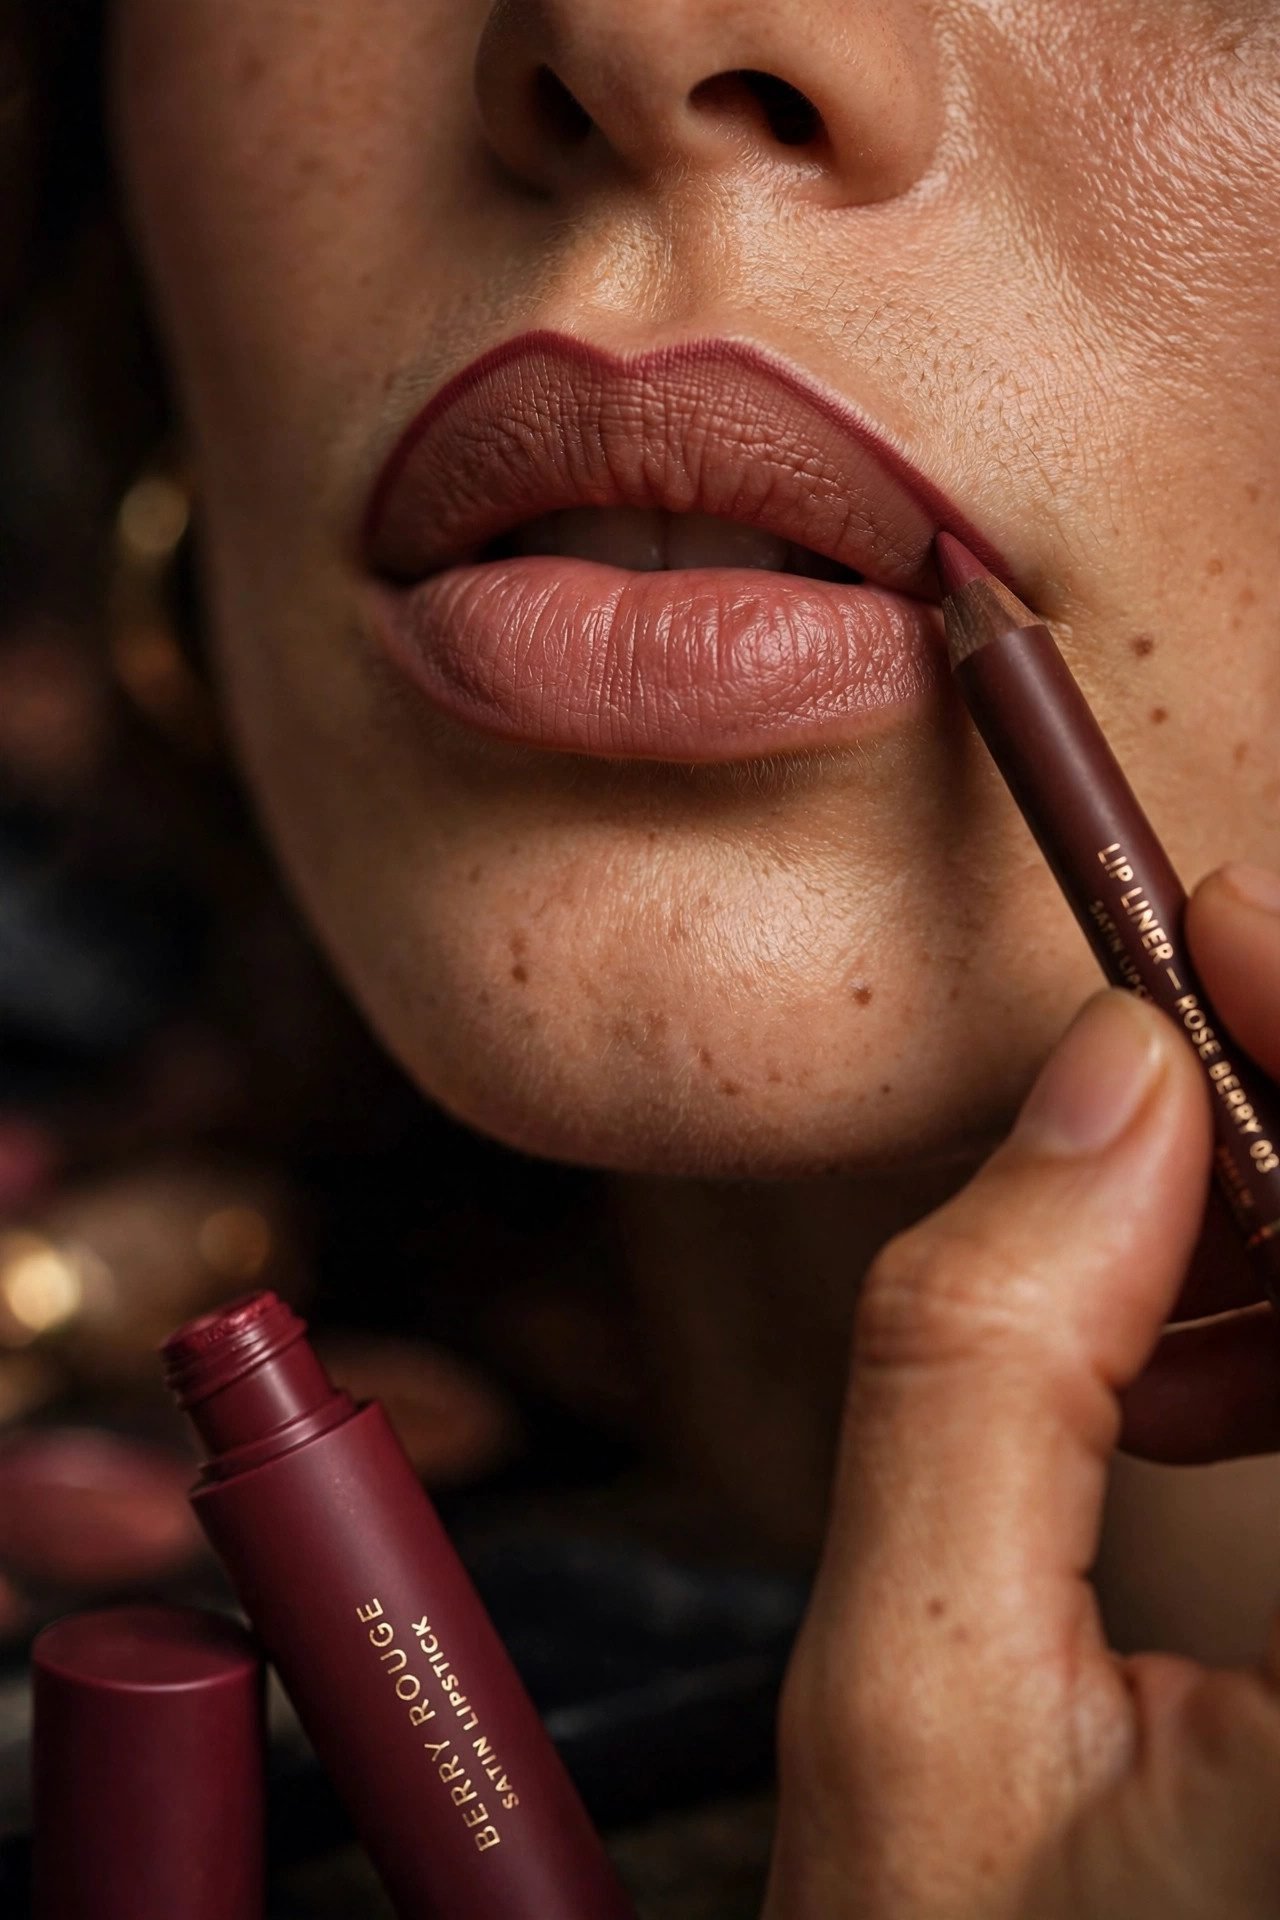
The Step: lip liner first, lipstick from the center out, blot, reapply. How It’s Done: line the natural edge with a matching or slightly deeper liner, fill from the center outward, blot with tissue, and reapply — the double layer that survives the first drink. The shade-matching system for every skin tone lives in our best lipstick shades guide. Pro Move: liner the WHOLE lip, not just the edge — the filled liner base is what keeps lipstick on through dinner without a single touch-up.
STEP 10 — The Set: The Lock That Holds All Ten

The Step: powder only where you crease, then setting spray in an X and a T. How It’s Done: translucent powder under the eyes, around the nose, and on the chin — never on the high points — then setting spray crossed in an X and a T, left to dry untouched. The luminous alternative to this matte finish is the full method in our glass skin makeup tutorial guide. Pro Move: one extra setting-spray pass right before leaving — the second coat is what separates the looks that reach midnight from the ones that reach the car.
Makeup Tutorial FAQ
What is the correct order to apply makeup?
The ten steps in this guide — prep, foundation, concealer, brows, eyeshadow, liner, lashes, dimension trio, lips, and the set. The rule beneath the order: every liquid before every powder, and face before eyes so corrections happen where they cost nothing.
What do I need for a basic makeup tutorial?
Nine products: moisturizer, primer, foundation, concealer, brow gel, one eyeshadow palette, mascara, blush, and lipstick — plus a sponge and two brushes. The shopping-level beginner version of this list lives in our makeup tips for beginners guide.
How long does a full makeup application take?
Twenty to twenty-five minutes once the order is memorized — five minutes in the ten-step rhythm for beginners per stage. The speed comes from the sequence, not from rushing any single step.
How is a makeup tutorial different from makeup tips?
The tutorial is the sequence — what to do, in order, with techniques. Tips are the rules — what to avoid, what to prioritize. You need both: this guide is the order, and the rules live in our makeup tips for beginners guide.
How do beginners learn makeup step by step?
Master steps 1–3 first — the base is eighty percent of the result. Add brows the second week, eyes the third, and the dimension trio last. The beginner look that uses only the first three steps is decoded in our natural makeup looks for beginners guide.
How do I make a full face of makeup last all day?
The thin-layer law, powder only where you crease, and the Step 10 double set — plus one blot-and-spray touch-up at midday. The event-length version of this system runs in our new year makeup guide, and the technique library behind every step here lives in our christmas makeup and makeup looks 2026 guides.
More questions? Ask us on Facebook and we will troubleshoot your step.

Ten Steps, One Order, Every Face
The skin prepped. The base thin. The brows before the eyes. The dimension in creams before powders. The lips last, the set last of all.
Memorize the order once and every product you own starts working better — because makeup was never about the products. It was about the sequence.
Save this tutorial to our Pinterest boards so the order is on your phone at the vanity — and once the base is mastered, the looks that build on it live in our makeup looks 2026 guide, the soft version in our soft glam makeup tutorial, and the minimalist version in our minimalist makeup routine guide.
The order is the tutorial. Everything else is the product.