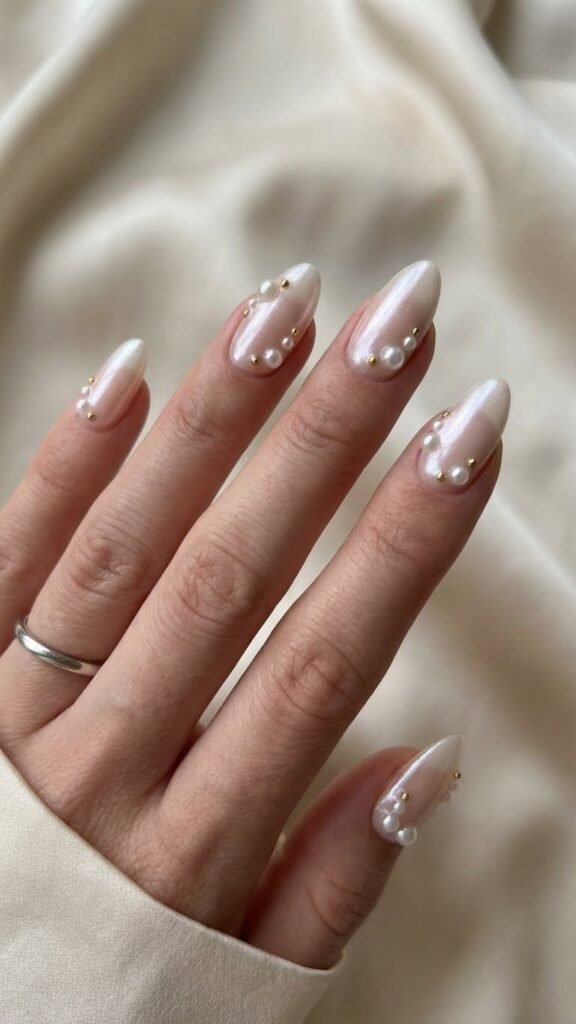
Some sparkle shouts. Pearls murmur. That is the whole appeal of nails with pearls — there are no facets throwing light around, no mirror flash when you pass a window, just a soft, low glow that reads expensive from across a room and even better from one foot away. Pearls are the only nail embellishment that looks calmer the longer you look at it, which is exactly why nails with pearls keep winning at weddings, in offices, and everywhere a rhinestone would feel too loud.
This guide takes a different route than a straight gallery. A 30-second quiz sorts you into one of four pearl personalities, and every design that follows is filed under the family you actually belong to — so you spend less time scrolling and more time choosing. Every design also comes with exact pearl sizes in millimeters, honest placement logic (which spots snag on hair and which never do), and a Lustre note with the small trick that separates salon work from DIY attempts. Save your shortlist to our Pinterest boards so the picks survive until your next appointment — the old money nails crowd has known about pearls for a while now, and the wider nail art library can fill in any technique gaps later.
The 30-Second Pearl Quiz
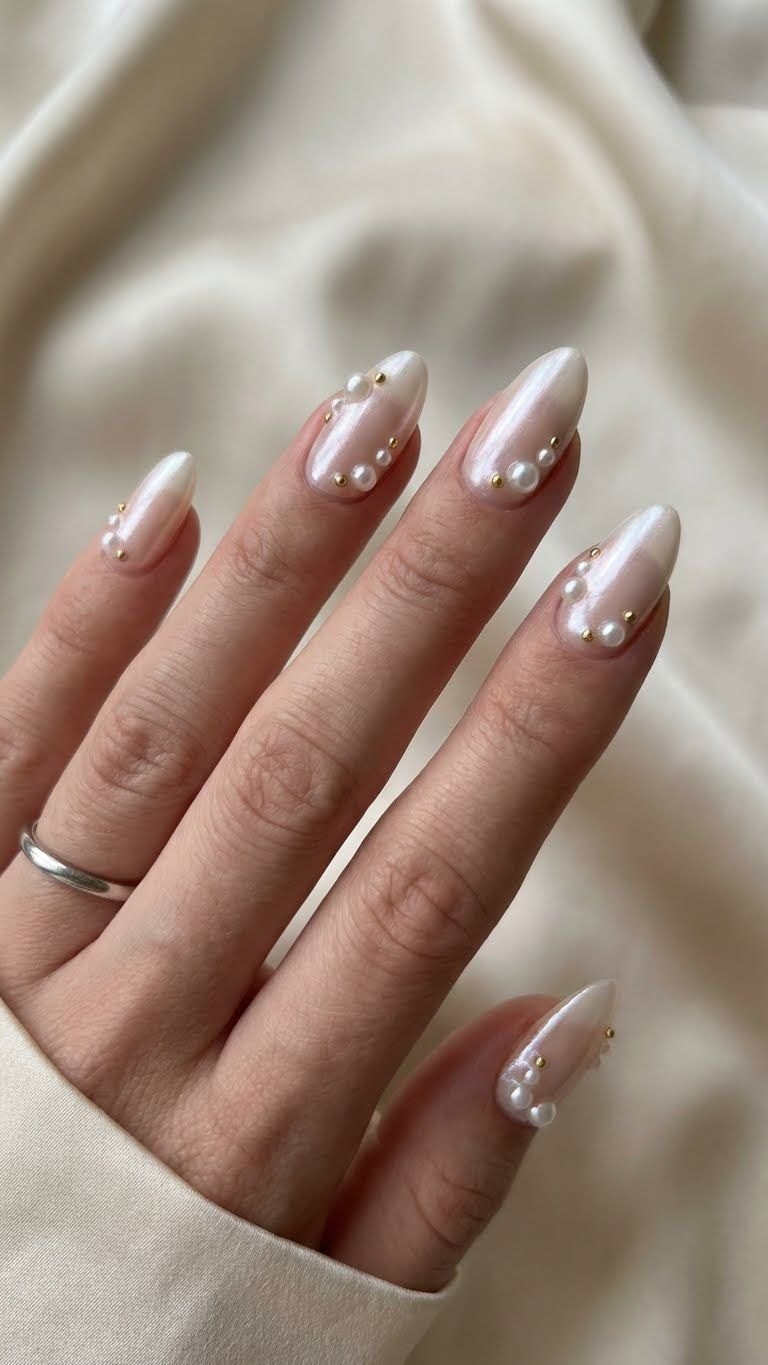
Answer three questions, count your letters, meet your family.
1. Your Monday dress code is… A. Silent luxury — nothing that interrupts a meeting. B. Classic with one twist — the version people ask about. C. Soft and sentimental — there’s a date or an anniversary coming. D. More is more, and yes, that includes Wednesday.
2. A handbag zipper just touched your nails. You feel… A. Calm — my manicure survives everything. B. Curious — did it chip? C. Unbothered — a few pearls can handle contact. D. Alarm — every embellishment is precious cargo.
3. What’s on the calendar this season? A. Deadlines, mostly. B. Brunches and gallery afternoons. C. A wedding — mine or my best friend’s. (Valentine’s Day counts; the Valentine’s nails shortlist starts early.) D. A party with an actual photo wall.
Mostly A: The Minimalist. Mostly B: The Classicist. Mostly C: The Romantic. Mostly D: The Maximalist. Each family below is a complete answer to nails with pearls — pick one design or mix two within the same family, and the whole set stays coherent.
Know Your Pearls Before You Place Them
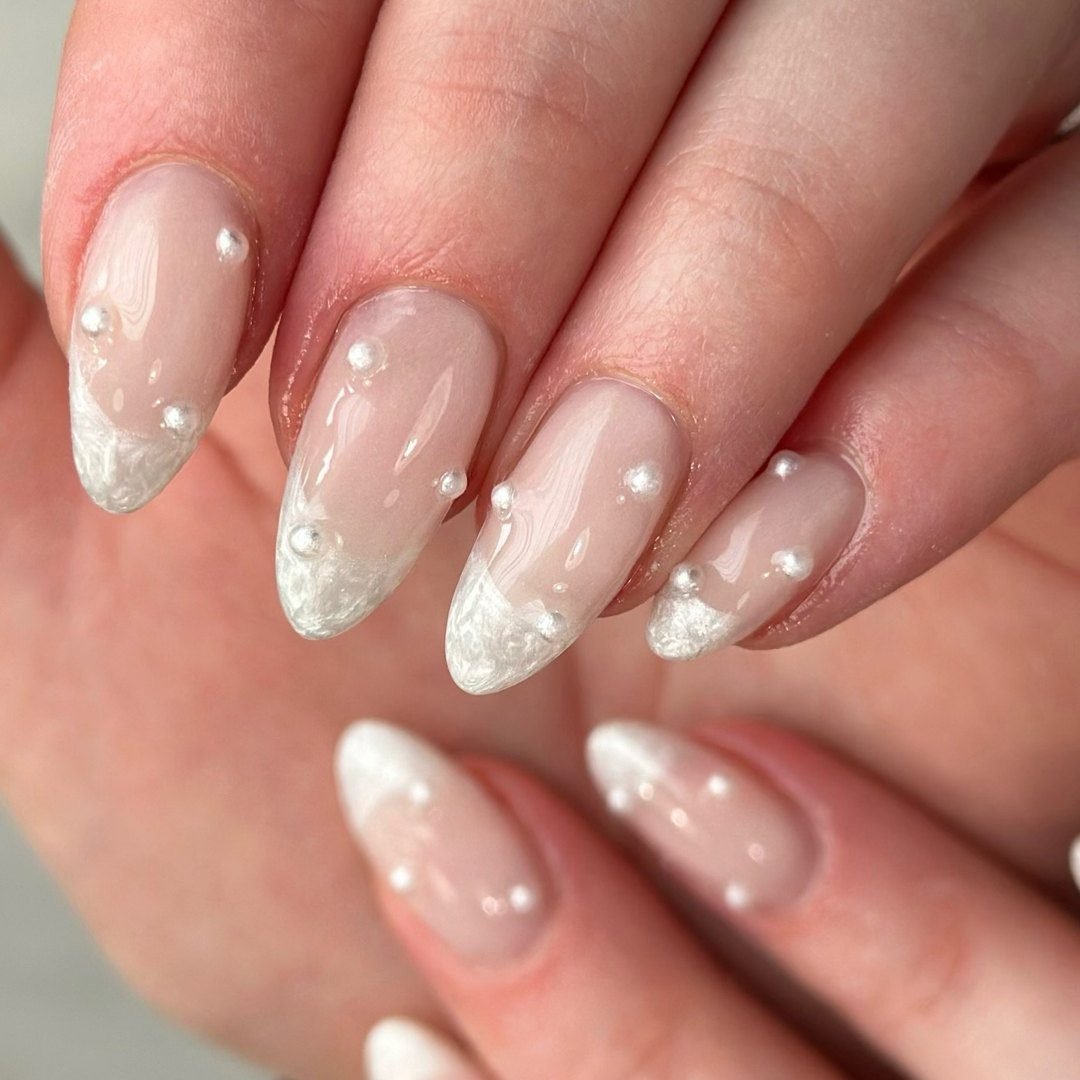
Two minutes of pearl literacy protects every design below. Buy flatback half-pearls, never drilled beads — drilled holes collect glue shadows and catch hair, while a flat back sits flush against the nail like it grew there. Material matters more than brand: glass pearls keep their coating and their glow through months of handwashing, while cheap ABS plastic versions can dull and yellow surprisingly fast, especially anywhere acetone gets near them. And skip real freshwater pearls entirely — they are irregular by nature, so mirroring them across ten nails is impossible, and they cost ten times more for worse results. Nails with pearls work best when the pearls themselves are perfect spheres; the perfection is the elegance.
Before the designs, learn the sizes — this is the vocabulary every salon tech wishes clients used:
| Pearl size | What it does | Where it works best |
|---|---|---|
| 0.8–1 mm (seed) | Texture you feel more than see | Cuticle lines, edge files, short nails |
| 2 mm (standard) | Visible but quiet — the workhorse | Solitaires, dot lines, rosettes |
| 3 mm (accent) | Reads at conversation distance | Tips, center lines, single accents |
| 4 mm+ (hero) | One-per-hand energy | Statement stones, bridal ring finger |
| Baroque (irregular) | Organic, heirloom character | One-hero designs, photo moments |
The Minimalist: Nails With Pearls for Quiet Weeks
Quiet weeks need quiet pearls — placements that survive keyboards, gym bags and seven days of real life without asking for attention. This family keeps every design under ten pearls total, because restraint is the entire aesthetic. The payoff is disproportionate: a single sphere in the right spot reads as a decision, not a decoration, and it outlasts every polish trend currently running through your feed.
1. The Solitaire
One 2 mm pearl, dead center at the base of each nail, on a sheer milky base. The trick is matching the pearl to your lunule — the little moon at your cuticle — so the sphere looks like its continuation rather than something added. Ask your tech for “one pearl at the apex of the cuticle” and she will know exactly what you mean. On milky white nails, the combination is the closest thing nails have to a single pearl earring: small, centered, quietly perfect. Hand this design to anyone who claims nails with pearls are too much — this one never is.
Lustre note: a wax pencil picks up domed pearls far more cleanly than tweezers, which send them flying across the table — usually into a sock.
2. The Cuticle Dot Line
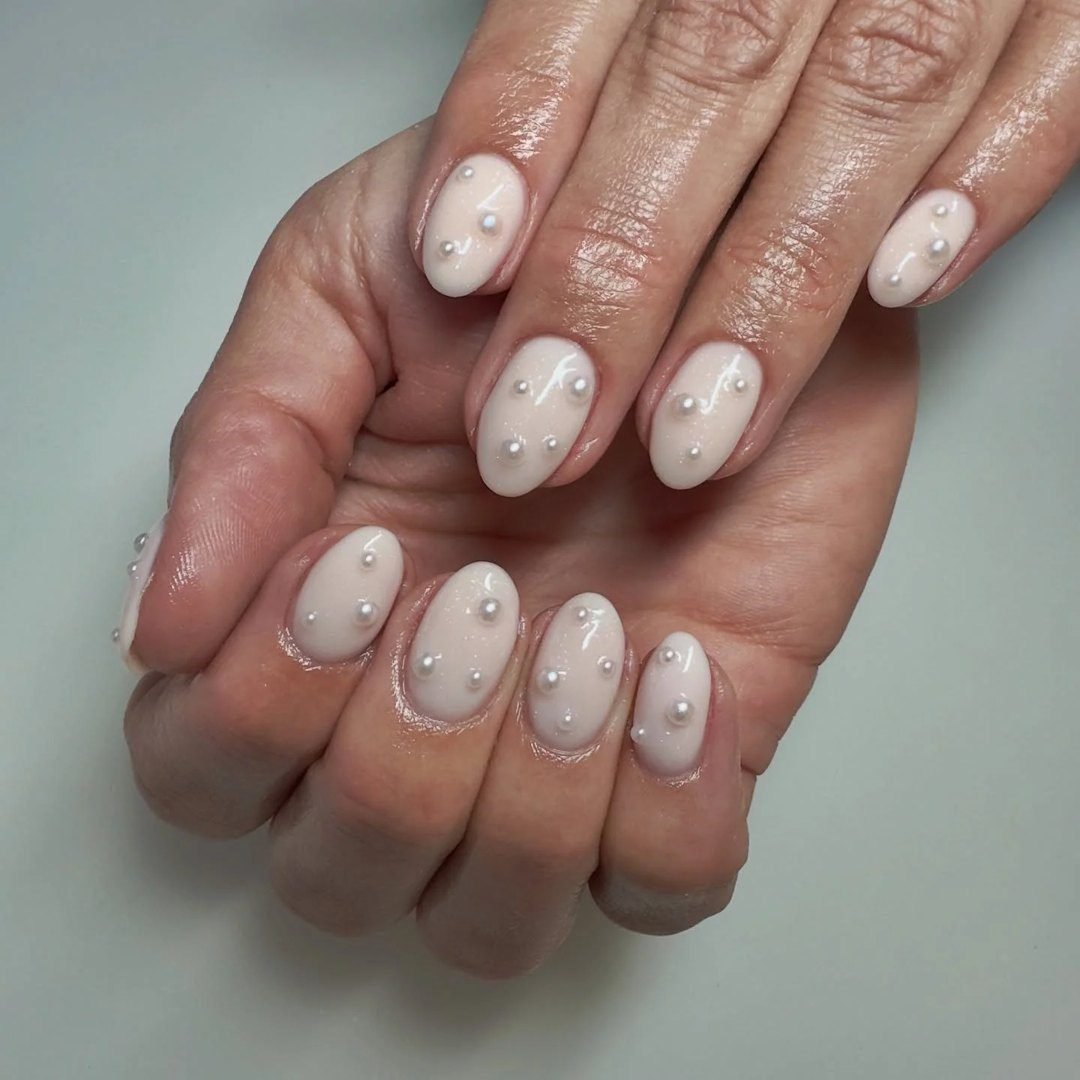
Five to seven seed pearls (0.8–1 mm) tracing the curve of your lunule like a micro crown. Grade them slightly — a 1 mm at the center shrinking to 0.8 mm at the ends — and the line gains a dimension flat rows never have. It is a full design in under ten pearls, it works on every nail length, and it is one of the smartest short nail designs going, because a cuticle line lengthens a small plate instead of cluttering it.
Lustre note: keep the line riding the cuticle’s exact curve — one pearl drifting too low reads like a misprint in an otherwise perfect sentence.
3. The Micro Edge File
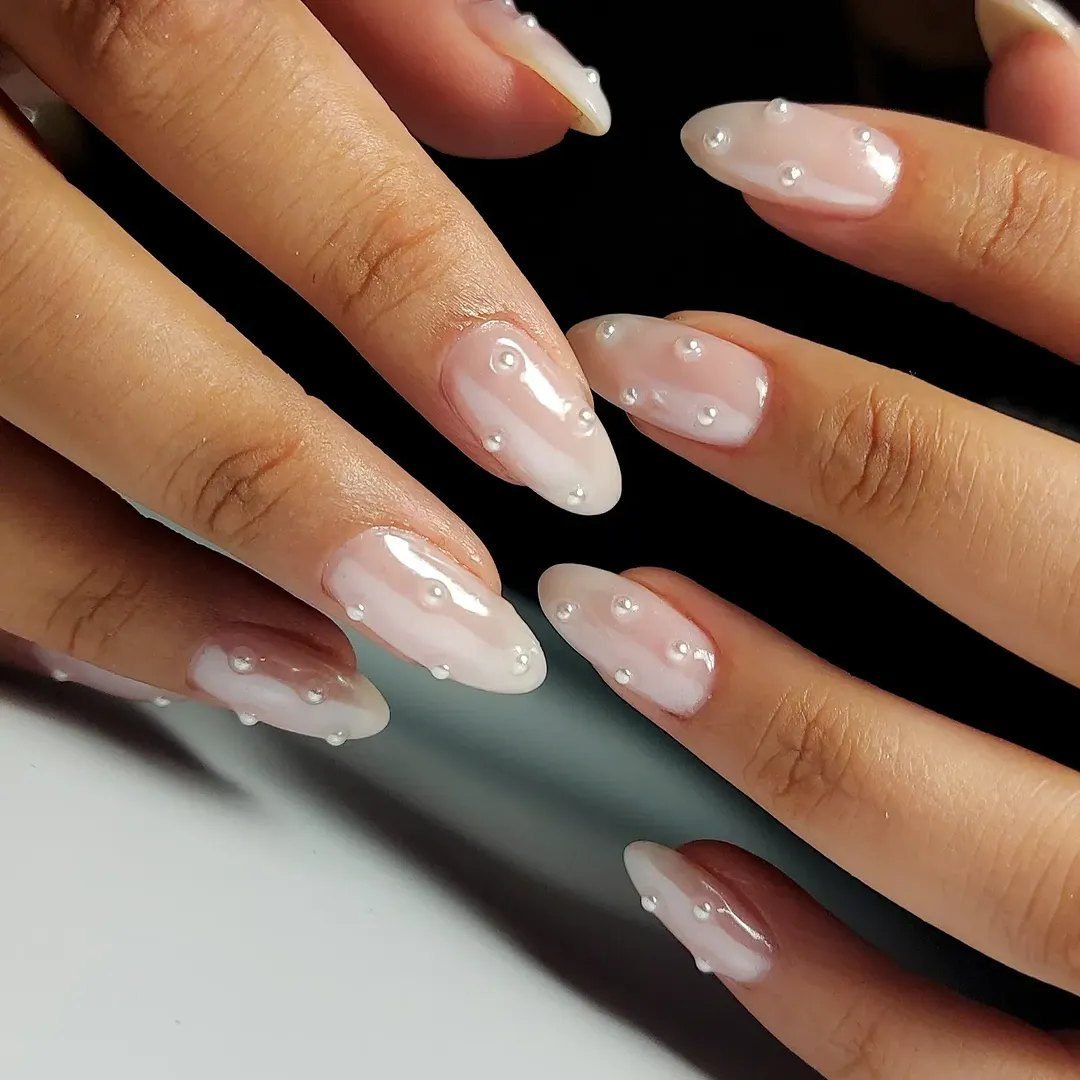
A single vertical file of 1 mm pearls down one side wall of every nail — three to five pearls, never more. The asymmetry is the point: straight-on, the design is a whisper; hands in motion, it flickers. And placement-wise, this is the smartest real estate in the entire pearl universe, because the side wall takes the least daily contact of any nail zone. Your file will outlast every tip placement you have ever tried by a full week, minimum.
Lustre note: odd numbers only — a three-pearl file reads intentional; a four-pearl file reads accidental.
The Classicist: Timeless Bases, Pearled
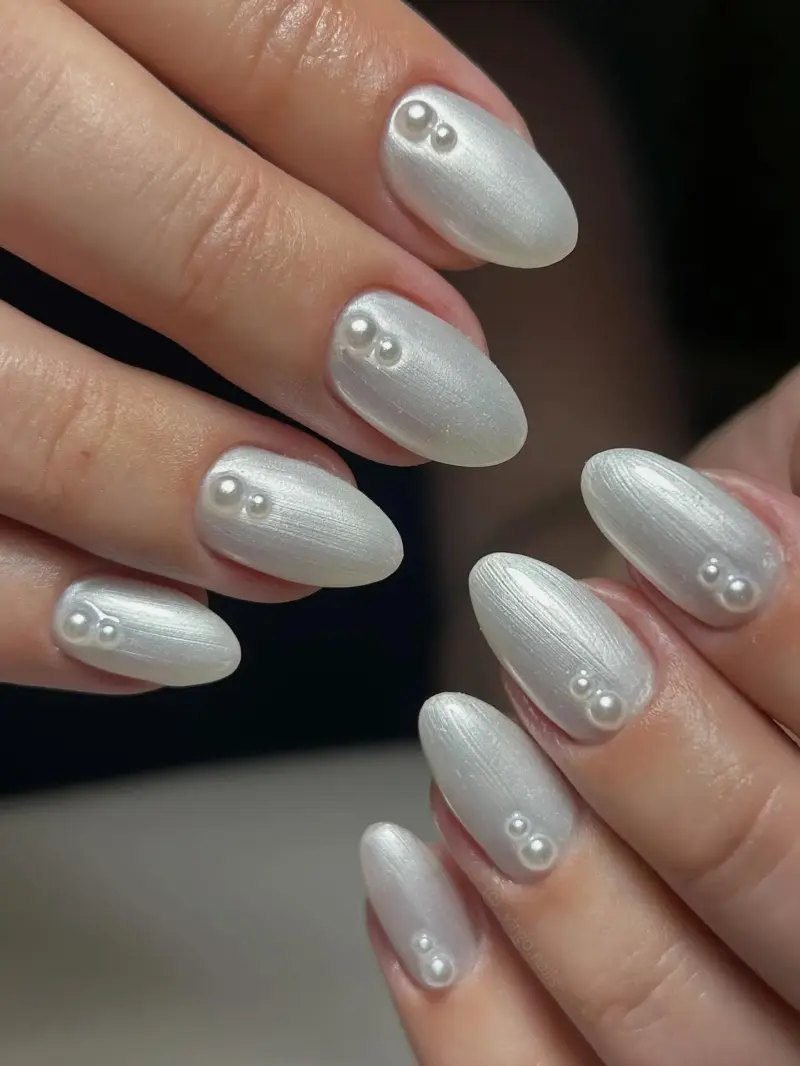
The Classicist does not want a new idea; she wants the right idea, finished properly. These three designs take shapes that have already proven themselves across decades and upgrade them with pearl work instead of reinventing anything. Nails with pearls, for this family, are a finishing touch rather than a feature — every design borrows its power from the base underneath, and if your style anchor is looking expensive on a budget, that is exactly the trade you want to be making.
4. The Pearl French
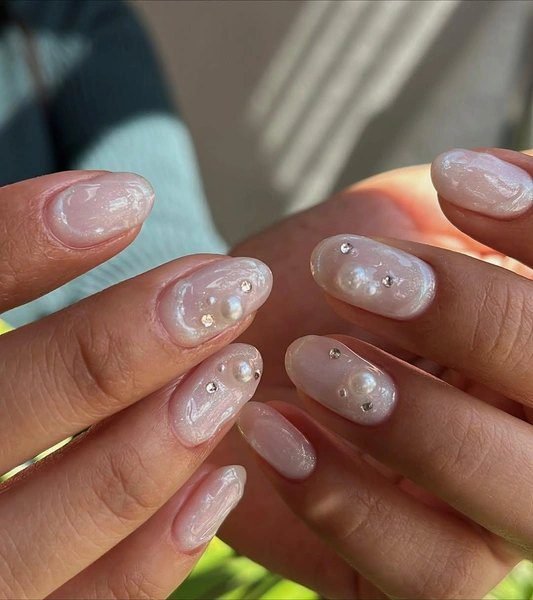
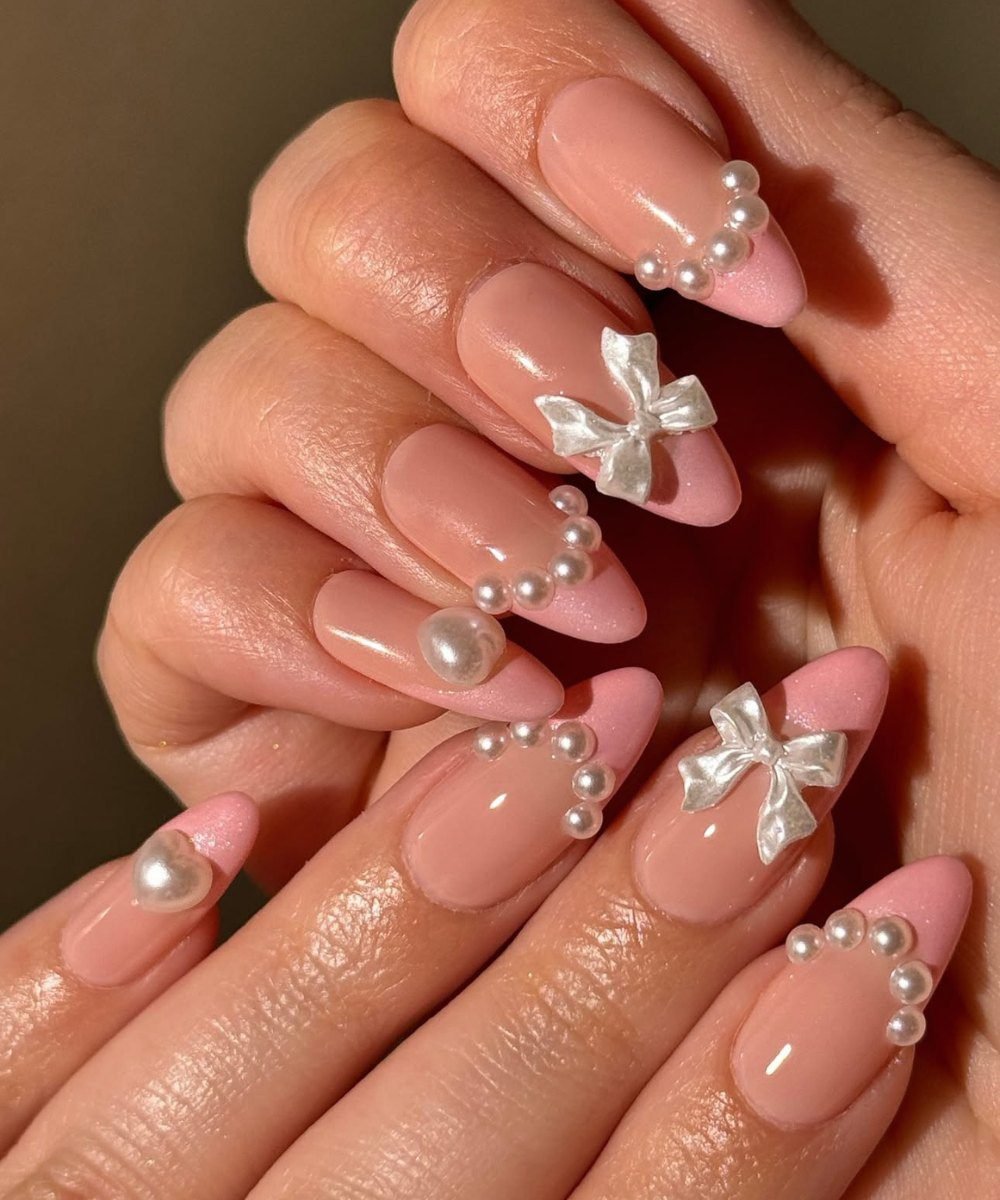
The smile line everyone already loves — with one 2 mm pearl seated at the center apex of each arc. That single sphere turns a French from default to deliberate, and it costs a tech thirty extra seconds per nail. Slot it into your existing French tip rotation whenever the same shape needs to land differently; if nails with pearls had a uniform, this would be it.
Lustre note: seat the pearl into the wet white before it cures — pearls glued on top of cured polish pop off at the first hot shower.
5. The Half-Moon Arch
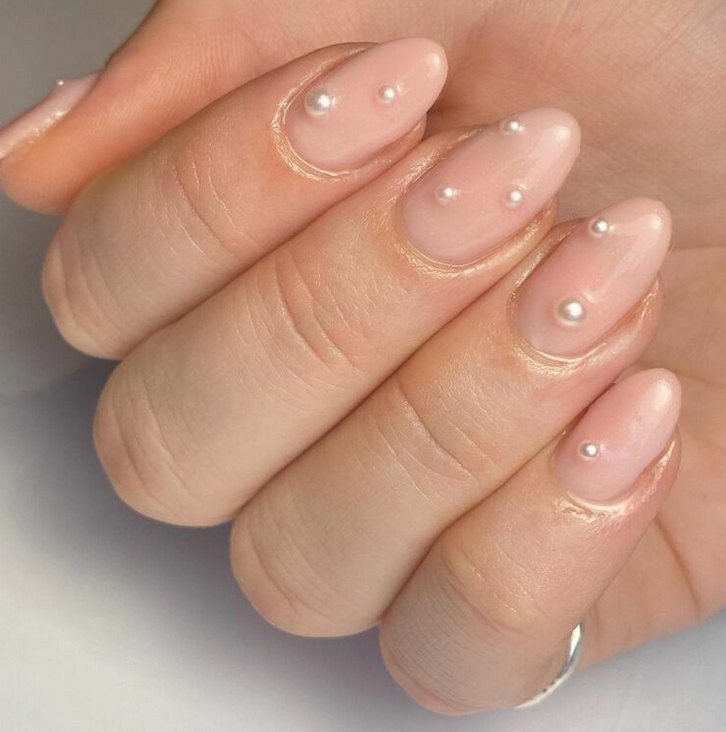
The 1930s half-moon manicure, pearls edition. Sheer pink base, then a denser arch of 1.5–2 mm pearls riding just the lunule — bolder than the Cuticle Dot Line, still fully office-legal. On a red base it becomes the vintage version of classy red nails: the pairing ran through every decade from Hepburn onward and has never once looked tired.
Lustre note: draw the arch guide-line with a striping brush first, then place pearls along it — freehanded pearl arcs drift, and a drifting arc is visible from across the room.
6. The Soft Aurora Fade
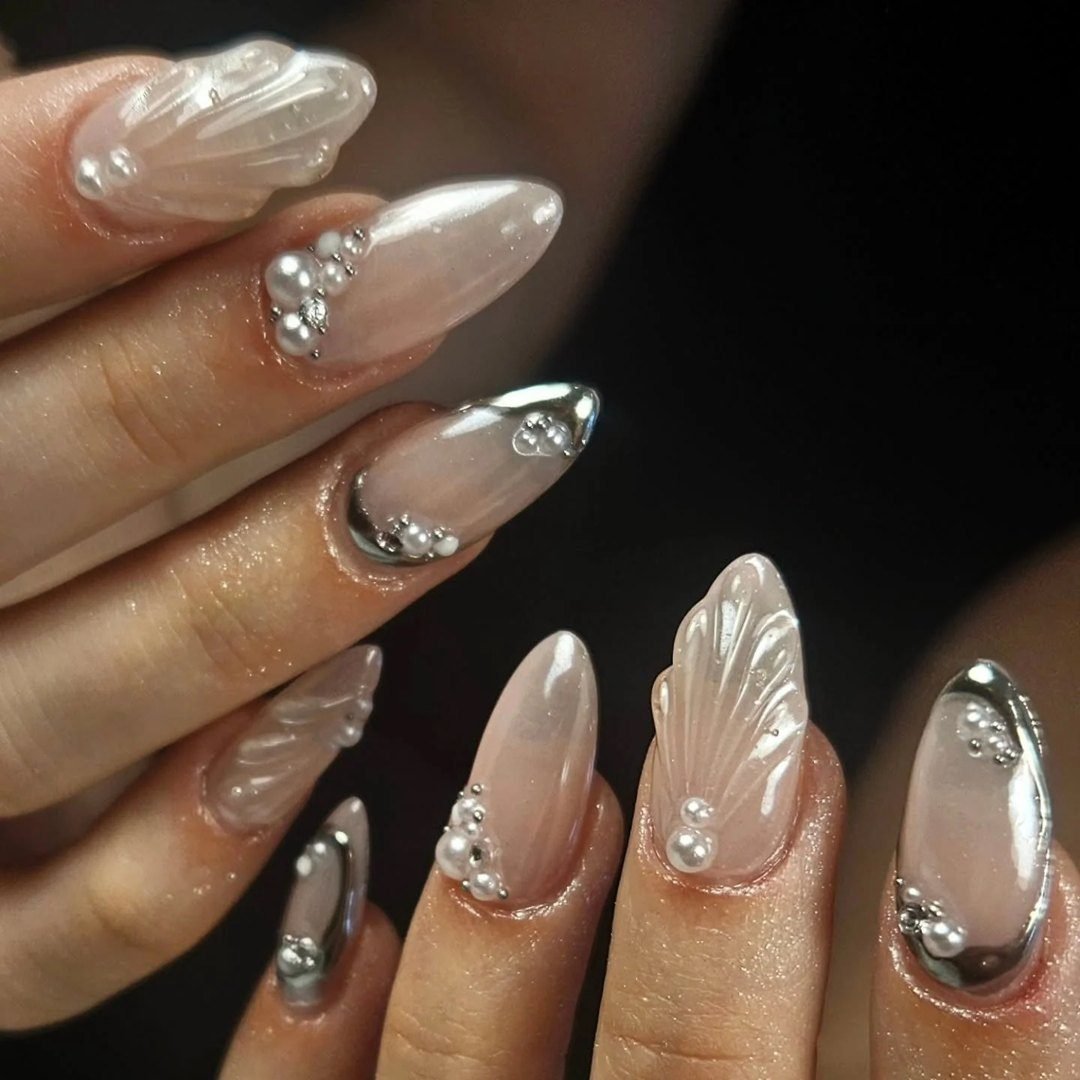
The baby boomer gradient — pink melting into white — with a 2 mm pearl settled at each cuticle like a period at the end of a sentence. The fade supplies the softness; the pearl supplies the point. If you already cycle baby boomer nails every spring, this is the two-minute upgrade that makes the same gradient feel newly considered, and it photographs absurdly well against gold jewelry.
Lustre note: keep pearls in the bottom third of the nail — the fade is already doing the visual work up top, and pearls on a gradient’s midline interrupt it.
The Romantic: Wedding-Season Nails With Pearls
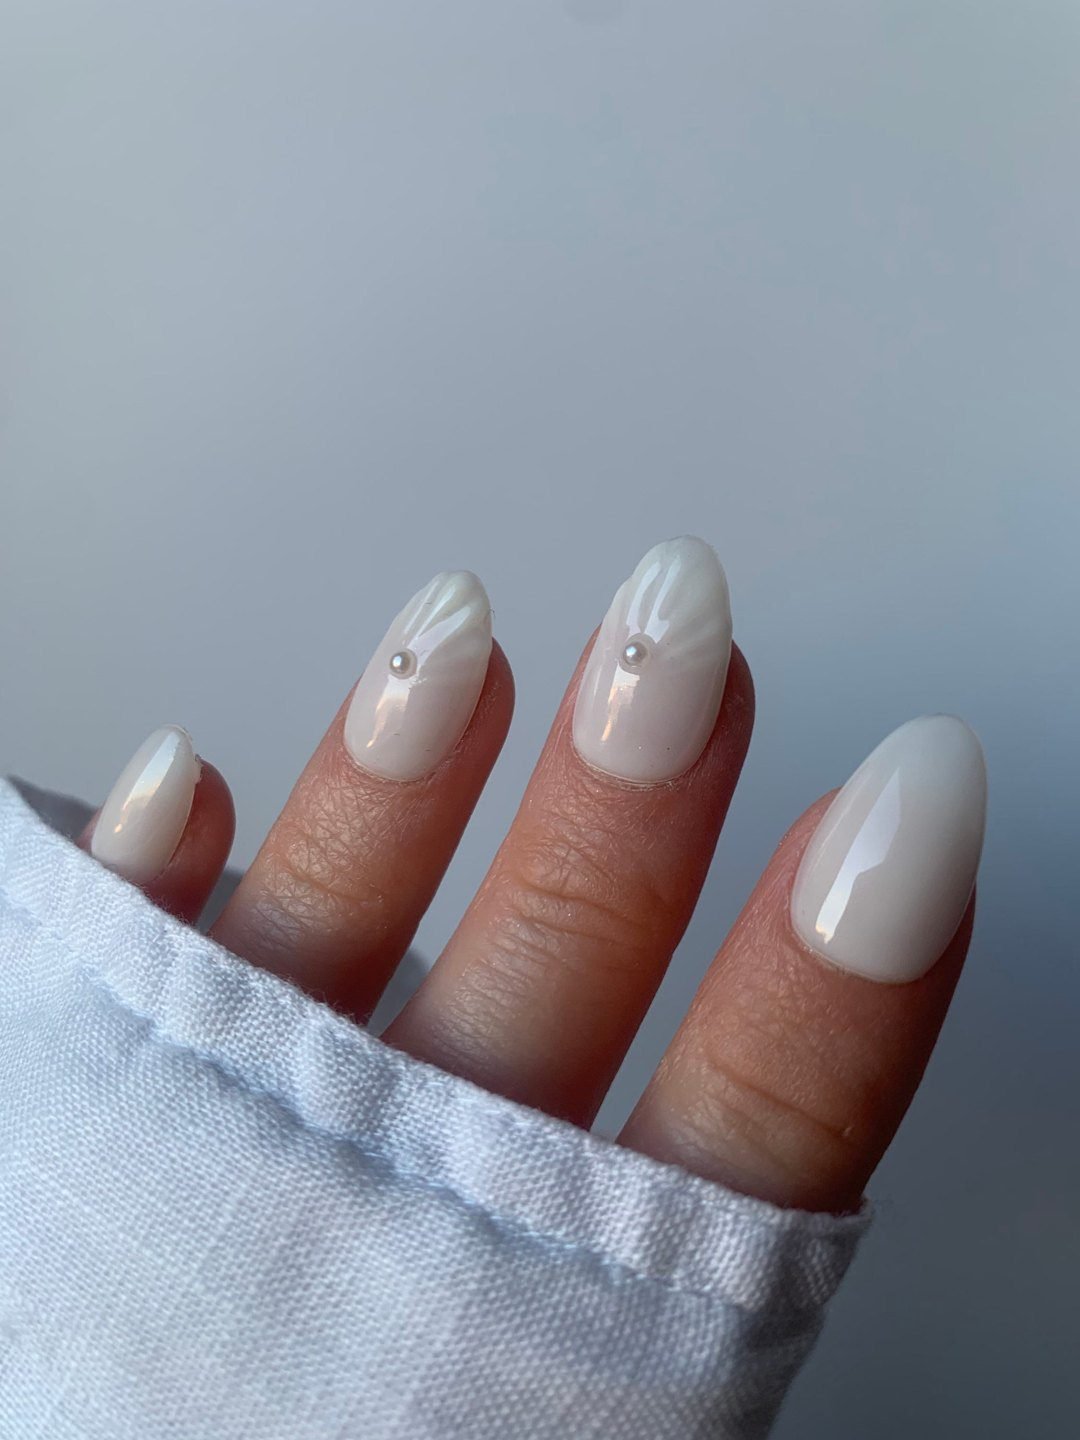
There is a reason pearls and weddings have been a closed loop for a century: nothing else on a nail survives tears, toasts and twelve hours while looking calmer for it. This family is built for wedding nails for the bride, for bridesmaids, and for guests taking notes — and it pairs naturally with the wider prep, from the bridal makeup guide to the rehearsal dinner timeline. One rule before any of them: book pearls two to three days before the event, never the morning of. Pearls placed on the day read like an afterthought; pearls given 48 hours settle into the hand.
7. The Pearl Veil Fade
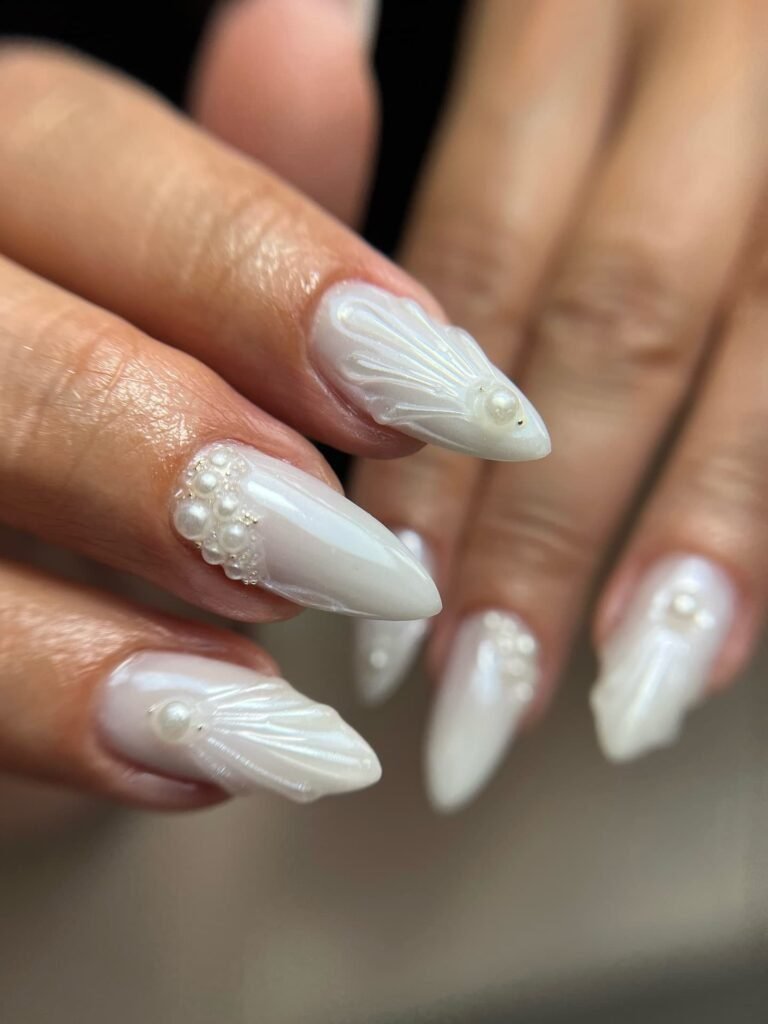
Scattered seed pearls, dense at the free edge and thinning toward the cuticle — an ombré built from pearls instead of pigment, over a milky or blush base. It is the reason nails with pearls became a bridal-counter staple in the first place, because the texture reads exactly like veil tulle translated onto hands. Build it the way you build ombré nails: in rows — three at the edge, then two, then one — never scattered at random, which photographs as clutter instead of fade.
Lustre note: this is the design that fills our Pinterest saves every wedding season — the boards hold full length-and-angle references for your tech.
8. The Pearl Center Line
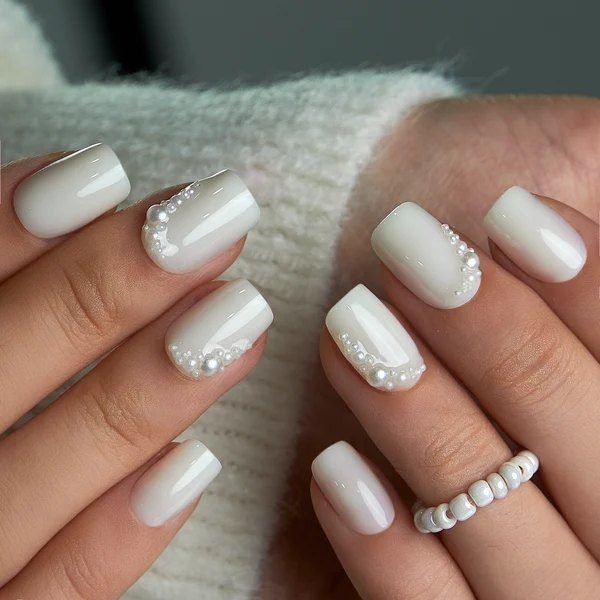
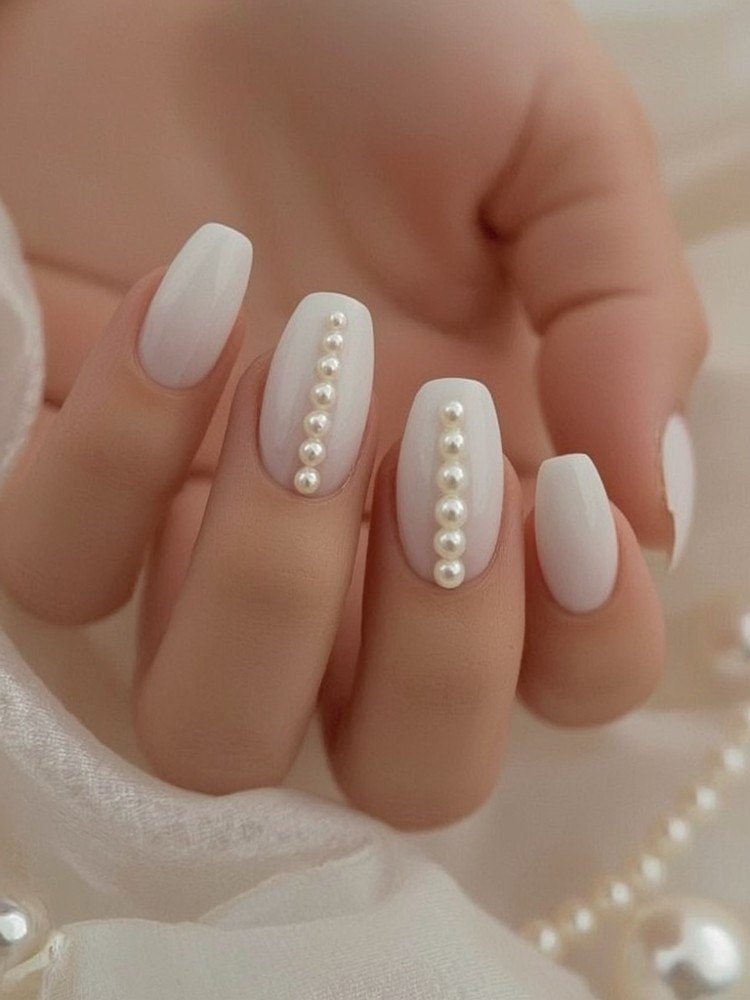
A graduated file down the spine of each nail — 1 mm, 2 mm, 3 mm at center, then back down — like a row of buttons running the length of the plate. The vertical pull genuinely elongates, which makes it a first choice on almond nail designs and equally commanding on coffin nail designs. Of every placement in this guide, the spine is where nails with pearls earn their architectural reputation: on bare or milky nails it reads sculptural, under a sheer pink it reads editorial.
Lustre note: set a dot of topcoat at the exact start point before placing — a center line that begins half a millimeter off-center looks crooked forever after.
9. The Pearl Rosette
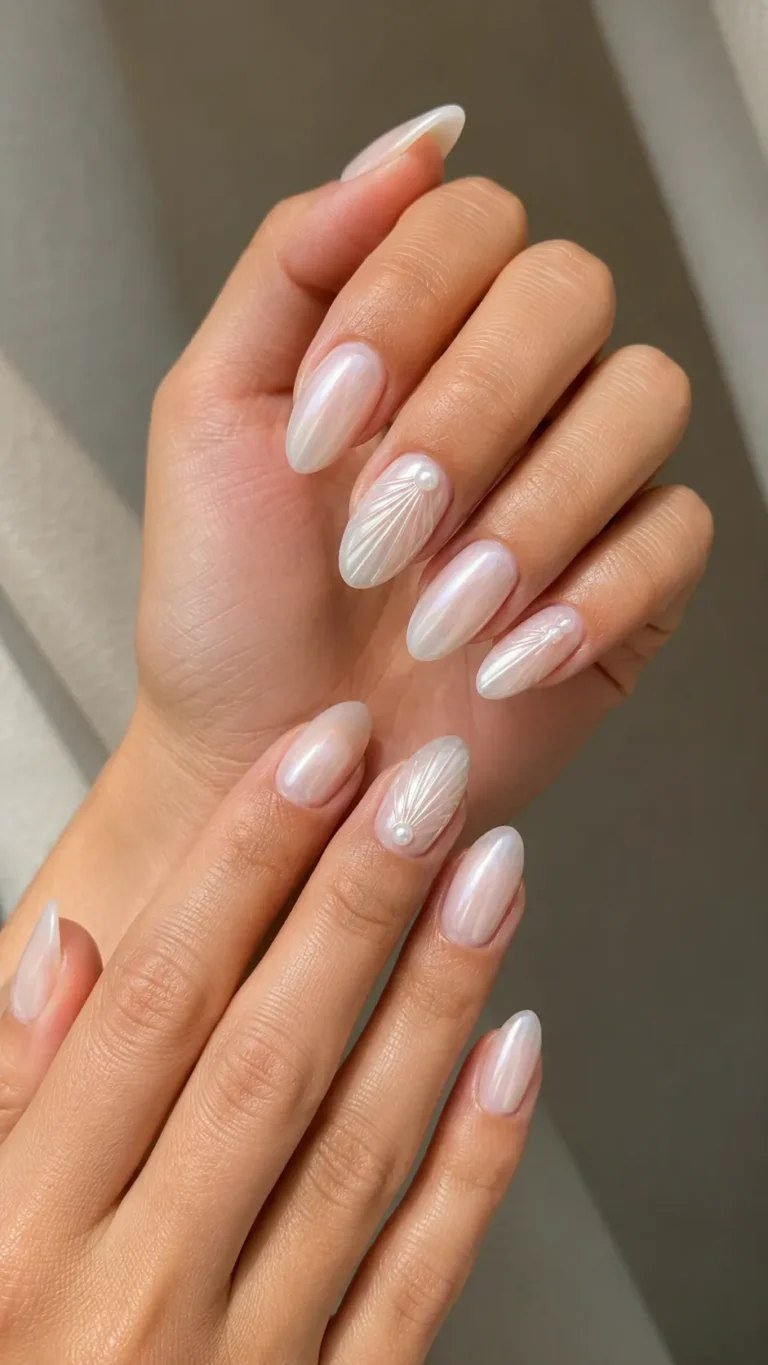
Five 2 mm half-pearls in a ring around one 3 mm center — a jewel flower, no paint involved — placed on the ring fingers only, every other nail kept bare or milky. Two rosettes per hand is the whole design, and the restraint is what makes it land. Set against pink nails, it drifts sweet; set against black, it goes straight to cocktail hour.
Lustre note: place the center pearl first and build the ring around it — the center is the anchor every other pearl measures from, so it goes down last-minute never.
10. The Bride’s Fourth Finger
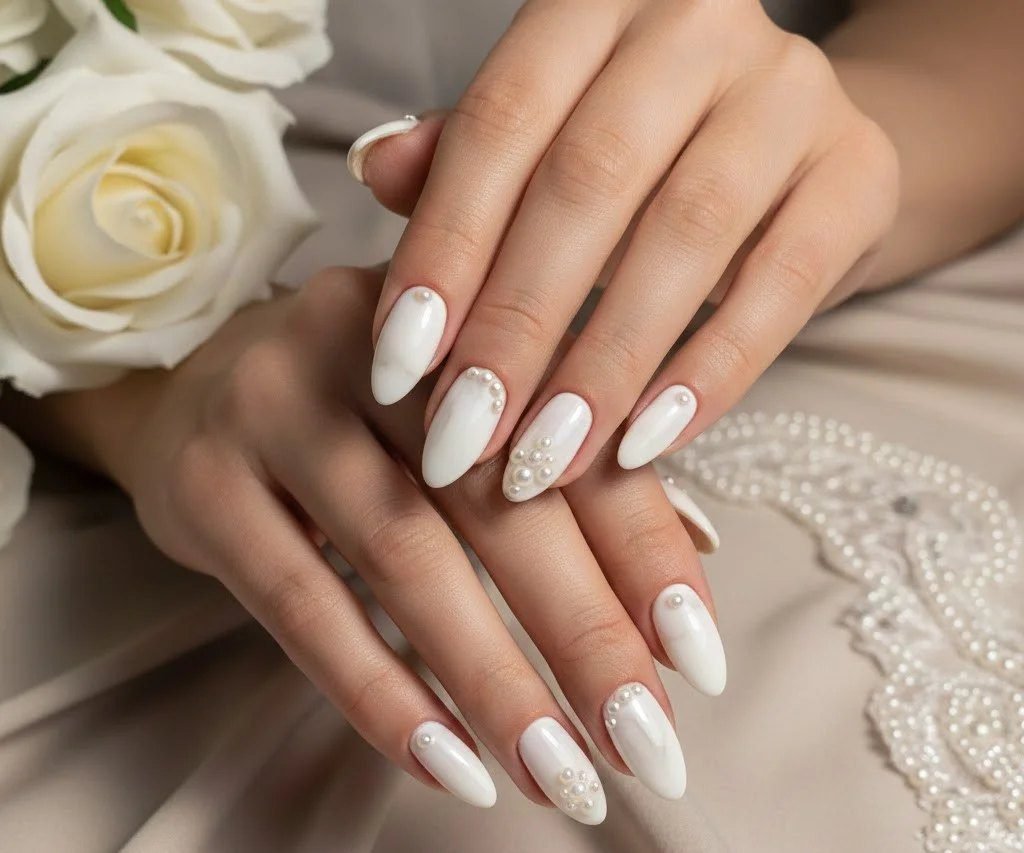
One baroque pearl — irregular, 4 mm, chosen for character — centered on each ring finger, with a scatter of seed pearls across the remaining nails. The imperfection is the entire point: baroque pearls photograph like heirlooms rather than purchases, which is precisely the energy you want next to a ring. This is the quiet power move of bridal nails with pearls — the hero gets character, the field gets calm — and coordinating it with the wedding makeup guide keeps the whole glow reading intentional from altar to last dance. When the big day finally arrives, tag Daily Juggar on Facebook — we want to see the hands.
Lustre note: order baroques from a photo of the actual lot, not a listing — “irregular” runs the full range from gently organic to genuinely lumpy.
The Maximalist: Nails With Pearls at Full Volume
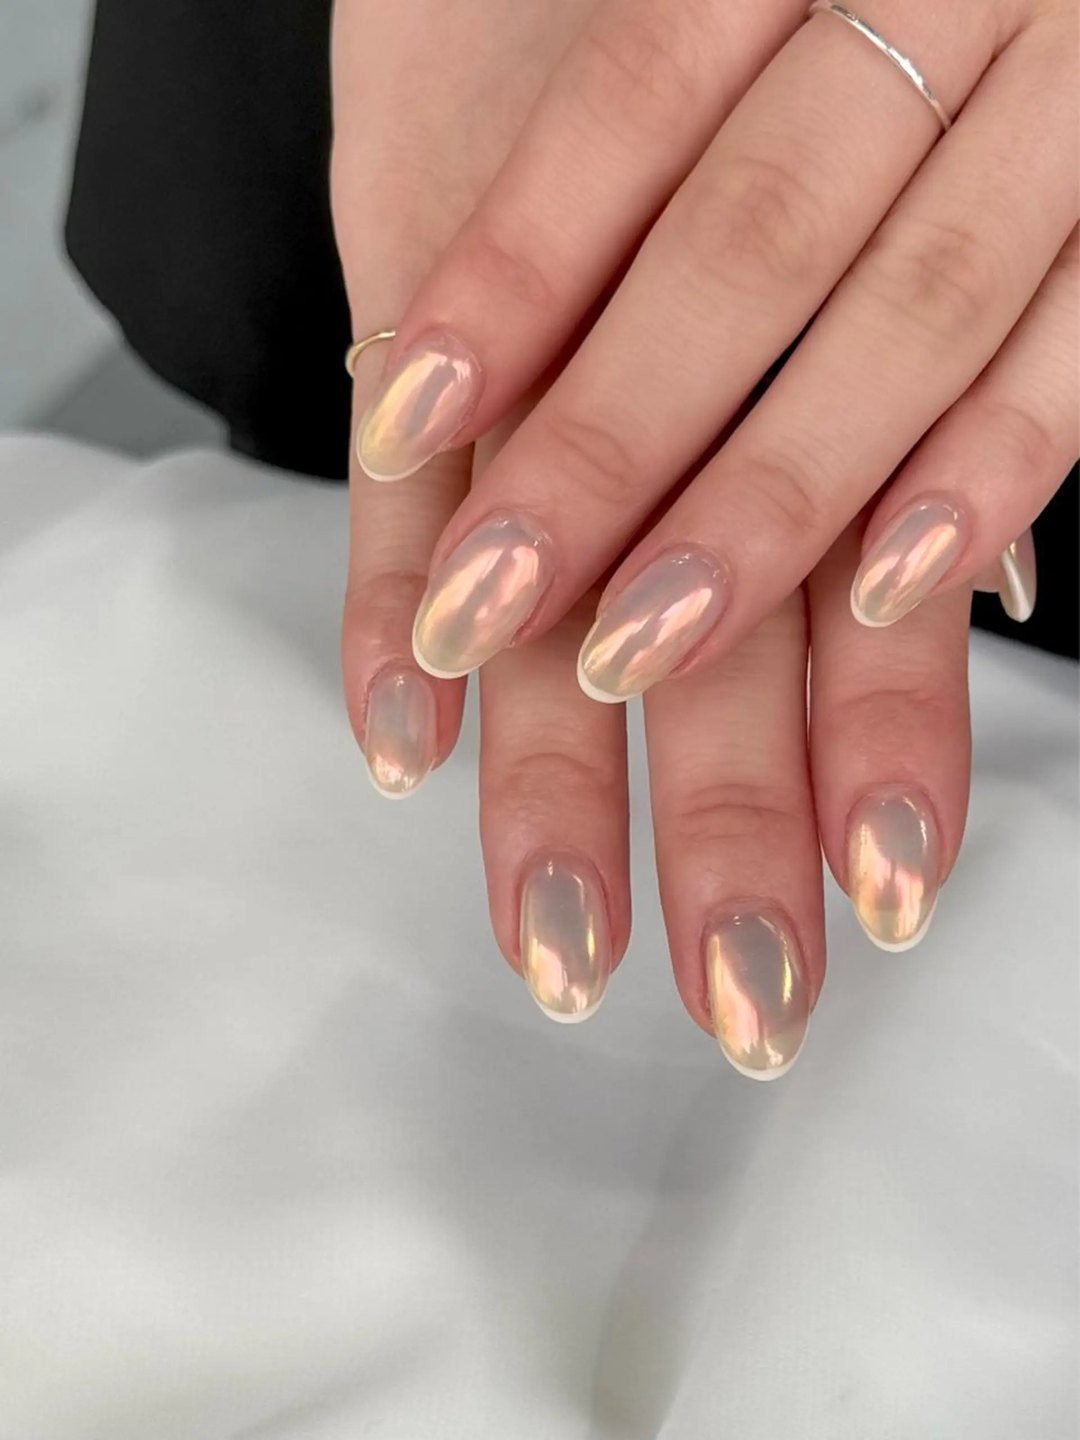
More is more — but even maximalism has physics. This family is where pearl work stops decorating and starts constituting the entire look, from chrome crossovers to full pave fields. It is the natural habitat of birthday nails, party season, and every occasion where the dress code says photos are guaranteed. The rules below are what keep the volume from tipping into noise.
11. Aurora Pearl Chrome
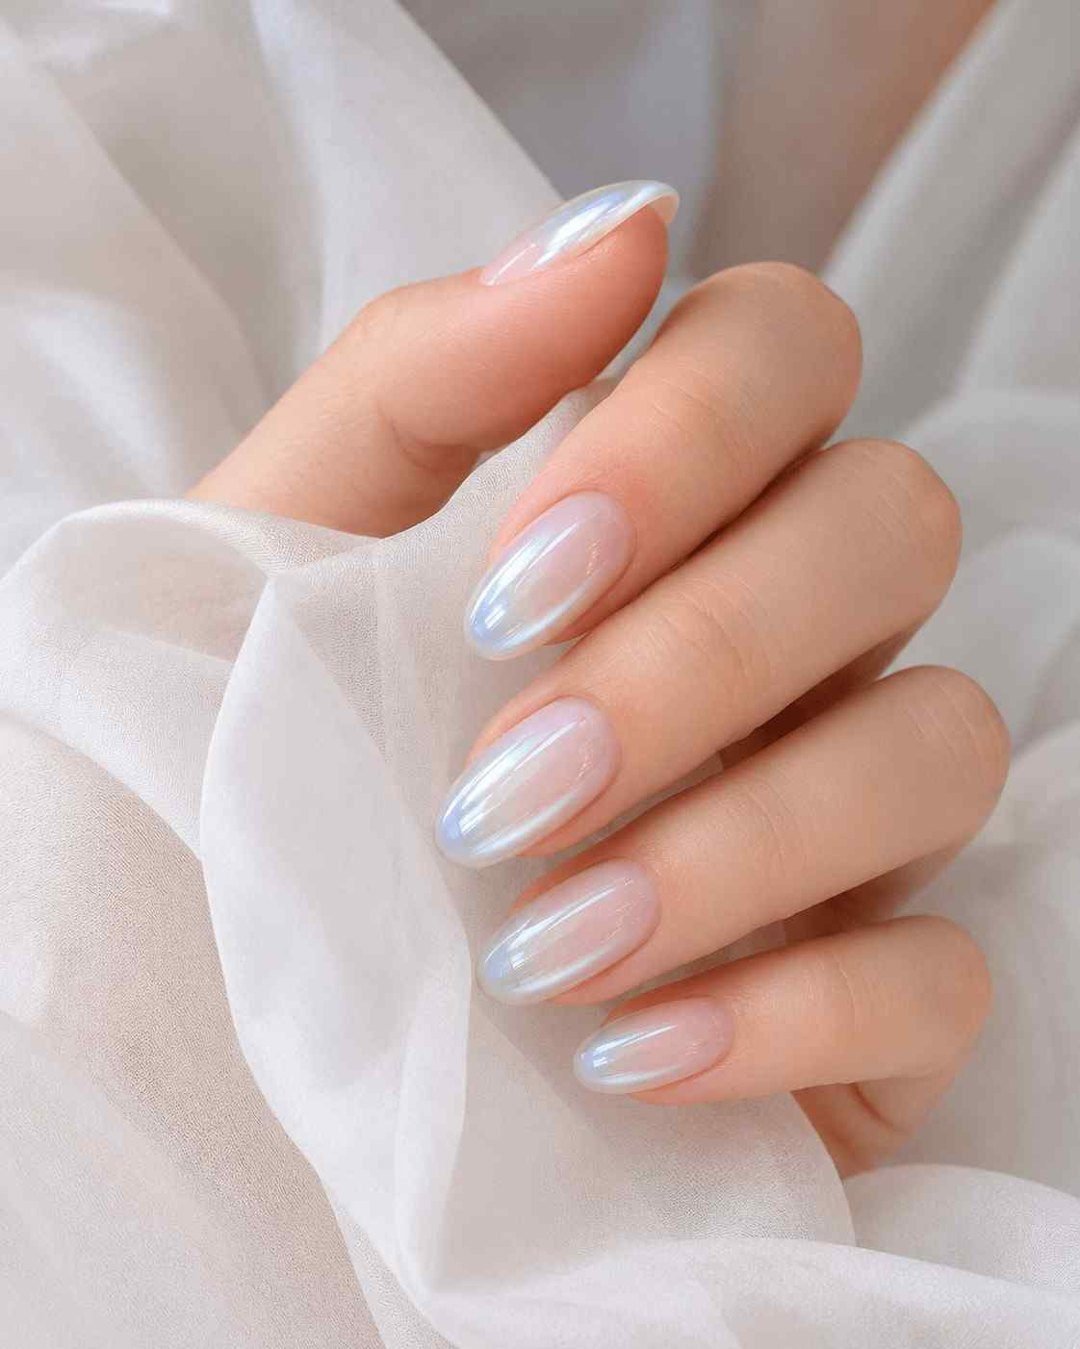
A chrome or glazed base doing its liquid-metal thing, with iridescent AB-coated pearls scattered across the accent nails. The base flashes; the pearls glow; one hand covers both ends of the light spectrum. If chrome nails are already your rotation, this crossover makes them tactile as well as reflective — it is the set people physically pick up your hand to inspect, because nails with pearls have never covered this much ground in one go.
Lustre note: AB coating is the maximum iridescence you want — one step further and coated pearls tip from aurora into oil-slick.
12. The Mixed Lustre
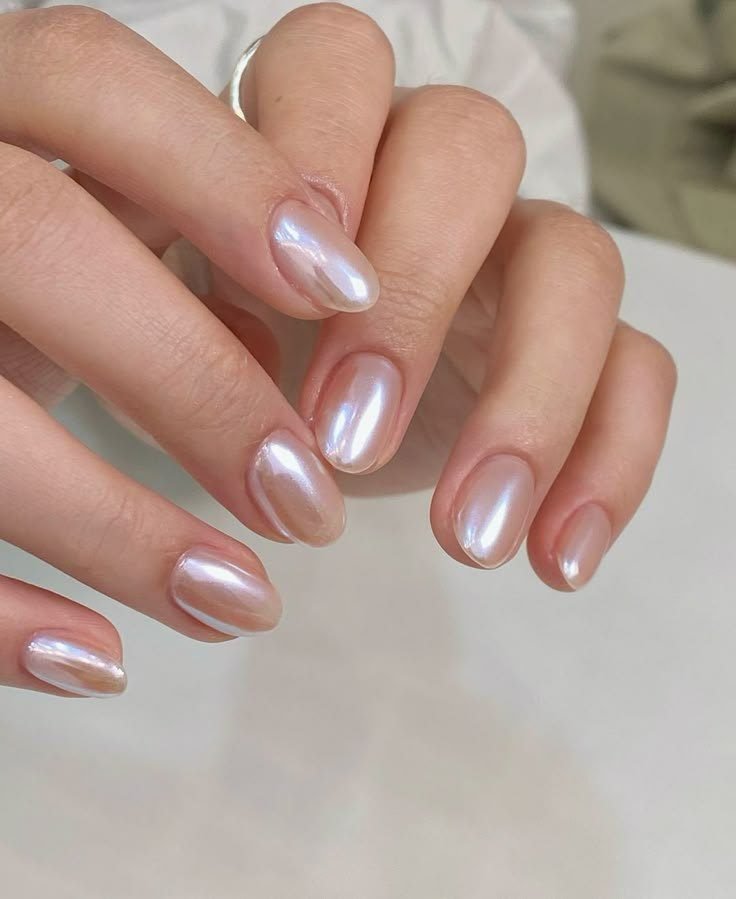
Pearls and rhinestones in the same set, deployed by light logic: pearls low near the cuticle where they glow steadily, a two- or three-stone rhinestone cluster at the edge where it catches movement. Glow low, flash high — that is the whole system, and it keeps the mix deliberate instead of chaotic. It is the year-round cousin of Christmas rhinestone nails, and the pearl-and-crystal pairing photographs better than either stone solo.
Lustre note: never alternate pearls and rhinestones one-for-one in a single line — the different heights catch light differently, and the line looks drunk.
13. The Full Pave
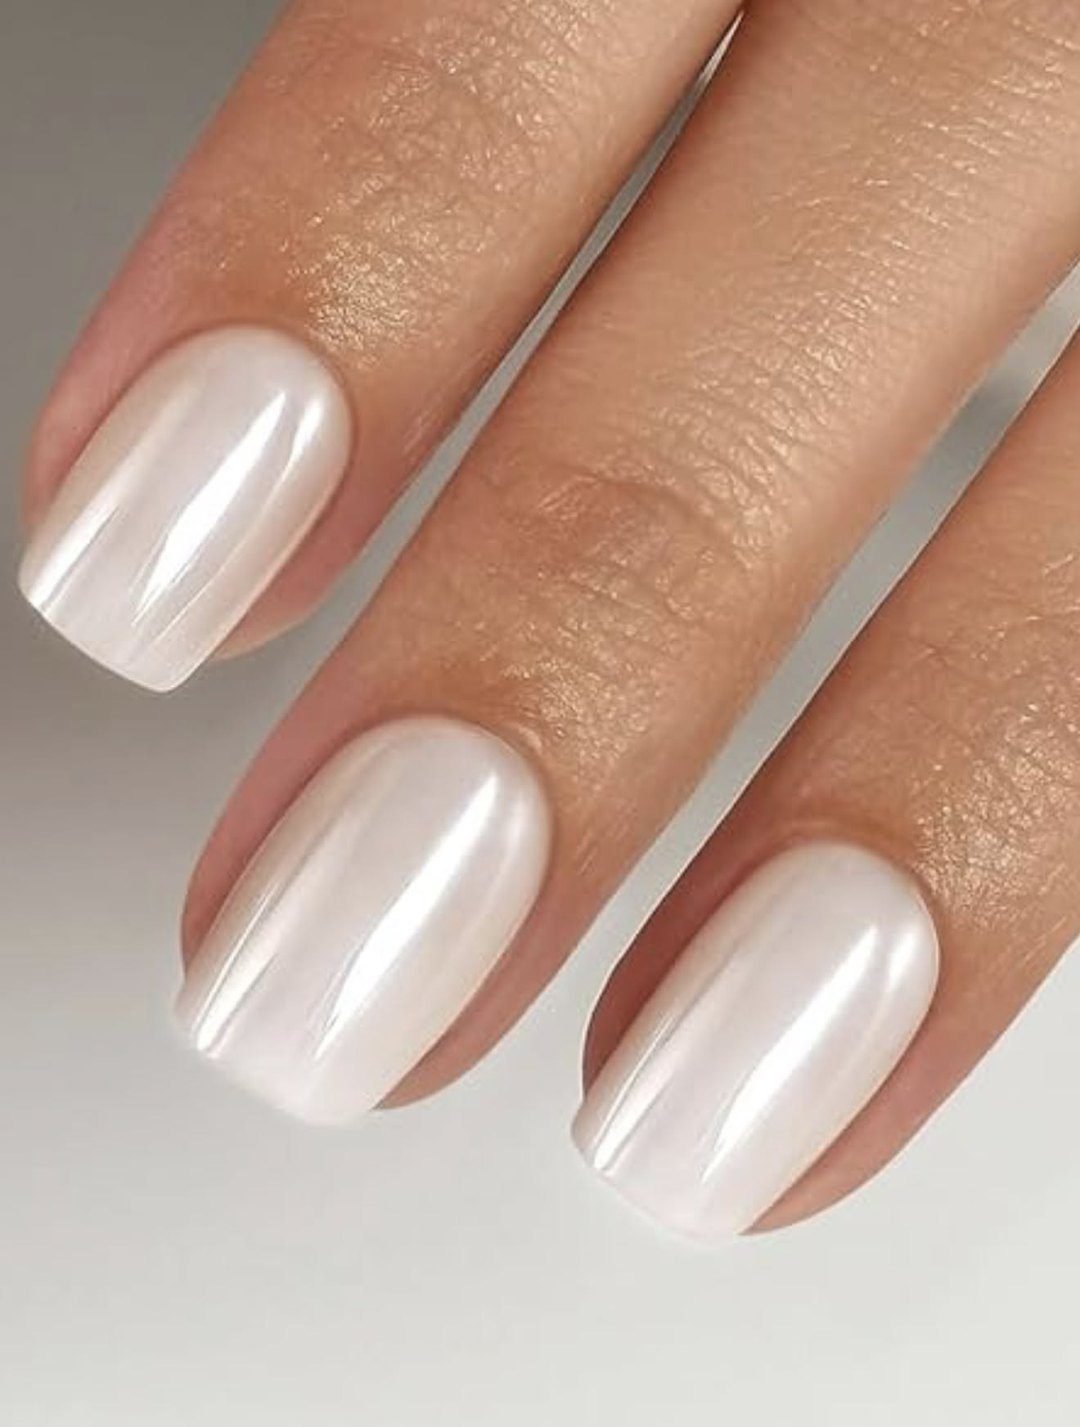
A complete field of 2 mm pearls covering two accent nails — edge to edge, no base visible. This is the heaviest design in the guide, literally: a full pave has real weight, which is exactly why it stays on two nails and why it belongs in gel, not glue. It is the statement pick for New Year’s nails and every event with a countdown being filmed. Nails with pearls do not get louder than this — and they do not need to.
Lustre note: full pave in glue at home lasts days; in gel at a salon it lasts weeks — this is the one design in the guide genuinely worth booking a chair for.
Keeping Pearls Put (The Part Nobody Warns You About)
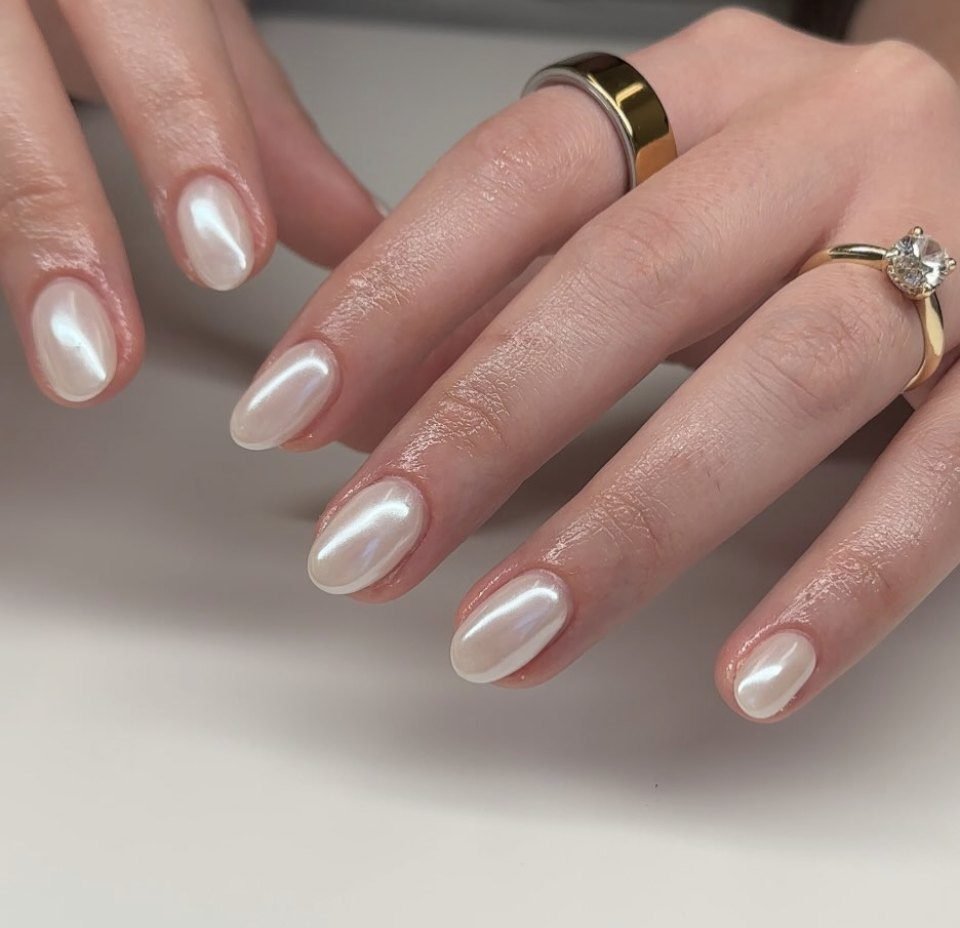
Nails with pearls live or die on attachment, so here is the ladder, honestly rated. Pressing pearls into wet topcoat is the easiest route and the shortest-lived — expect 3 to 5 days before the first loosening. A micro-drop of nail glue under each pearl takes you to 1–2 weeks of solid wear. Pearls embedded in a bead of UV gel and cured under a lamp last until your next infill — the only method with real longevity, and standard practice at any salon fluent in acrylic or gel work. Whichever route you take, re-cap every pearl’s edge with topcoat, because the rim lifts before the dome does. Then respect the 48-hour rule: if a pearl survives two full days, it was placed well; if not, the spares in your bag turn the loss into a one-minute fix. And when the set finally comes off, removal should be as gentle as any proper nail care routine — never pry a stubborn pearl; soak it.
FAQs About Nails With Pearls
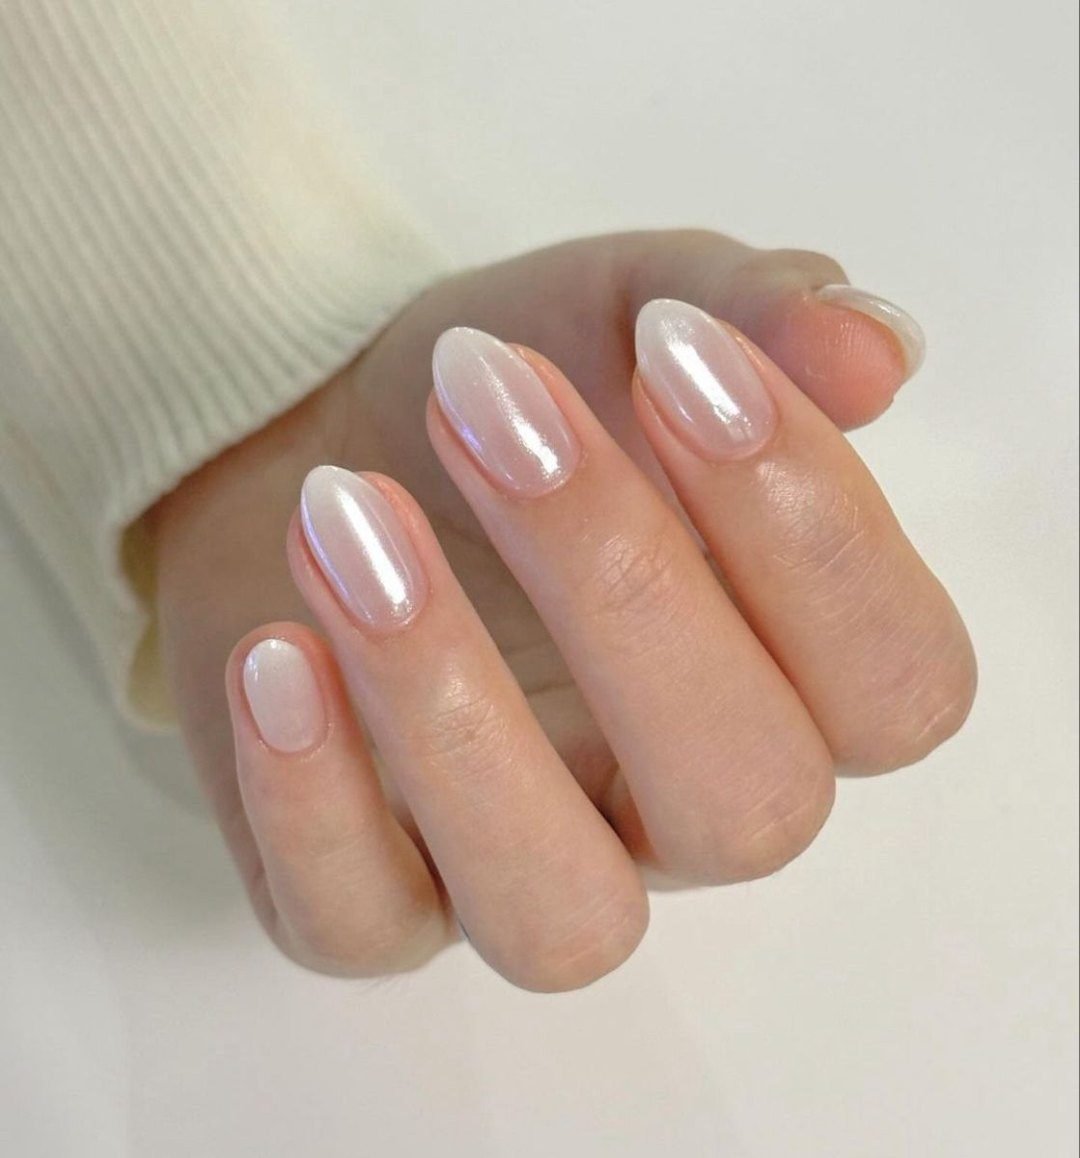
How do you get pearls to stick to your nails? Three routes, ranked by staying power. Pressing pearls into wet topcoat is easiest but short-lived; a micro-drop of nail glue carries nails with pearls through one to two weeks; and embedding each pearl in a cured bead of UV gel holds until your next infill. Whichever you use, re-cap every pearl’s edge with topcoat — the rim lifts before the dome does.
Do pearls fall off nails easily? Edge pearls go first — the free edge takes the knocks from pockets, keyboards and hair. Cuticle and side-wall placements survive longest, which is why the Minimalist family lives where it does. This is the normal wear pattern of nails with pearls, not a placement mistake. Expect one stray loss in the first 48 hours on topcoat-only sets; glued or gel-embedded pearls hold far harder.
How long do nails with pearls last? By method: pressed into topcoat, 3–5 days before the first loosening. Nail glue, 1–2 weeks. UV gel embed, 2–3 weeks and beyond — until the infill. Placement matters as much as adhesive: pearls near the cuticle routinely outlast tip placements by a week, and side-wall files outlast everything.
Are nail pearls real pearls? Almost never — and that is genuinely the better option. Nail pearls are glass or ABS imitation half-domes: perfectly matched in size, waterproof, and a fraction of the price. Real freshwater pearls are irregular by nature, impossible to mirror across ten nails, and roughly ten times the cost — anyone selling nails with pearls made from real ones is charging for the story, not the result.
Can you wear pearls on short nails? Yes — short nails with pearls are arguably the best canvas for restraint. Stick to 0.8–1 mm seed pearls in single lines or one solitaire, and skip anything above 2 mm, which overwhelms a small plate and snags on everything. On short almond nails, a cuticle dot line plus a sheer base looks deliberately designed rather than sparingly decorated.
What’s the difference between pearl nails and rhinestone nails? Light behavior. Rhinestones have facets that refract — they flash and sparkle with every movement. Pearls have none; they glow with a soft, diffuse lustre that stays constant under any light. Pearls read bridal and elegant; rhinestones read bold and party-ready. Nails with pearls and rhinestone work combine beautifully — pearls as the base notes, crystals as the accents — as long as one of them clearly leads.
Final Word
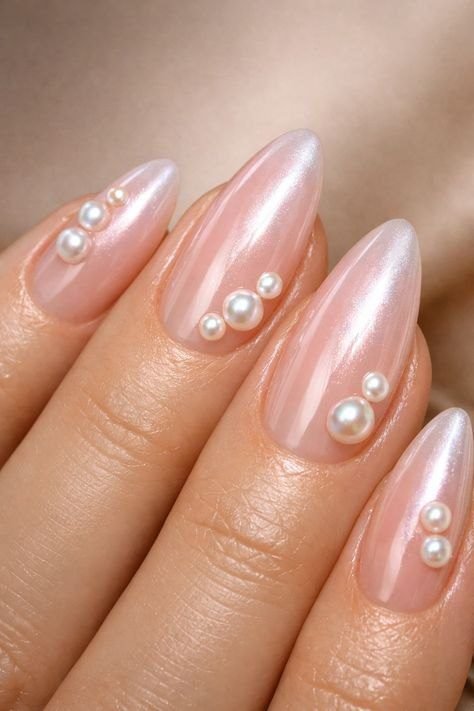
Whether you land on one solitaire or a full pave, nails with pearls follow the same formula: the right size, the right zone, an honest attachment method, and restraint everywhere else. Pearls are the only embellishment that grows more elegant the longer you look, so wear the version that matches your week — quiet or loud — and let the compliments handle the rest. When you are ready to file this one and choose the next obsession, the full library lives at nail ideas, and yes — pearls work on toes too; the pedicure ideas hub has the matching move. Follow along on Facebook and Pinterest — the pearl boards update weekly.