
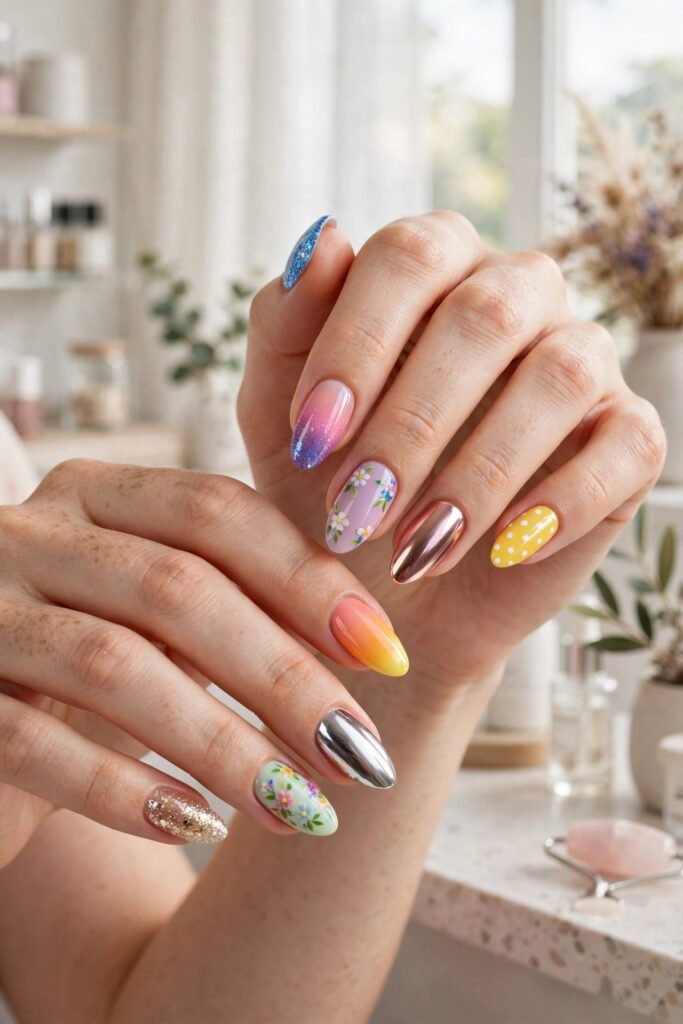
Nail art is the fastest way to turn ten tiny canvases into the most complimented thing you wear — and the salon has been hiding how little skill most of it takes.

The secret is not a steady hand. It is knowing which designs forgive beginners, which ones ask for a patient table, and which ones genuinely deserve the artist label — and then starting on the right rung of the ladder instead of attempting a masterpiece on day one.
So this guide climbs the ladder — twenty-five nail art ideas sorted into three skill levels, each one written as a card with the exact tools, the time, the method in plain steps, and the pro move that makes it read salon-done. Start at your level, collect the techniques, and in a month the advanced section will be waiting for you.
Follow our Pinterest boards for daily nail inspiration, and join us on Facebook so you never miss a manicure guide.
The Five-Tool Drawer (Everything Below Lives Here)

Every design on this ladder runs on the same small kit — buy it once, paint forever.
A dotting tool or bobby pin for dots of every size. A thin brush or toothpick for lines. Striping tape for edges no freehand could match. A makeup sponge for gradients. And one good glitter polish, the workhorse of the entire craft.
The canvas matters too — gel holds art for two to three weeks through everything, and the strongest sets live in our gel nail designs 2026 guide. The accent rule keeps every set looking designed: eight supporting nails, two heroes — full sets of complex art read busy, accents read intentional. For the season’s occasion-specific versions, our christmas nail art and new year nails guides build on everything here.
The 25 Nail Art Ideas (Climb the Ladder)
LEVEL ONE — The No-Skill Zone (1–8)
Zero drawing ability required. Tweezers, tape, and sponges do the work.
1. The Glitter Sandwich

You’ll need: sheer pink polish, fine glitter, top coat. Time: 15 minutes. Method: one coat of sheer pink, one thin glitter layer, then a second pink coat on top — the glitter suspended in glass between two calm layers. It reads boutique because of the sandwich build, not the polish. Pro move: the top pink layer is what makes it last — glitter without the sandwich catches on everything by day three.
2. The Sponge Ombré

You’ll need: two polish shades, makeup sponge. Time: 20 minutes. Method: paint both colors side by side on the sponge, press onto the nail in two passes, clean the edges after. The first pass lays the color; the second blurs the seam. The full gradient science lives in our ombre nails ideas guide. Pro move: re-wet the sponge between passes — a damp sponge blends; a dry one streaks.
3. The Gold Foil Flakes

You’ll need: any polish, gold leaf, tweezers, top coat. Time: 15 minutes. Method: paint and dry, press foil flakes with damp tweezers, seal twice. Irregular placement reads expensive — foil is the one material that rewards imperfection. Pro move: two nails per hand only — flakes on all ten read foil, flakes on accents read gold leaf.
4. The Tape Color Block
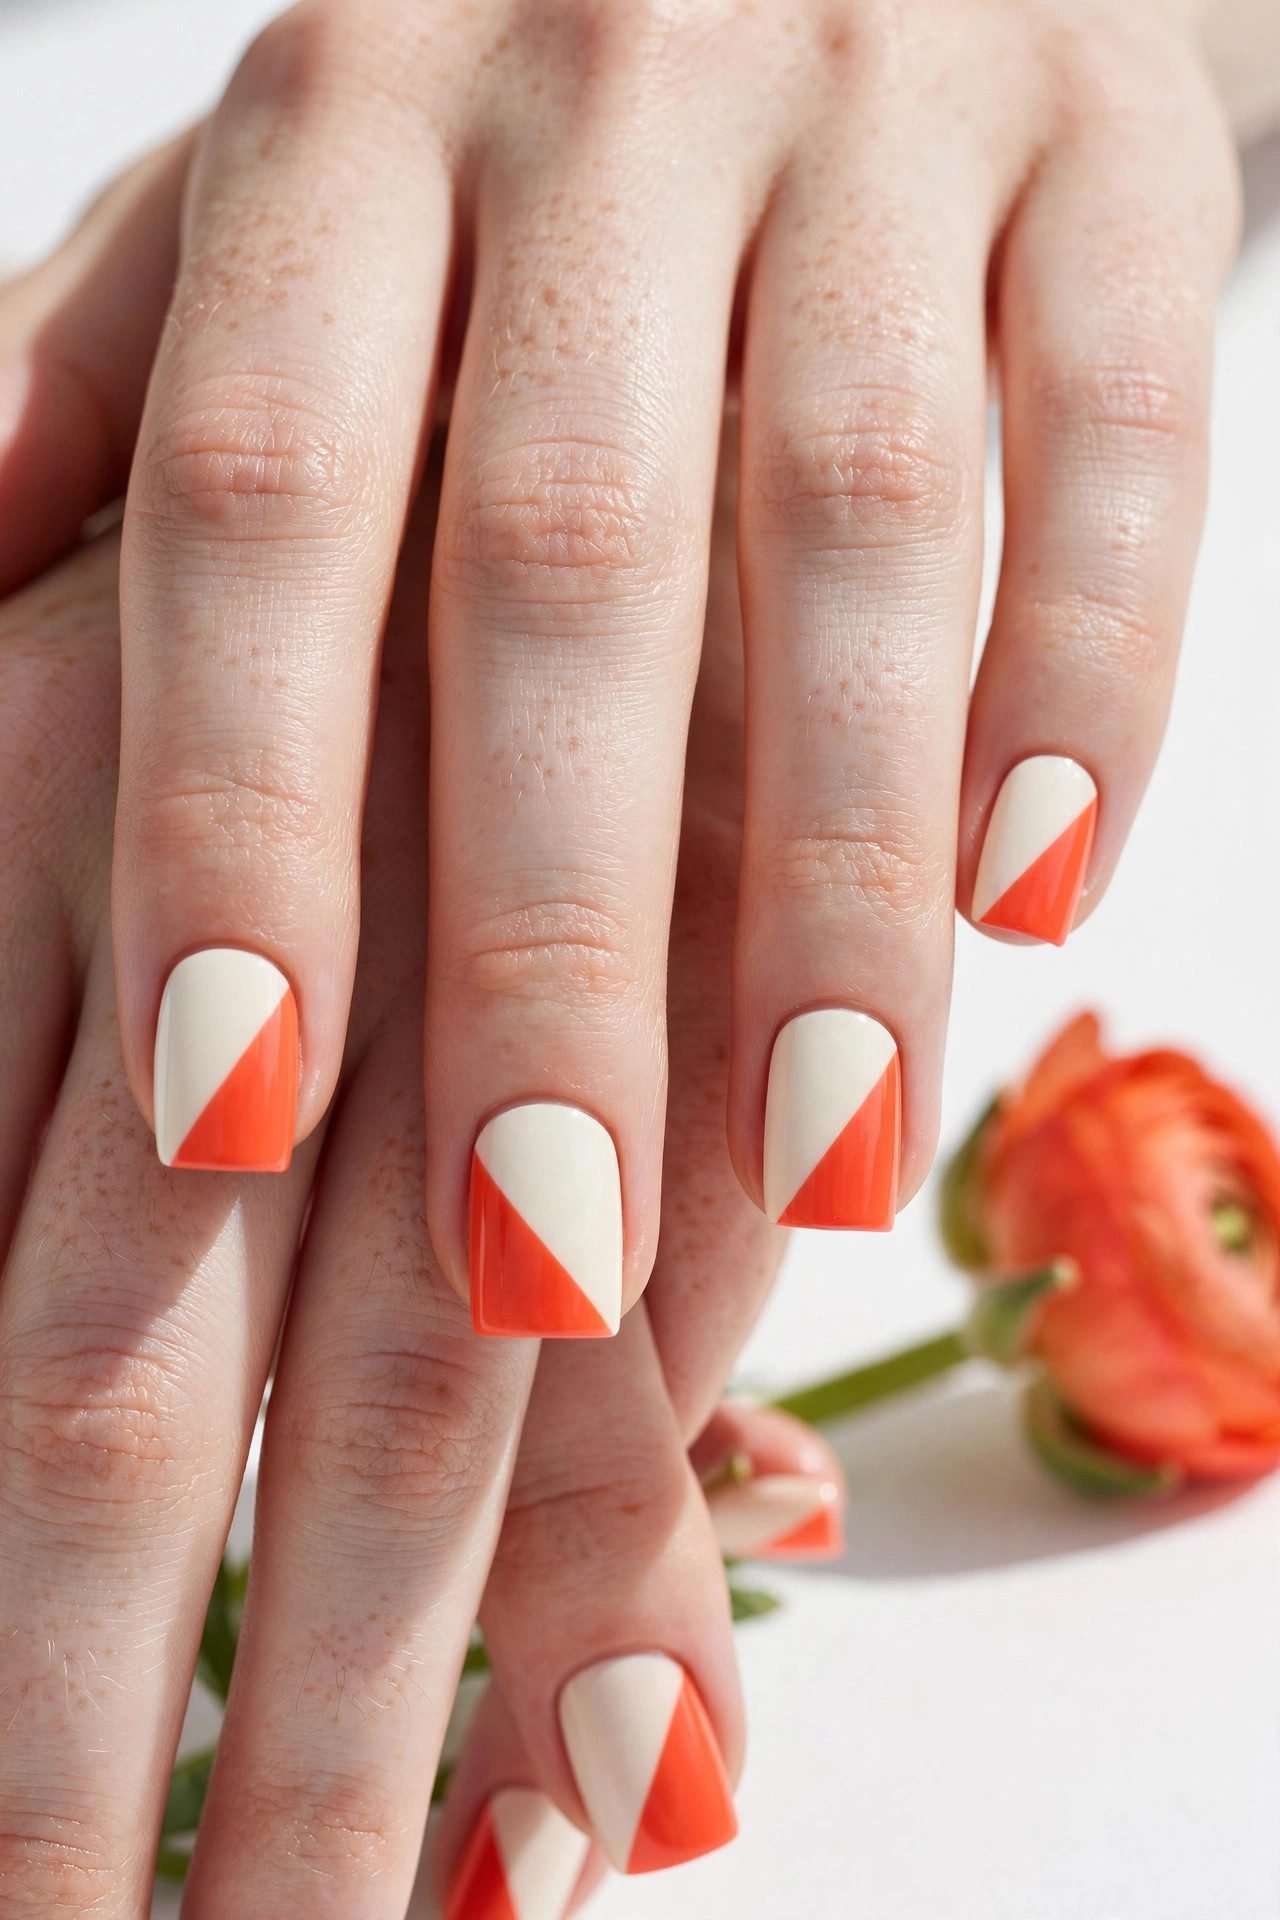
You’ll need: two polishes, striping tape. Time: 20 minutes. Method: paint the base and dry fully, lay tape on the diagonal, paint the second color over the section, peel the tape while the polish is wet. Crisp geometry from zero freehand. Pro move: peel toward the wet side, never away — the line stays sharp instead of lifting.
5. The Sticker Cheat
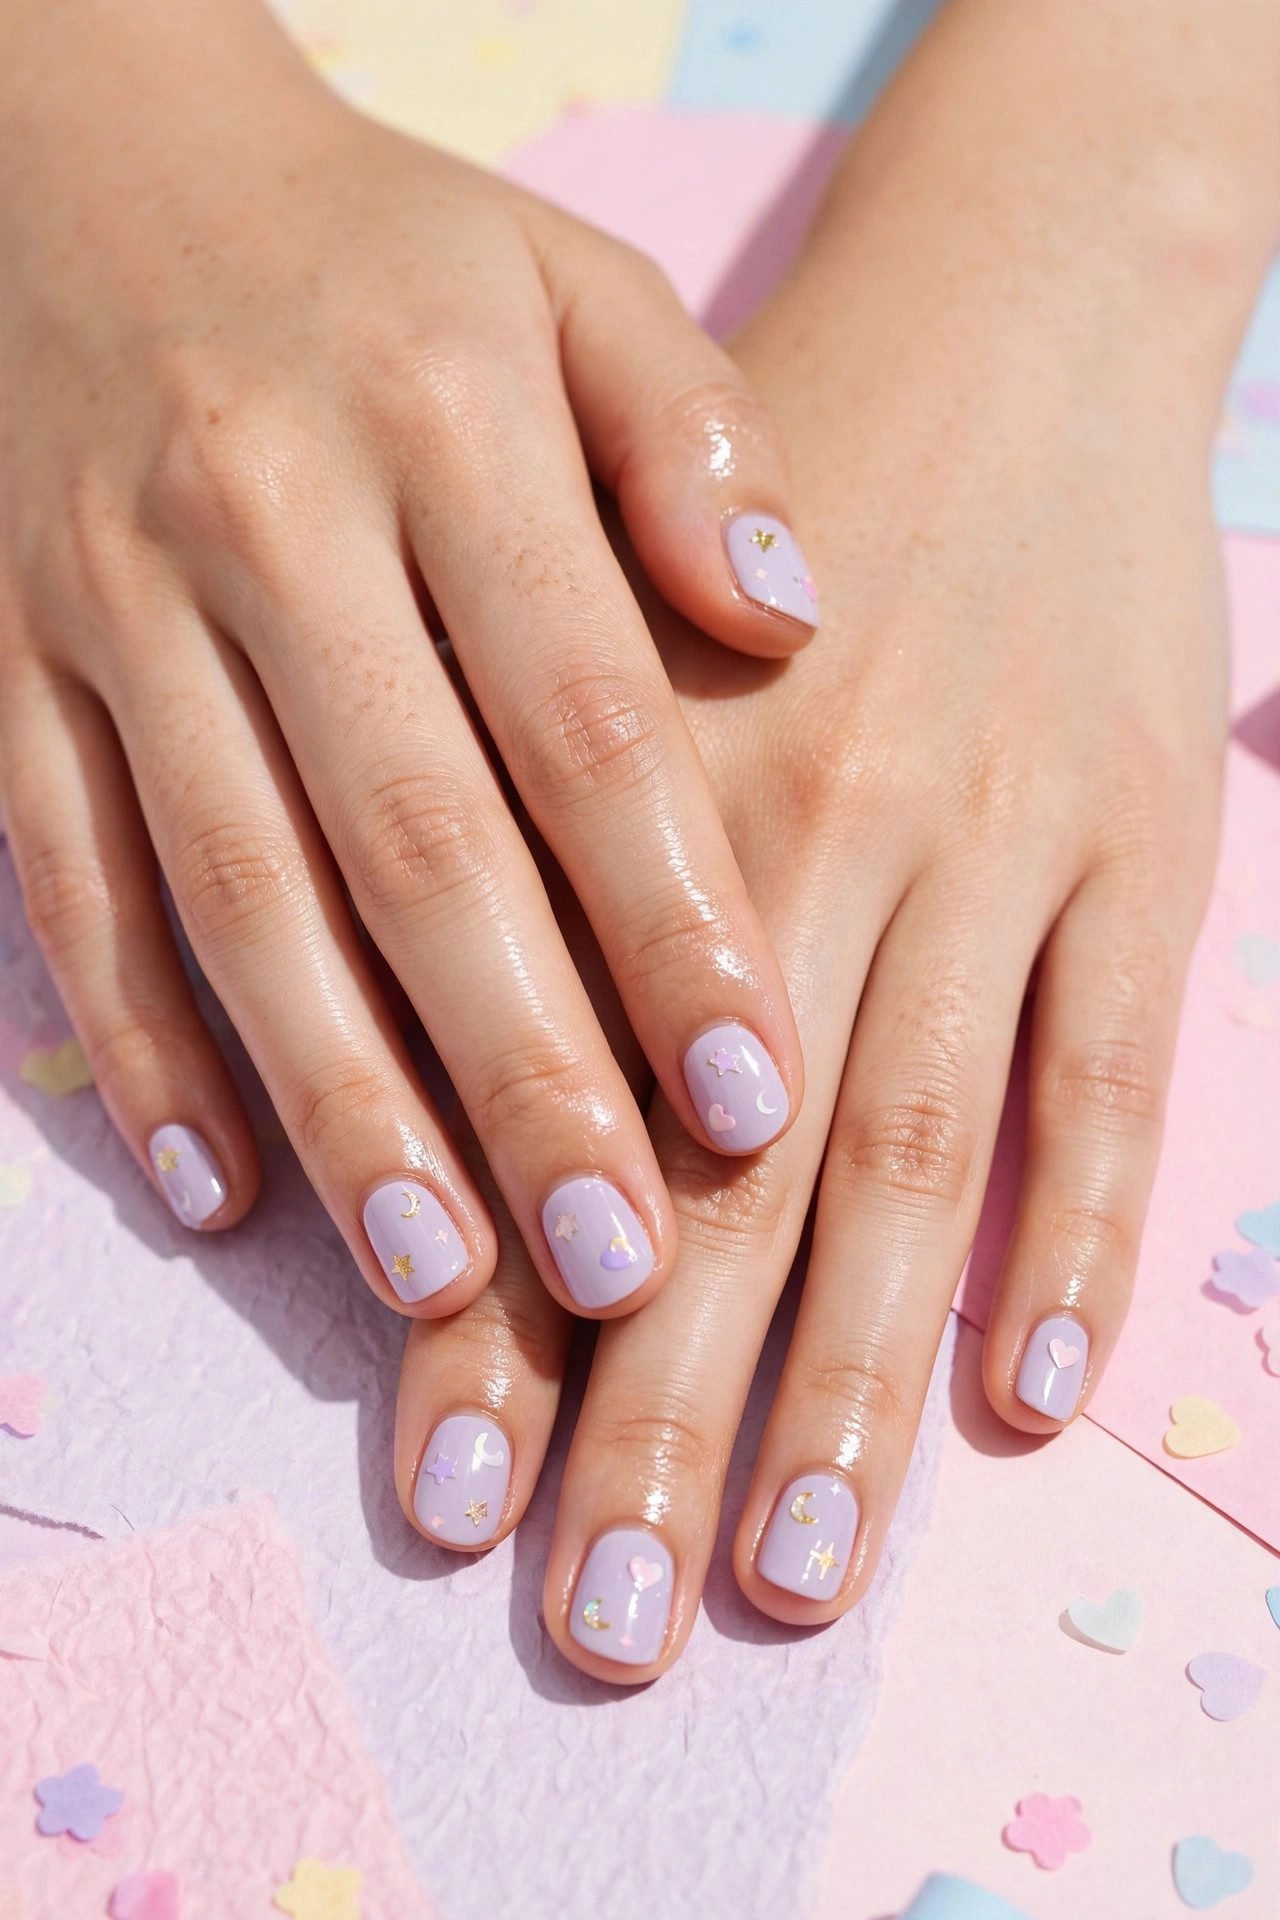
You’ll need: base color, nail stickers or decals, top coat. Time: 10 minutes. Method: paint, dry, press the sticker flat with a silicone tool or fingertip, seal with two top coats. Stickers have quietly become the professionals’ cheat — the detail level is impossible freehand. Pro move: seal twice, not once — one coat and the sticker edge lifts by the weekend.
6. The Single Accent Nail
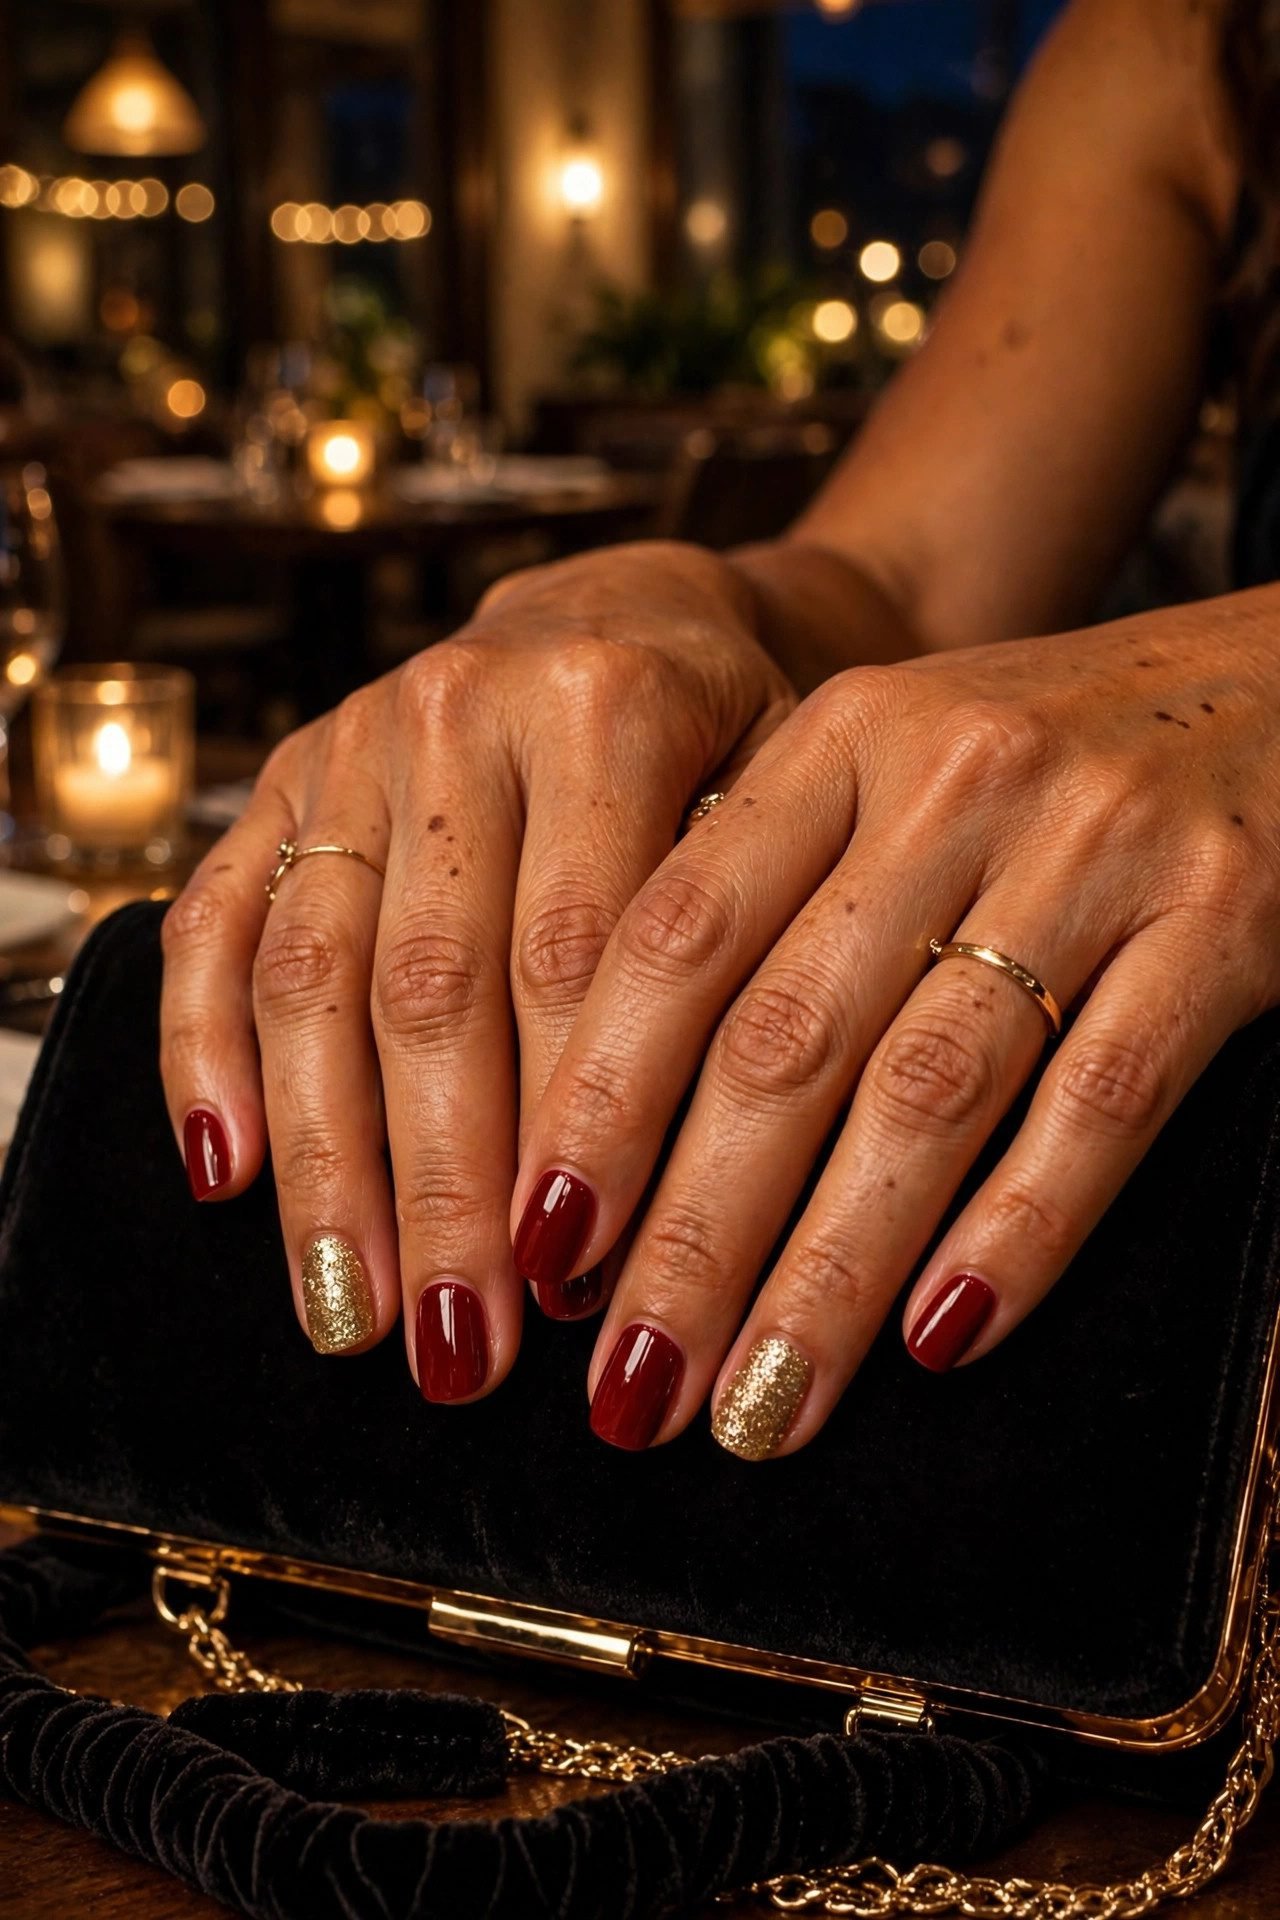
You’ll need: one solid shade, one glitter shade. Time: 10 minutes. Method: all nails in the solid, ring fingers in the glitter. The oldest trick in the nail art book and still the most effective — one hero per hand. Pro move: glitter on the ring fingers specifically — tradition exists because that hand leads in every photo.
7. The Chrome Press
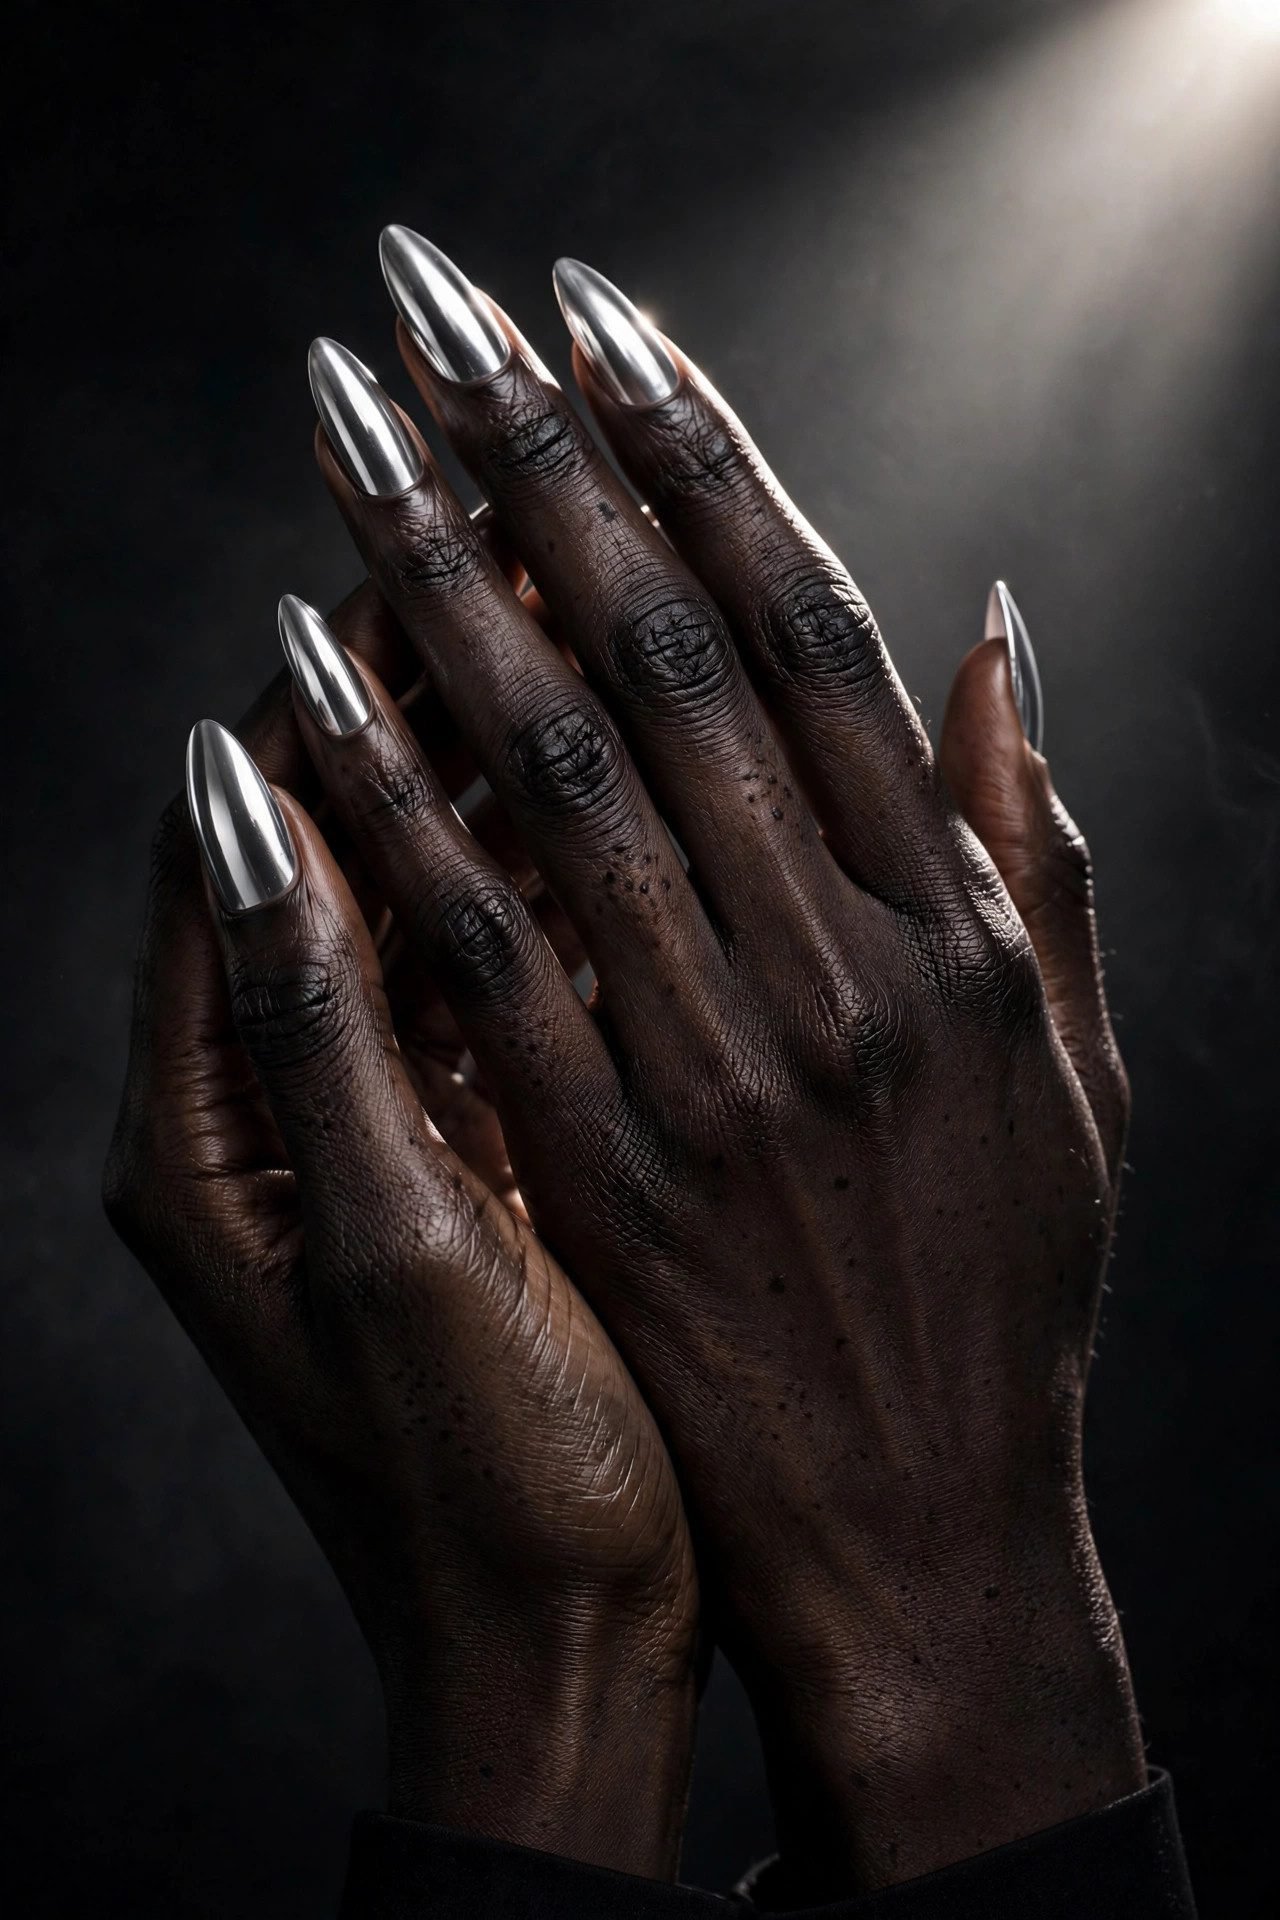
You’ll need: base color, chrome powder, eyeshadow applicator, no-wipe top coat. Time: 25 minutes. Method: apply base, rub chrome powder into the sticky layer until it mirrors, seal with no-wipe top coat. The liquid-metal finish that salons charge extra for — the full family lives in our chrome nails ideas guide. Pro move: chrome only works over gel or long-wear base — regular polish flexes and cracks the mirror within a day.
8. The Glitter Fade

You’ll need: nude polish, glitter, makeup sponge. Time: 20 minutes. Method: paint nude, pat glitter onto the sponge, press it onto the tips building two thin layers — dense at the edge, fading back. The grown-up sparkle that flatters every length from our short nail designs 2026 guide. Pro move: press, never swipe — swiping moves the base; pressing builds the gradient in place.
LEVEL TWO — The Steady Table (9–17)
A patient table and one quiet evening. Every technique here is learnable in a single sitting.
9. The Polka Dot Set

You’ll need: two polishes, dotting tool. Time: 20 minutes. Method: paint the base, dot in alternating sizes across the nails — big dots scattered, small dots filling gaps. The full placement system lives in our polka dot nails art tutorial guide. Pro move: dots of two different sizes read as depth — one size reads wallpaper.
10. The Cat-Eye Beam

You’ll need: magnetic polish, the magnet. Time: 20 minutes. Method: paint one nail at a time, hold the magnet over the wet polish for ten seconds, watch the light-beam gather. The complete magnet method lives in our cat eye nails design tutorial guide. Pro move: one nail at a time is the rule — the polish dries fast and the magnet only works on wet.
11. The Marble Swirl

You’ll need: three polishes, toothpick, top coat. Time: 25 minutes. Method: drop small pools of each color on the nail, drag the toothpick through in one slow S-curve, clean up. Every nail a different swirl — no two matching is the entire beauty. Pro move: one drag per nail, never go back — second passes turn marble into mud.
12. The Half-Moon Retro

You’ll need: two polishes, reinforcement ring stickers. Time: 25 minutes. Method: paint the base color, dry, place ring stickers at the cuticle line, paint the second color over the whole nail, peel wet. The vintage crescent that reads retro-expensive. Pro move: the ring sticker is the secret — freehand half-moons wobble; the sticker’s circle never does.
13. The Dotted Flower

You’ll need: three polishes, dotting tool. Time: 25 minutes. Method: on one accent nail, place five dots in a circle, one smaller dot in a different color at the center. The five-dot flower — one per accent nail, the rest solid. Pro move: slightly uneven dots read hand-painted charm; perfect circles read factory. Let the wobble win.
14. The Stripe Geometry

You’ll need: three polishes, striping tape. Time: 30 minutes. Method: paint and dry, lay tape in parallel lines, paint the open sections in alternating colors, peel each tape wet. Geometric art from pure tape logic — the tape does the drawing. Pro move: let the base dry completely — wet base plus tape equals lifted corners.
15. The Rhinestone Line

You’ll need: polish, crystals, nail glue or sticky top coat, tweezers. Time: 20 minutes. Method: paint and dry, place crystals in a single line down one edge of each accent nail, seal around — never over — the stones. The placement strategy from our christmas rhinestone nails guide applies year-round. Pro move: one line of stones reads jewelry; clusters read craft. The edge placement is what makes it couture.
16. The Negative Space Shape

You’ll need: one polish, tape. Time: 25 minutes. Method: tape off a triangle, circle, or diagonal strip of bare nail, paint everything around it, peel wet. The design is the nail showing through — modern art with tape alone. Pro move: the bolder the shape, the quieter the color — a bare triangle in nude polish reads gallery; the same shape in neon reads craft fair.
17. The Chevron Tip

You’ll need: two polishes, striping tape. Time: 25 minutes. Method: paint the base, build the V-shape at the tip with two pieces of angled tape, paint the tip color, peel wet. The zigzag that turns any manicure into art. Pro move: match the V’s peak to the nail’s center line — eyeball it once and the whole set aligns.
LEVEL THREE — The Artist’s Table (18–25)
The freehand tier. Every design here takes three tries to learn and a lifetime to show off.
18. The Freehand Line Art

You’ll need: one detail brush, one polish color. Time: 30 minutes. Method: single continuous lines drawn across each nail — faces, arcs, abstract curves. One color, one line weight, and the restraint does the artistry. Pro move: draw with your whole arm, not your fingers — finger-drawn lines wobble, arm-drawn lines flow.
19. The Mini Florals
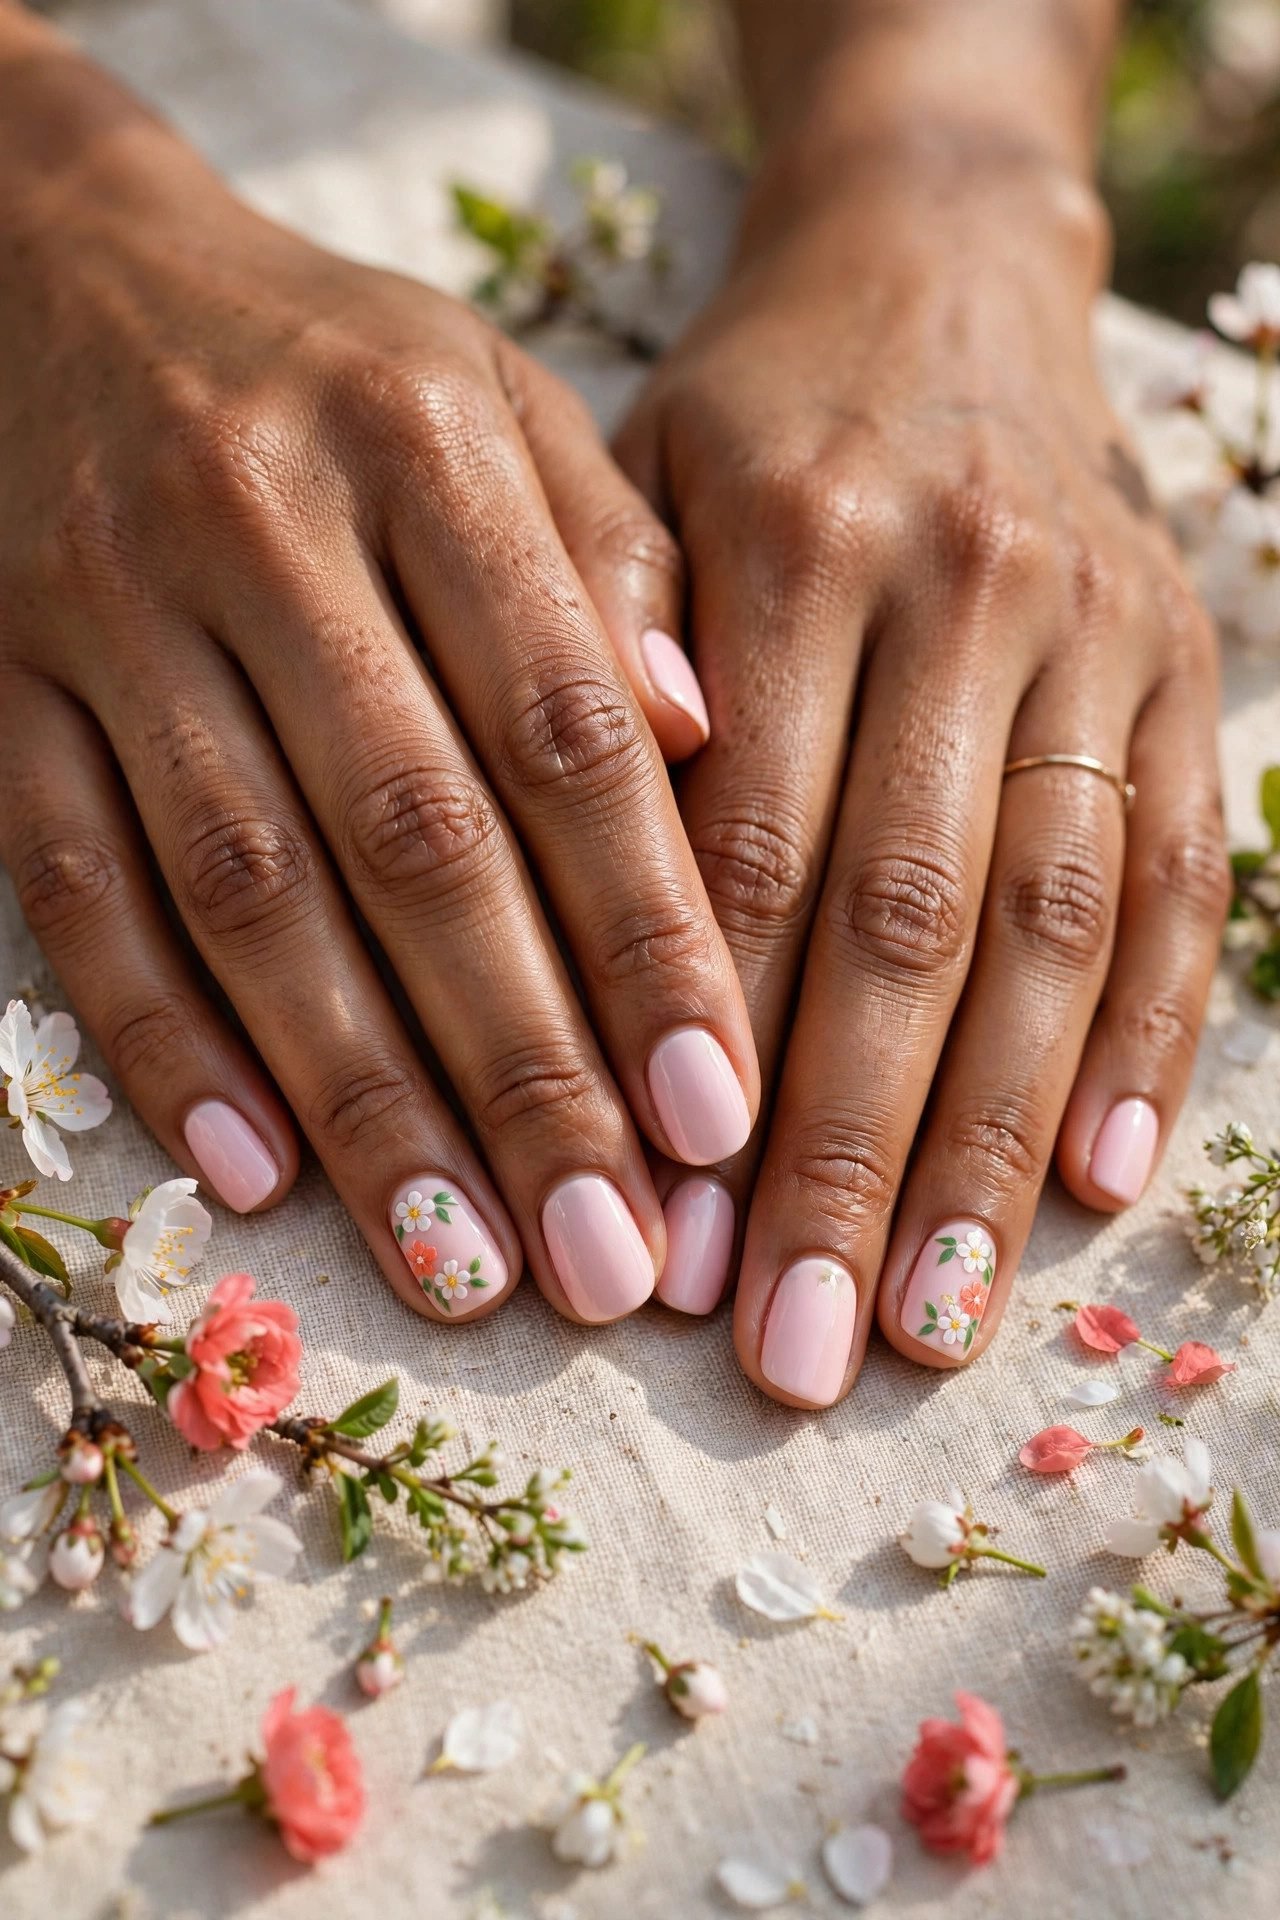
You’ll need: three polishes, detail brush, dotting tool. Time: 35 minutes. Method: tiny five-petal flowers painted petal by petal on accent nails, leaves added with green strokes. The most requested salon design — and the most achievable once the brush feels familiar. Pro move: paint the petals as single downward strokes, dabbing a dot-and-push per petal — five pushes, one flower.
20. The Freehand French
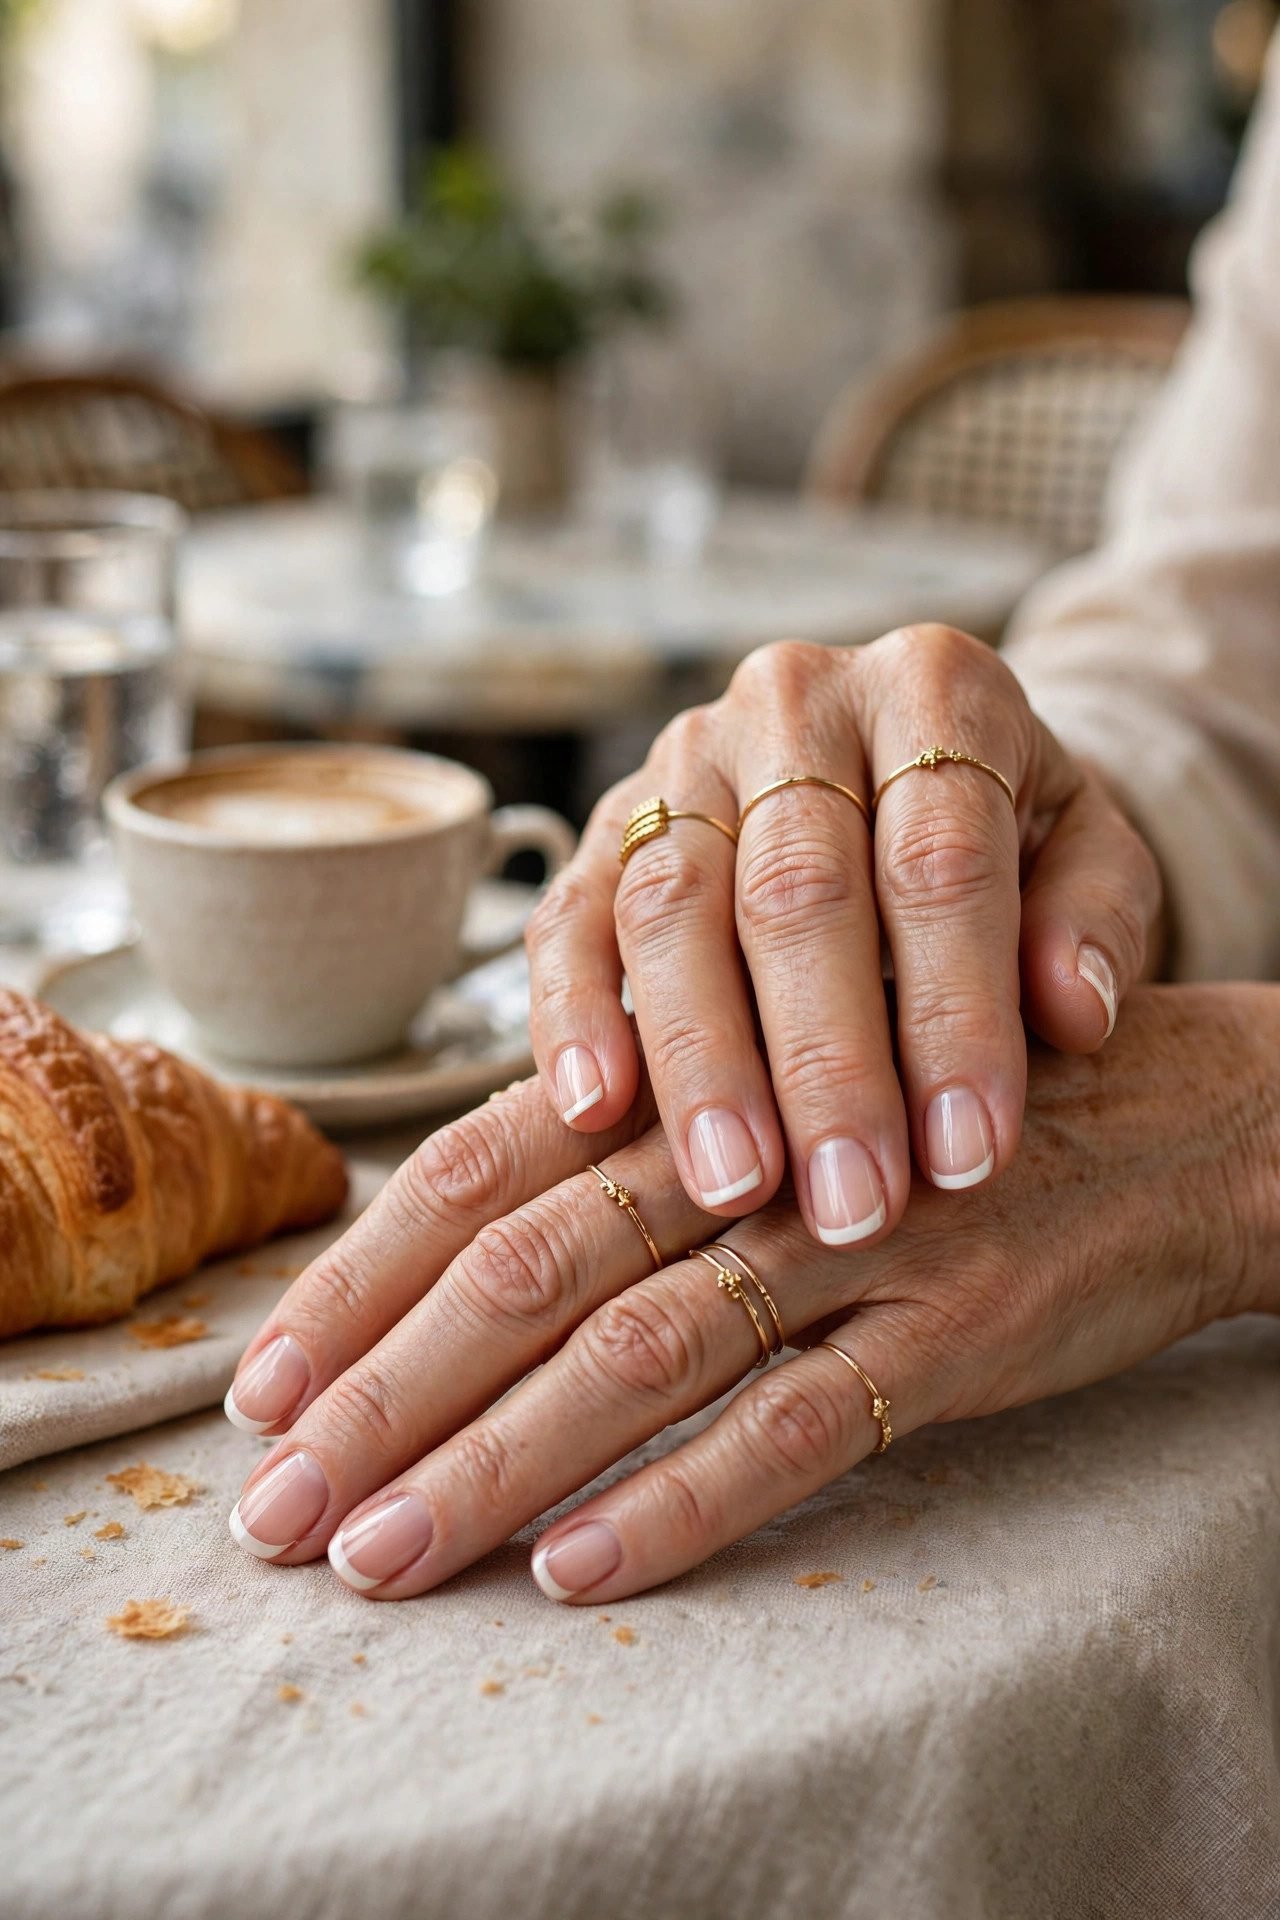
You’ll need: two polishes, detail brush. Time: 25 minutes. Method: the smile line drawn freehand along each tip, curved with the nail’s own shape. The stroked version outperforms every tape version — the full family lives in our french tip nail ideas 2026 guide. Pro move: rest your painting hand’s pinky on the table and brace the brush against the nail’s side wall — two anchors, one line.
21. The Checkerboard
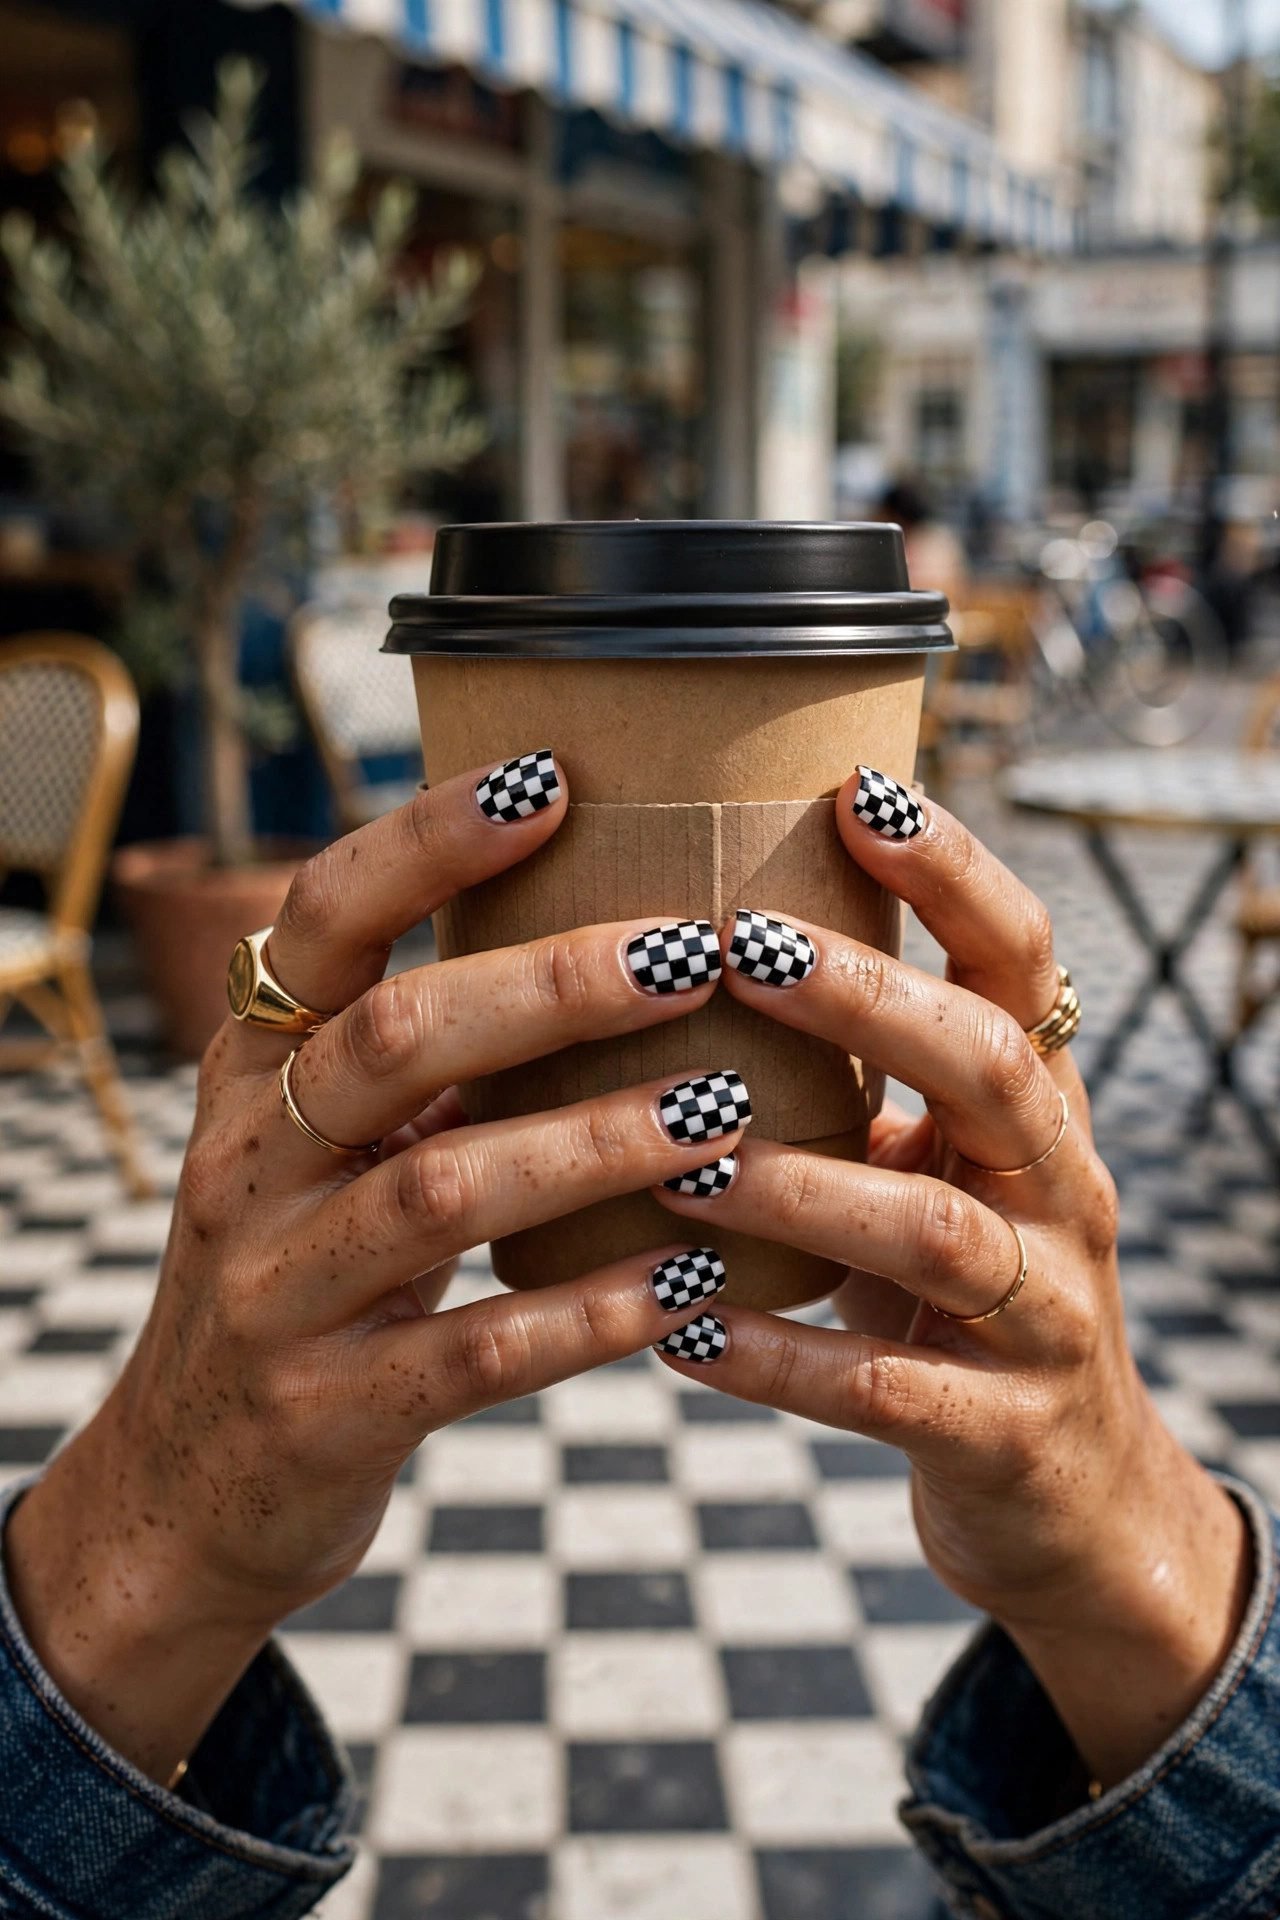
You’ll need: two polishes, striping tape or detail brush. Time: 40 minutes. Method: paint the base, lay horizontal tape lines, paint alternating squares, shift, repeat — or freehand the grid once steady. The retro check that reads full art. Pro move: paint the squares slightly larger than needed — shrinkage in drying evens the grid out.
22. The Cow Print

You’ll need: two polishes, detail brush. Time: 30 minutes. Method: irregular milk-white patches painted over a nude base, no two patches the same shape. The animal print that reads chic instead of costume — the wobblier, the better. Pro move: patches that touch the nail edges read organic; centered patches read polka dots — let them run off the sides.
23. The Abstract Face
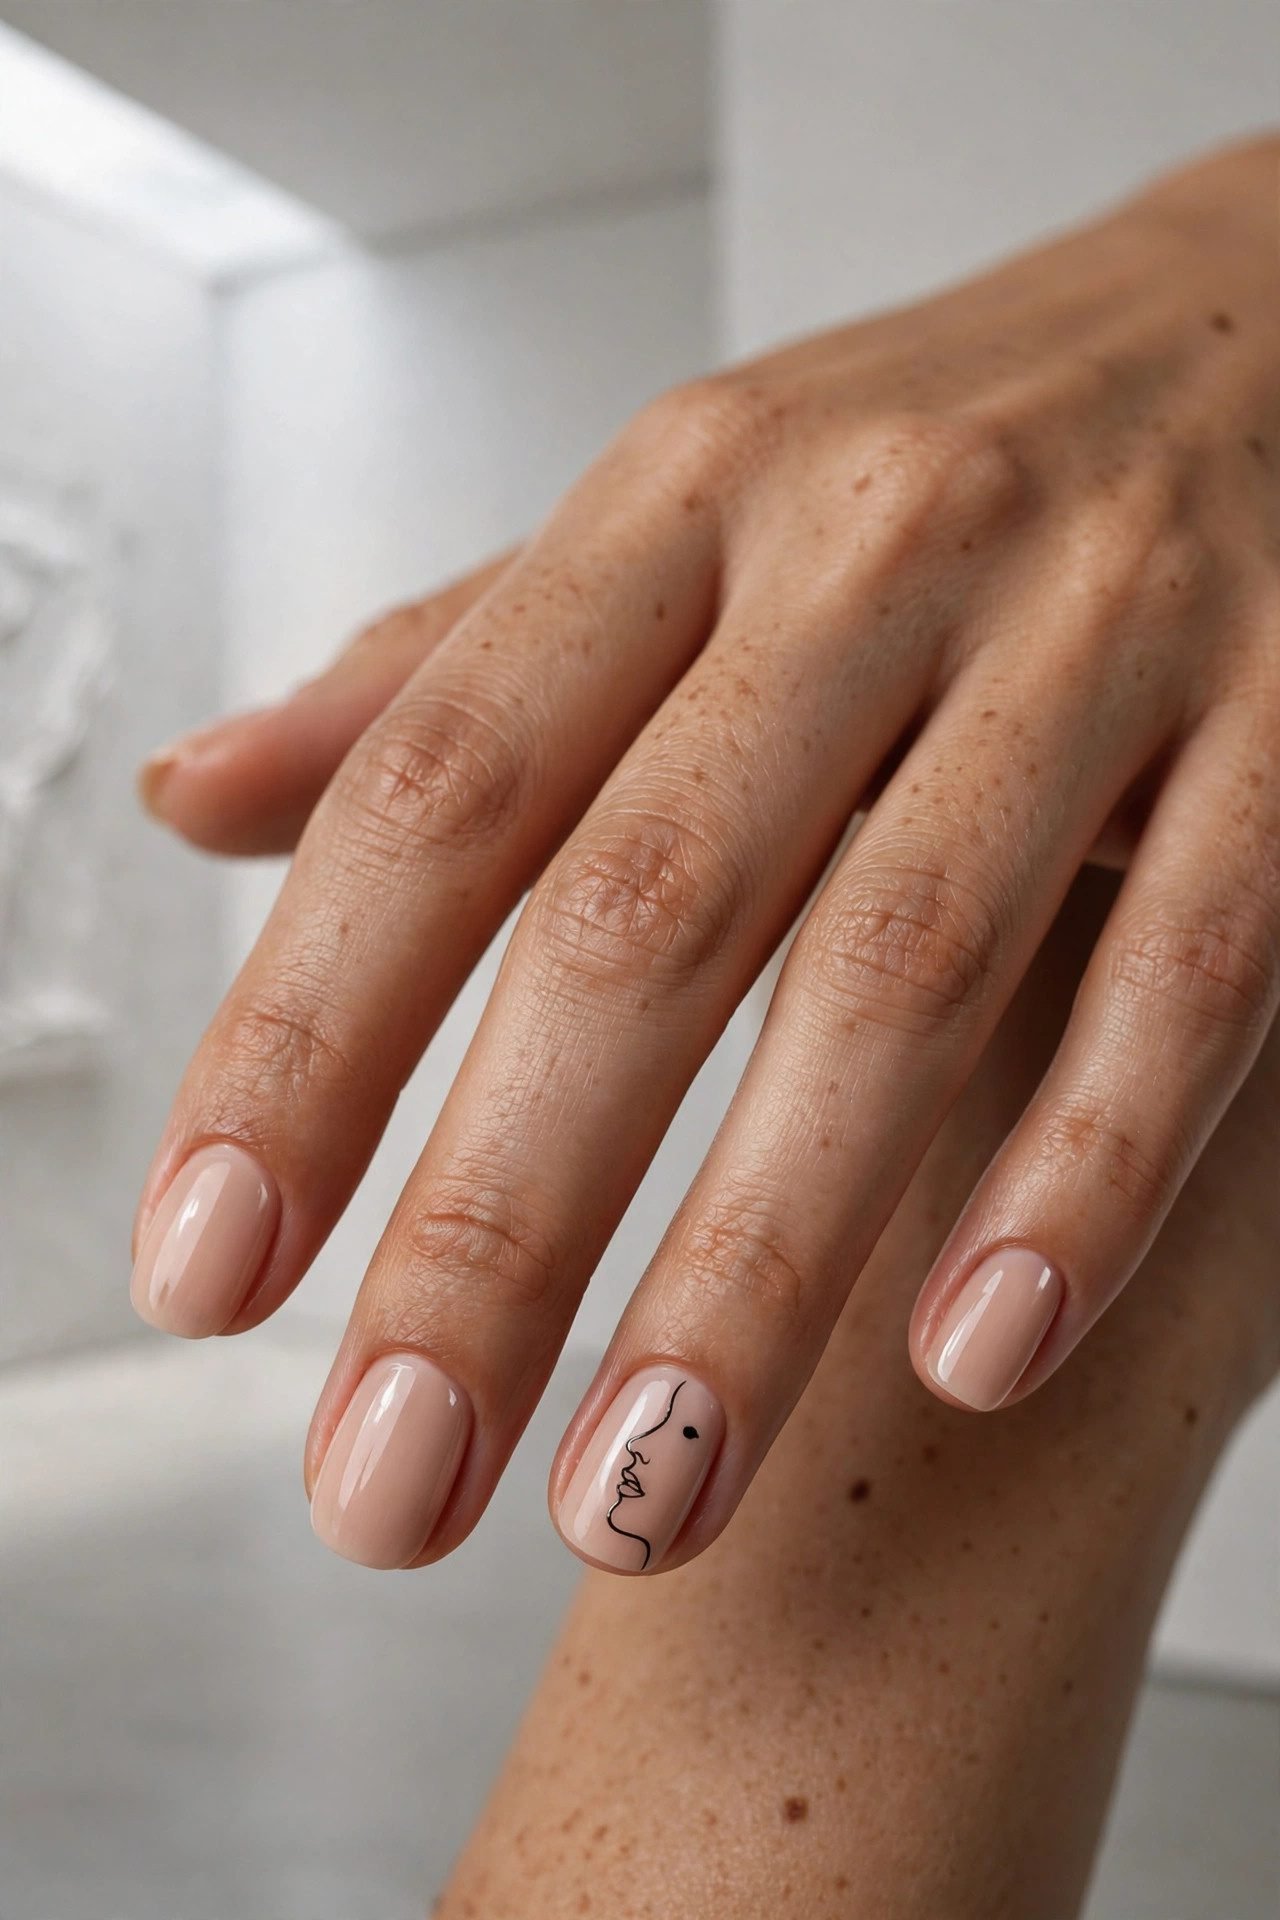
You’ll need: three polishes, detail brush. Time: 40 minutes. Method: a single-line face — one curve for the profile, one dot for the eye, one stroke for the lip — drawn on one or two accent nails. The gallery piece of nail art. Pro move: trace the line from a reference photo on your phone first — muscle memory builds in one practice run on a plastic bag.
24. The Plaid Grid

You’ll need: three polishes, thin brush or tape. Time: 40 minutes. Method: thin horizontal lines, then vertical, then the accent crossings — a woven tartan built line by line. The technique decodes fully in our thanksgiving plaid nail art guide — the method is seasonless. Pro move: build the grid in one direction first and let it dry before crossing — wet-on-wet blends the weave.
25. The Airbrush Illusion

You’ll need: three polishes, makeup sponge. Time: 30 minutes. Method: three colors stacked on the sponge in bands, pressed in light layers onto each nail until the blend reads airbrushed — the soft-focus finish that looks machine-made. Pro move: press six thin layers instead of three thick ones — the airbrush illusion is entirely built from patience.
Nail Art FAQ
What is the easiest nail art for beginners?
The glitter sandwich, the gold foil flakes, and the single accent nail — all three need zero drawing skill and ten to fifteen minutes. Start on Level One, master two designs, then climb.
What tools do I need for nail art at home?
Five things: a dotting tool, a thin brush, striping tape, a makeup sponge, and glitter polish. Every design on this ladder names its tools on the card — most share the same five.
How do I make nail art last longer?
Gel base and top coat hold art for two to three weeks, seal the free edge on application day, and glove up for dishes. When the set finally comes off, the safe removal method lives in our how to remove gel polish guide — peeling ruins the canvas underneath.
How do I get better at freehand nail art?
Practice on a plastic bag or an old wheel before the real nail, draw with your whole arm instead of your fingers, and start with single-line designs before multi-element ones. Every artist on Level Three spent a season on Level Two.
Which nail shape is best for nail art?
Every shape carries art — squares hold grids and straight lines, almonds hold flow and taper designs, and short nails read art bolder per design. The shape science lives in our almond nail designs 2026 guide, and the full shape map runs in our nail shapes guide inside nail ideas.
Where do the seasonal and occasion versions live?
December’s designs live in our christmas nail art guide, the midnight countdown in our new year nails guide, the trending picks in our nail ideas and nail designs 2026 posts — and the color strategy for every design comes from our nail polish colors guide.
More questions? Ask us on Facebook and we will match a design to your level.

Twenty-Five Rungs, One Ladder
Level One needs no talent — tape, sponges, and foil do the drawing. Level Two needs one patient evening. Level Three needs three tries and then belongs to you forever.
Start at your rung, collect one technique per weekend, and let the ten smallest canvases you own become the most complimented thing you wear.
Save this ladder to our Pinterest boards so it is on your phone at the table — and keep the canvas healthy underneath it all with our nail care routine guide, because the best nail art starts with the nail it sits on.
Paint your level! 💅✨


[…] parties, holidays — not a Tuesday keyboard shape. If that trade-off appeals to you, our guide to nail art has ideas worth the […]
[…] the cake topper — number for number. The script technique is part of the freehand family in our nail art […]
[…] for most of what we perceive as “expensive.” These four levers work on any design in our wider nail art archive, from polka dots to […]
[…] never the tip; a gem on the point is a snag waiting to happen. (Placement rules and more are in our nail art […]
[…] appointment — the old money nails crowd has known about pearls for a while now, and the wider nail art library can fill in any technique gaps […]
[…] pairing in the archive — one accent per hand, in line with the restraint rules throughout our nail art guides. Tortoiseshell — the amber-and-brown print — is brown-on-brown art at its most […]