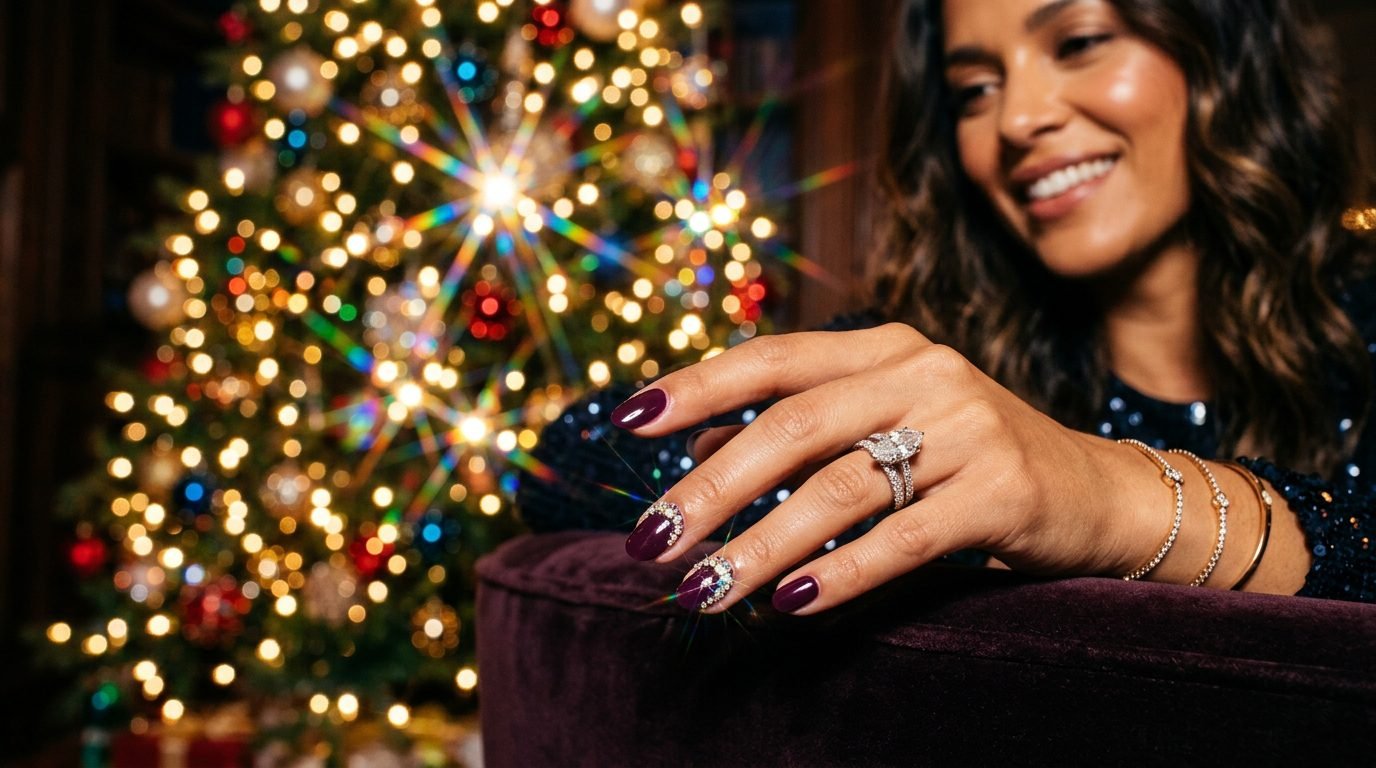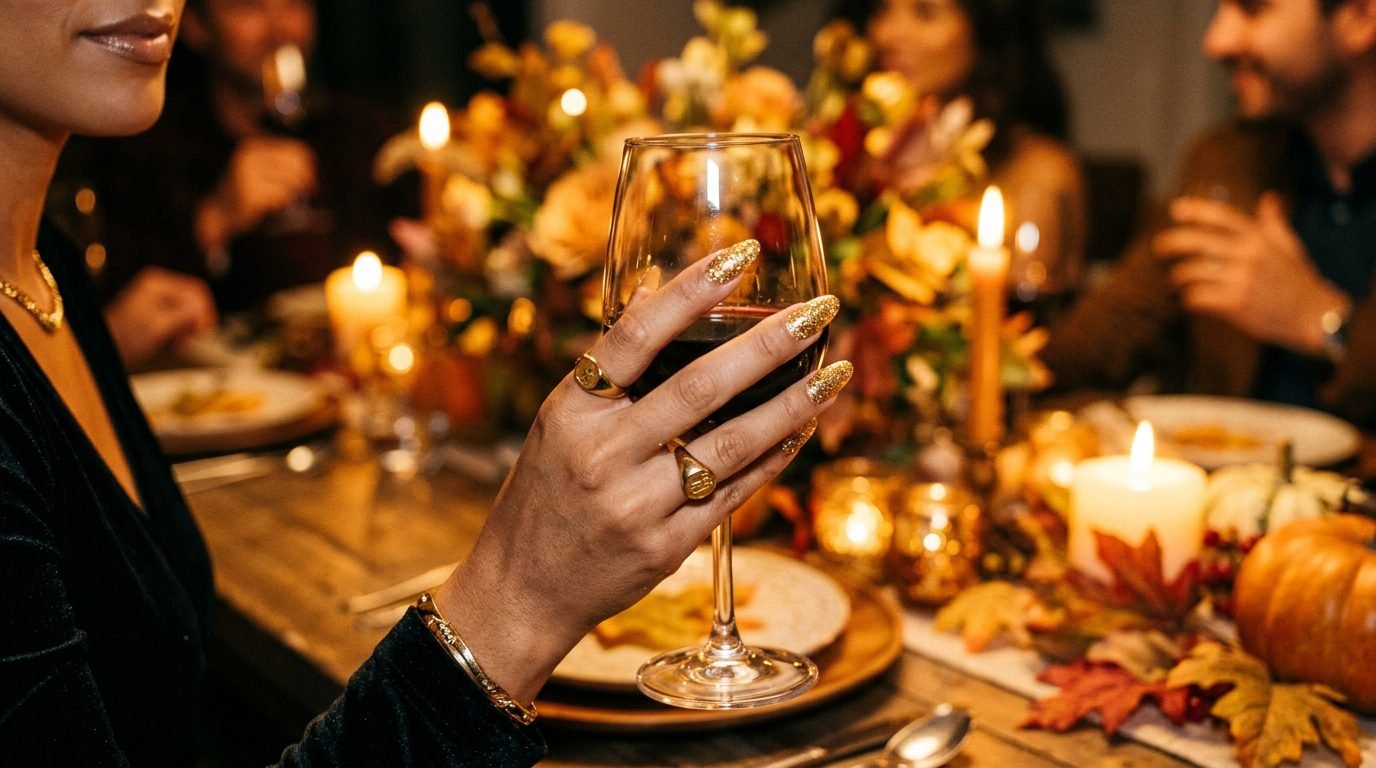

Nails with gems are the only manicure upgrade that behaves like actual jewelry — cut crystal catching light from angles polish simply cannot reach. Where glitter broadcasts and chrome glows, a gem flashes: it sits proud of the nail, waits for the light to move, then throws it back all at once. That flash is why nails with gems photograph differently from every other sparkle trend, and why the same set can look subtle at a desk and volcanic under a dance floor.
But gems obey physics more than any other nail art, and that is genuinely good news — it means placement is not taste, it is strategy. A gem at the cuticle works under office fluorescents; a gem at the free edge needs candlelight; a fully encrusted nail is built for camera flash. Every design in this guide is filed by the hour you will actually wear it, and each one is saved with exact placement on our Pinterest board so your tech gets the brief perfectly.
Here is the promise of this guide: 14 designs that walk one full day — from the 9 a.m. meeting to the midnight countdown — followed by the Facet Files, the sizing and lighting rules nobody explains before you book. Whether you want one whisper of crystal or a full rhinestone glaze, nails with gems have an hour that belongs to you. Let’s start the clock.
The Gem Clock: How to Read This Guide

This guide files 14 designs by occasion, ordered like a single day: morning meetings, the 7 p.m. date, the 11 p.m. dance floor, the altar, and the midnight countdown. Each stop has a sparkle ceiling — the maximum gem load that still reads appropriate for that hour — because the difference between elegant and extra is almost always when, not how much. Every design includes its base, its gem placement and a Facet note with the physics that make it work. Find your hour, then wear it.
The 9 a.m. Meetings

Office gems live or die by scale and position: micro sizes, low placement, and light that comes from above. These three designs survive fluorescent lighting, keyboard duty and a handshake — which is more than most sparkles can claim. The trick that makes nails with gems office-legal is placing them where you see them more than anyone else does, which is also the quietest way to look expensive on a budget.
1. The Micro Solitaire
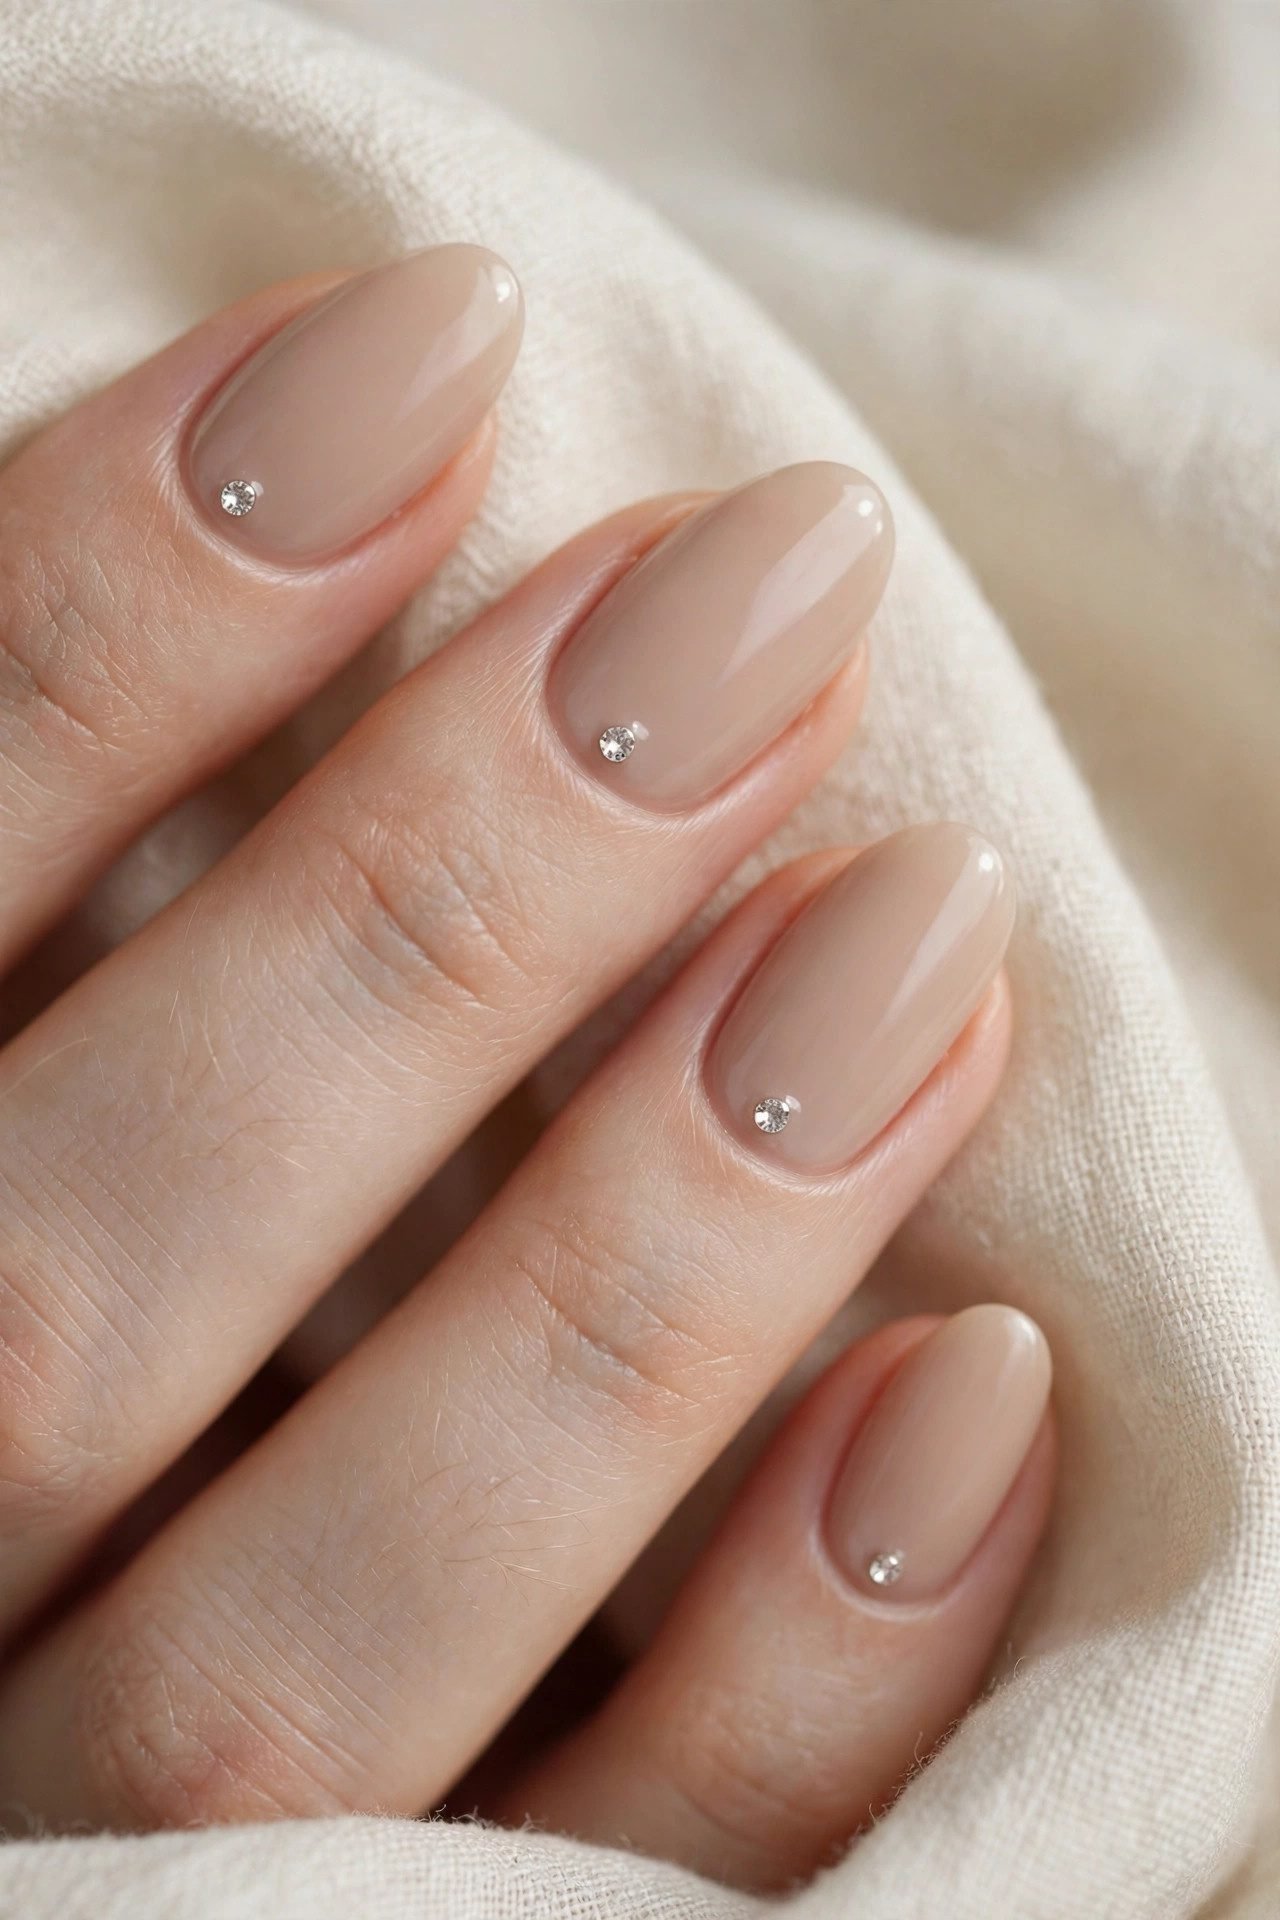
A sheer milky white nails base with one crystal under 2 mm set at the dead center of each cuticle — a solitaire, worn ten ways. The gem sits in the light-flooded zone directly under overhead office lighting, so it flashes every time you lift a coffee, yet reads as nothing more than a glint at conversation distance. It is the most conservative design in this guide and the one coworkers will call “expensive” anyway.
Facet note: use a flatback crystal between ss3 and ss5 — anything taller than 1.5 mm will click on your keyboard and announce itself all day.
2. The Cuticle Halo Line

A row of micro gems — ss4 or ss5 — curving along the cuticle line of every nail on a short, glossy set, the kind of canvas our short nail designs guide celebrates. The halo frames the nail like a thin necklace rather than decorating its face, which keeps the sparkle structured instead of scattered. It is the design equivalent of a fine chain: quiet, deliberate, and noticed only when the light is right.
Facet note: keep a half-millimeter gap between each gem so the line reads as a setting, not a strip — touching stones merge visually into cheap trim.
3. The Angled Spark

Three tiny gems stepping diagonally up the corner of one accent nail — typically the ring finger — over a bare or polished base on square nails. The diagonal makes a static stone feel like motion, a comet rather than a dot, and confining it to one nail keeps the set boardroom-safe. When someone finally asks about it, the answer is three gems, which is exactly the energy this design trades in.
Facet note: angle the step toward the dominant light source of your day — for most offices, that means leaning the line toward the cuticle, where ceiling light lands first.
The 7 p.m. Date

Date-night gems get closer to jewelry proper: heart shapes, solitaires, gem-cut french lines. The room is dimmer, the light is warmer, and gems placed near the free edge finally get their moment — candlelight hits tips before cuticles. Nails with gems for a date should sparkle twice: once across the table, and once when fingers interlock, which is the placement brief for all three of these.
4. The Gem French

A crisp french tip with a line of crystals set along the smile line — structure up top, fireworks at the edge. The white tip gives the stones a bright backdrop, so even ss6 crystals read like a diamond tennis bracelet bent around each fingertip. Build the classic shape from our french tip nails guide, then let the gems do the flirting at the free edge where the candlelight lives.
Facet note: gems placed along the smile line survive better than gems past the free edge — they sit on nail plate, not on the fragile edge where bonding fails first.
5. The Heart Setting

A heart-shaped arrangement of micro gems — or a single heart-cut stone — on one or two nails over a soft pink nails base, timed perfectly for Valentine’s Day nails season and honestly for any dinner with a person you like. The heart shape made of light reads more grown-up than a sticker heart ever could, because the sparkle does the drawing. Two hearts per hand maximum; let the rest of the set stay bare and glossy.
Facet note: build the heart from five to seven ss4 gems — a single large heart-cut gem reads costume, while a constellation of micro stones reads couture.
6. The Solitaire Halo
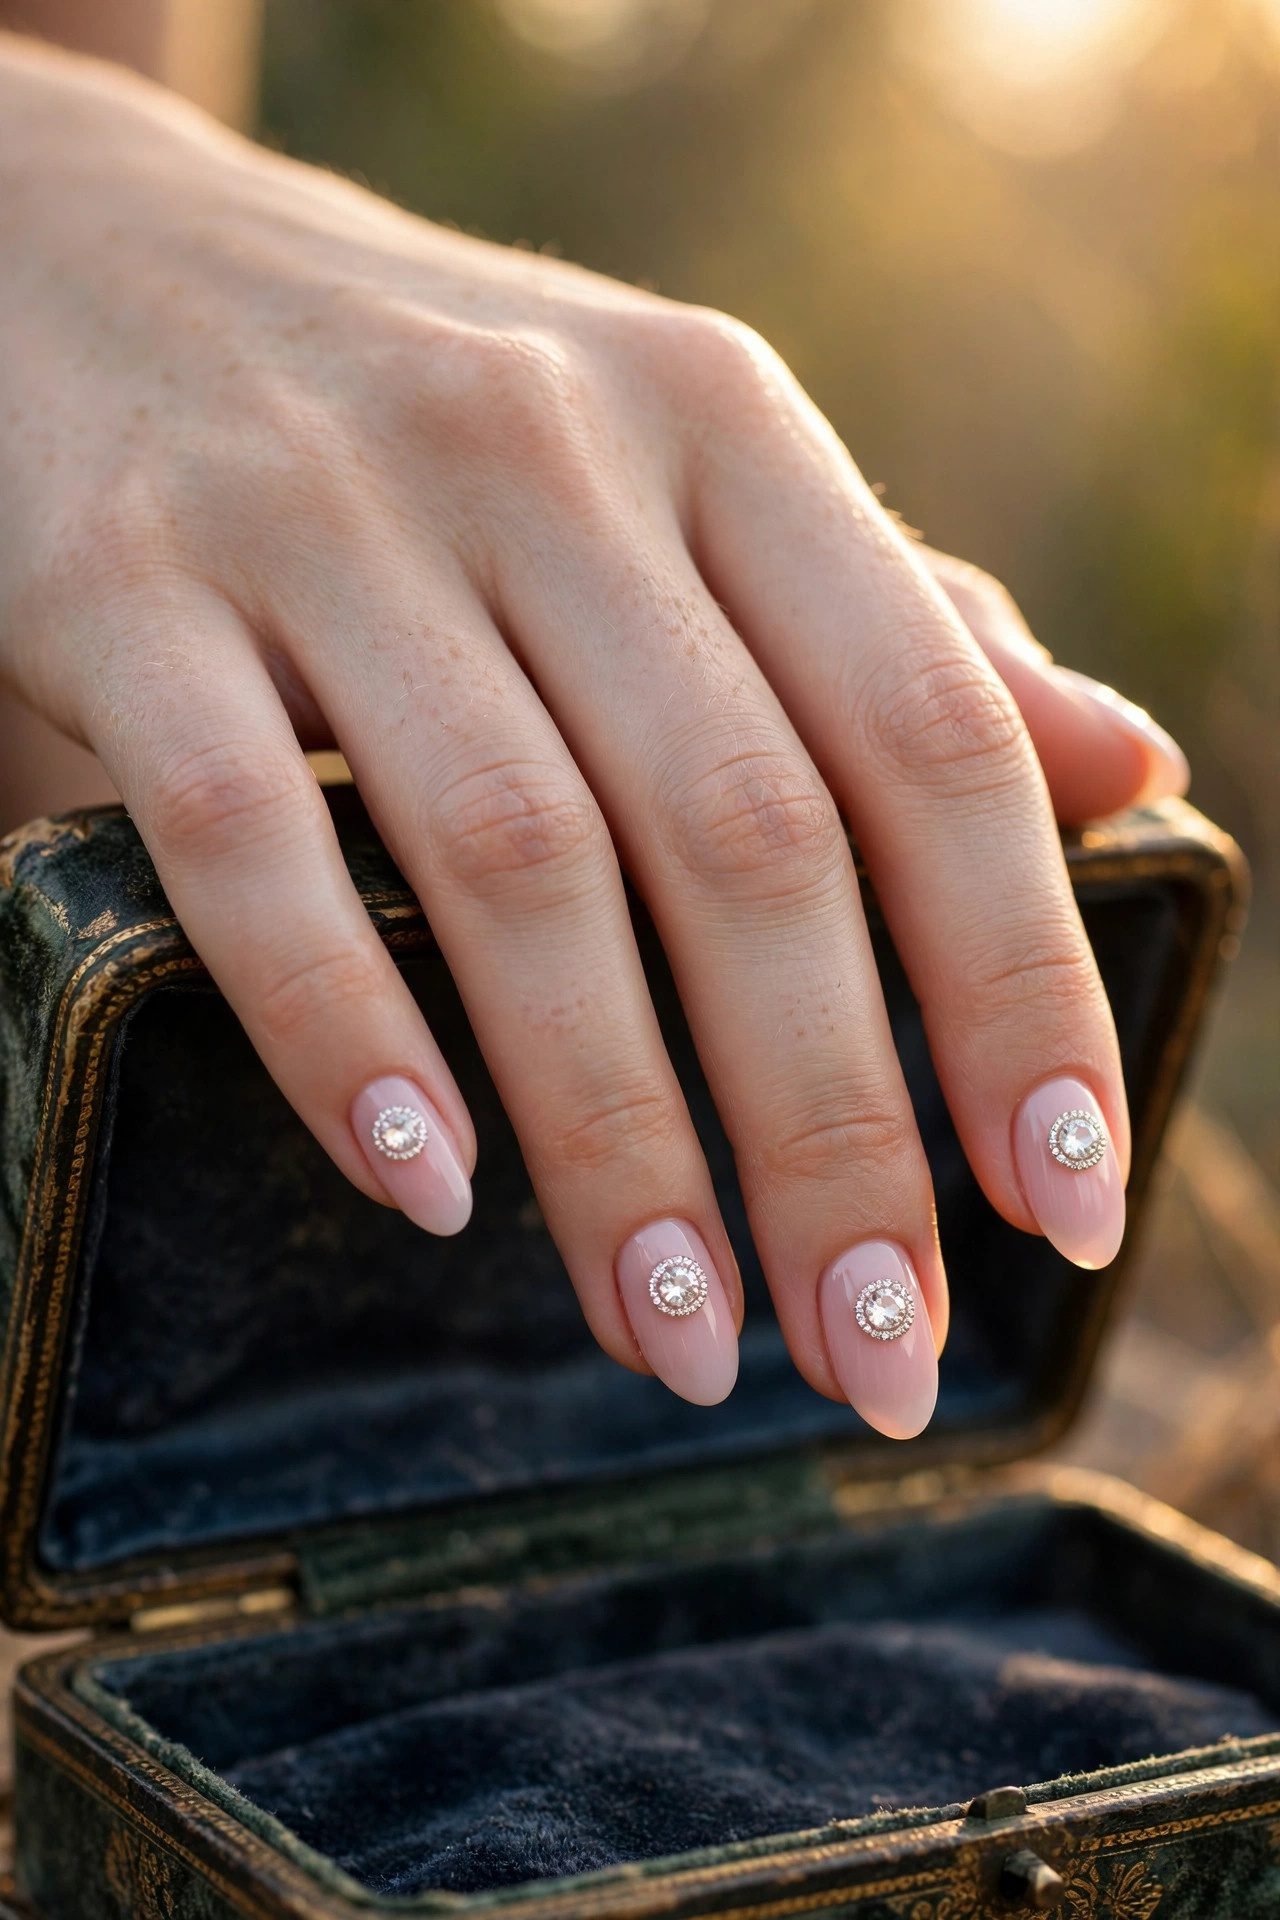
One teardrop or round gem — a genuine 3–4 mm statement stone — framed by a ring of micro gems on each ring finger, over a sheer blush base on a longer almond nail designs canvas. This is engagement-ring architecture translated to the nail: center stone, halo, quiet band. It carries the same restraint as old money nails but with the volume turned up exactly one notch for the evening.
Facet note: the center stone should sit one-third down from the cuticle — dead center looks like a sticker, cuticle-hugging looks like a ring slipped onto the nail.
The 11 p.m. Dance Floor
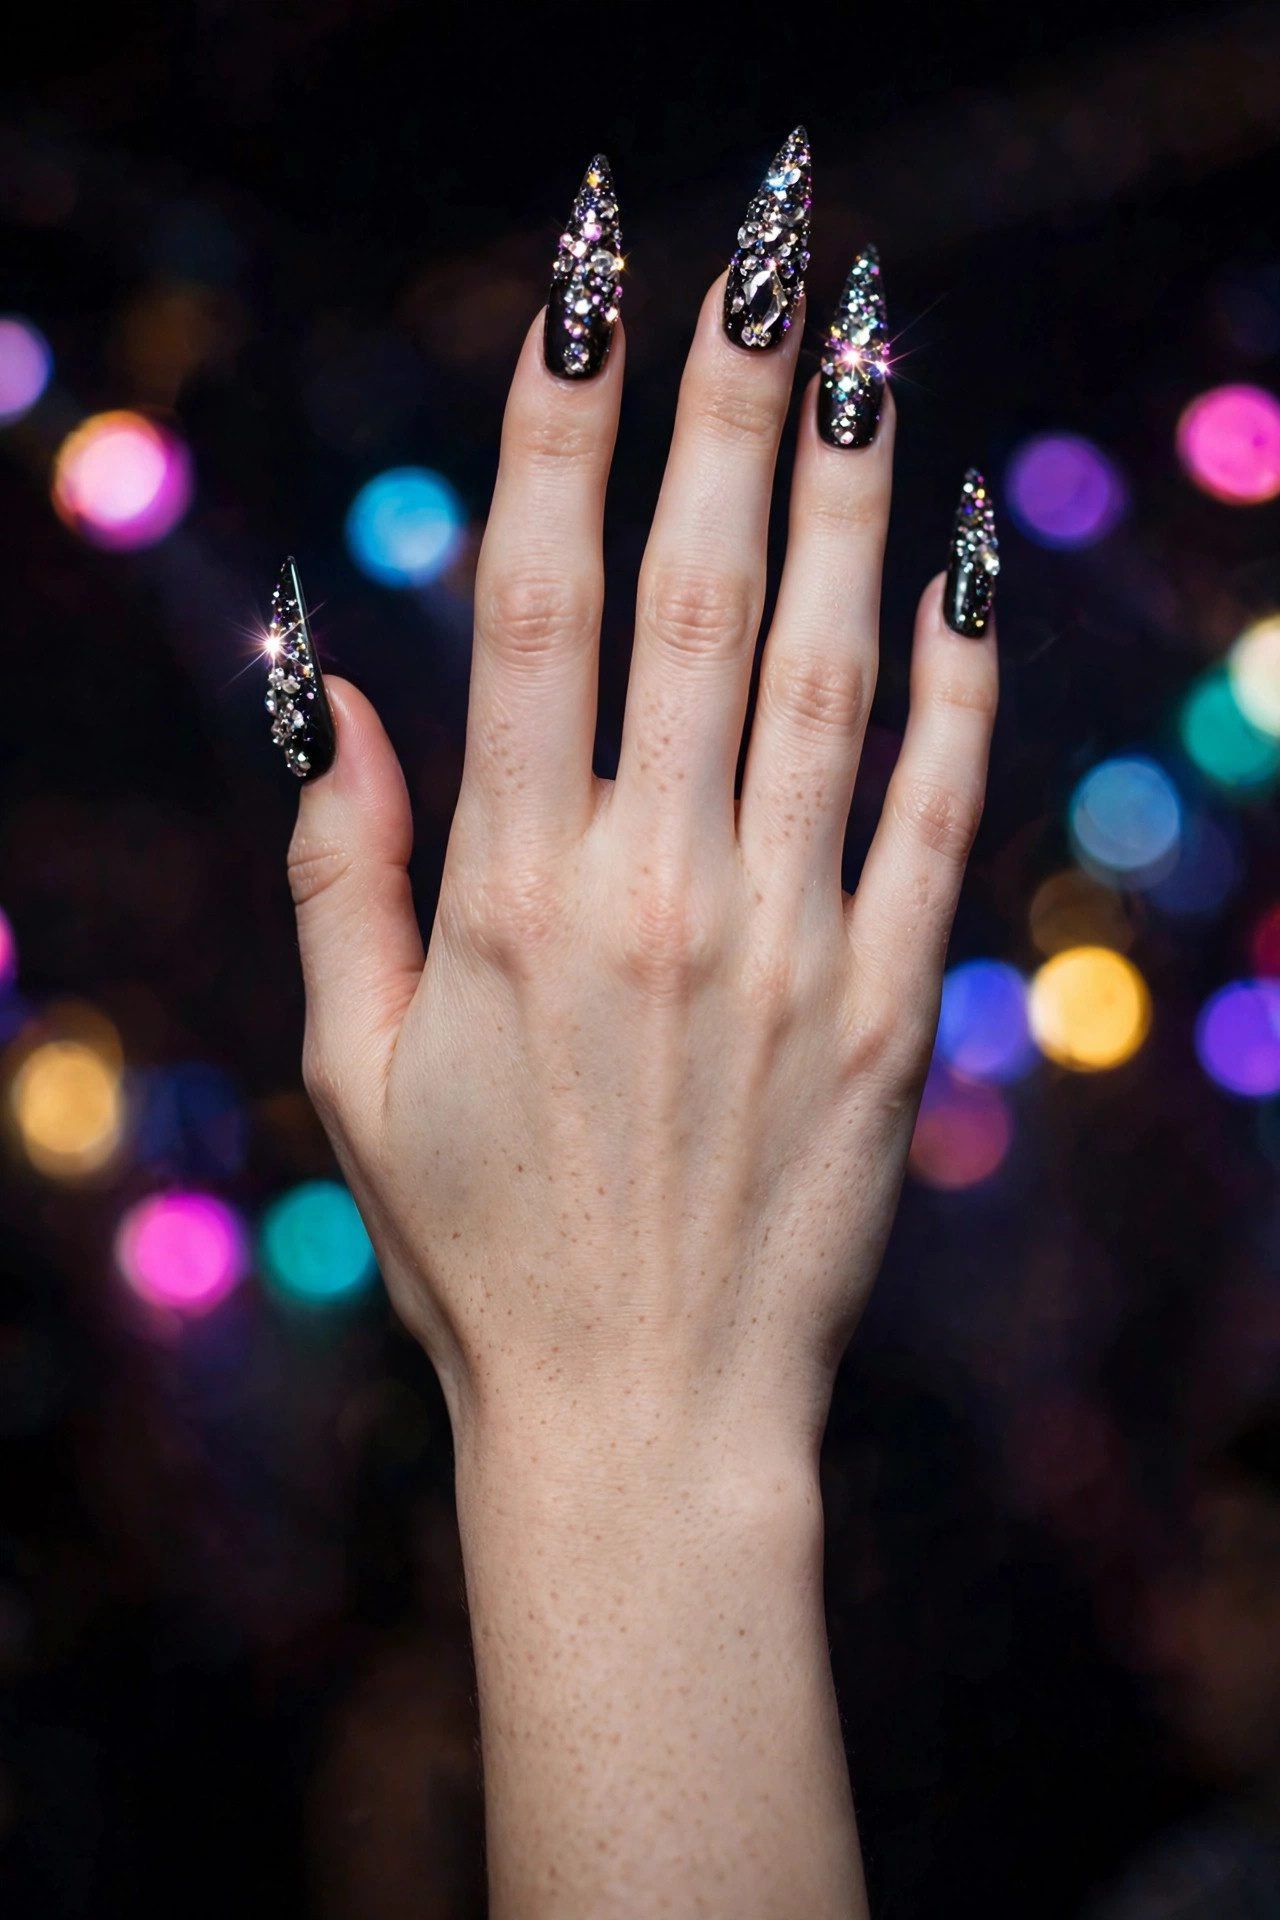
Now the gloves come off. Dance-floor gems are built for moving light: lasers, disco balls, phone flashes. Scale jumps, coverage climbs, and nails with gems stop whispering entirely — but even maximum sparkle has structure, as the next four designs prove. This is also the section where nail art and hardware blur together, because at this density, the gems are the design.
7. The Crystal Fade

Gems graduated from a sparse scatter at the cuticle to a dense pack at the tip, floating over a soft ombre nails base — sparkle with a direction of travel. The fade pulls every eye down the nail to the free edge, where the densest flash waits for the strobe light, and the gradient base does the blending work between zones. It is the most requested party design on the clock and flatters every length, especially a long coffin nail designs canvas where the fade gets room to escalate.
Facet note: use three size steps — ss5 scattered, ss8 mid, ss12 packed at the tip — a fade built from one size reads flat instead of cascading.
8. The Disco Ball Nail
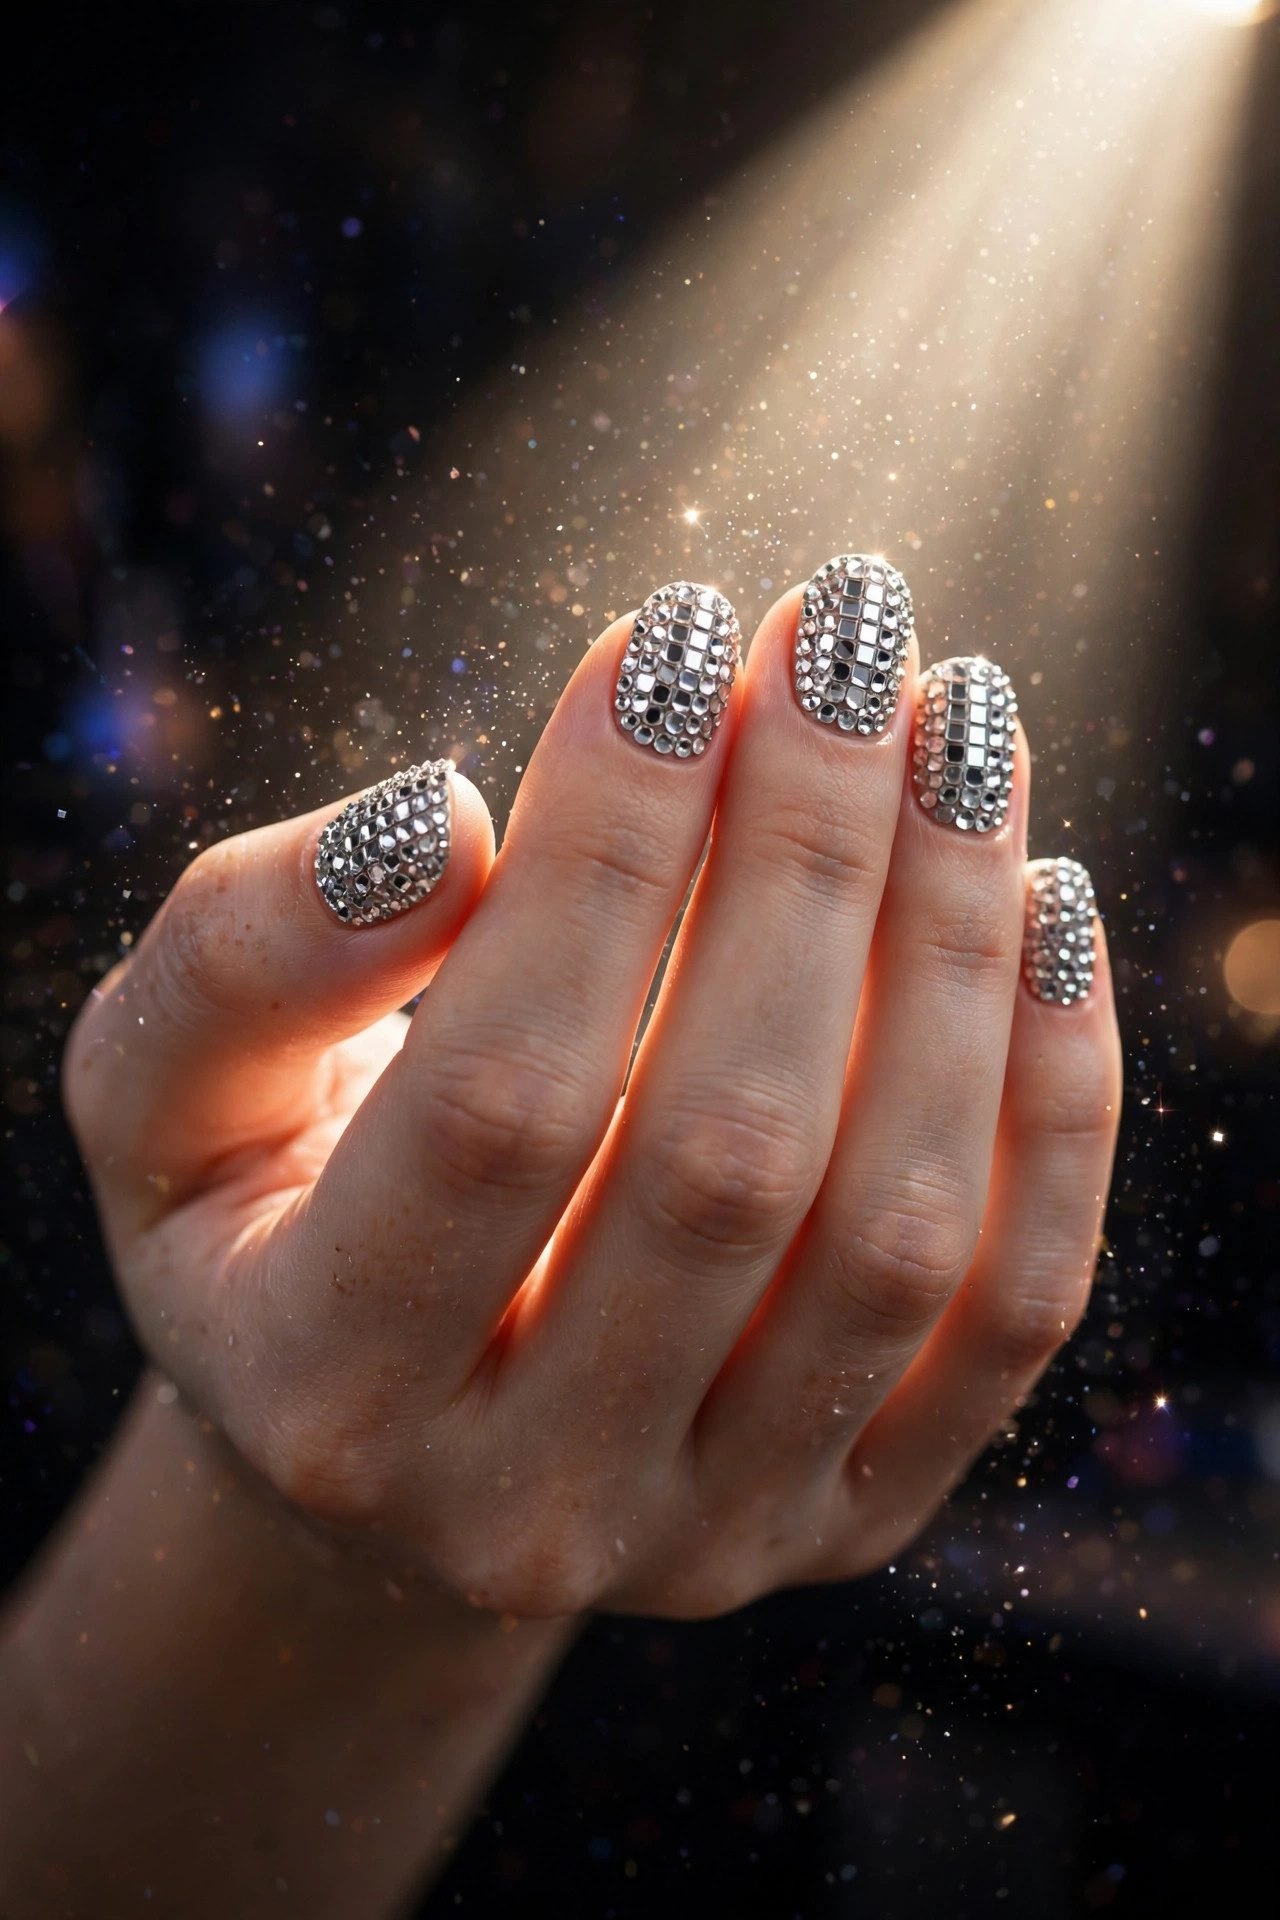
One nail — usually the accent — fully encrusted edge to edge in mirror-finish round gems over a black nails base, while its nine neighbors stay bare or barely polished. The black gap between the mirror stones is what makes it work: it turns each gem into a facet of one giant disco ball instead of a pile of sequins. It is the single most photographed design on the clock, and it belongs on the birthday nails shortlist of anyone whose party has a playlist.
Facet note: mirror gems need black gel underneath, not clear — the dark backing is what makes each stone read as a mirror instead of glass.
9. Chrome & Gem Double-Flash
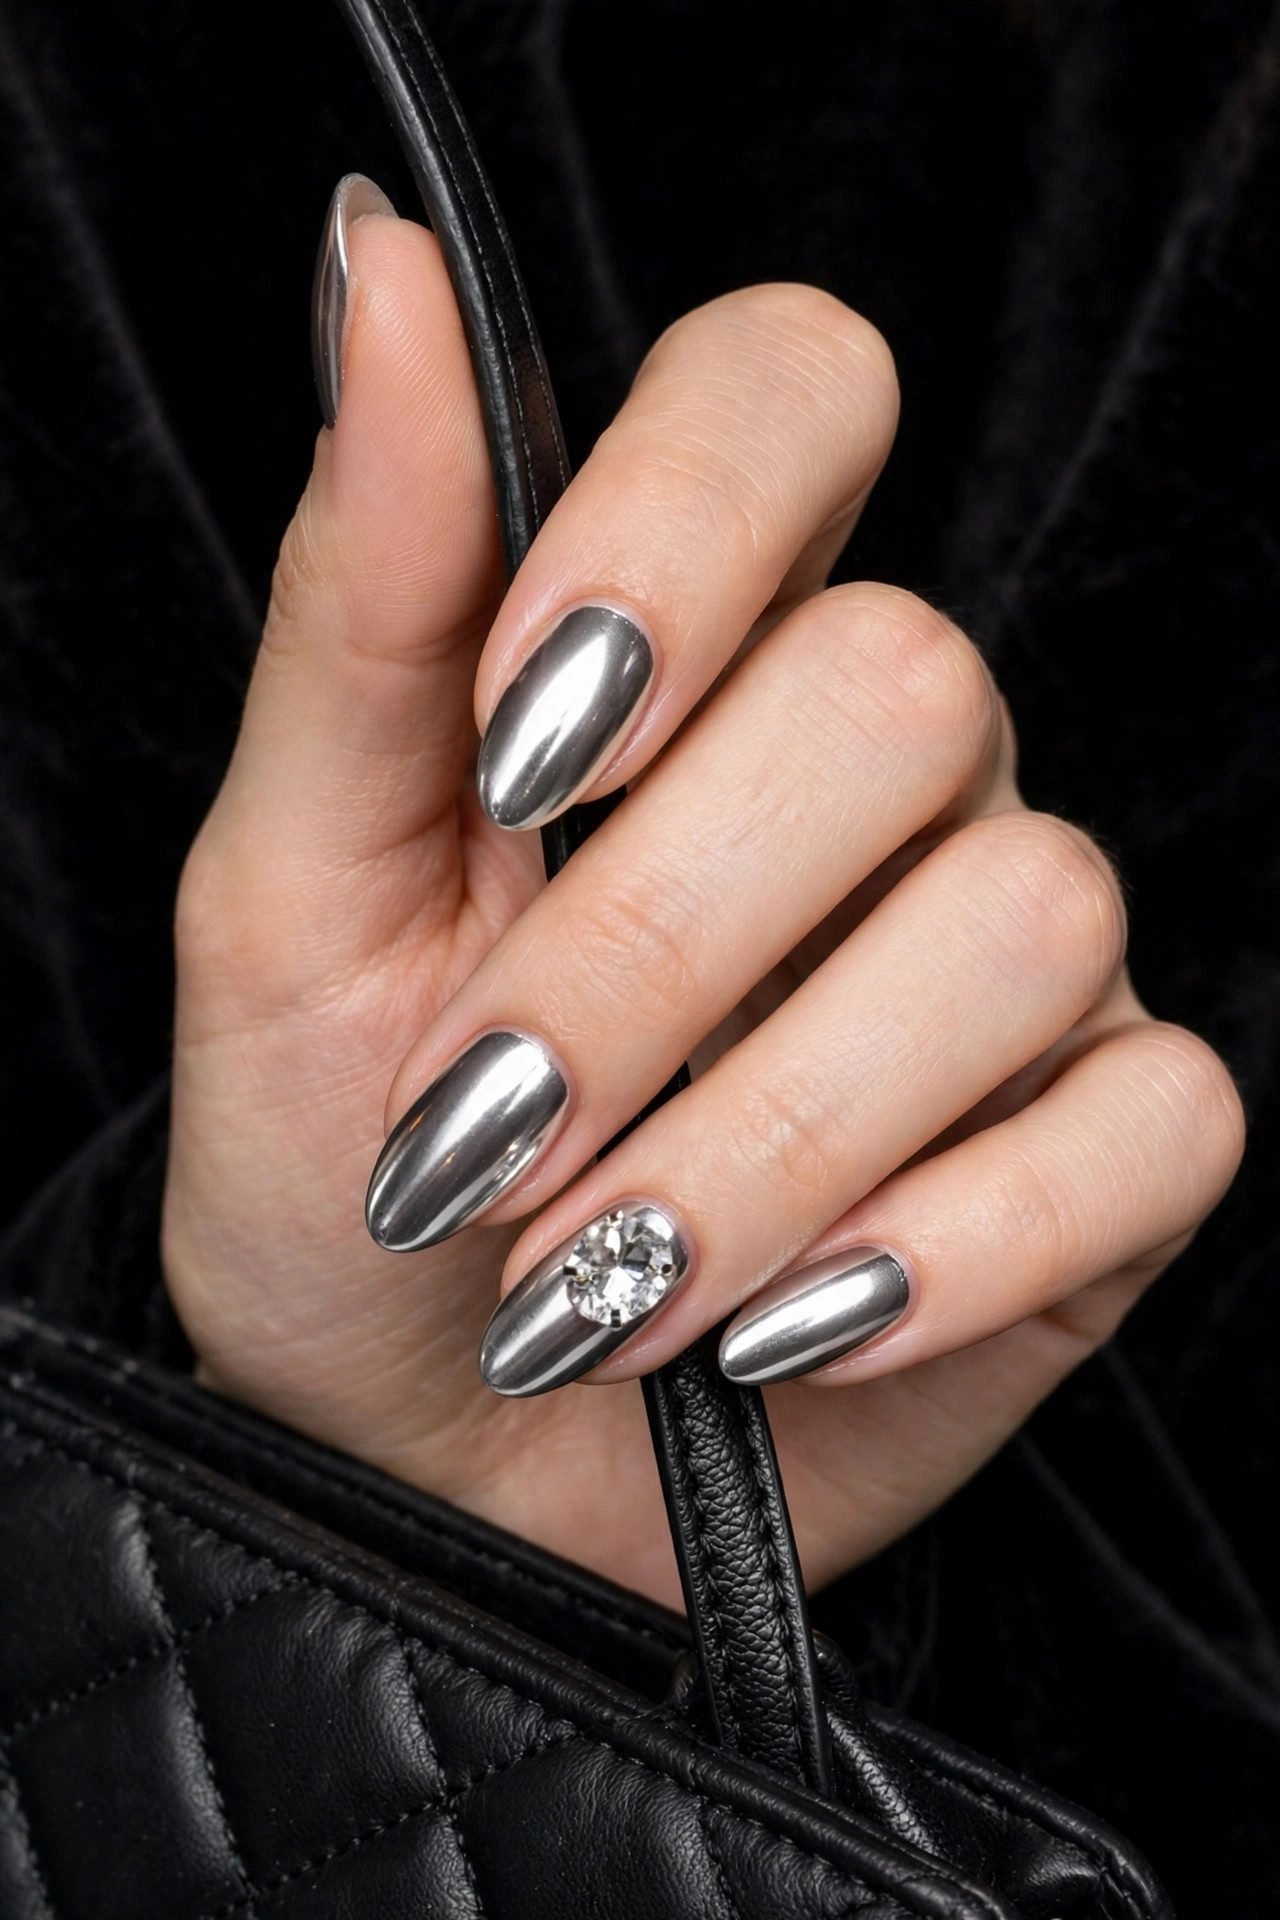
A liquid chrome nails base with a scatter of crystals placed at deliberate intervals, so the hand holds two different light behaviors at once: chrome’s smooth glow and the gems’ sharp flash. The chrome does the ambient work while each gem throws a point of return, which is why this combo outperforms either finish alone in a dark room. Keep the scatter uneven — five to eight stones per nail, never mirrored between hands.
Facet note: gem adhesive dulls chrome beneath it — set each stone into gel before the chrome’s topcoat, or you will see a matte shadow ring around every gem.
10. The Velvet Jewel Box

A deep burgundy or red classy red nails base — ideally over a magnetic cat eye nails sweep — carrying jewel-toned gems: emerald green, sapphire blue, amethyst. The effect is a velvet jewelry box left open on each fingertip, brooch-coded and richly old-world. It is the design for winter dinners, opera nights and anyone whose personal era is “heirloom.”
Facet note: jewel-tone gems on red need a clear gel bed between stone and base — colored stones pressed directly onto red pick up the base color and lose their hue.
The Altar
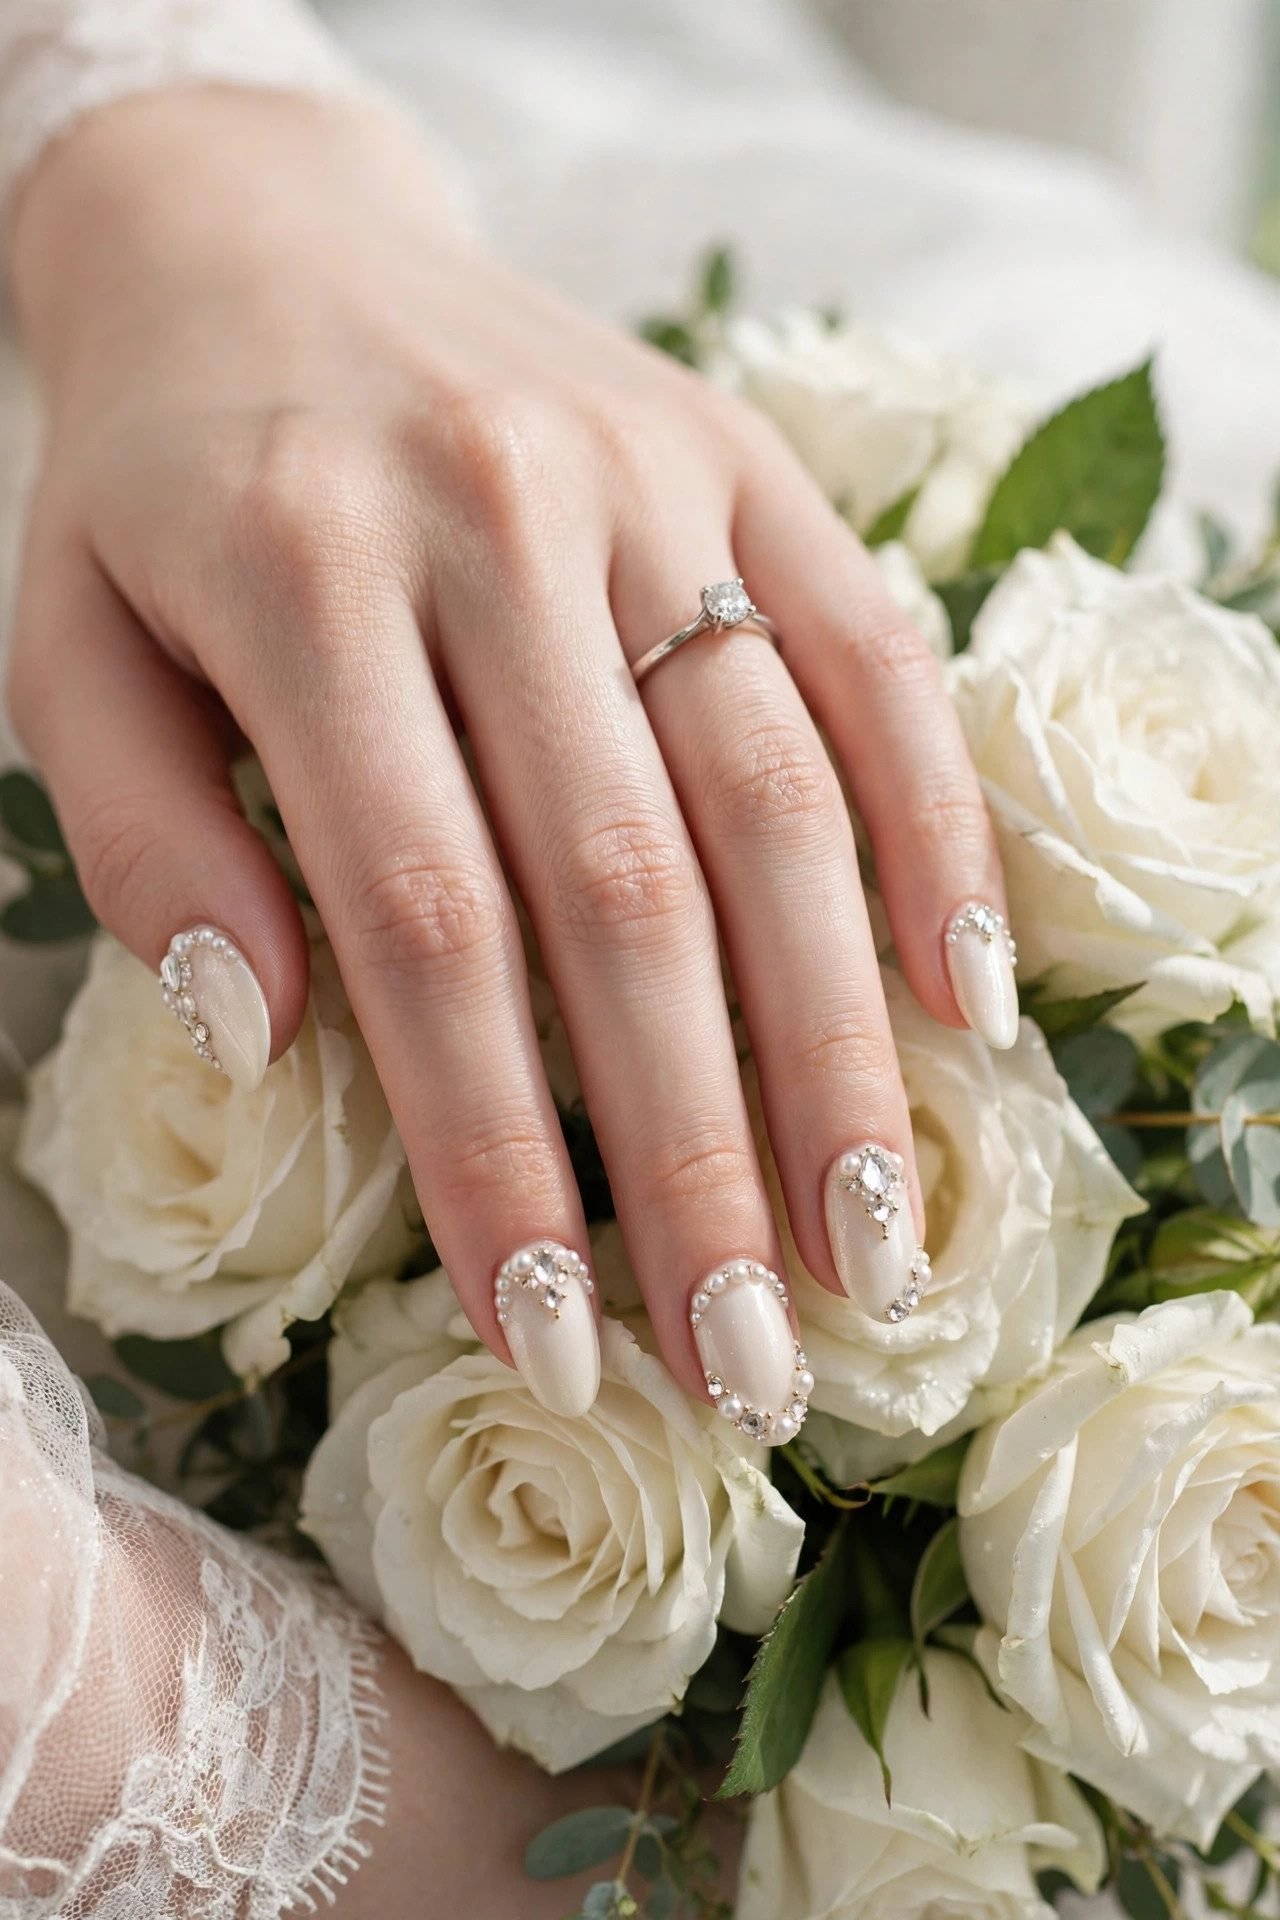
Two designs, one job: hold up under every camera that will point at your hands that day. Bridal gems follow one law — flash photography flattens everything except well-cut crystal, so the altar is the hour where material grade matters more than design. Both of these live in our full wedding nails for bride playbook, placed here as the clock’s most permanent stops.
11. The Solitaire Set

One marquise-cut crystal set at the center of each nail over a clean blush base — the minimalist bridal gem look that reads from the back row and the macro lens alike. Marquise is the shape choice doing the work: its elongated point visually lengthens every nail bed, and a single stone per nail means nothing competes with the rings. It is the bridal design that photographs like the necklace you will wear at the reception.
Facet note: book this set two to three days before the wedding — gem gel needs a full cure day before hands meet dresses, veils and congratulations.
12. The Tiara Line

A dense arc of gems climbing the free edge of each nail like a tiara — heavier at the center point, tapering down the sides — over sheer pink. Where the gem french is a bracelet, the tiara line is a crown: pointed, regal, and unmistakably ceremonial. It gives short-bridal sets their moment of drama without a single full-coverage nail, which keeps the hands still reading elegant when the ring close-ups happen.
Facet note: the arc’s peak should sit off-center on accent nails and dead-center on the middle finger — perfect repetition across ten nails reads machine-made.
The Midnight Countdown
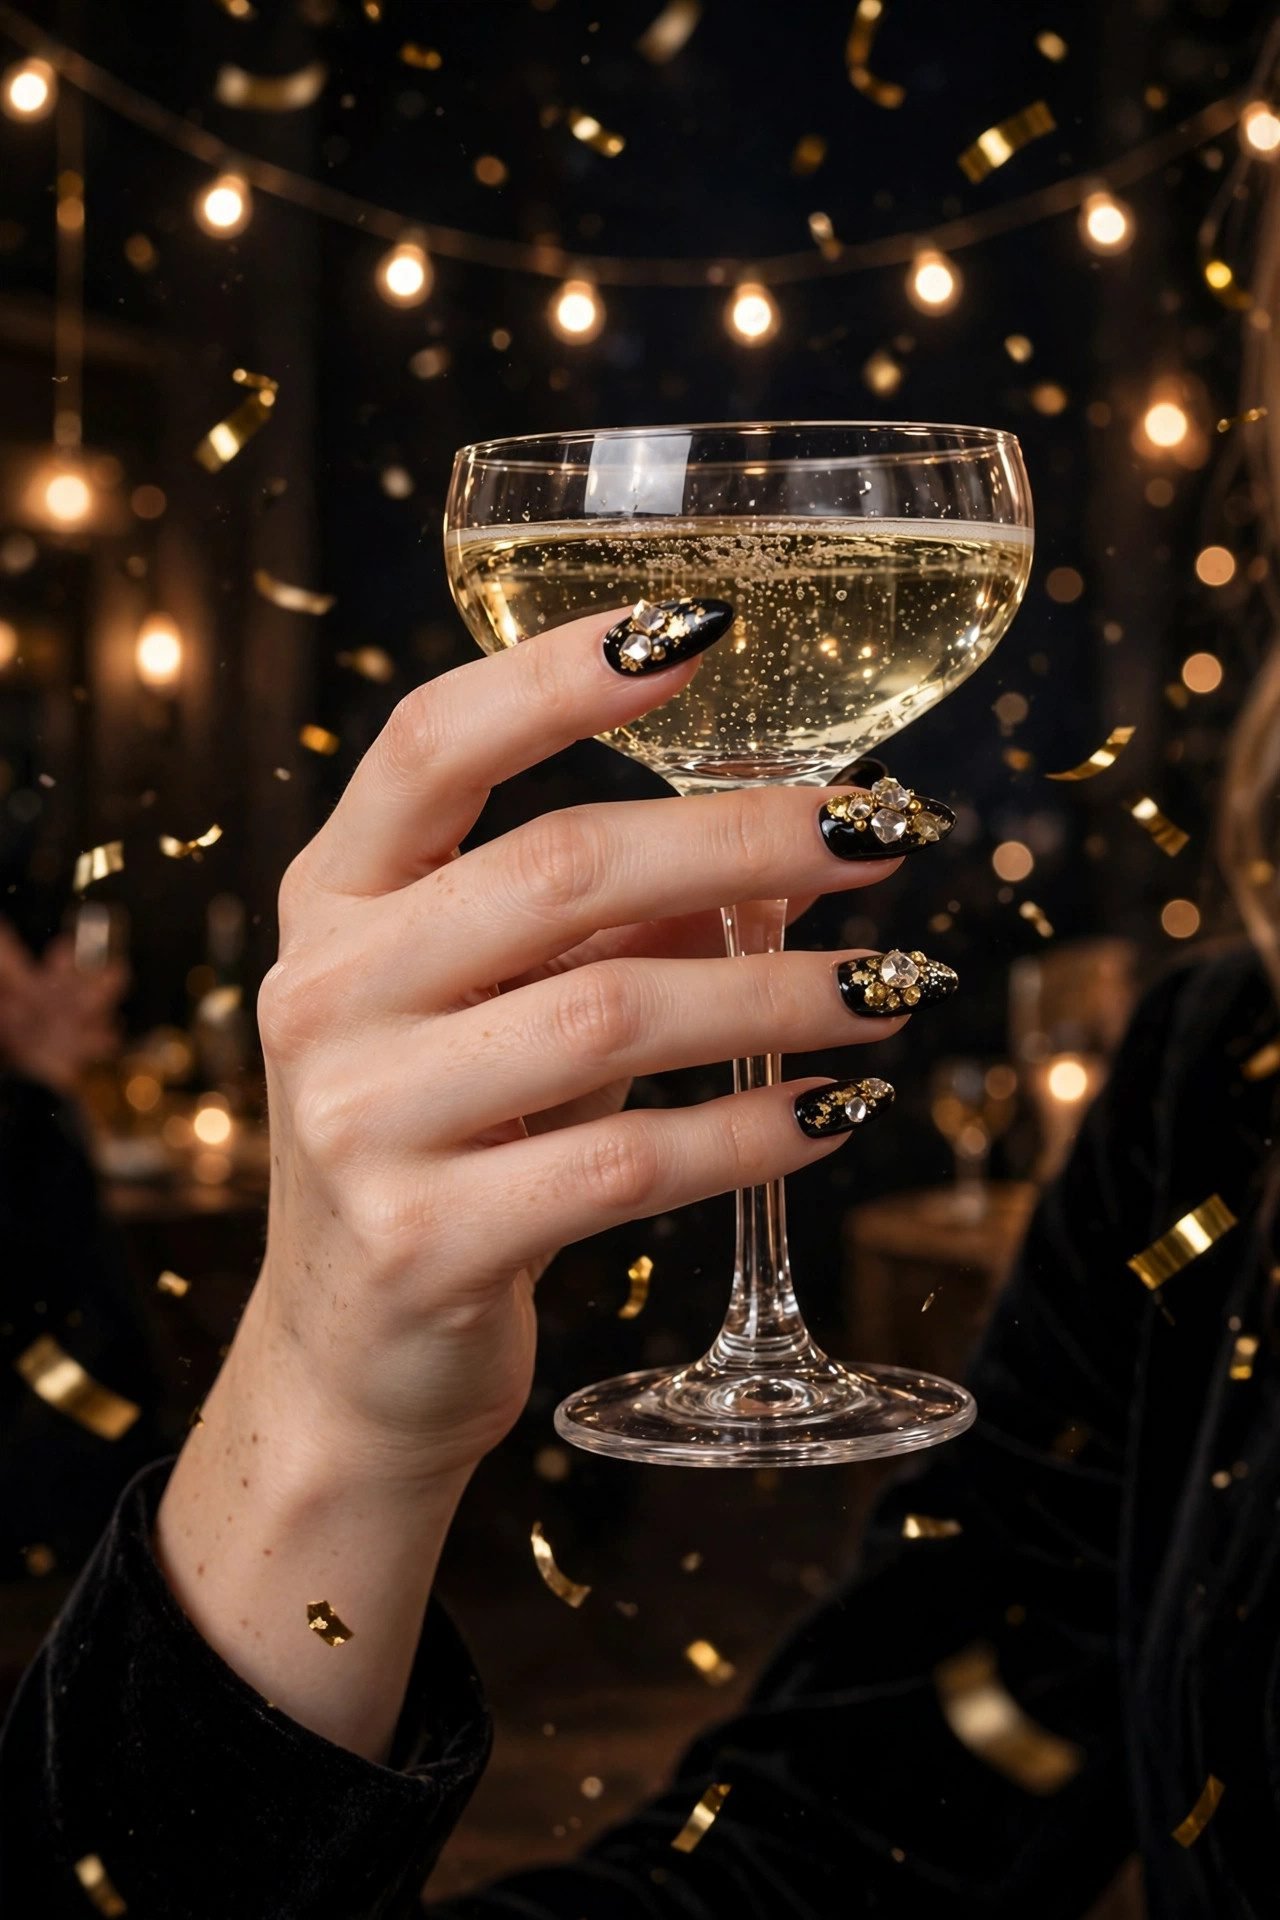
The clock’s final stop is built for one night a year — New Year’s Eve and its orbit of parties — when the sparkle ceiling disappears entirely. These two designs are the loudest in the guide, and the seasonal sibling of both lives in our Christmas rhinestone nails guide if December has you decorated early.
13. The Firework Burst

Gems exploding outward from a single origin point — one nail corner, the cuticle, or the center of the accent nail — with sizes shrinking as they travel, like the first firework of the night frozen mid-burst. Set it against midnight blue or black and give the burst one gold gem at its heart. It is motion built from stillness, and it was engineered for the exact moment everyone’s phones come out at twelve. Pair it with the rest of our New Year’s nails lineup for the full countdown.
Facet note: a burst needs at least three size steps and asymmetric spacing — symmetric bursts read as flowers, and flowers are not the assignment tonight.
14. The Full Rhinestone Glaze

Every nail, edge to edge, fully set with crystals in graduated sizes — the summit of the clock and the design people mean when they say “the whole hand is jewelry.” It is unapologetically maximal, built for the year’s brightest night, and it demands professional gel setting plus the upkeep honesty of the Facet Files below. If one night a year justifies ten fully encrusted nails, this is that night.
Facet note: full glaze should mix ss5 through ss10 like tesserae — a single-size covering leaves gaps that catch hair, and the smooth “pebble path” fit is what keeps it snag-free.
The Facet Files: Sizes, Cuts and the Light Rule
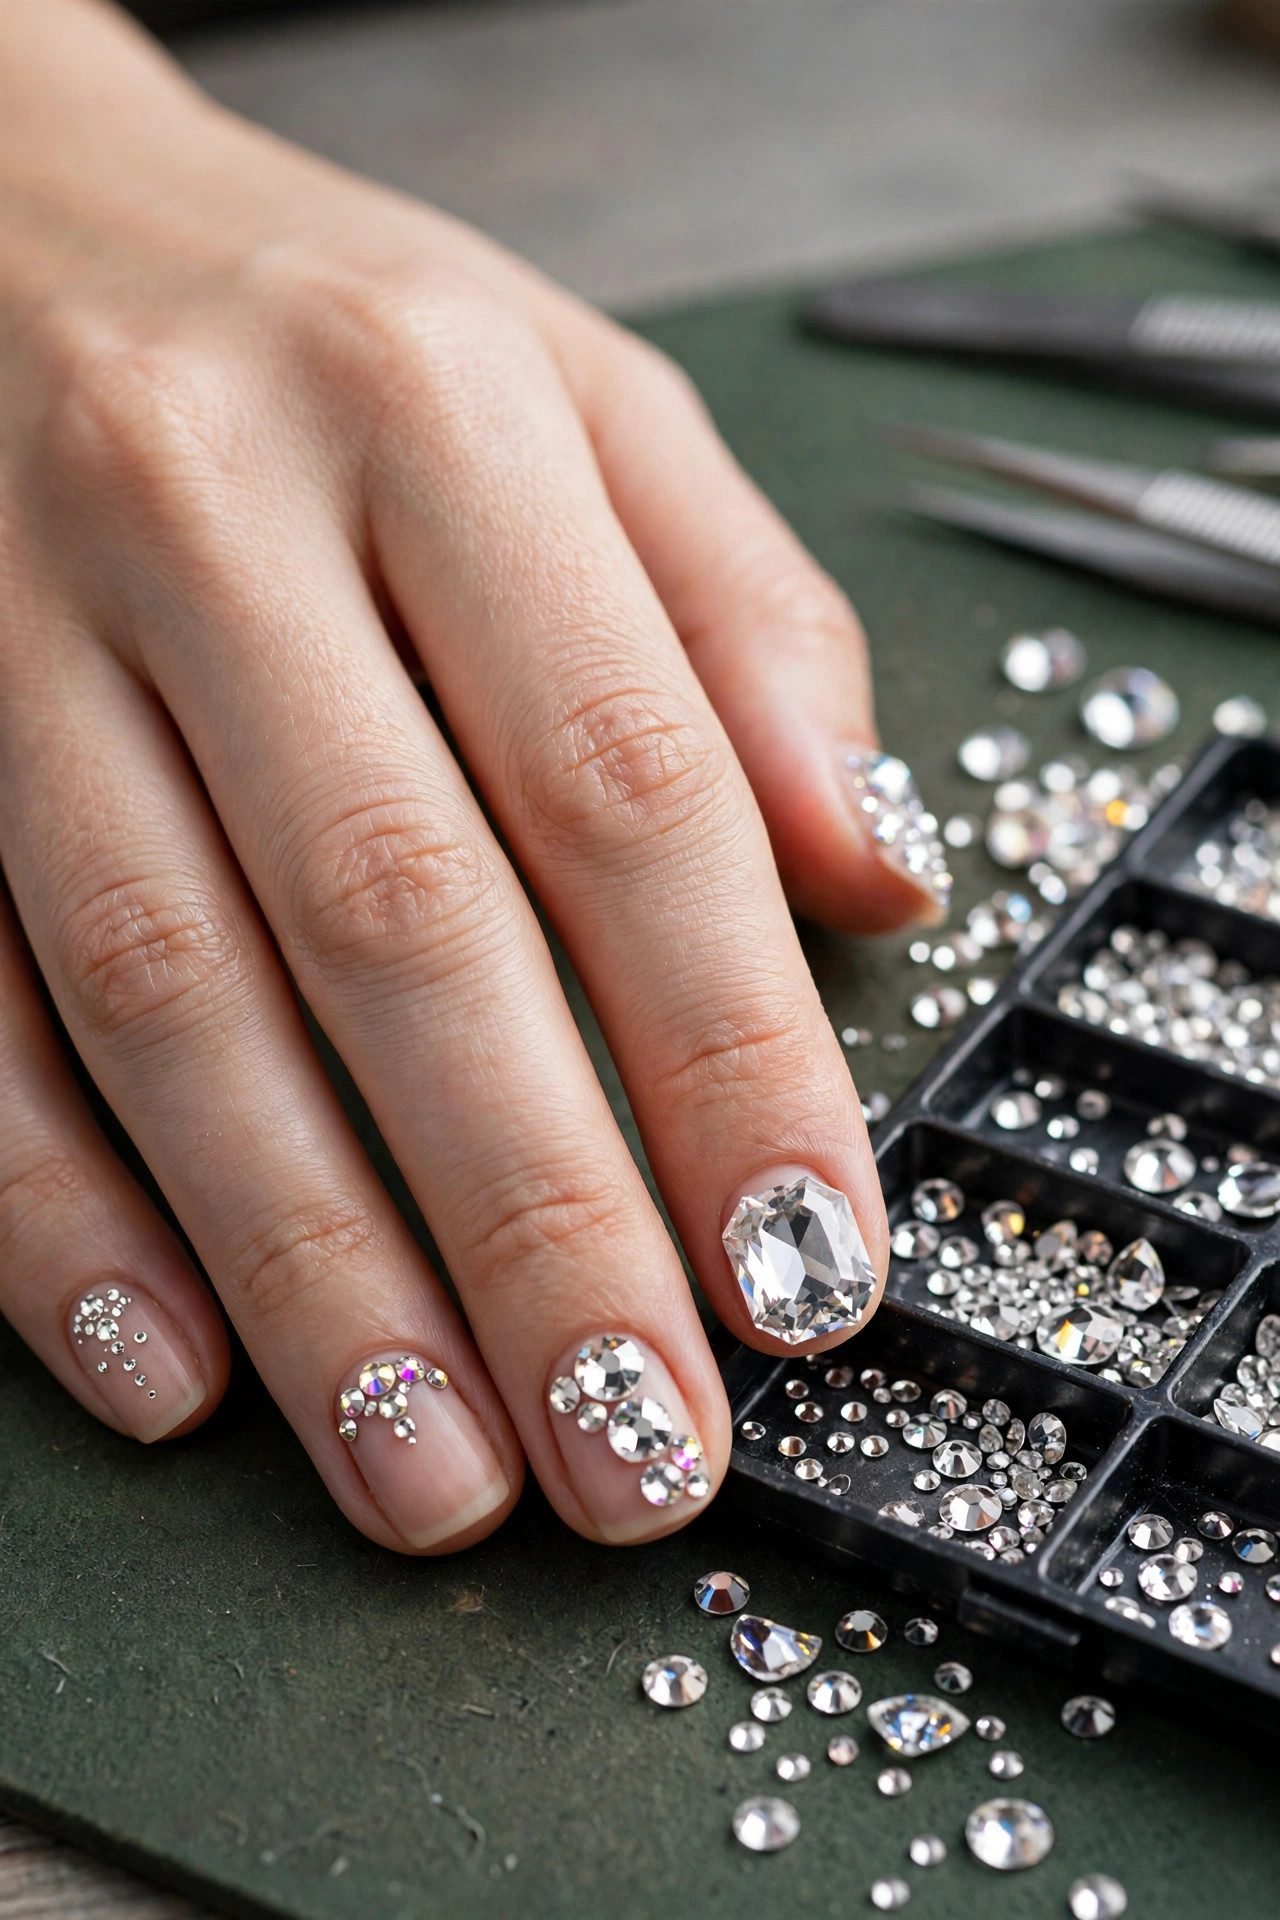
Now the physics, because nails with gems are the one trend where buying and placing correctly matters as much as the design. Start with sizing: gems use the ss scale, where the number rises as the stone grows. An ss3 is roughly 1.4 mm — a fleck; ss6 lands near 2 mm, the everyday workhorse; ss8 is about 2.4 mm and reads clearly across a room; ss12 approaches 3.2 mm and starts demanding its own design; ss16 and beyond are statement stones that need dedicated space. The scale rule that never fails: the stone should never exceed a quarter of the nail’s width, or the gem stops looking set and starts looking stuck on.
Next, the cut. Flatback gems — stones with a smooth, level base — are the only correct choice for nails, because they sit flush against the plate and bond fully. Pointback gems, the faceted cones designed for jewelry settings, are a recurring salon trap: they rock on a single point, hollow out the adhesive beneath themselves, and pop off within days. On material, the ladder is honest: acrylic gems cost pennies and glow like plastic under any light, glass rhinestones are the reliable middle, and precision-cut crystal — the leadless kind salons charge extra for — carries the deep refraction that flash photography rewards. For a full night out, buy up; for an office halo, glass does everything.
And then the Light Rule, the one this whole guide runs on: a gem does not glow, it refracts — so it needs an angle of light to earn its flash. Overhead light strikes the cuticle zone first, which is why every office design in this guide lives there. Candlelight and restaurant pendants rake across the free edge, which is where every date-night design places its stones. Camera flash hits everything at once, which is why party and bridal designs escalate coverage instead of relocating it. Match the placement to your room’s light source and even three gems will outperform thirty placed wrong. Maintenance closes the loop: set gems into gel or a nail-specific adhesive, cap every edge with topcoat, keep hands out of hot water for the first 24 hours — the same discipline our gel nail designs and nail care routine guides build — and remember that the acrylic-versus-gel choice changes gem longevity too, as our acrylic vs gel nails comparison explains. When the set ends, soak the stones off; prying a cured gem takes nail plate with it, exactly as our gel polish removal guide warns. For placement diagrams by lighting scenario, everything is pinned on our Pinterest, and gem-fail rescues go up weekly on our Facebook page.

Final Word
Nails with gems are the rare trend that runs on actual physics — which means you can outsmart it. Place the stone where your room’s light already lives, match the size to the nail, buy the cut your camera will thank you for, and one honest crystal will outshine a pocketful of plastic. Find your hour on the clock, book accordingly, and keep the full nail ideas library saved for whenever the next flash of inspiration hits.
FAQs
How do you get gems to stay on nails? Set flatback gems into an uncured bead of gel and cure, or use a nail-specific rhinestone adhesive — then cap every stone’s edge with topcoat so nothing catches. Gel sockets hold two to three weeks; surface glue holds days. Skip household superglue entirely: it yellows, cracks, and takes nail plate with it when it finally lets go.
What size gems should I use for nails? The ss scale runs from ss3 (about 1.4 mm) upward, and the everyday sweet spot is ss4 to ss8 — roughly 1.5 to 2.4 mm. Keep any single stone under a quarter of the nail’s width, reserve ss12 and up for accent nails, and mix two or three sizes when covering full nails so the surface packs tight without gaps.
Do gems fall off easily? Only when they are set wrong. Pointback gems, surface glue and skipped edge-sealing are the three usual culprits — each lets water and movement work the stone loose. A flatback gem set into cured gel with sealed edges survives a full gel-wear cycle, including showers, gym sessions and a keyboard-heavy workweek.
Are nails with gems practical for everyday wear? Yes, with placement discipline: stones at or under 2 mm, placed at the cuticle or sidewall, and kept to one or two per nail. That configuration survives typing, handwashing and hair — the flash shows up under overhead light without ever catching on anything. Full-coverage and free-edge designs are the ones that belong to nights out.
How do you remove gems safely? Soak, never pry. Warm soapy water for glue-set stones, or a proper acetone soak for gel-encased ones, until the bond softens and the gem twists free. Prying a cured stone lifts the top layers of the nail plate with it, which is what actually causes the thin, tender nails people blame on the gems themselves.
What is the difference between rhinestones, crystals and gems? On nails, the words overlap, but the materials rank clearly: acrylic stones are lightest and cheapest with the least sparkle, glass rhinestones are the dependable middle, and precision-cut crystal refracts with the depth that photographs brilliantly. All three come as flatbacks for nails — if a stone has a pointed back, it is jewelry, not nail art, whatever the packet says.