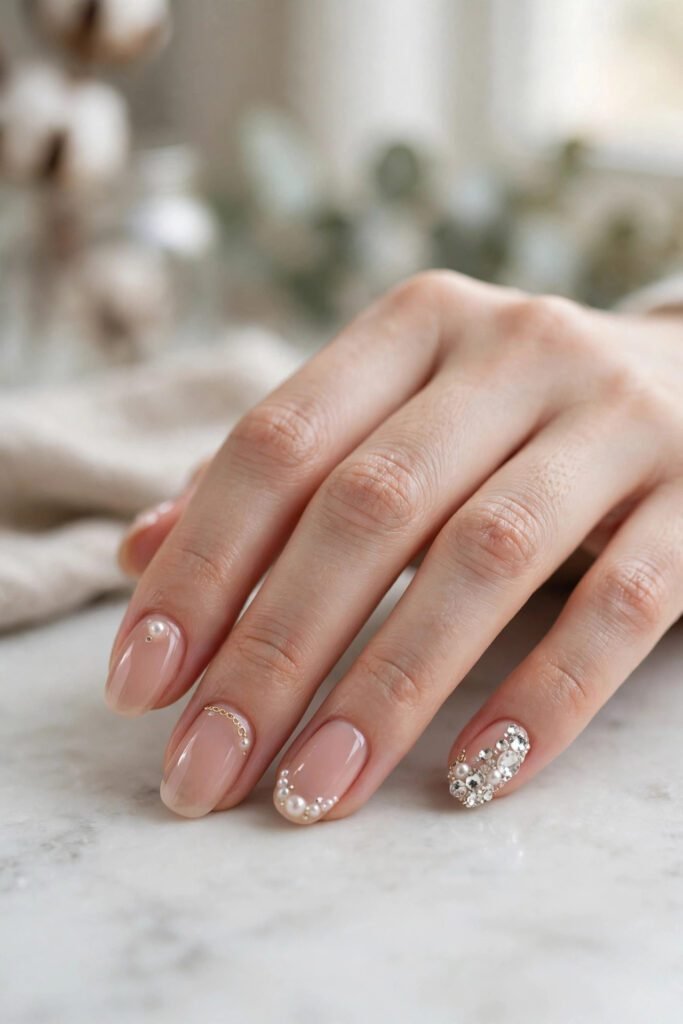
Nails with charms are the closest thing a manicure has to jewelry. Instead of stopping at polish, you finish the nail with tiny 3D pieces — pearls, gold stars, bows, butterflies, chains and crystals — attached to the surface so they catch light and throw real dimension. One well-placed charm can make a basic pink manicure look like custom salon work, which is exactly why nails with charms have climbed out of Y2K nostalgia and into everyday wardrobes. They are playful, yes, but worn correctly they are also one of the most expensive-looking details in nail art.
The secret is matching the amount of charm to your actual life — your job, your hair length, how many times a day you wash your hands. A charm that survives a desk week is not the same charm that survives festival weekend, and every design below is built with that reality in mind. (Every look is also saved on our Pinterest board, so you can brief your nail tech with one screenshot.)
Because the number-one complaint about nails with charms is that they fall off, this guide ends with a Charm Survival Guide — the attachment methods that actually hold, the habits that pull them off early, and the removal routine that protects the nail underneath. Pick your design first, then learn how to keep it.
The Charm Ladder: How to Read This Guide
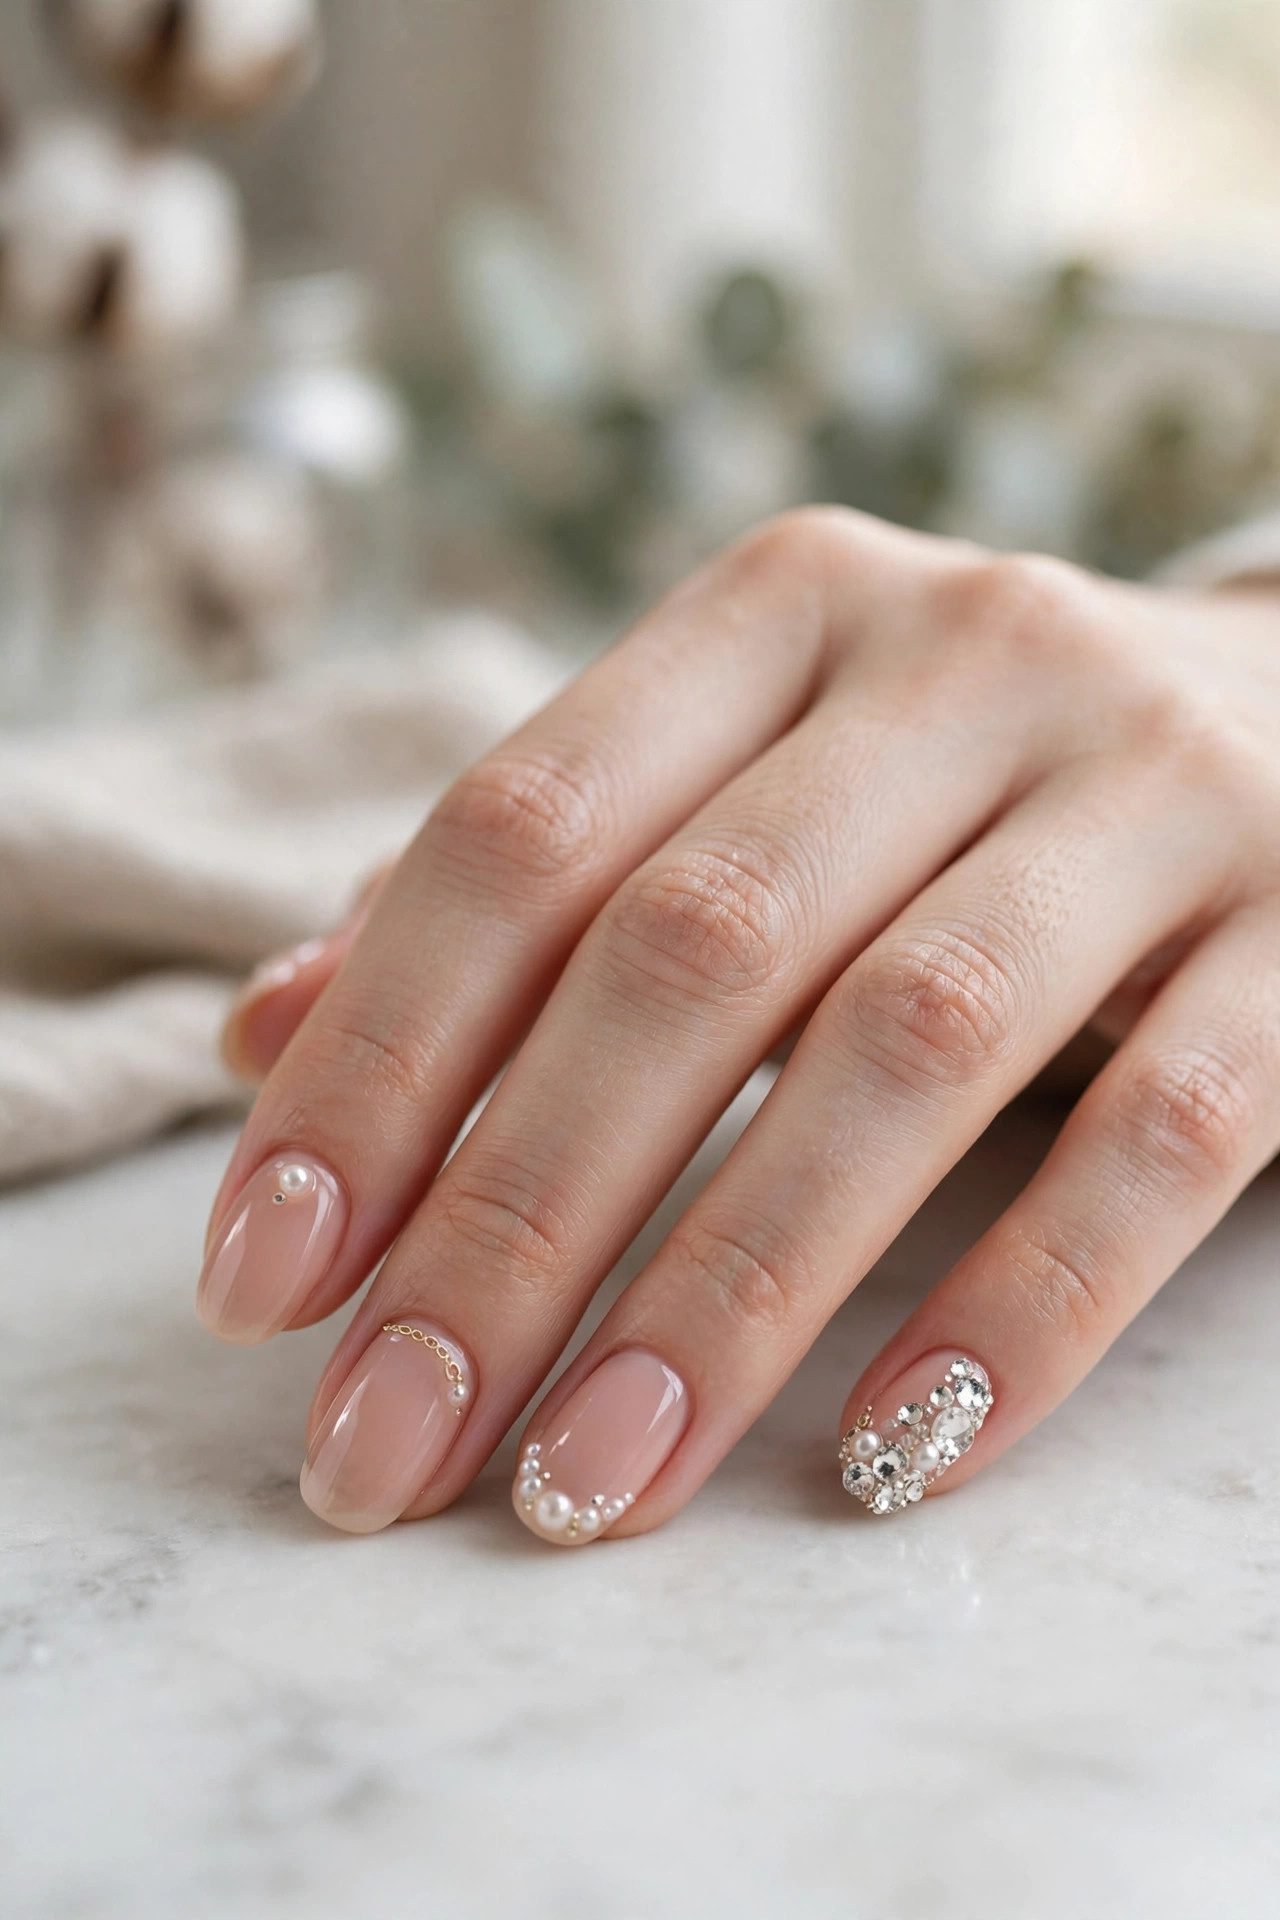
This guide files 15 designs by charm intensity instead of by color or season. Rung 1 is the one-charm rule — minimal, jewelry-like, office-safe. Rung 2 moves charms onto accent nails so they become a story. Rung 3 repeats charms into patterns and edges, and Rung 4 is full charm fantasy for birthdays, brides and the gloriously extra. Every design includes the base, the charm placement and a Play note with a wear-smart tip. If you are new to nails with charms, start at Rung 1 and climb as your confidence does.
Rung 1 — The One-Charm Rule
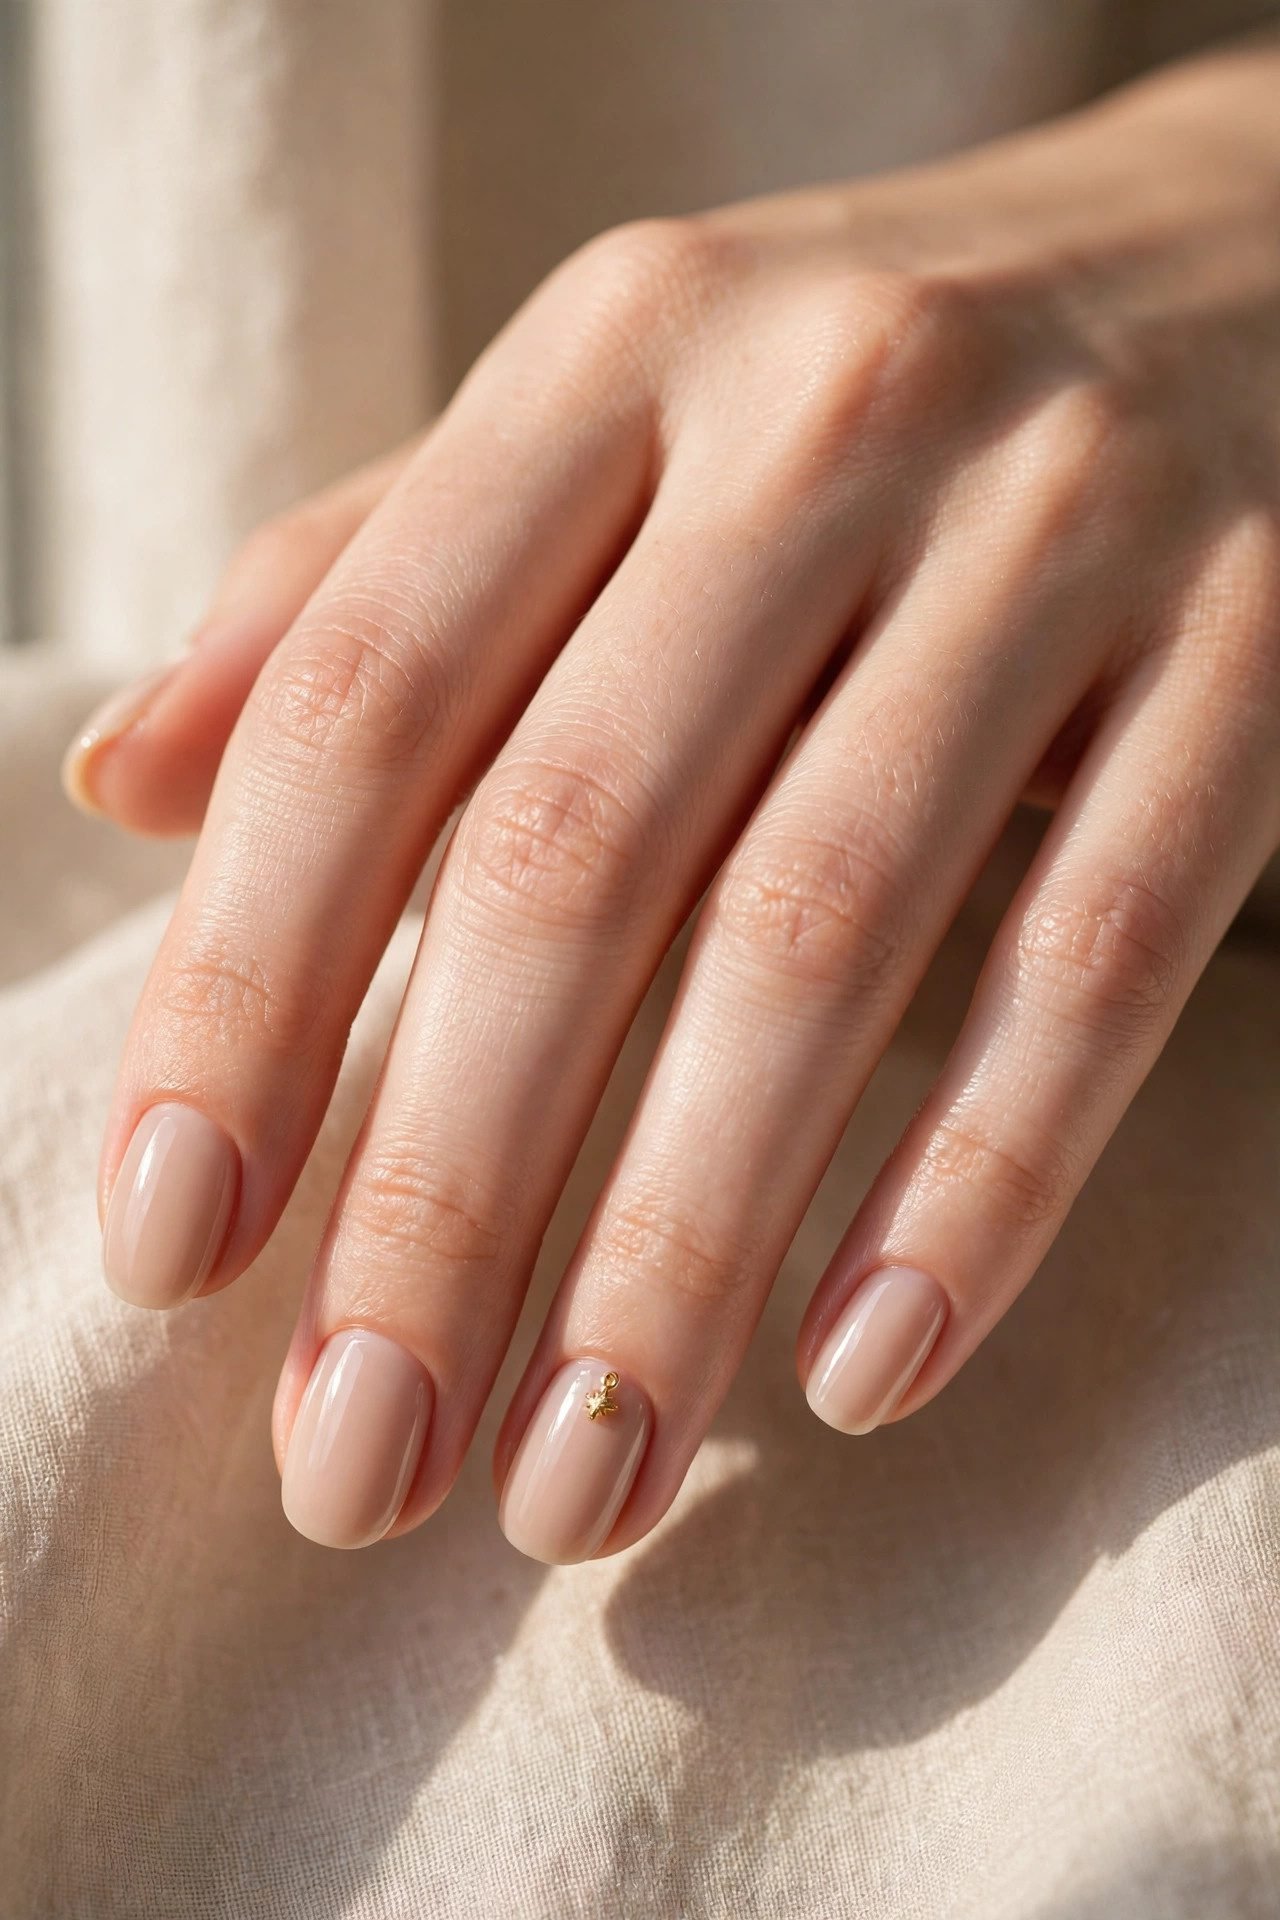
One charm, treated like fine jewelry, is the most modern way to wear this trend. The trick is contrast: the quieter the manicure, the louder a single charm looks. This is also the cheapest possible entry point — a pot of 2 mm pearls or gold studs costs a few dollars, which makes the one-charm look one of the smartest ways to look expensive on a budget while still joining the trend.
1. The Single Pearl
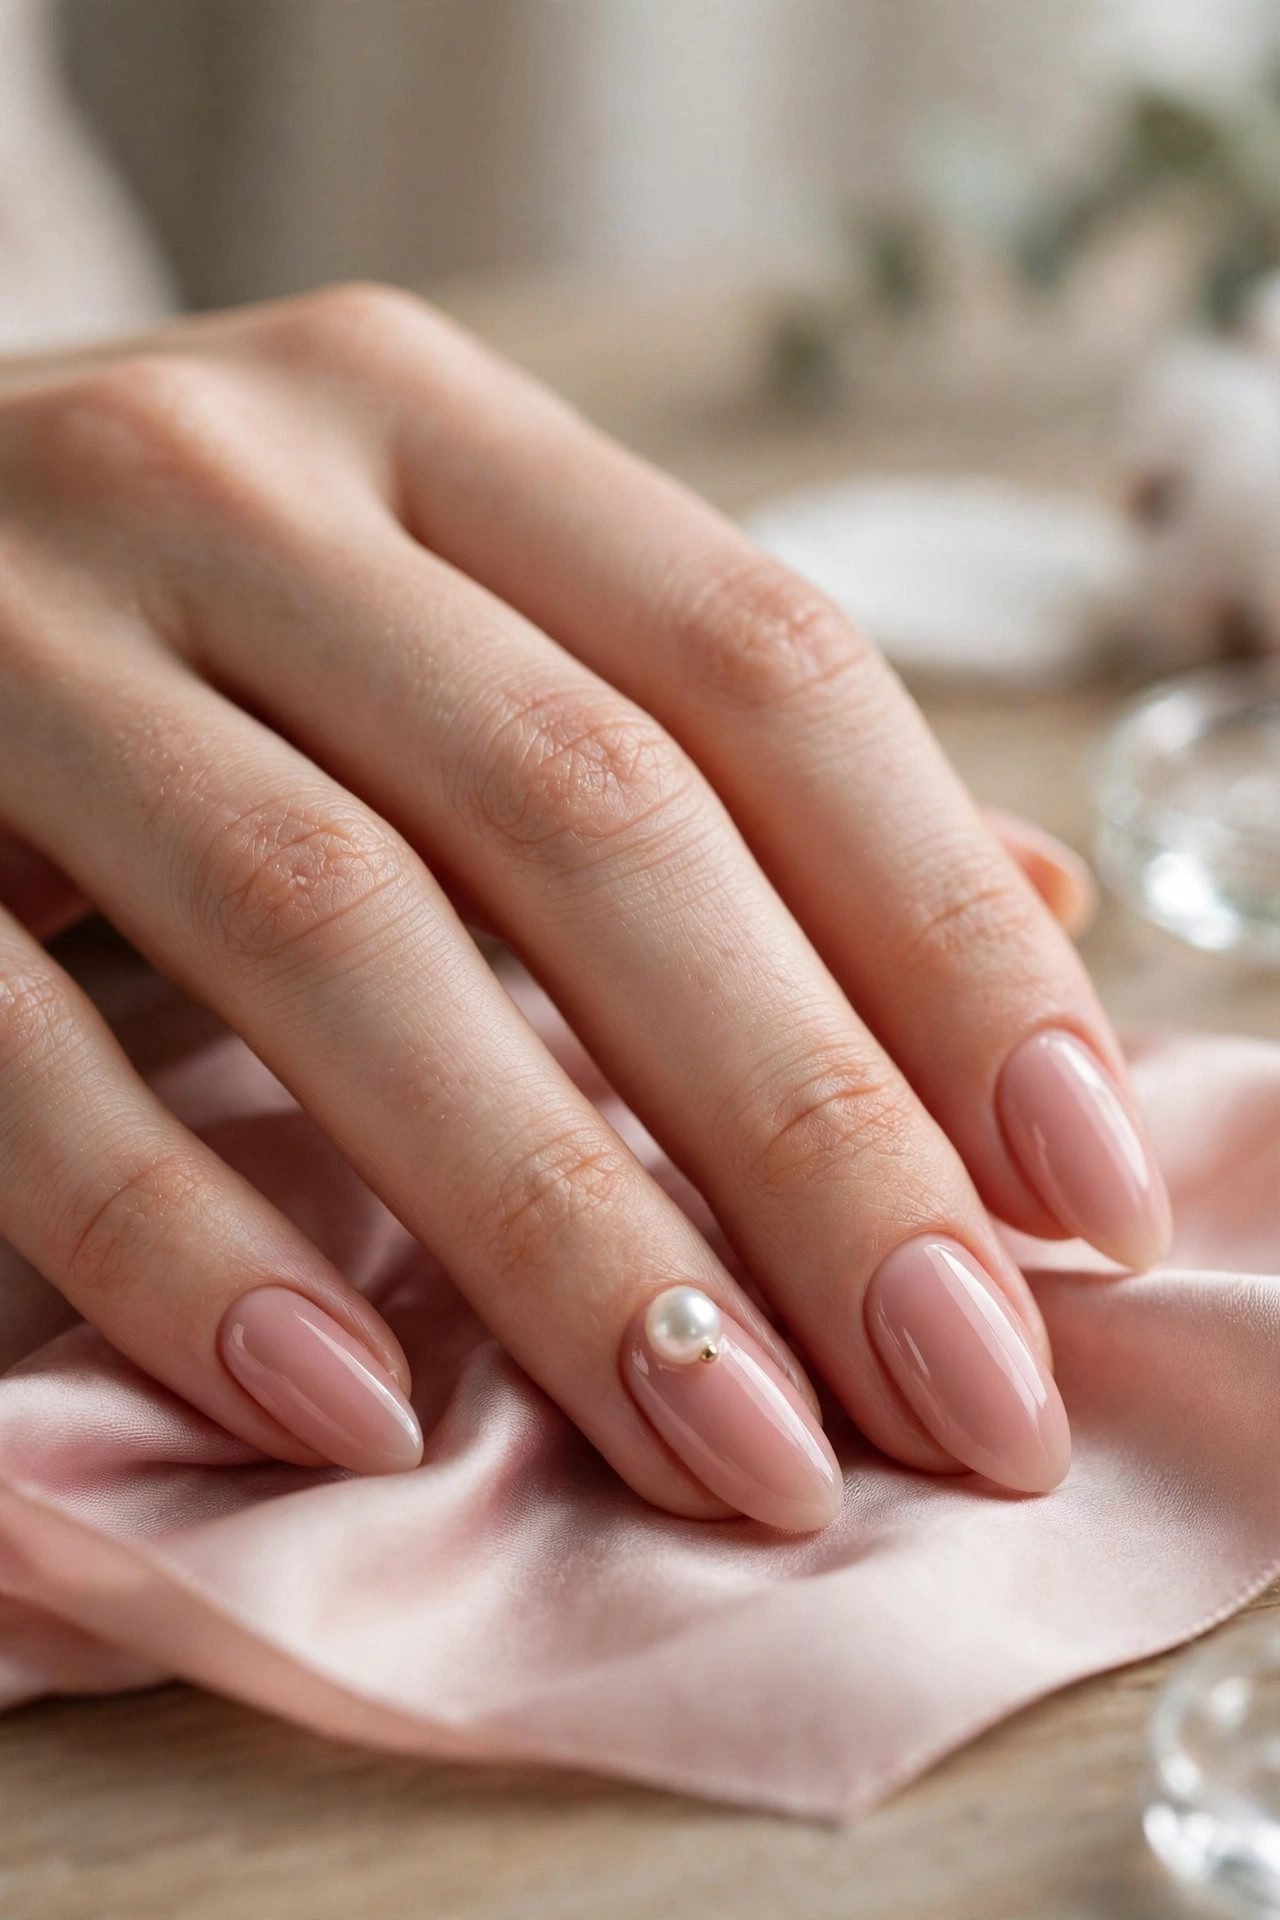
Milky white nails are the perfect canvas for this: a sheer, translucent base with one 2 mm pearl set at the center of the cuticle on each ring finger. The pearl repeats the natural curve of the nail, so the whole hand reads elegant rather than decorated, and it wears like a piece of quiet-luxury jewelry next to gold rings. If you love the old money nails aesthetic, this is its charm-era translation — same restraint, one glint of hardware. Start from the milky white nails base and add nothing else.
Play note: ask for the pearl at the cuticle, never the free edge — low placement survives hair, sleeves and keyboards, and it grows out invisibly.
2. The Lone Star
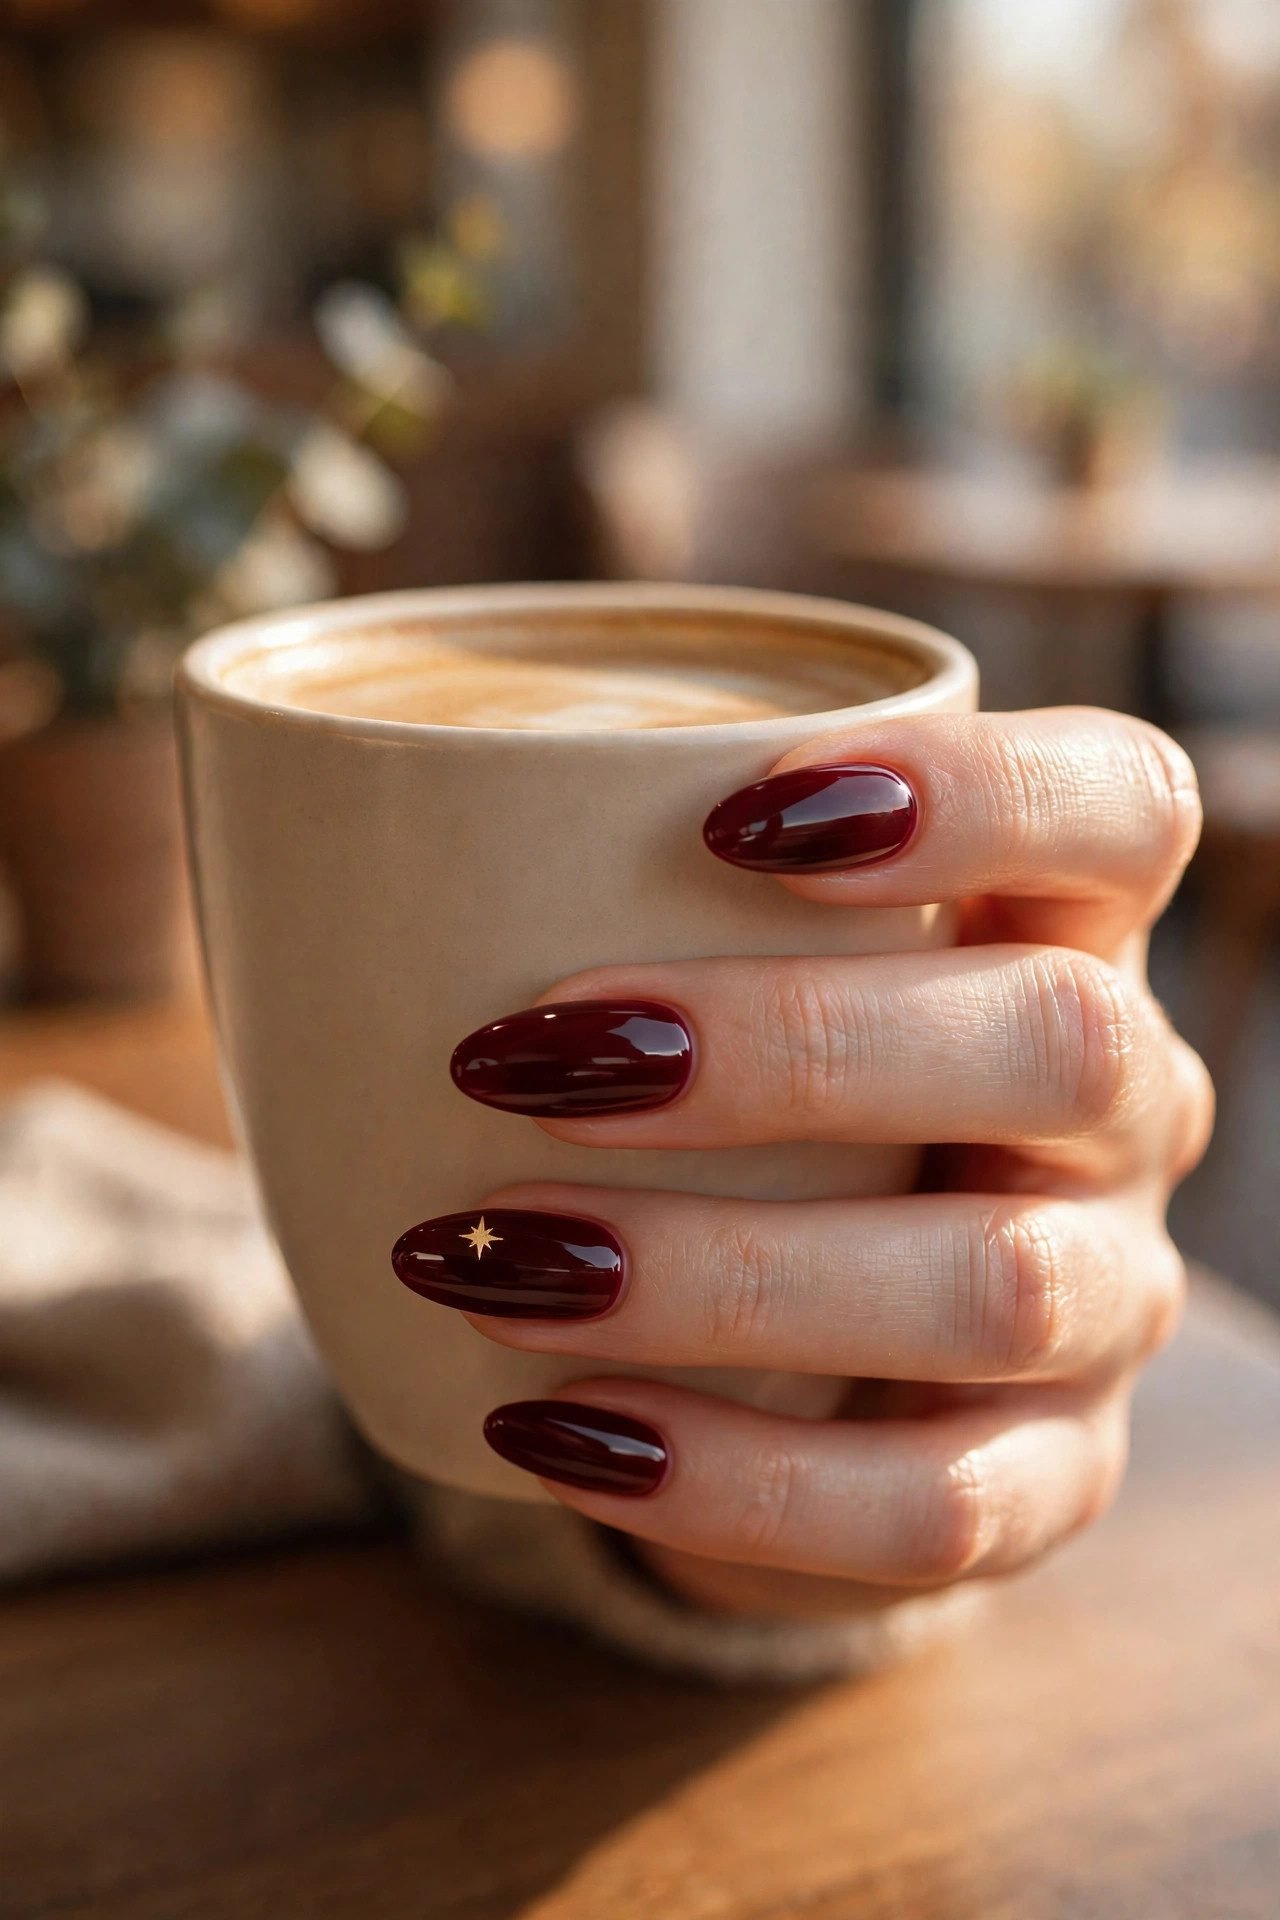
Sheer pink nails with a single gold star charm centered on each middle nail — and absolutely nothing else. The star sits at the midpoint of the nail plate, where it catches light every time you gesture, which is why this design gets asked about constantly: it looks deliberate, like a tiny constellation picked you. The look is playful without being childish, and it layers beautifully with silver jewelry. Build it on any of these pink nails — the sheerer the pink, the more expensive the star reads.
Play note: flatback star charms under 3 mm hold far better than tall 3D star beads — the higher the profile, the sooner it snags.
3. The Corner Charm
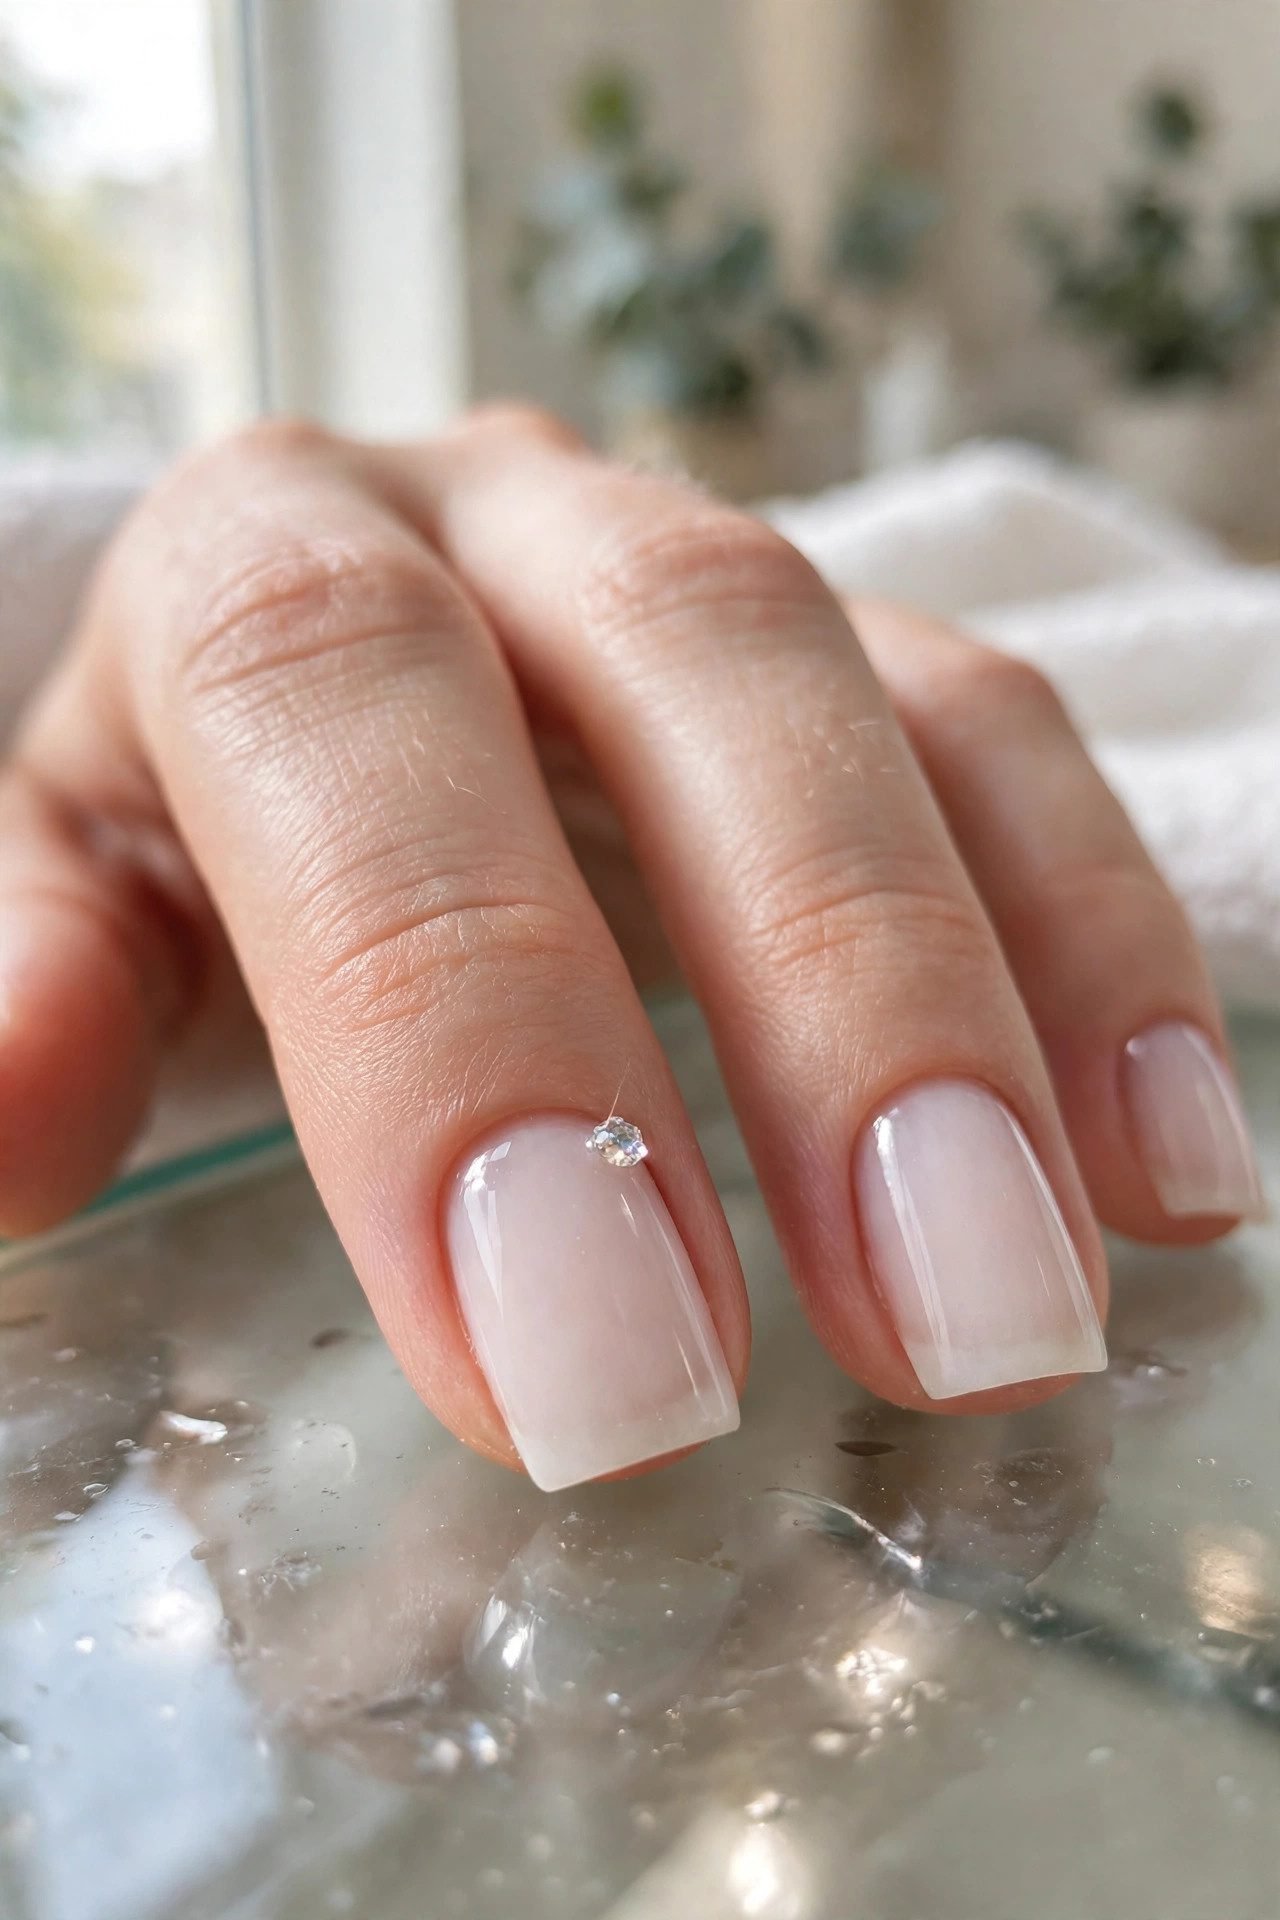
Short square nails wear tiny gold hearts best when the charm is tucked into the sidewall corner instead of the center of the nail. The corner is the quietest real estate you have — you notice it when you hold a glass, and nobody else does unless they look closely. It is the definition of a secret manicure, and it is the best proof that nails with charms do not need length to work: on square nails, a 2 mm heart in the corner reads as intentional design, not decoration.
Play note: corner placement is the snag-free zone — if you type all day or have long hair, this is the safest charm position on the entire nail.
4. The Micro Stud Row

Three 1 mm gold studs set in a vertical line up one accent nail — usually the ring finger — over a bare or softly nude-polished base. The row mimics a stacked cartilage piercing, which is exactly why it reads chic instead of busy, and on short nails it visually stretches the nail upward instead of across. It is the gateway design for people who swear they cannot wear nails with charms, because it behaves like jewelry, not art. This stacks perfectly with other short nail designs you already rotate.
Play note: ask your tech to set the studs into wet gel and cure them — surface-glued studs this size vanish during the first shampoo.
Rung 2 — The Accent Nail Story
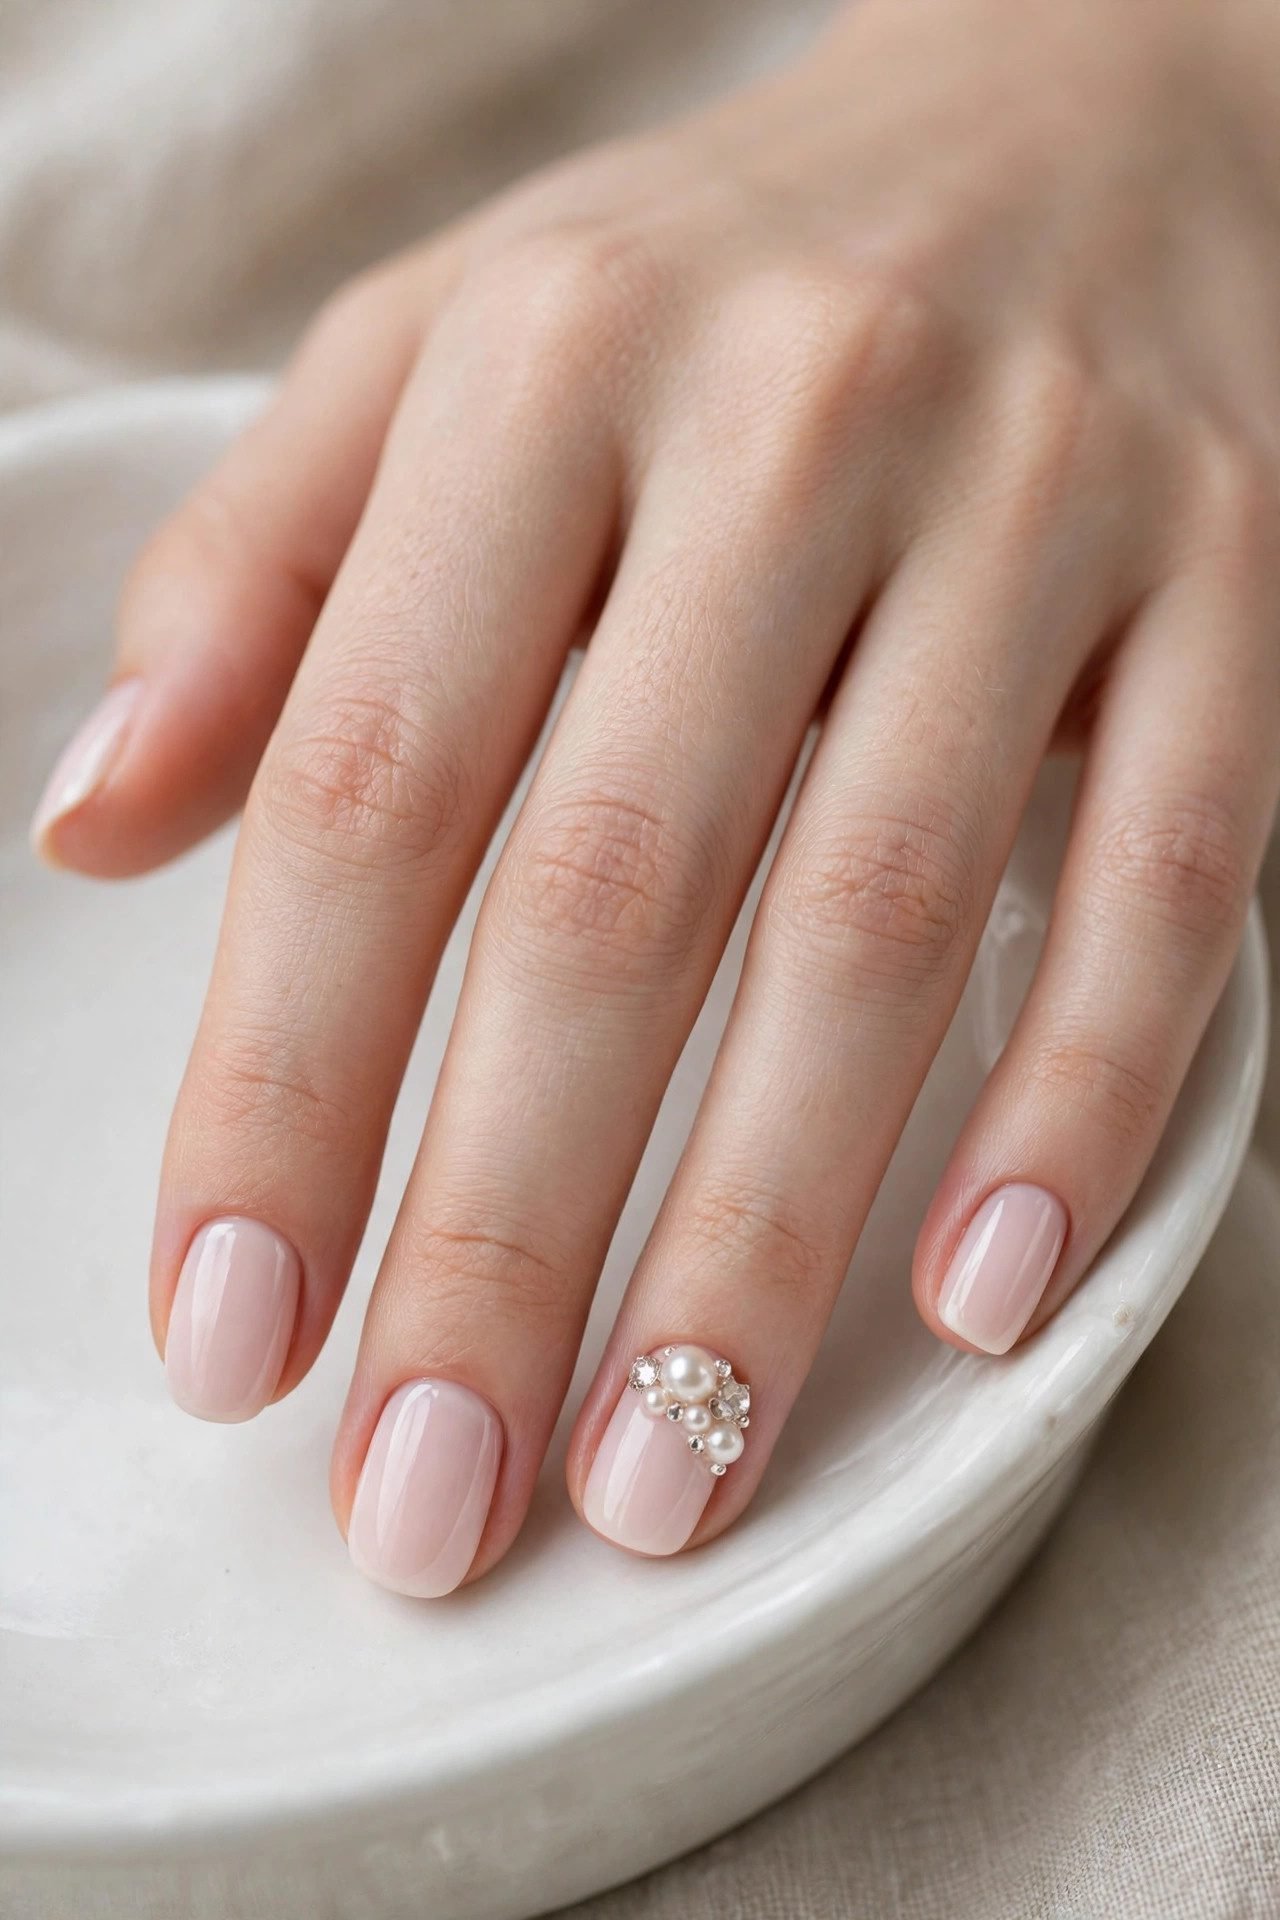
Rung 2 gives the charms a stage: most nails stay clean while one or two feature nails carry the design. Accent placement is ideal for anyone who wants obviously charming nails with charms but still needs them meeting-appropriate — the drama is contained to two fingers, and the grow-out phase still looks intentional. This rung is also where placement starts to matter, because a feature nail with a charm becomes the thing everyone watches you do: hold coffee, text, wave.
5. Pearl-Tip French
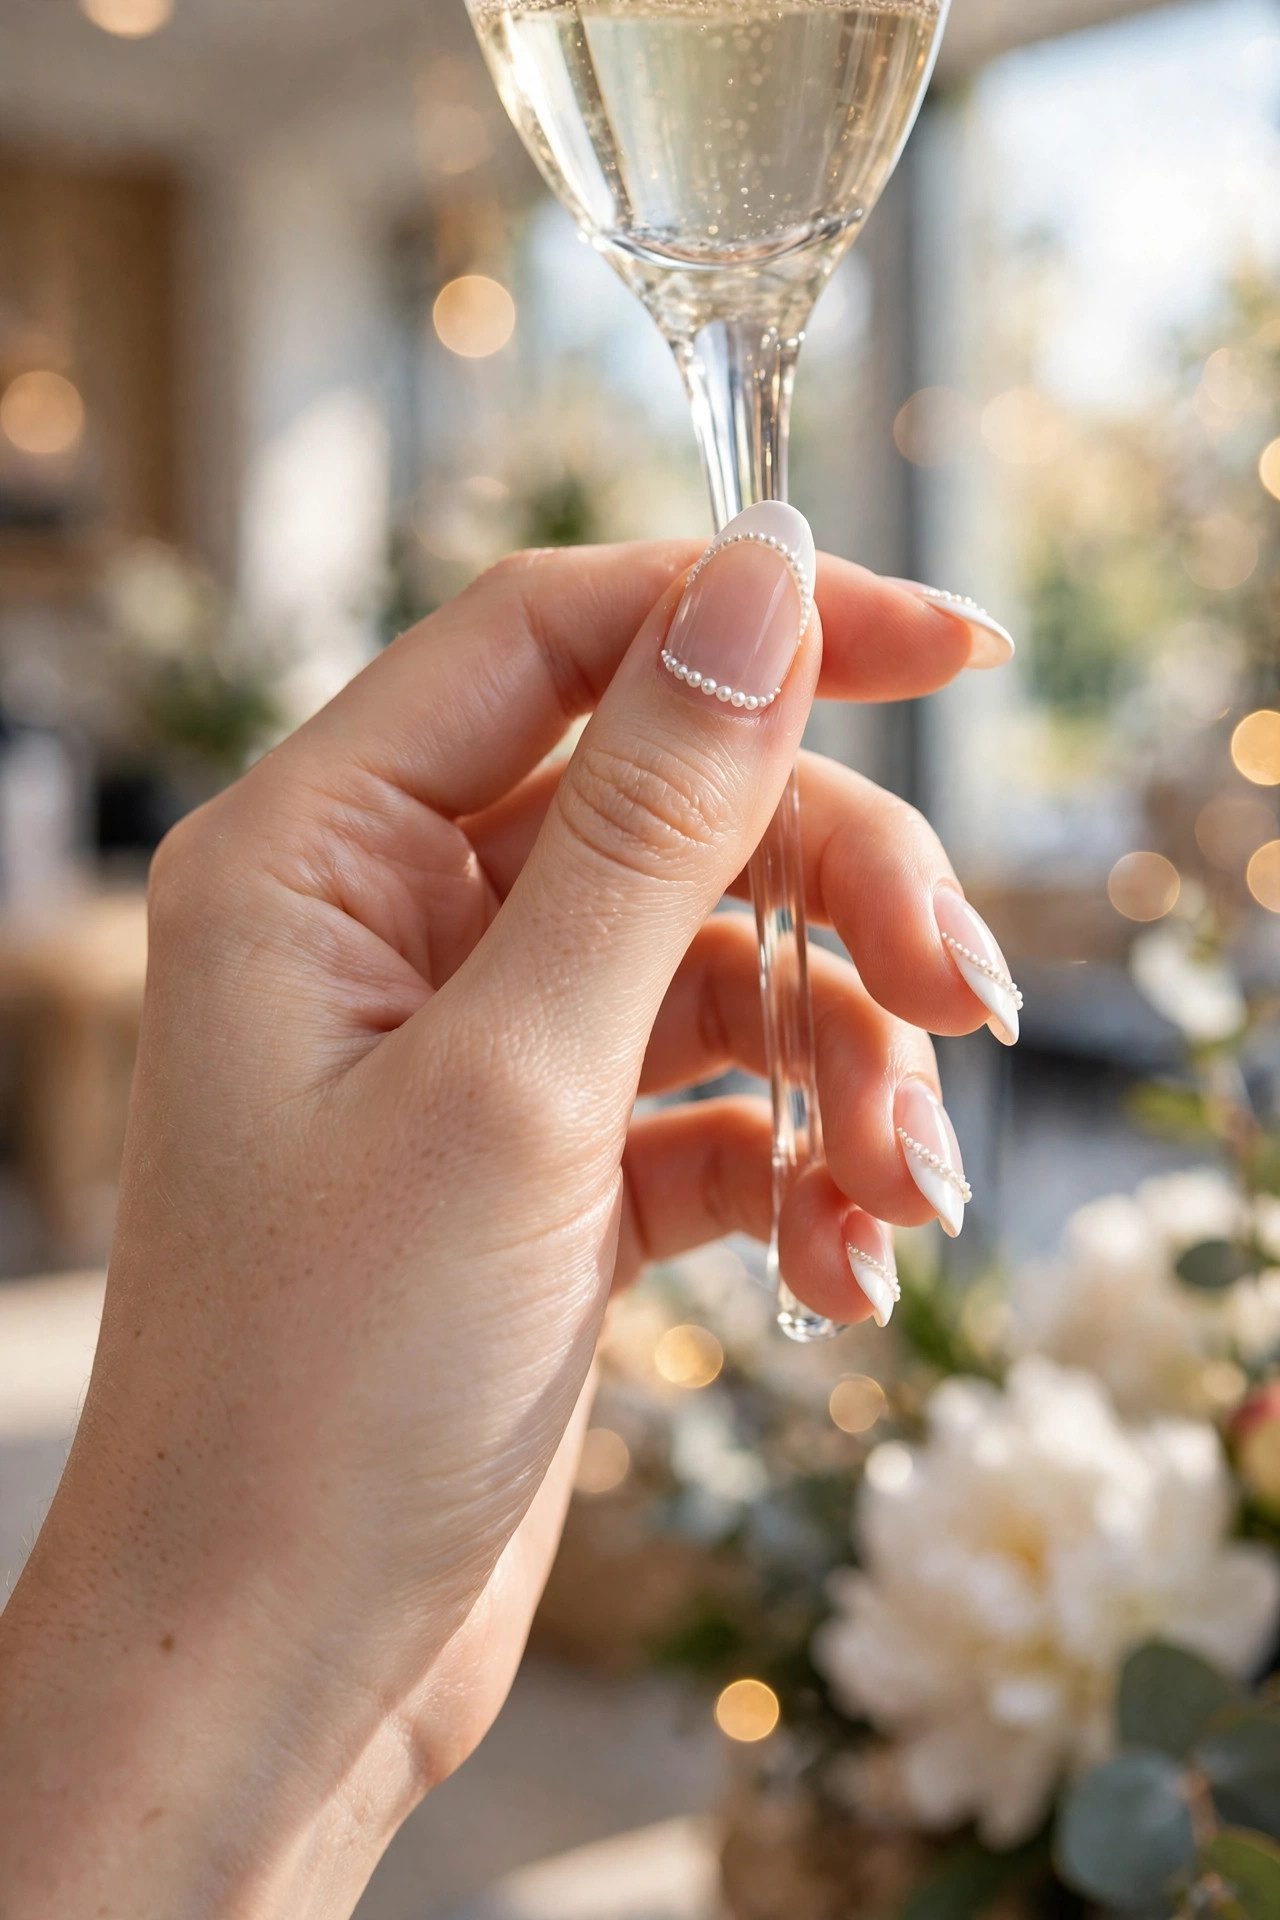
A classic white french tip, upgraded: on each ring finger, a single pearl sits exactly where the center of the smile line would be. The rest of the tips stay crisp white, so the pearl reads as an heirloom detail rather than extra decoration, and the whole set survives a workweek without shouting. It is the most bridal-adjacent french on this list without ever saying the word wedding. Get the base right first with our french tip nails guide, then add the pearl last.
Play note: a pearl set into the smile line needs gel encapsulation — topcoat alone leaves a ridge that catches tights and hair within days.
6. The Bow Moment
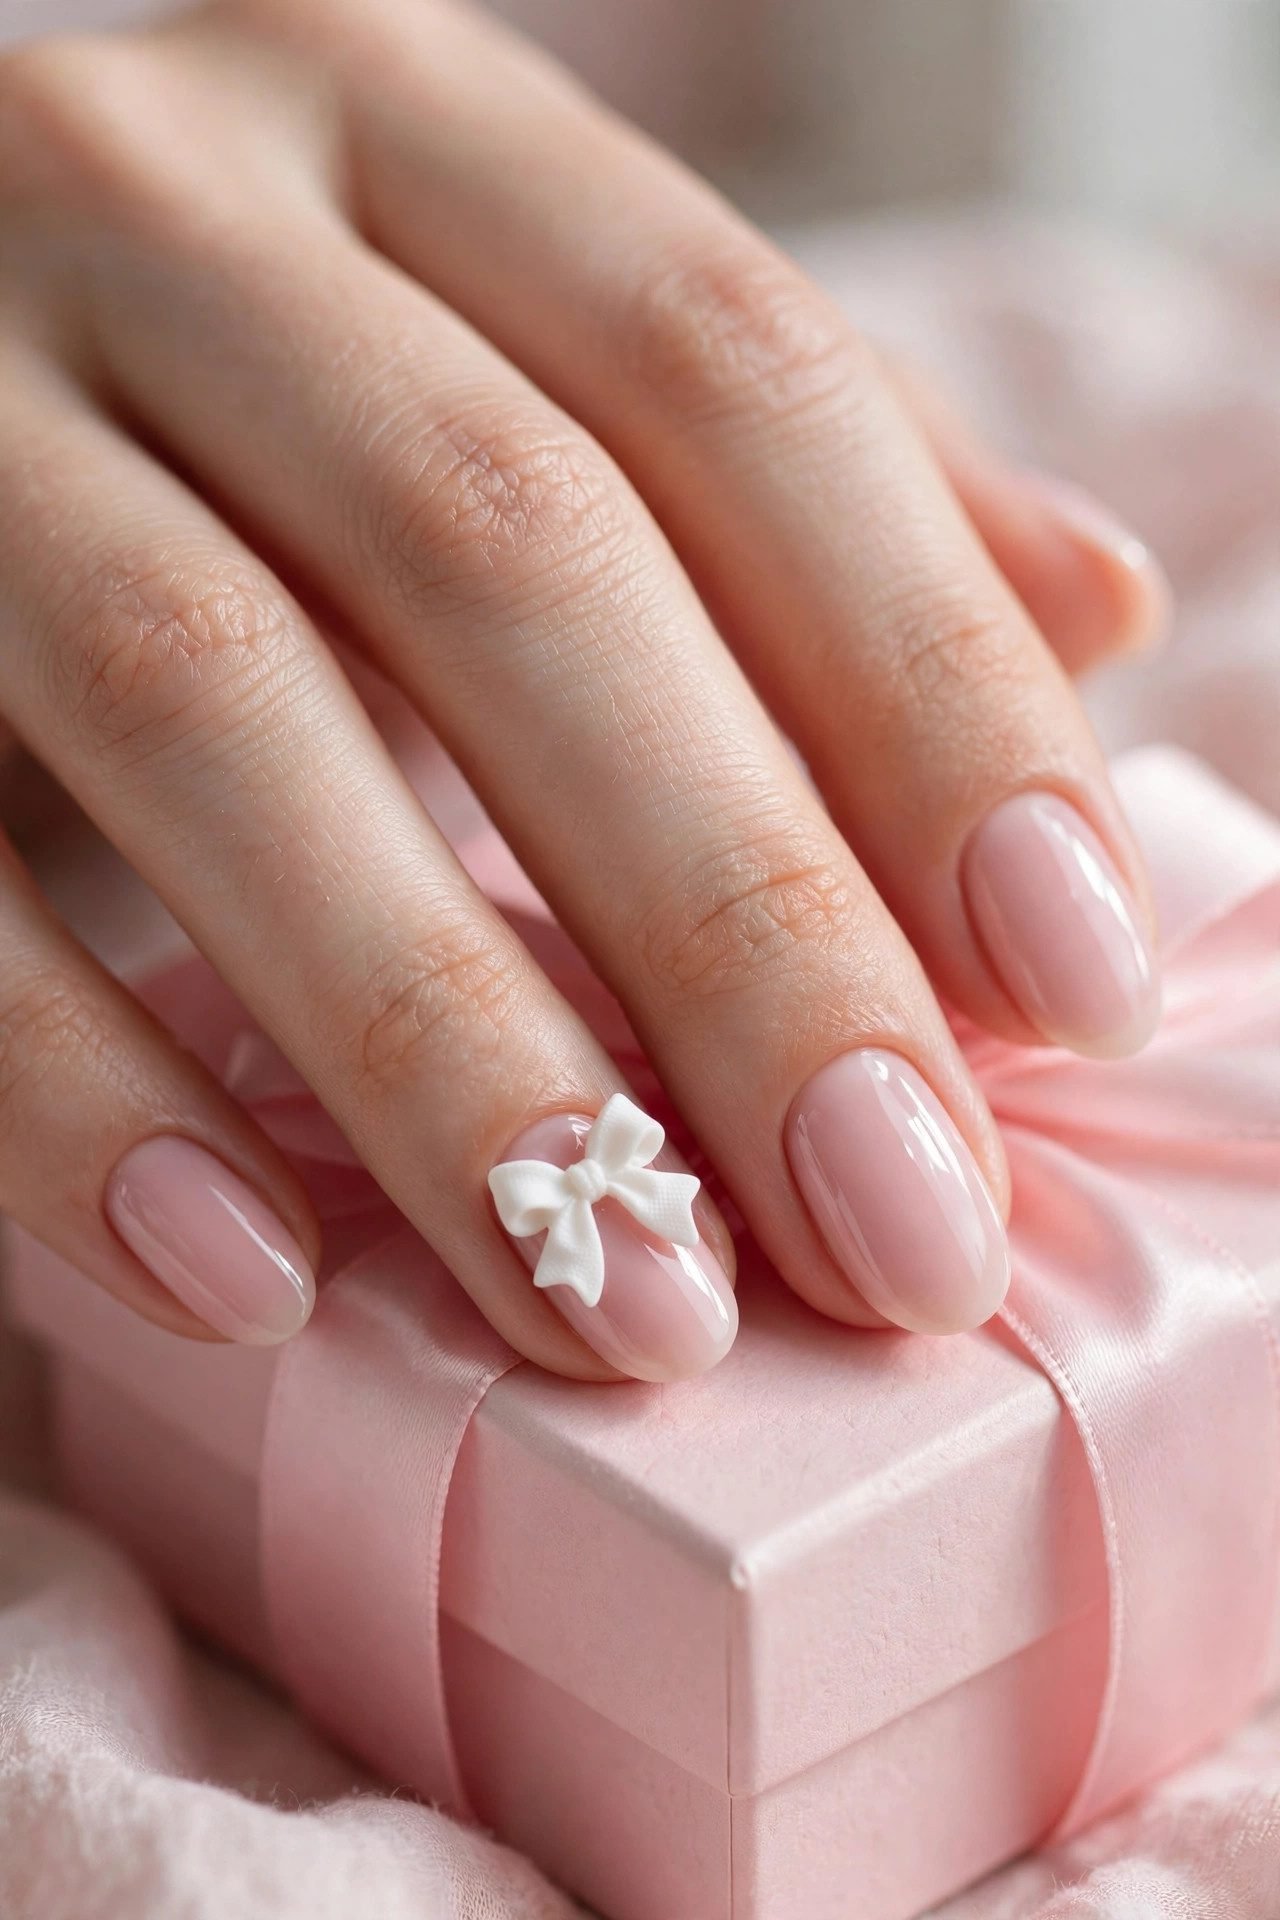
Baby pink nails with a 3D bow charm on each ring finger and everything else left glossy and bare. Bows are the most requested charm of the moment, and the pink-on-pink version is soft, coquette-coded and completely wearable — this is the design filling every salon booking app right now. The look lands best on a longer almond nail designs canvas, where the bow has room to spread its loops instead of crowding the nail.
Play note: choose a resin or metal bow with a flat base — fabric-wrapped bows look dreamy on day one but shred in the shower within a week.
7. The Butterfly Cluster
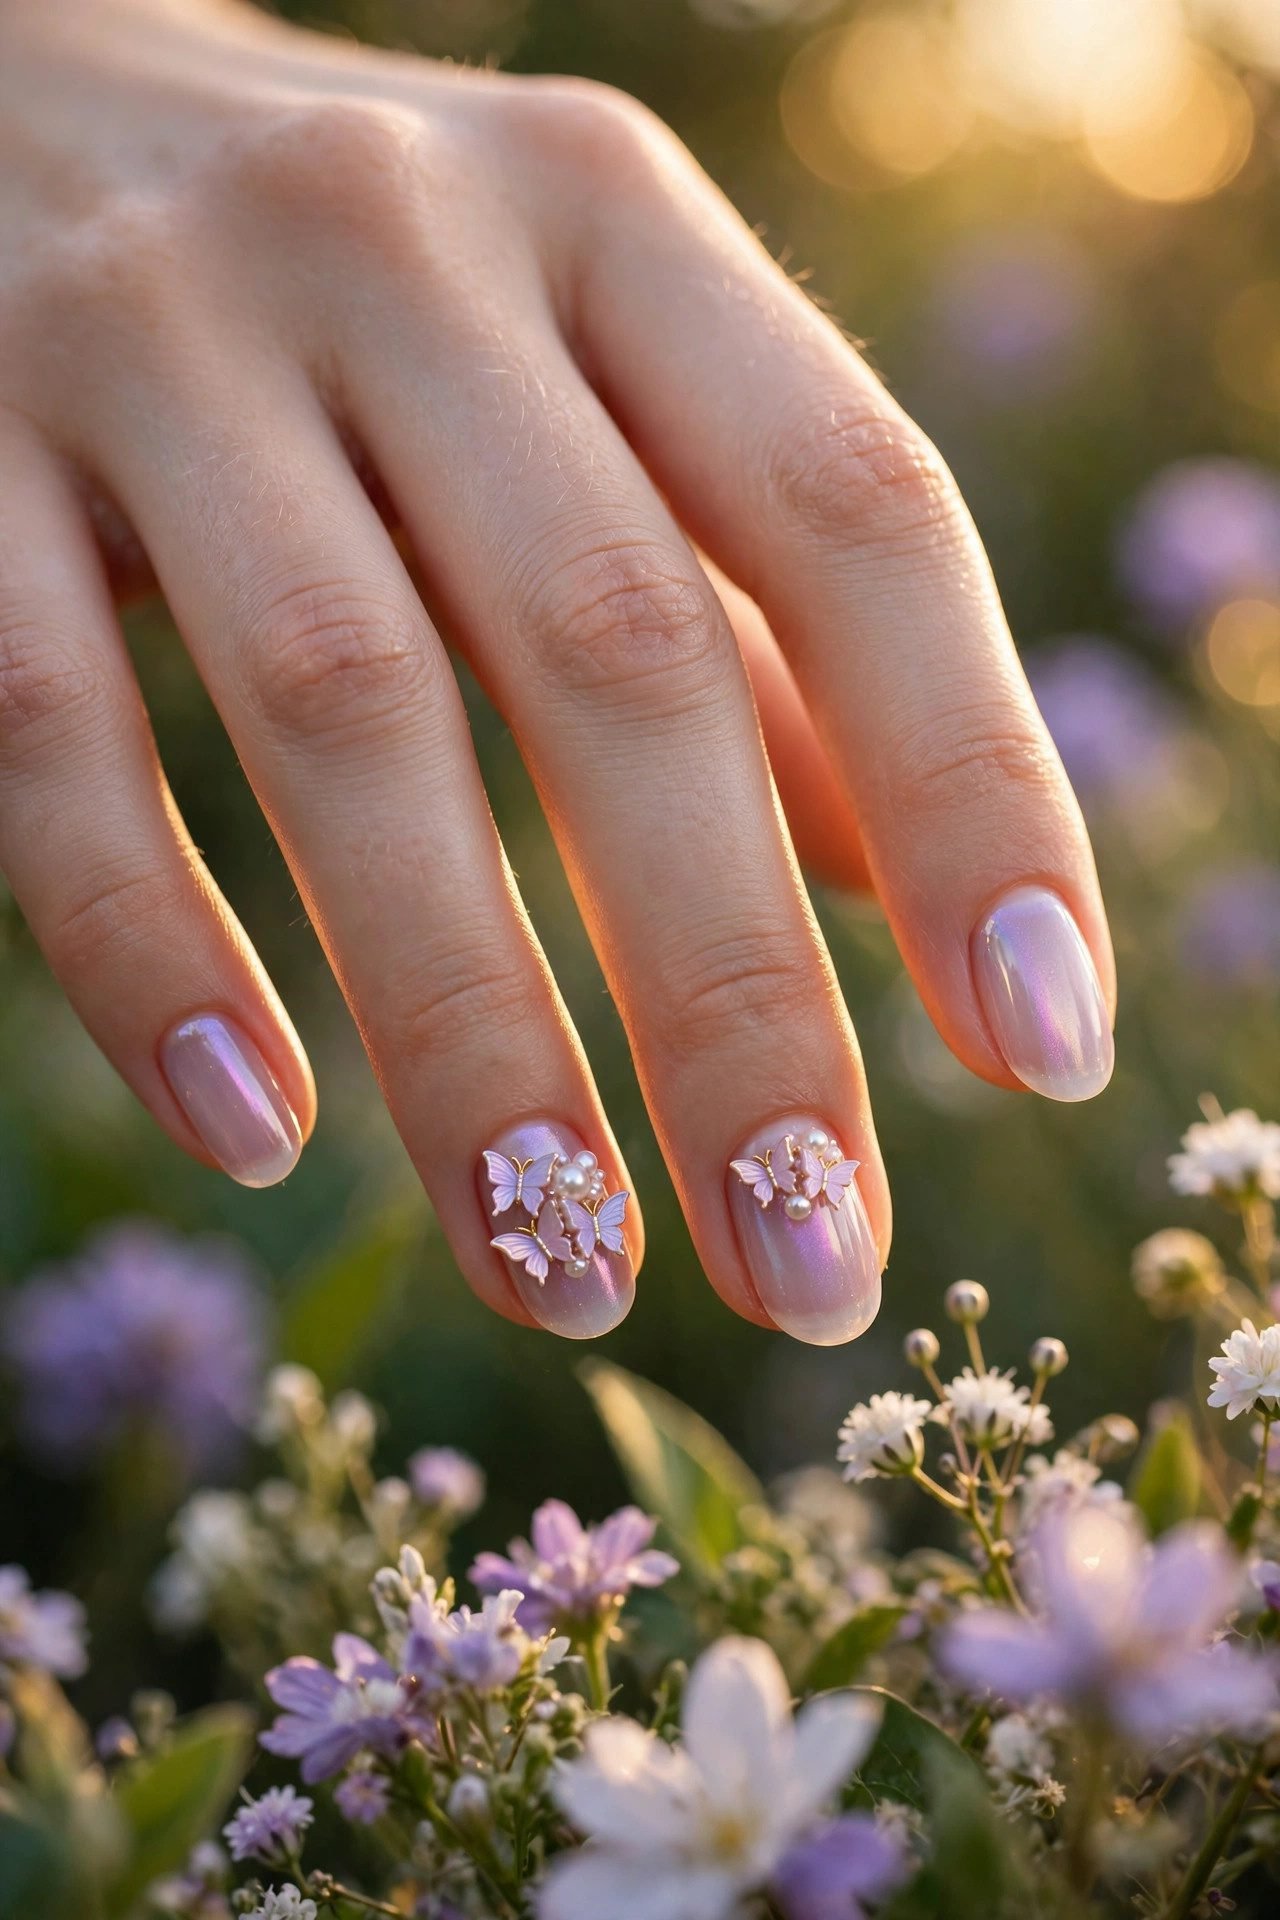
Sky blue nails with two small butterflies per accent nail, wings staggered so they look mid-flight rather than pinned. Butterflies are the friendliest charms in the box — they read whimsical on adults instead of costume-y, especially in iridescent or pearl finishes over a sheer blue. This is the design that turns spring manicure season into an event, and it is forgiving: even imperfect placement looks like the butterflies simply landed there. Pick your sky from these blue nails ideas.
Play note: stagger the heights and angles — a neat butterfly row looks like stickers, but a scattered cluster looks like a garden.
8. Hearts & Berries
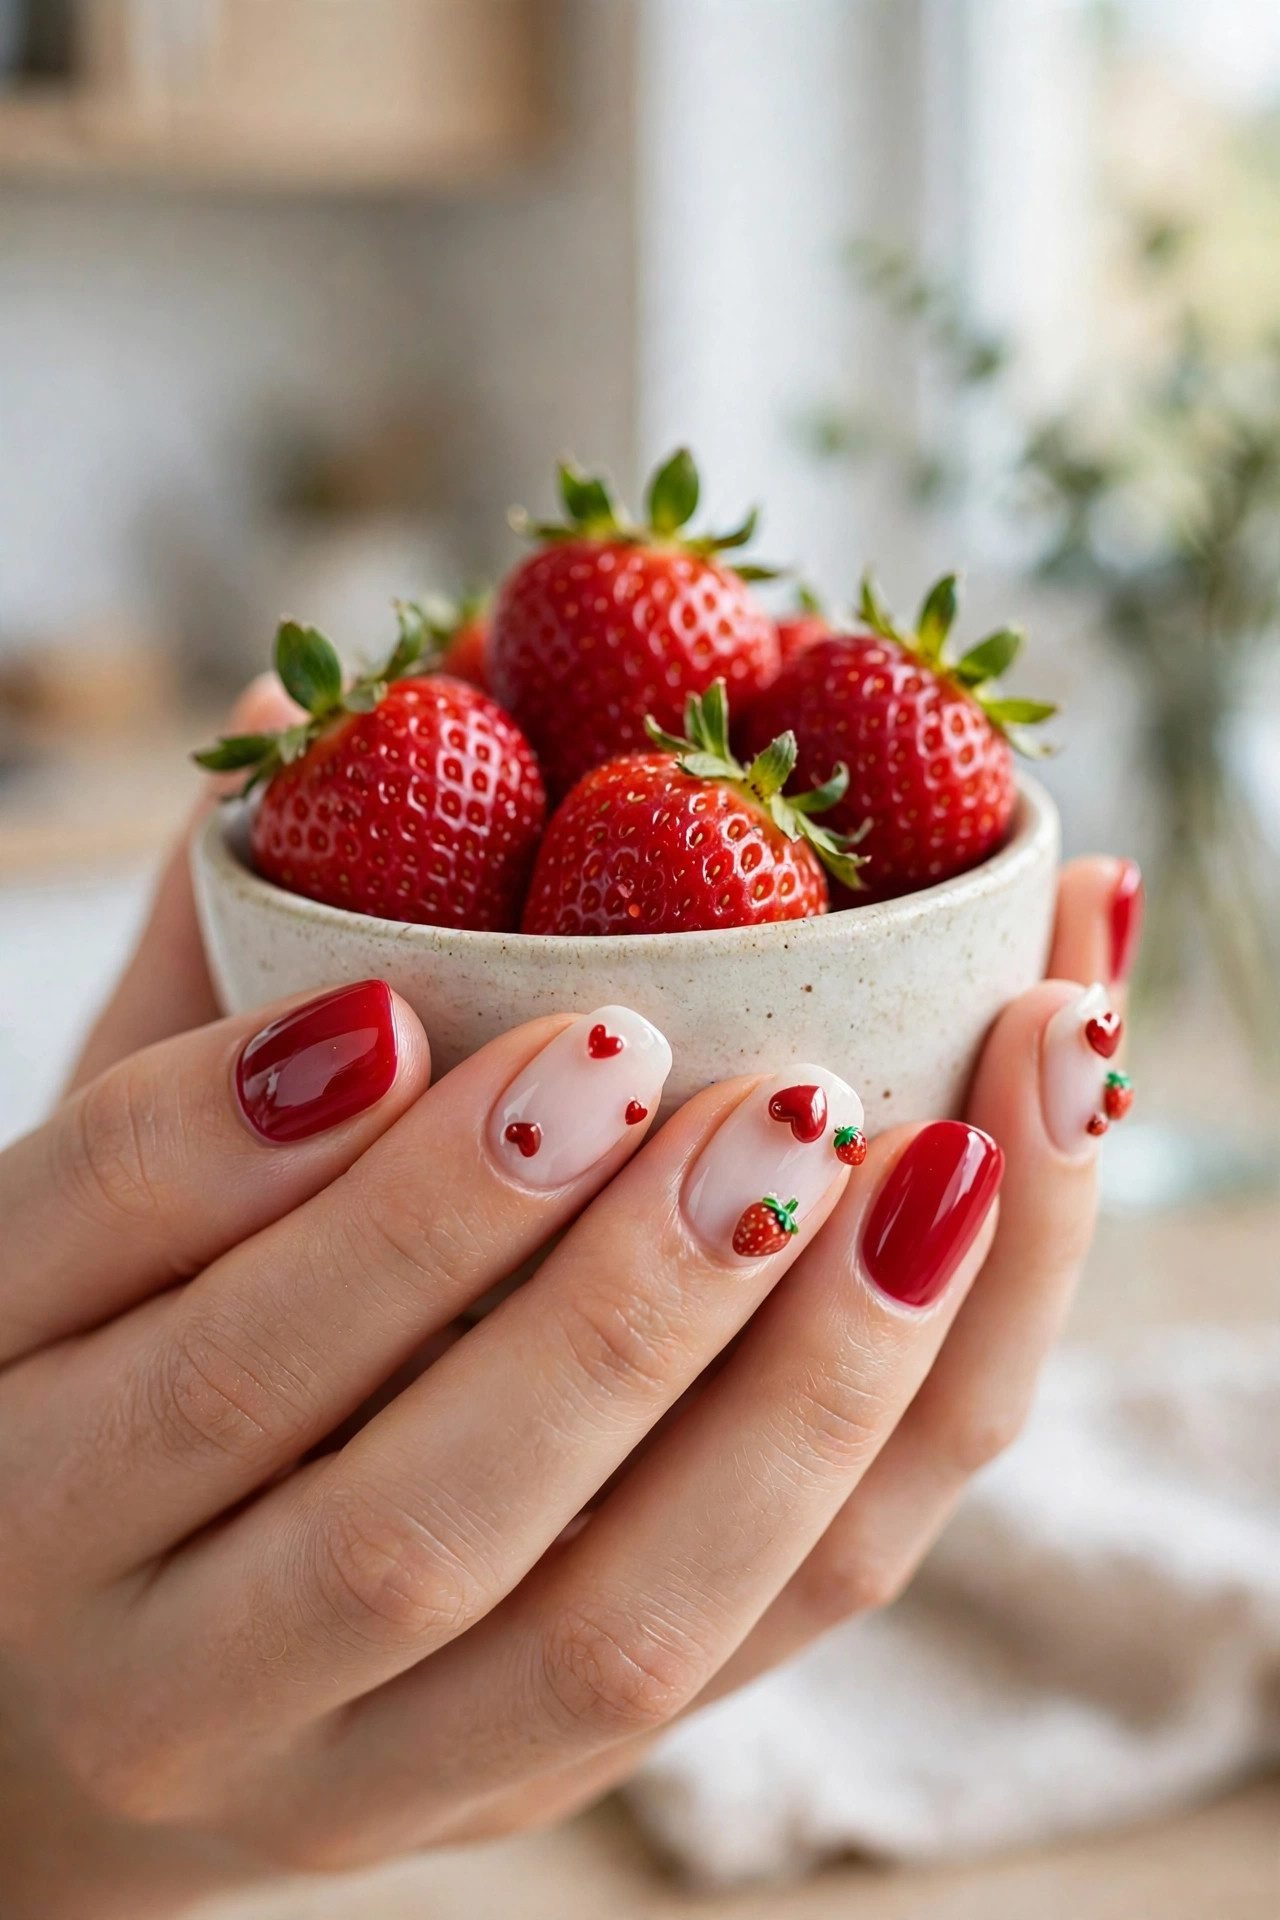
Glossy red nails with tiny gold heart charms on two nails per hand — a Valentine-coded look that honestly works all year, because gold-on-red is the same color math as jewelry on a red dress. Keep the hearts at 3 mm or smaller so the red stays the hero and the charms act like tiny studs of light. It is the boldest design on Rung 2 without leaving office territory. Choose your red from these classy red nails, then save the full look for Valentine’s Day nails season — or don’t.
Play note: heart charms have pointy corners — smooth a bead of topcoat around each edge or they will catch your knitwear all winter.
Rung 3 — Charms as a Pattern
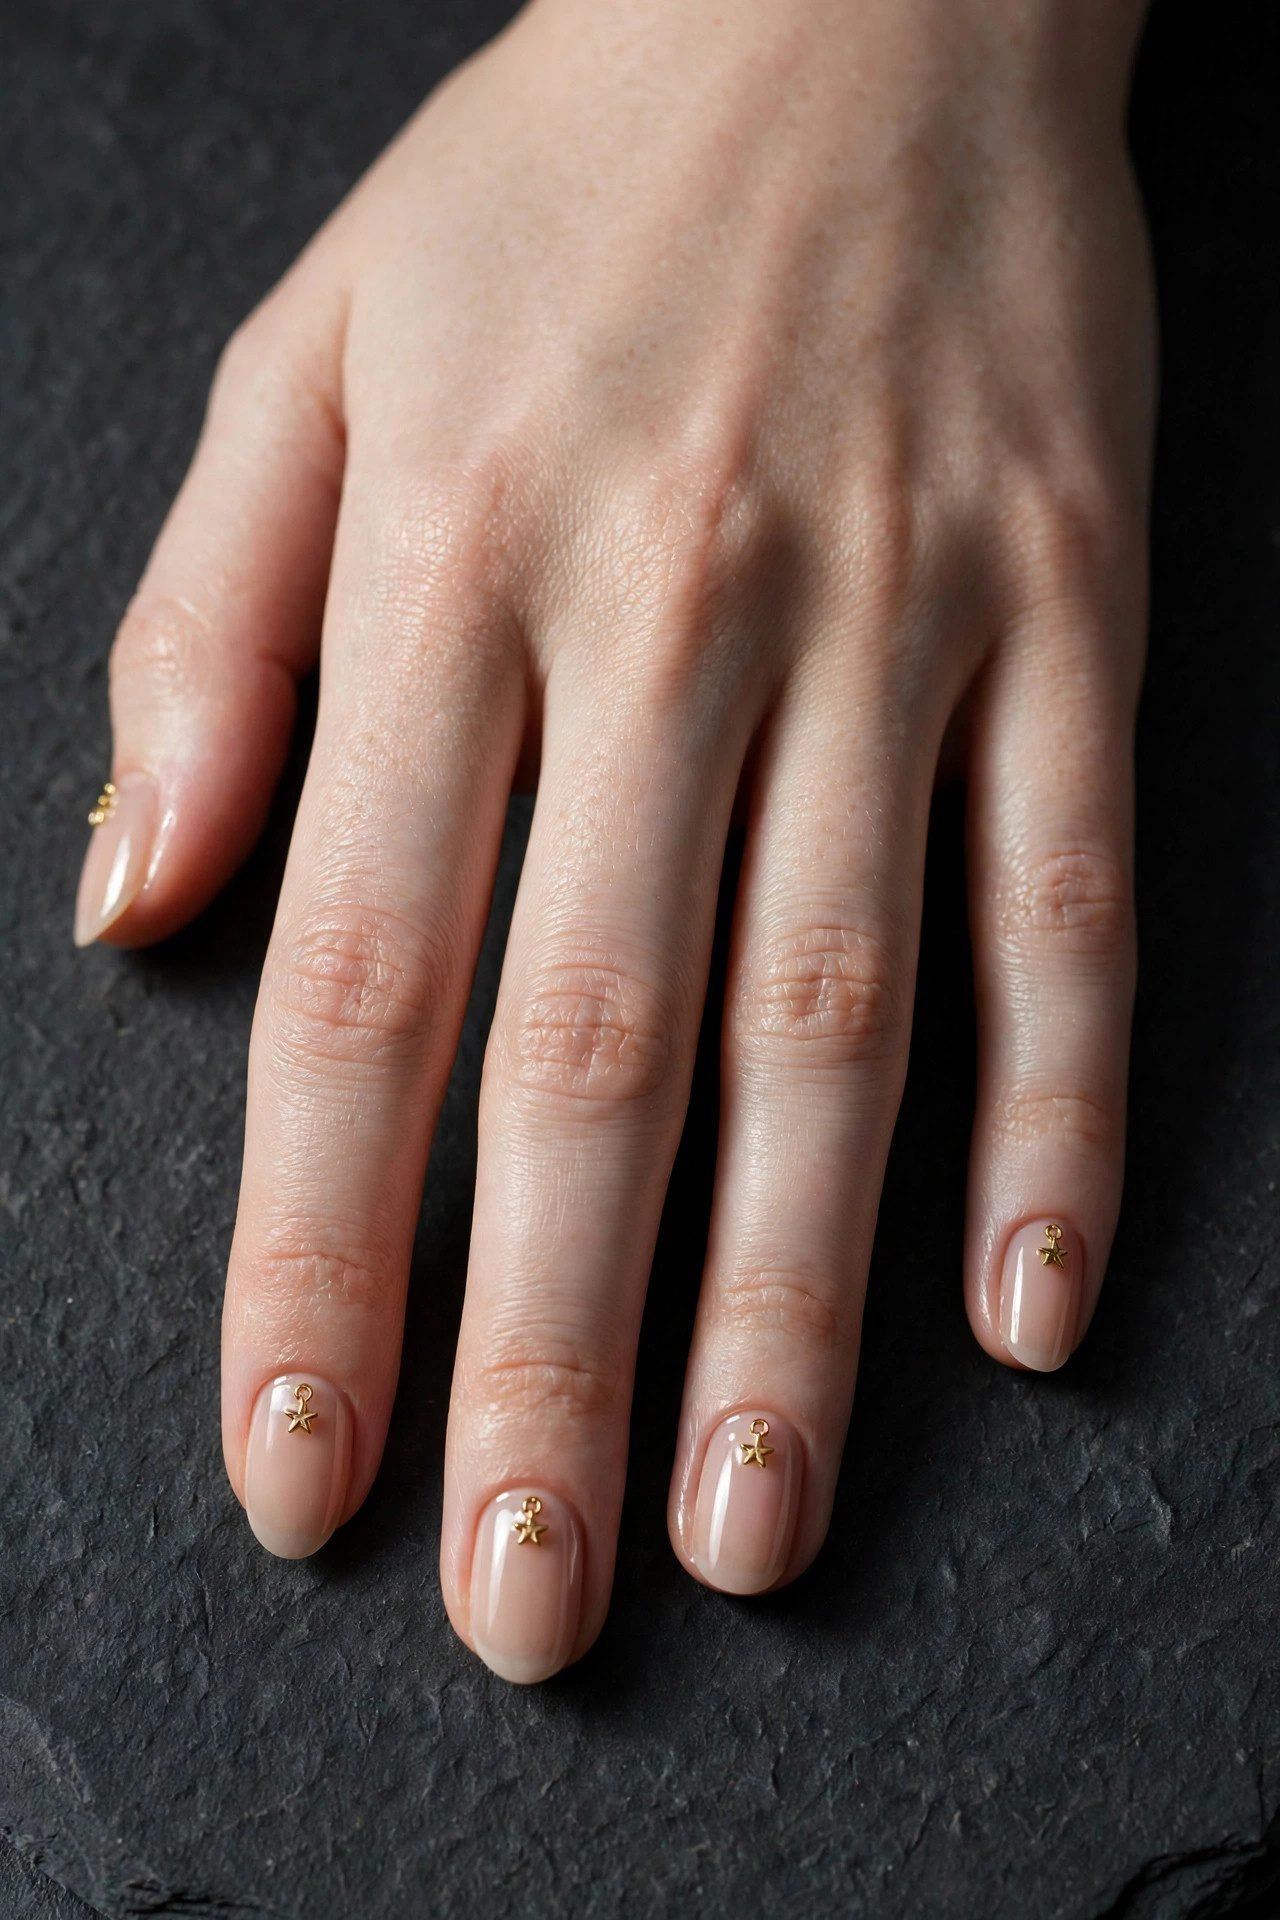
At Rung 3, charms stop being accents and become structure: repeated into edges, lines and constellations across all ten nails. This is where nails with charms start to look genuinely designed, because repetition is what signals intention — one charm is an accent, but ten coordinated charms are a pattern. The rule on this rung: when charms multiply, everything else on the nail gets quieter, so bases stay sheer, glossy or magnetic with no competing art.
9. The Caviar Edge
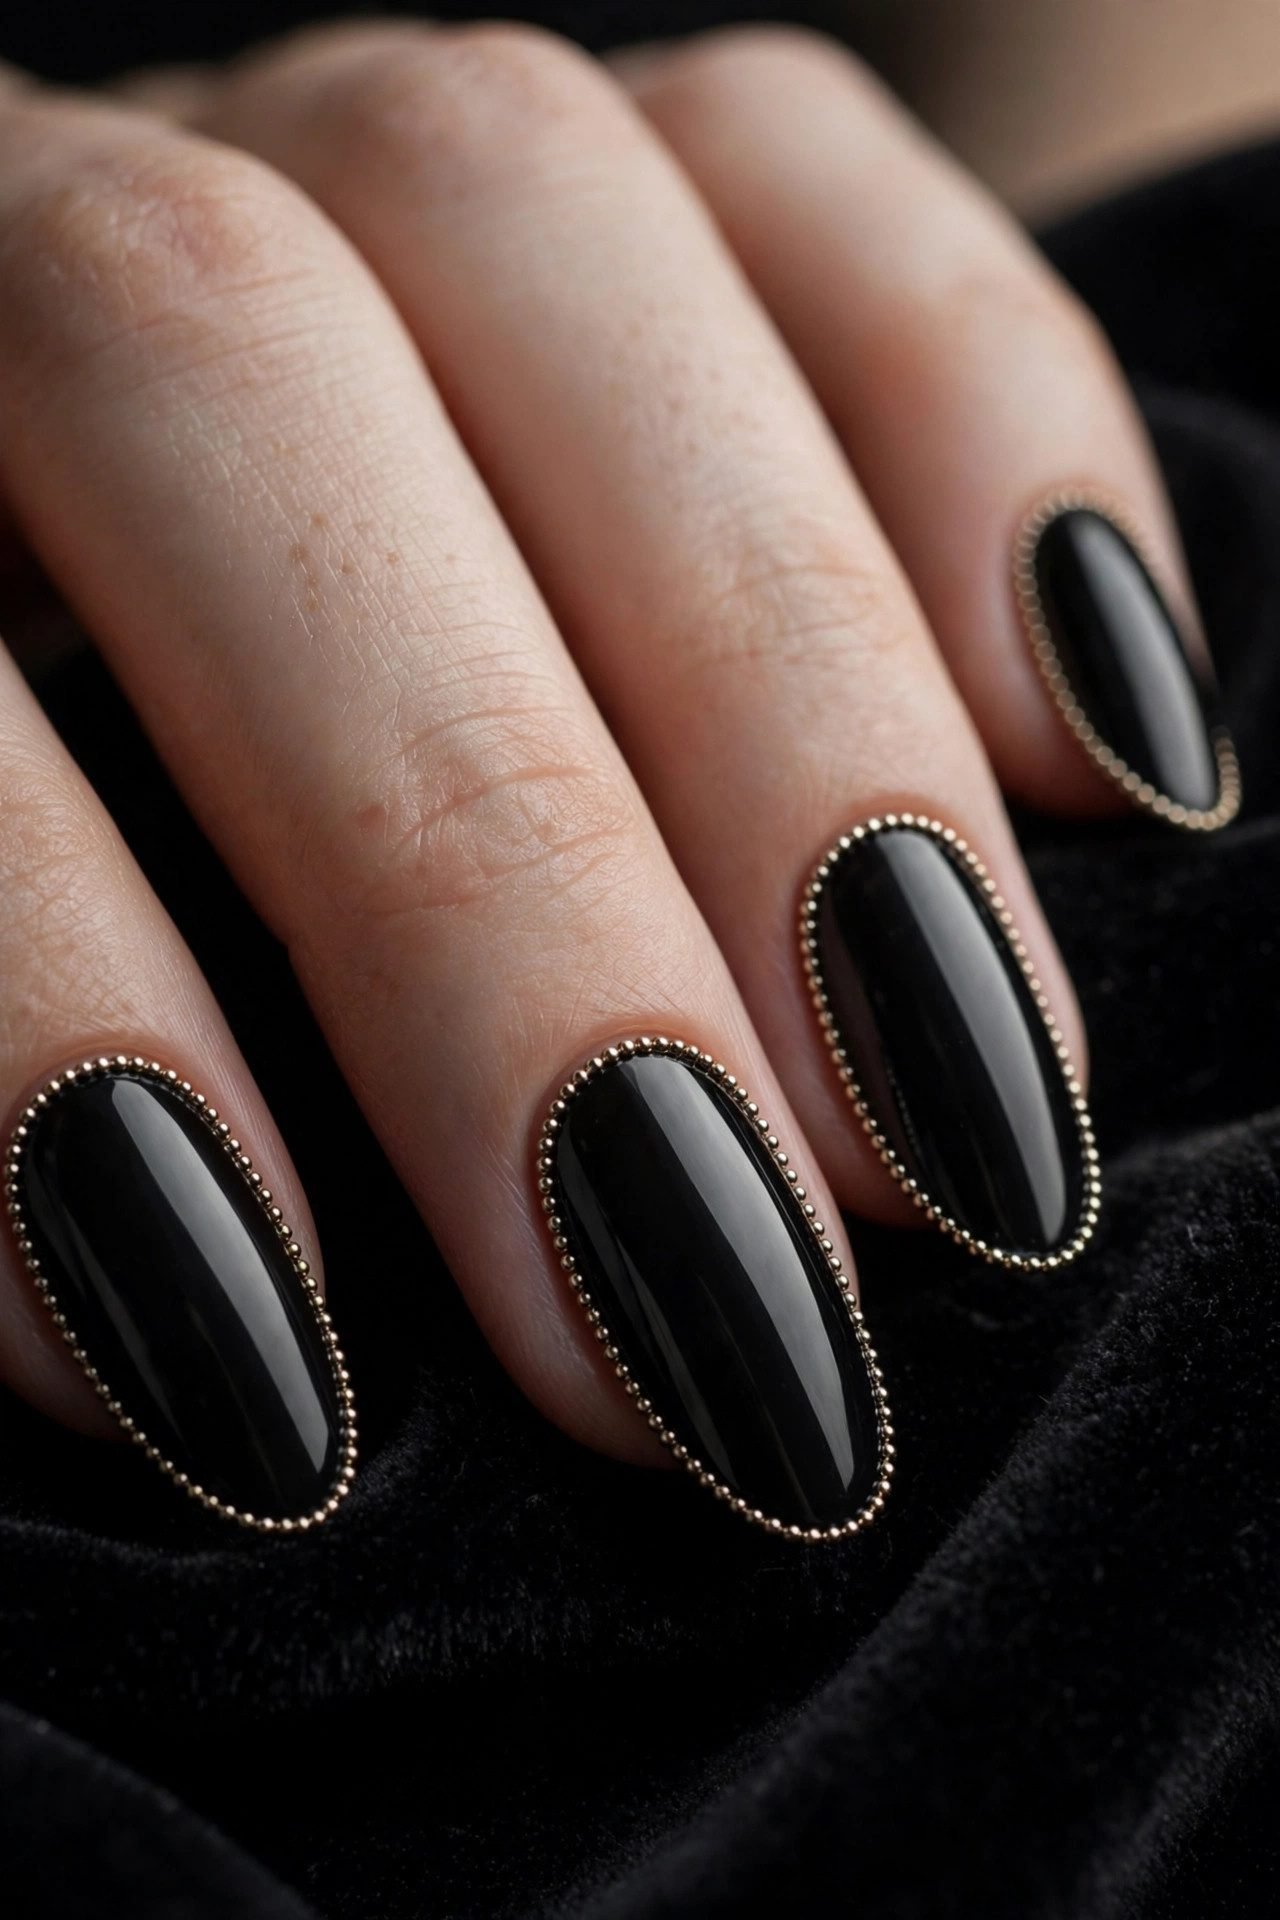
Micro gold beads — the caviar technique — lined along the cuticle curve of every nail, like gold piping on a jacket lapel. This is nail art achieved through hardware instead of polish: no lines to draw, no stamps to place, just a shift in texture you can actually feel. It works over any base color you already love, which makes it the most reusable pattern on the whole ladder, and it sits naturally inside the wider world of nail art without needing a single brush.
Play note: caviar beads must be pressed into wet gel and sealed at the edges — loose beads migrate into your coffee within 48 hours.
10. Charm French 2.0
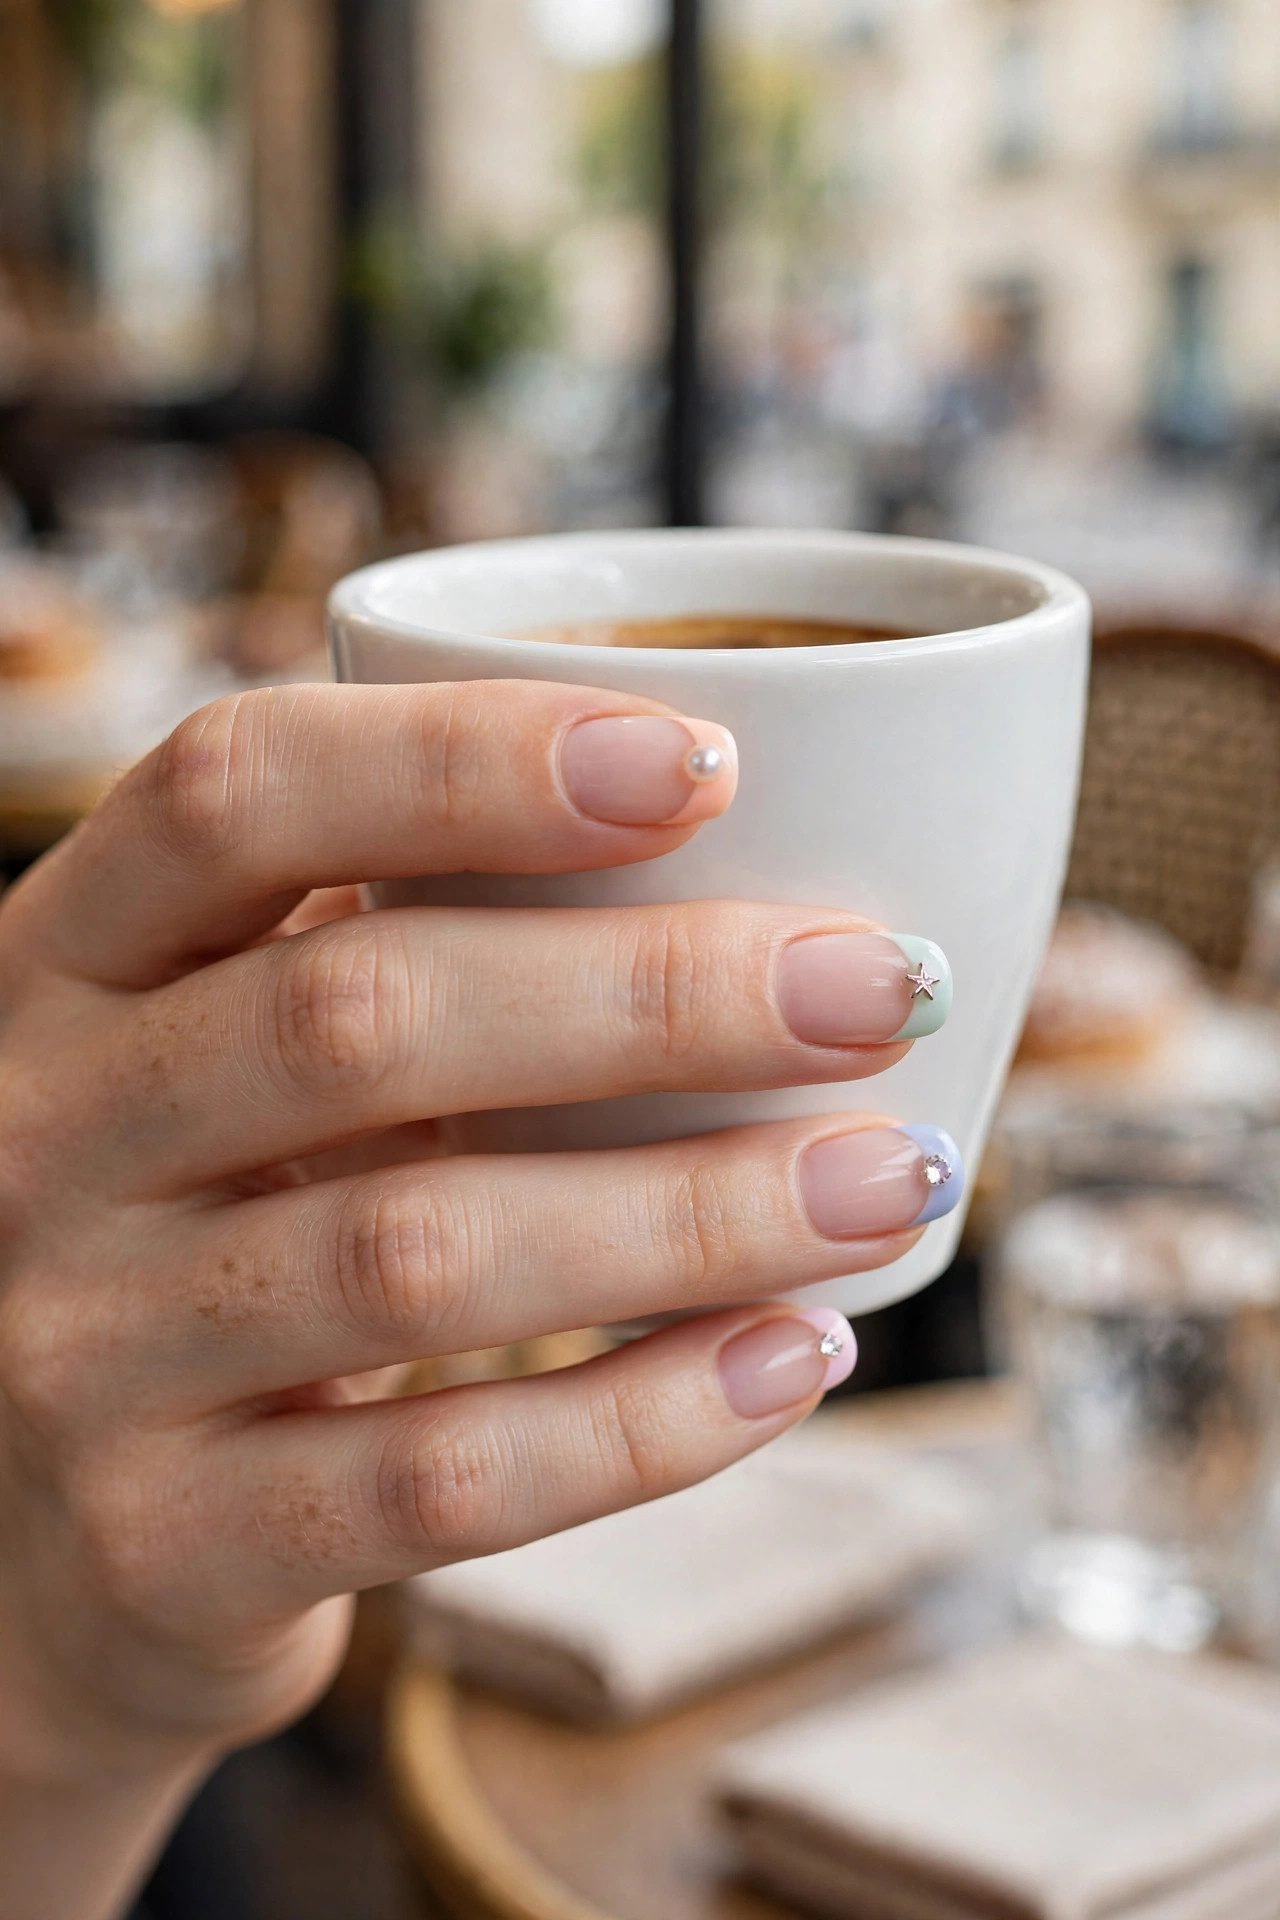
An inverted take on the baby boomer nails palette: a soft blush-to-white base with a thin line of gold micro studs marching along the free edge of each nail, plus one star charm on each thumb. The studs replace the classic white tip, so the set reads french from across the room and jewelry up close. It is the Rung 3 design for people who want the pattern everywhere but the volume nowhere — disciplined, glinting, a little retro.
Play note: stud lines need a sticky gel base — regular polish will not hold a full row, so ask for gel and a “trench” of topcoat around the edge.
11. The Dangle Chain
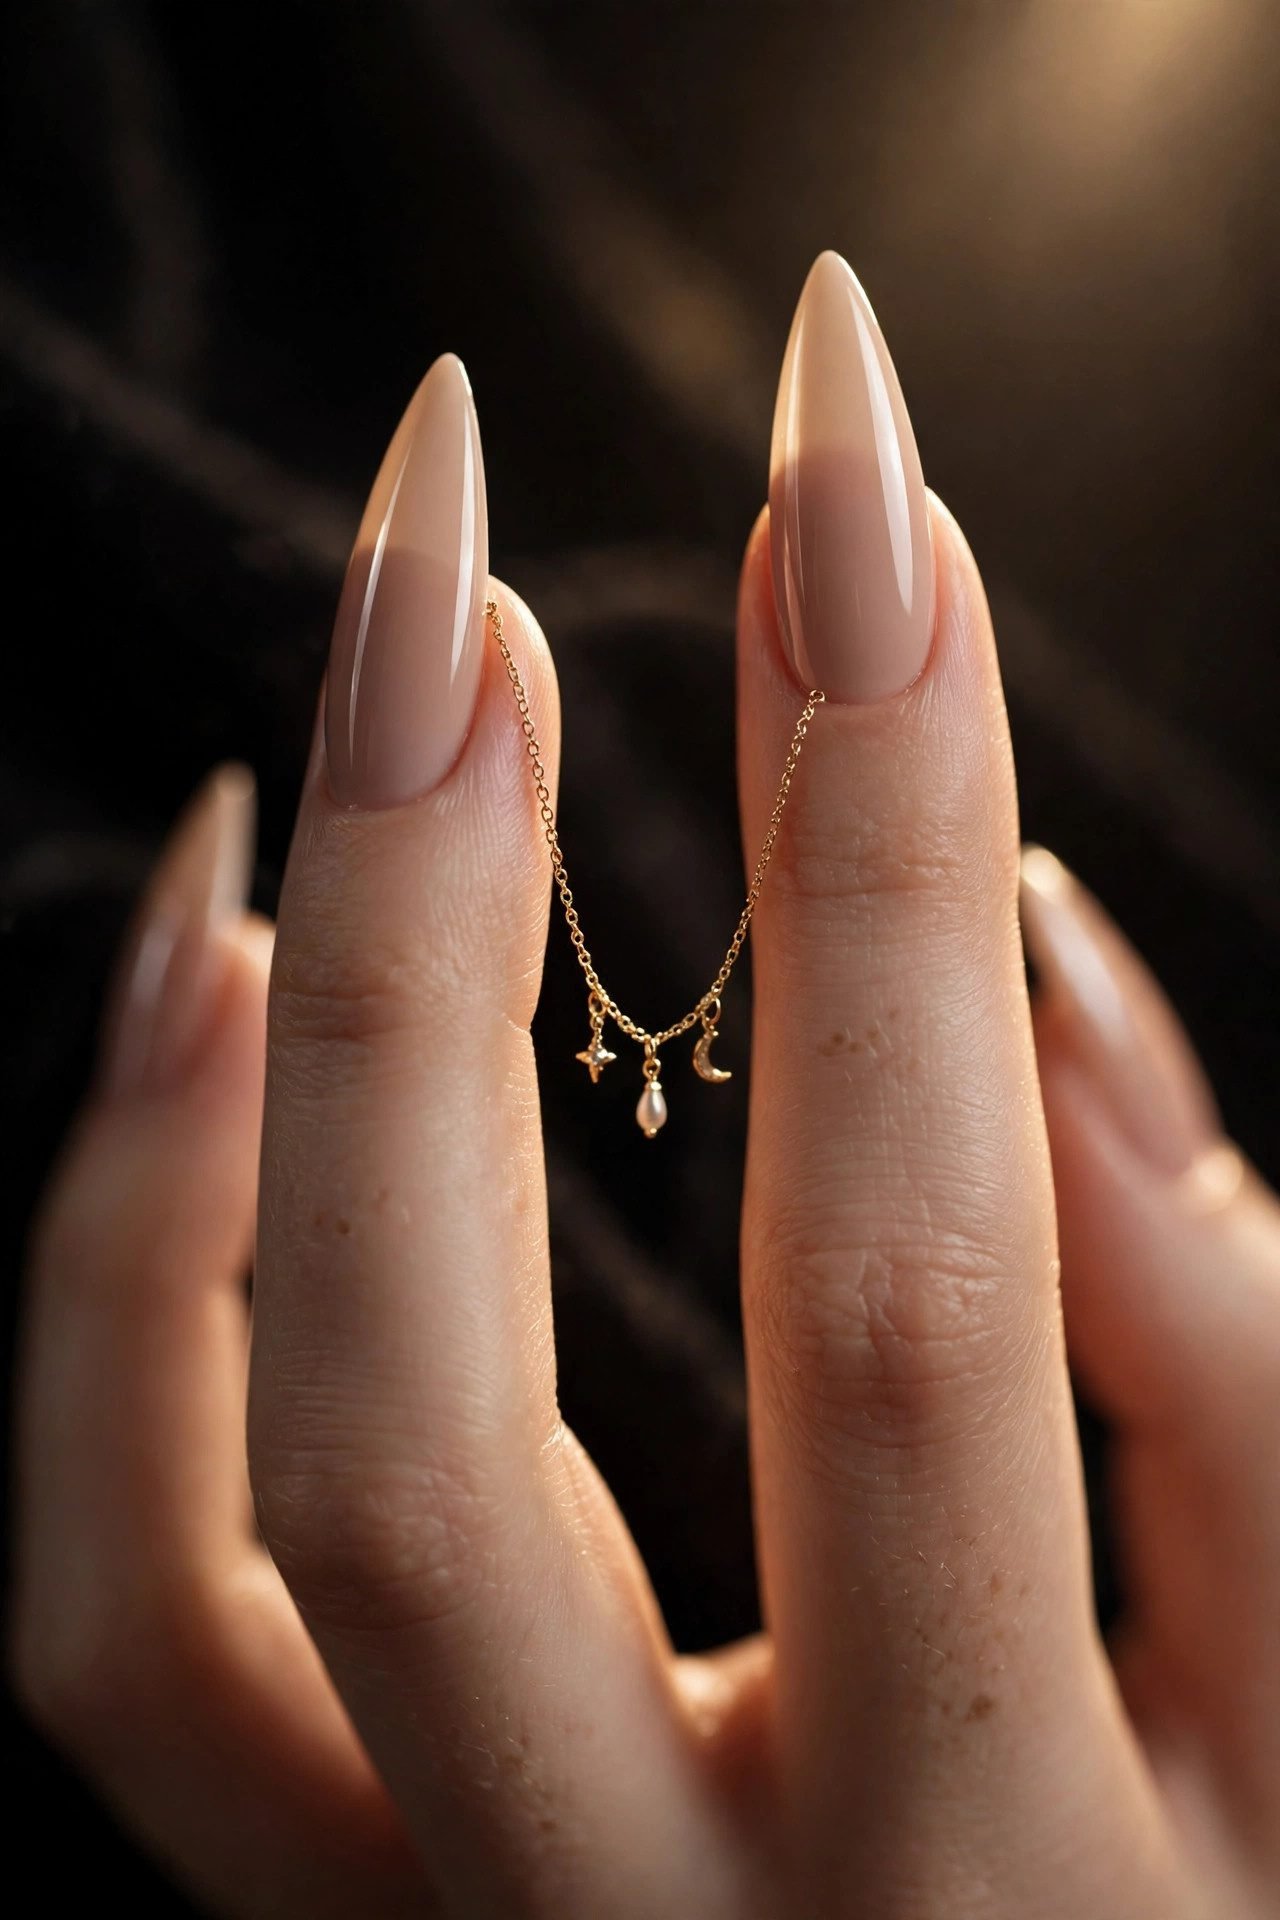
Chrome nails with a fine gold chain anchored at two points and draped in a curve across one or two nails — the Y2K dangle, refined for grown-ups. The chain moves when you move, which makes this the most eye-catching design on the ladder and the one that gets filmed most often. Keep the rest of the hand mirror-smooth so the chain is the only moving part; the chrome nails base underneath does the lighting work for it.
Play note: anchor chains low and close to the cuticle — free-edge anchors swing into hair, scarves and everything else you would rather they didn’t.
12. Crystal Constellation
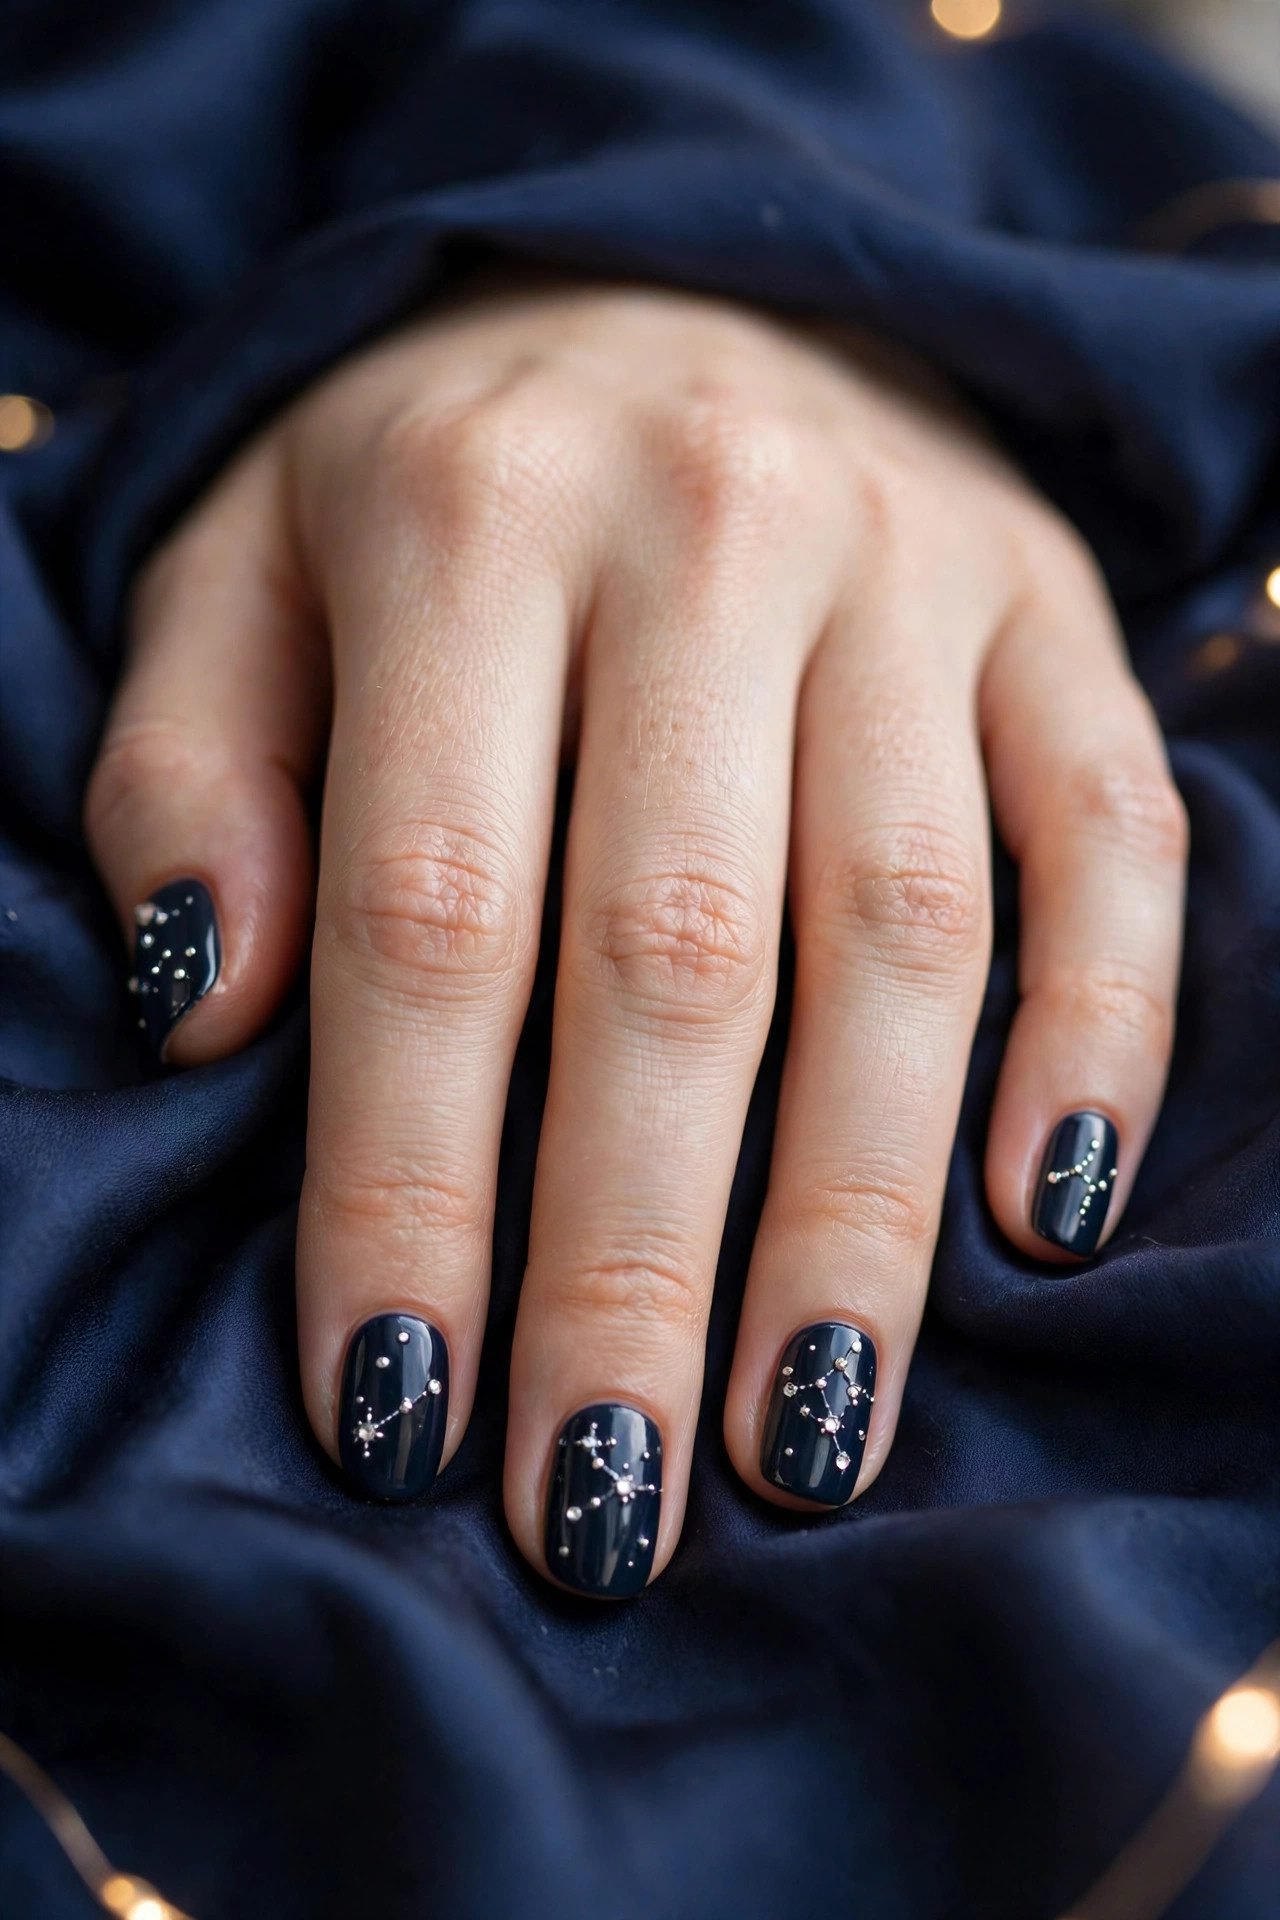
Black nails scattered with tiny crystals like a star map — a few 1 mm stones as background stars and one 3 mm crystal as the north star on each accent nail. It is moody, slightly celestial and surprisingly subtle indoors, where the stones only announce themselves when light hits. Set it over a magnetic cat eye nails base and the crystals appear to float inside the light wave. In December, the same constellation is one step from full Christmas rhinestone nails territory — the talent transfers.
Play note: press crystals into gel, then paint a thin “seal ring” of topcoat around each stone — that ring is what keeps them through a full month.
Rung 4 — The Full Charm Fantasy
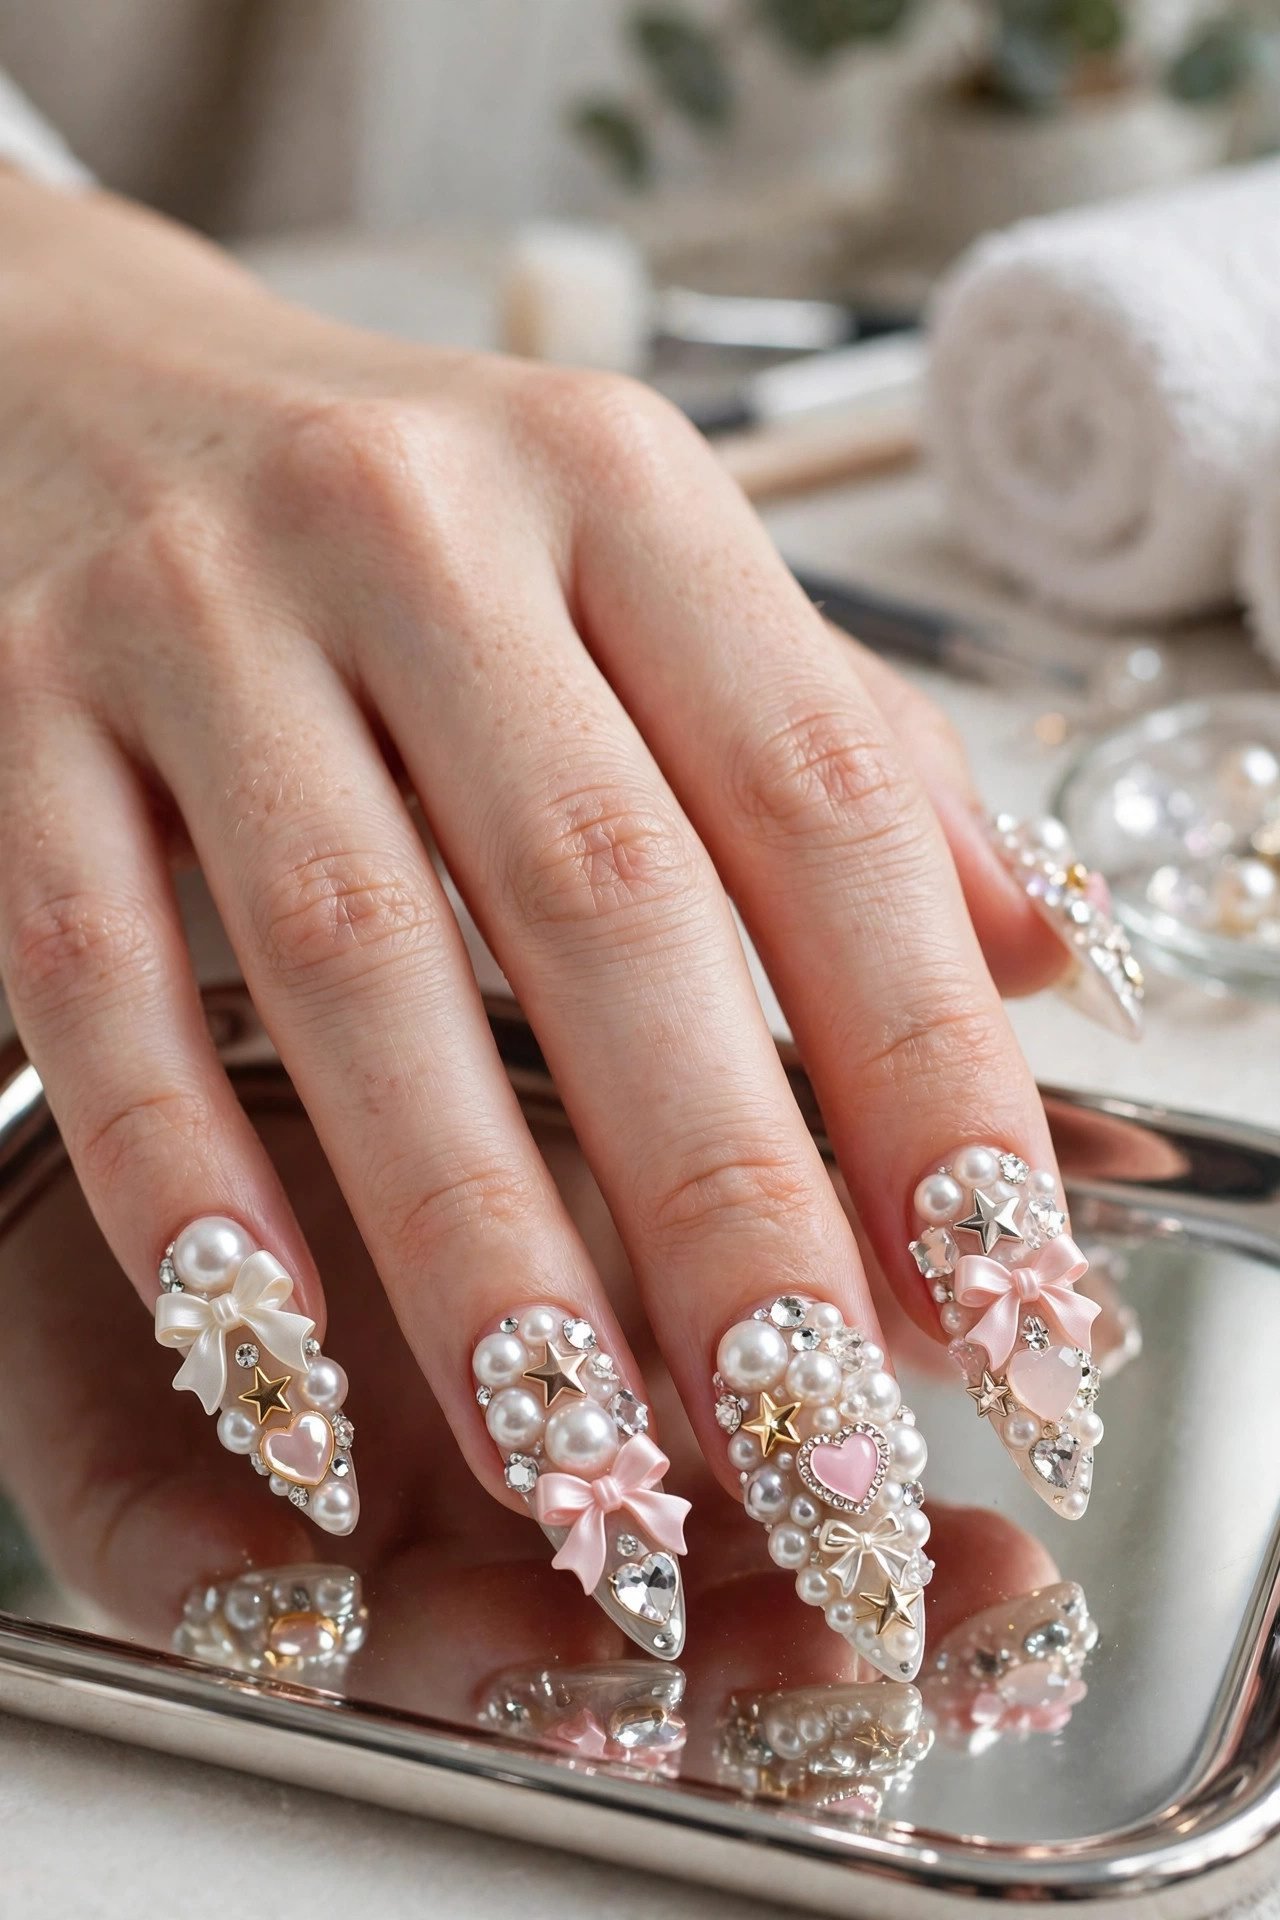
Rung 4 is where nails with charms stop asking permission. These are event designs — birthdays, brides, holidays, and the people who simply refuse minimalism on principle. More is more up here, but even more needs placement rules, which is what each design below handles for you: charm counts, size ceilings and color discipline that keep a loaded hand looking styled instead of cluttered.
13. Y2K Charm Clash
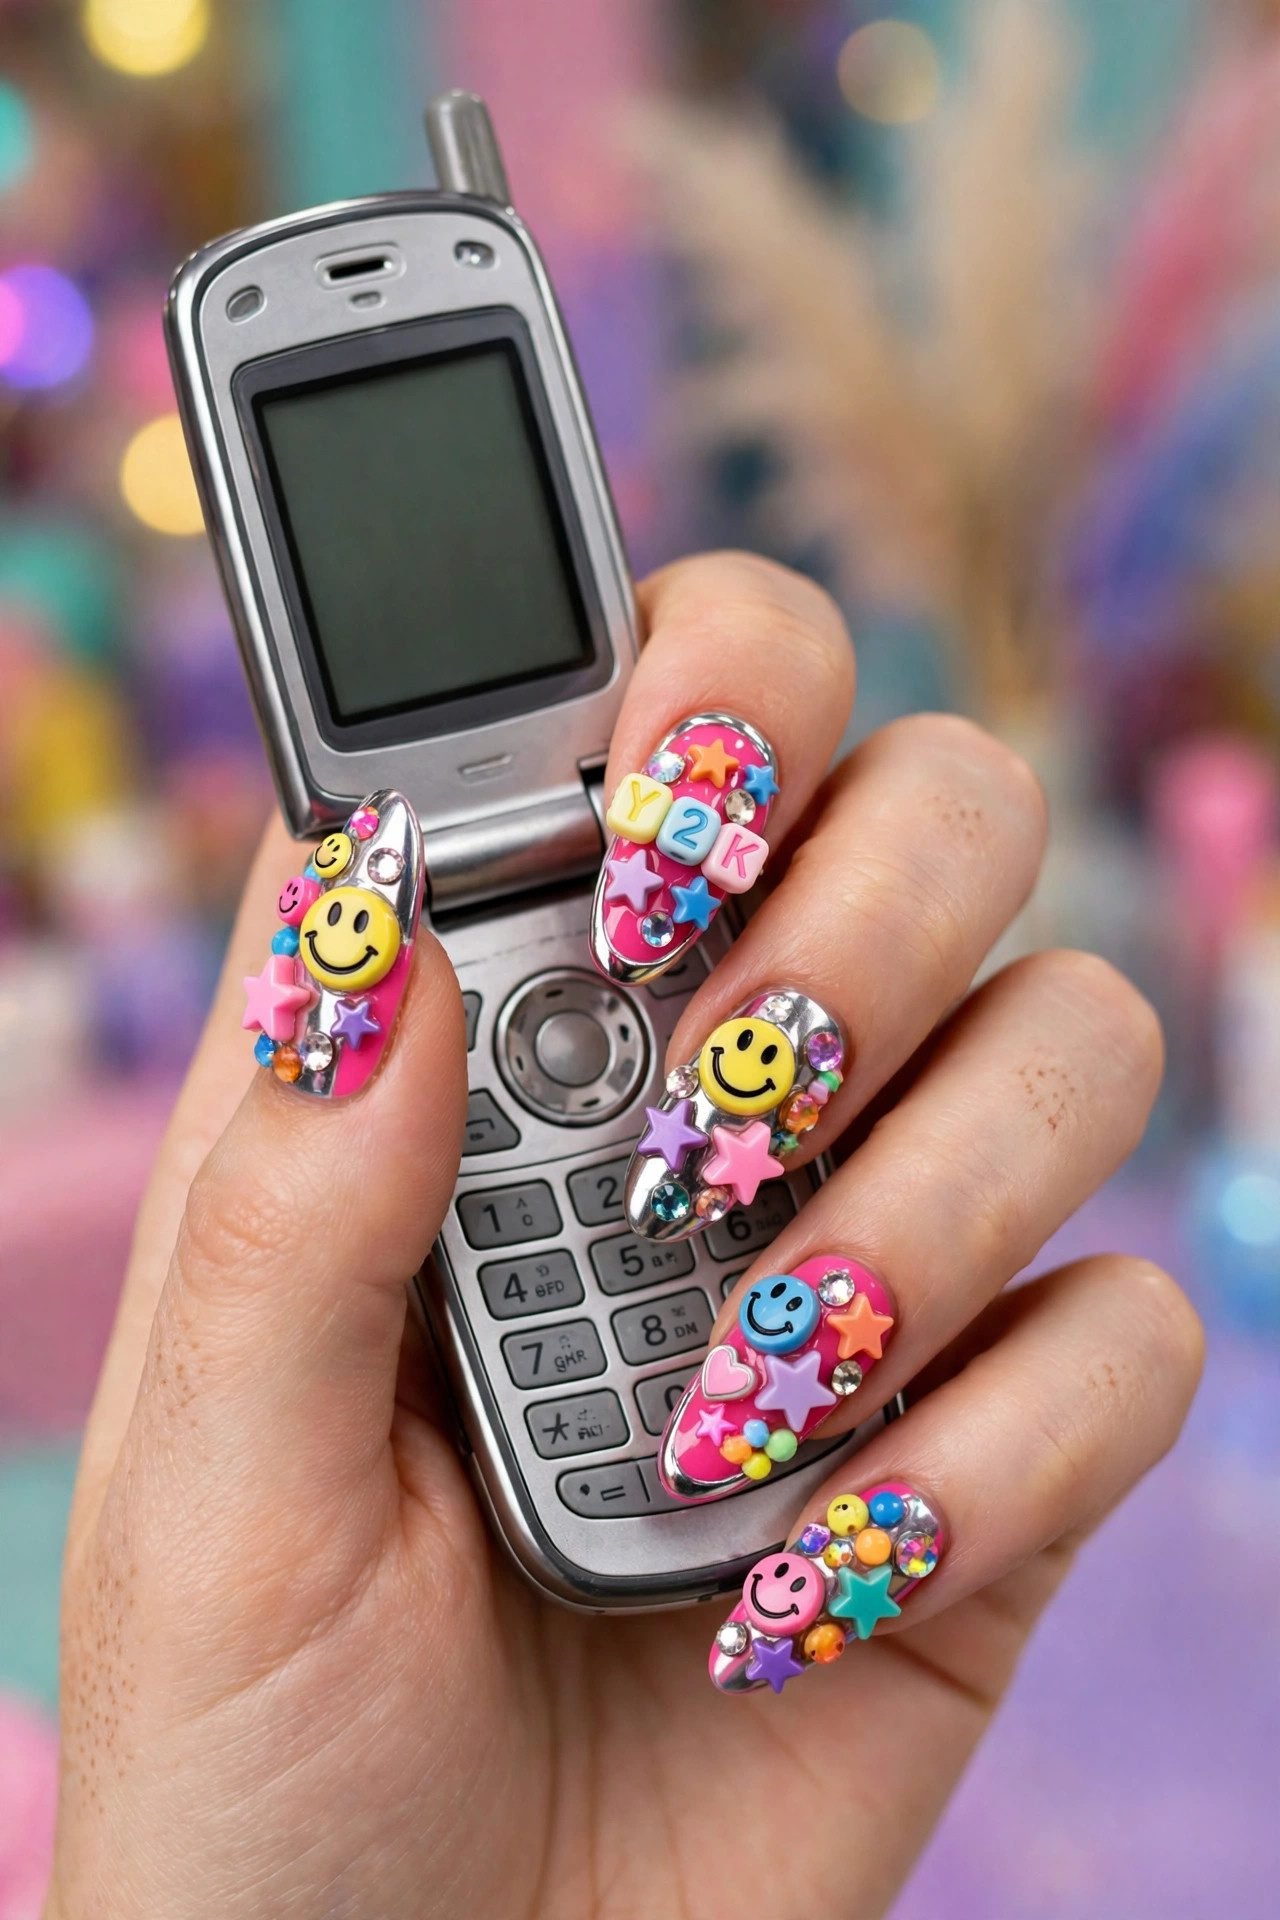
A wavy pastel french — lilac, mint, butter and blue tips — loaded with a different charm on every nail: a smiley, a flower, a star, a heart, a tiny die. The rule that keeps it cute instead of chaotic: every charm stays under 5 mm and every nail gets exactly one, so the eye keeps moving without ever getting stuck. This is the definitive birthday nails design — loud, joyful and completely unsuited to anything before 6 p.m., which is the point.
Play note: this is a charm-count workout — book it before a party or a trip, not before a beach week, because salt water loosens glue fast.
14. Bridal Pearl Couture
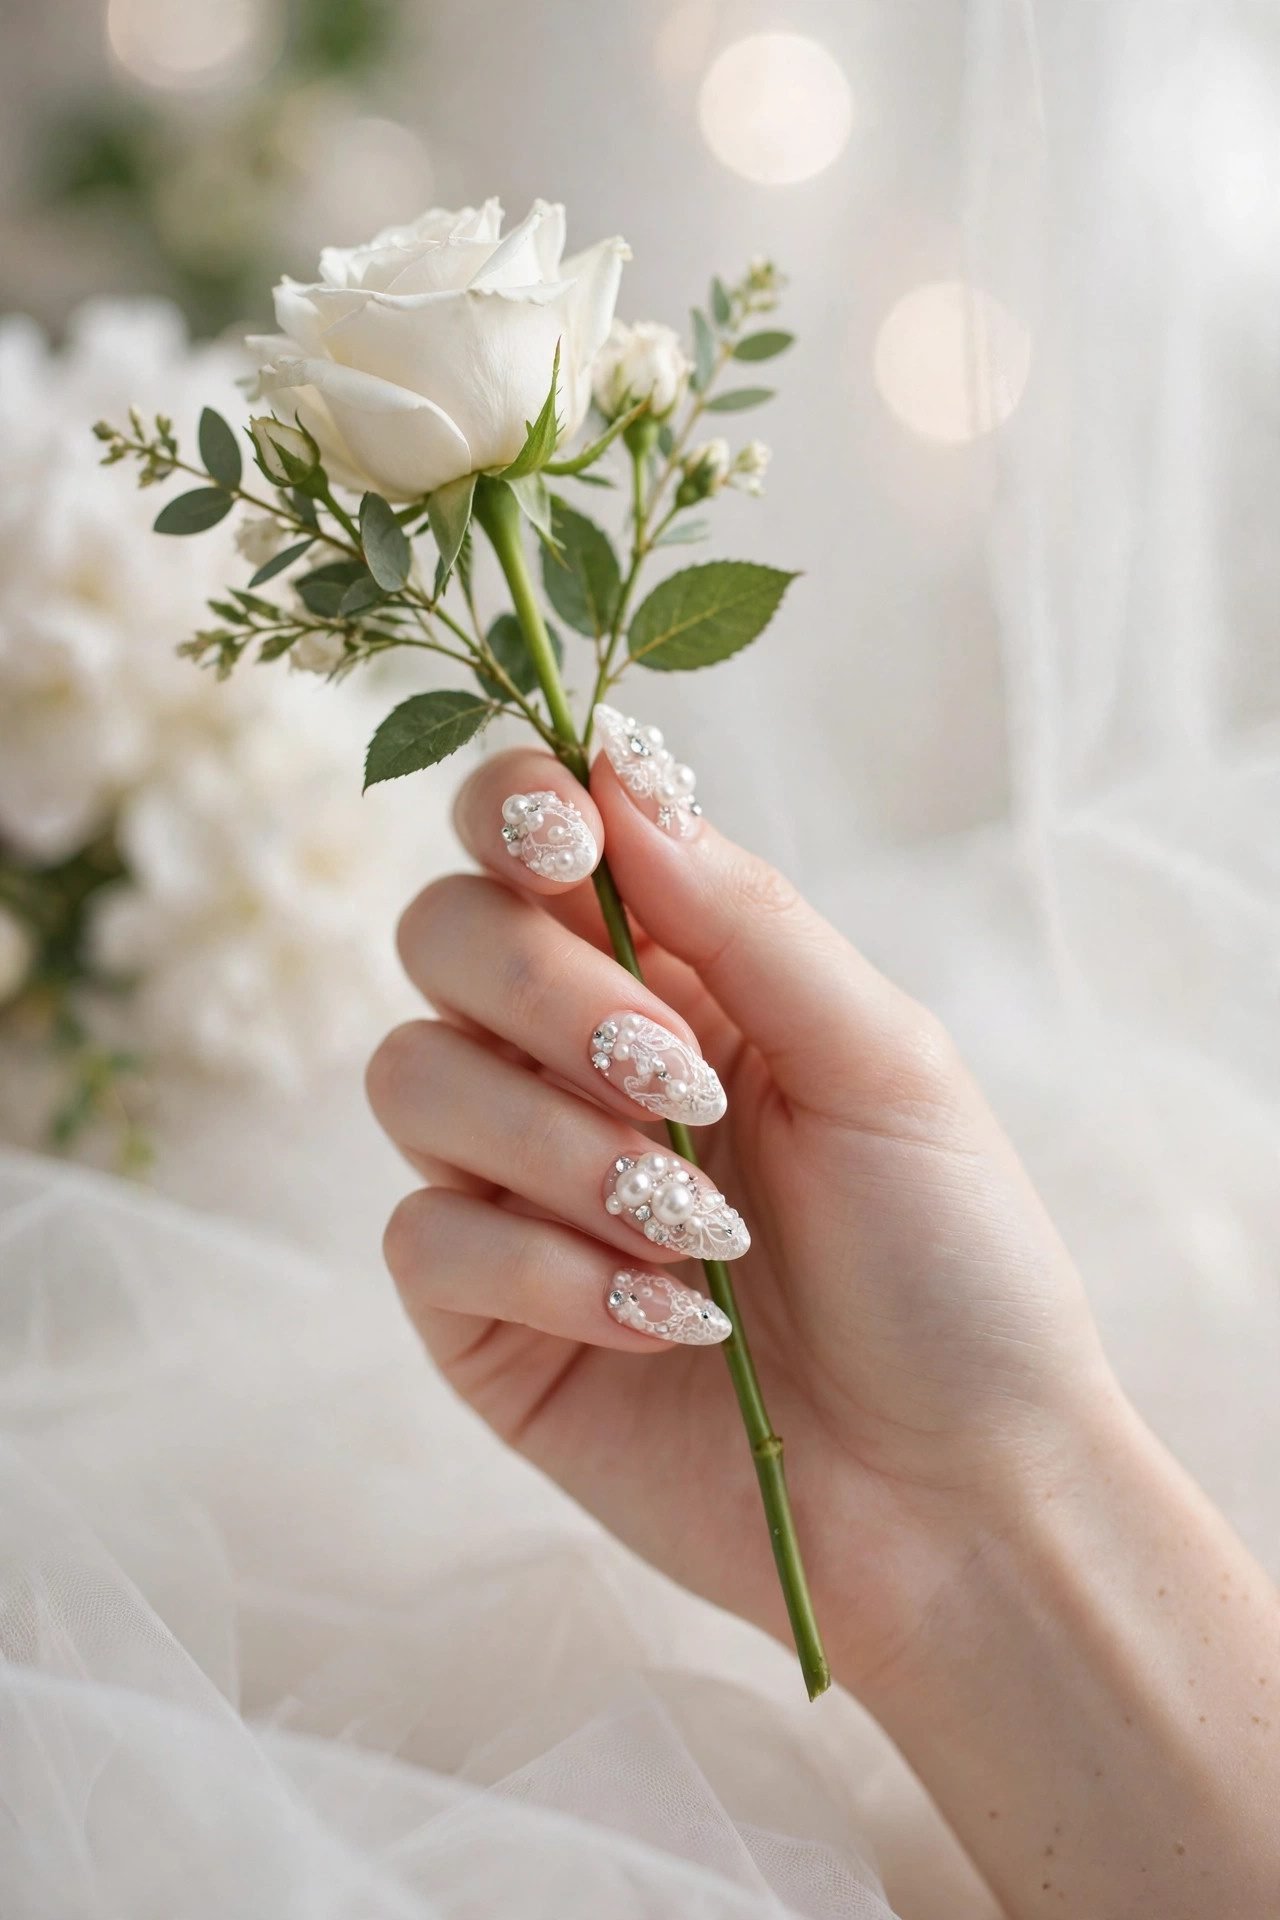
A sheer blush base with pearls set in graduating sizes from the cuticle upward on every nail, plus two crystal accents on each ring finger. It is the most requested charm design for weddings because it reads lace and jewelry at the same time — texture from a distance, sparkle up close. On the bride it goes with anything; on the guests it goes with silk. Build it from our full wedding nails for bride guide so the rest of the bridal set is equally prepared.
Play note: brides should get charms set two to three days before the wedding, not the day before — the gel needs a day to fully harden before veils, dresses and hugging.
15. Kawaii Overload
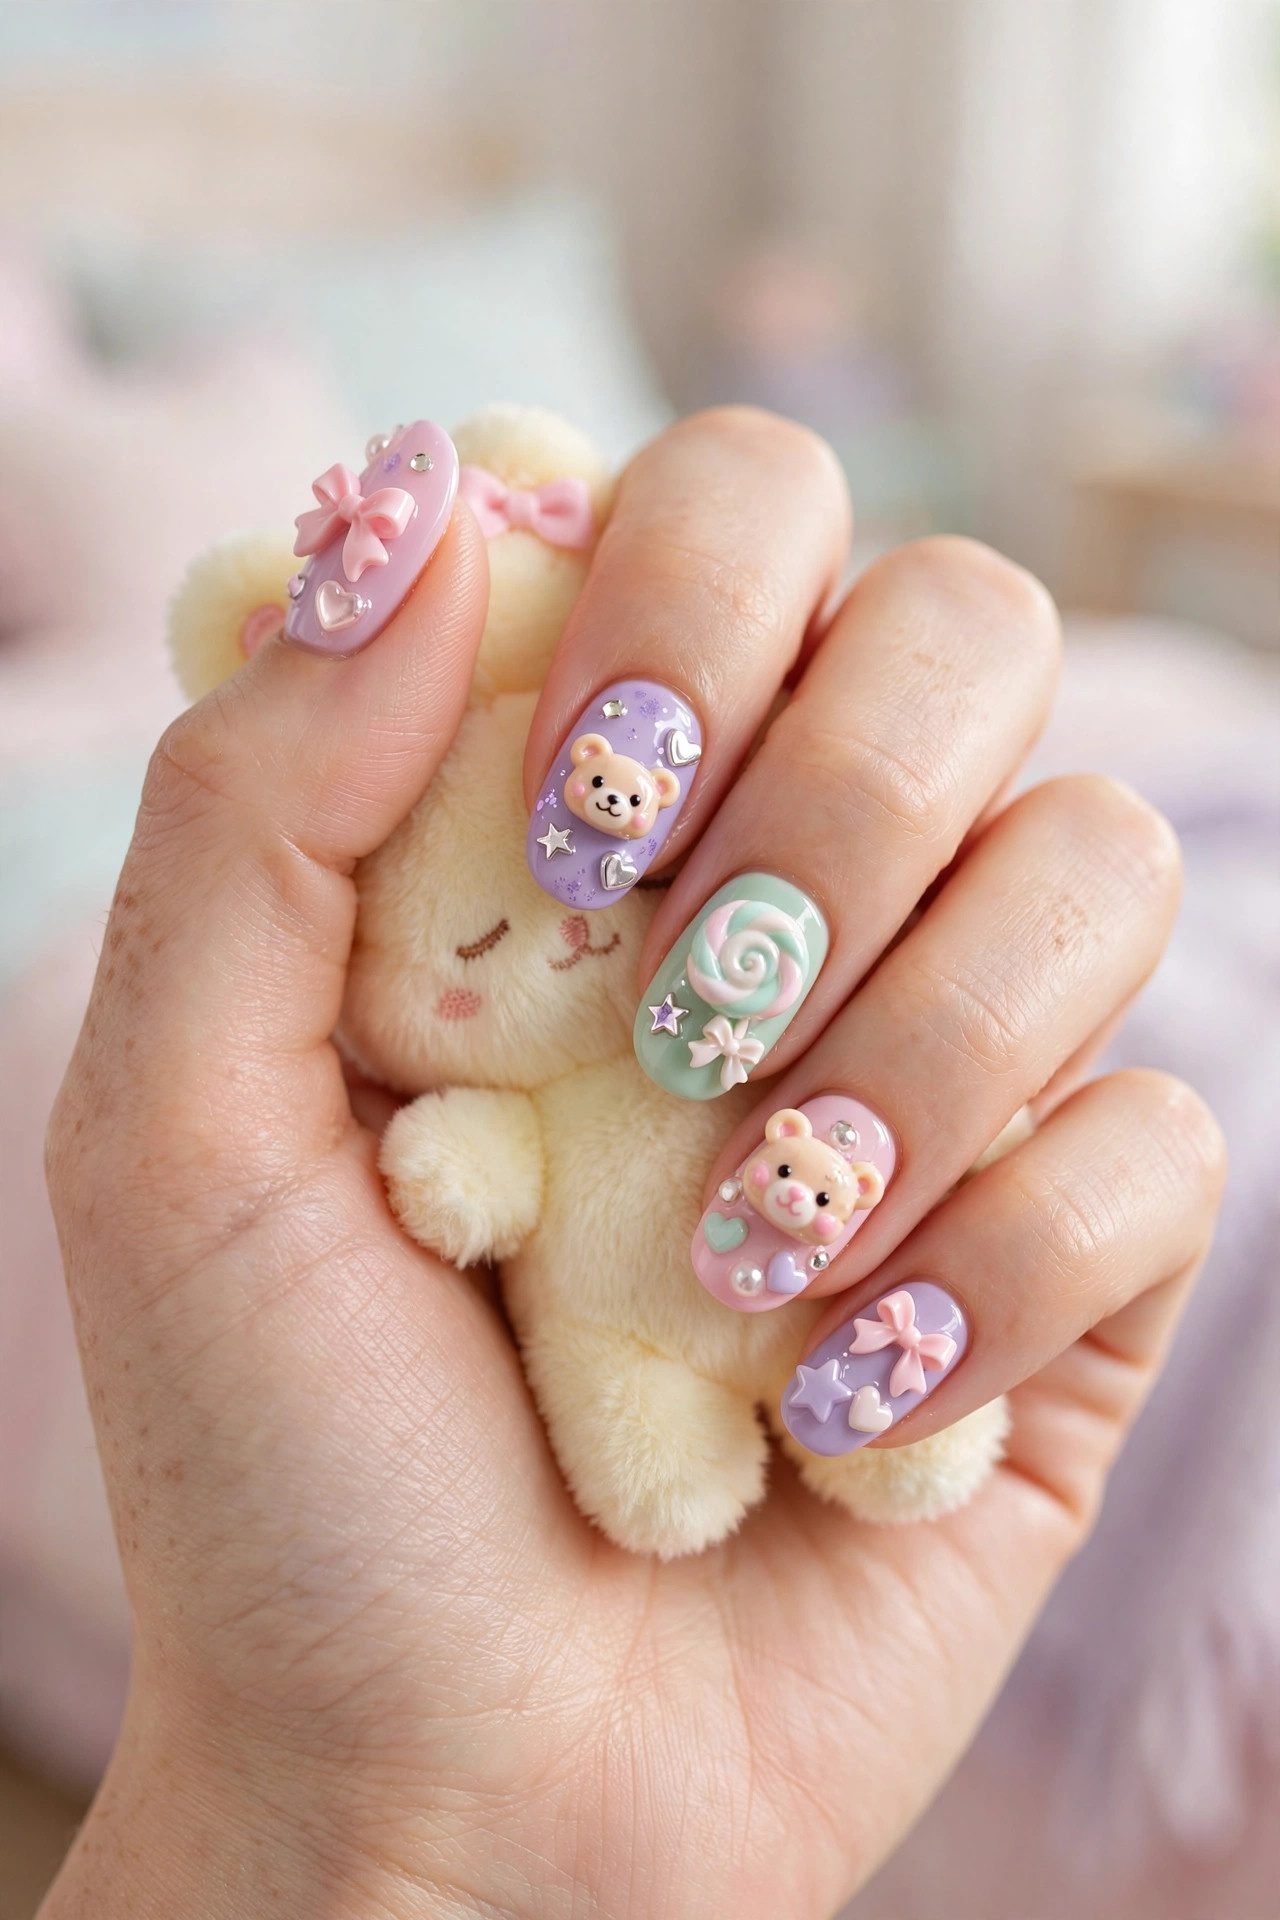
Long coffin nail designs in a pastel base, stacked with two to three charms per nail — tiny bears, bows, hearts and star beads, all inside one candy palette. This is kawaii maximalism, and the trick that keeps it adorable instead of cluttered is color restraint: the charms may vary wildly, but they must all share a palette, and everything else — glitter, stamps, stickers — stays off the nail. A charmed manicure this loaded is a hobby as much as a look, and the right person knows exactly who she is.
Play note: at two to three charms per nail, ask for mixed attachment — glue the light charms, gel-set anything taller than 2 mm, or you will lose the top row within days.
The Charm Survival Guide: Making Them Last
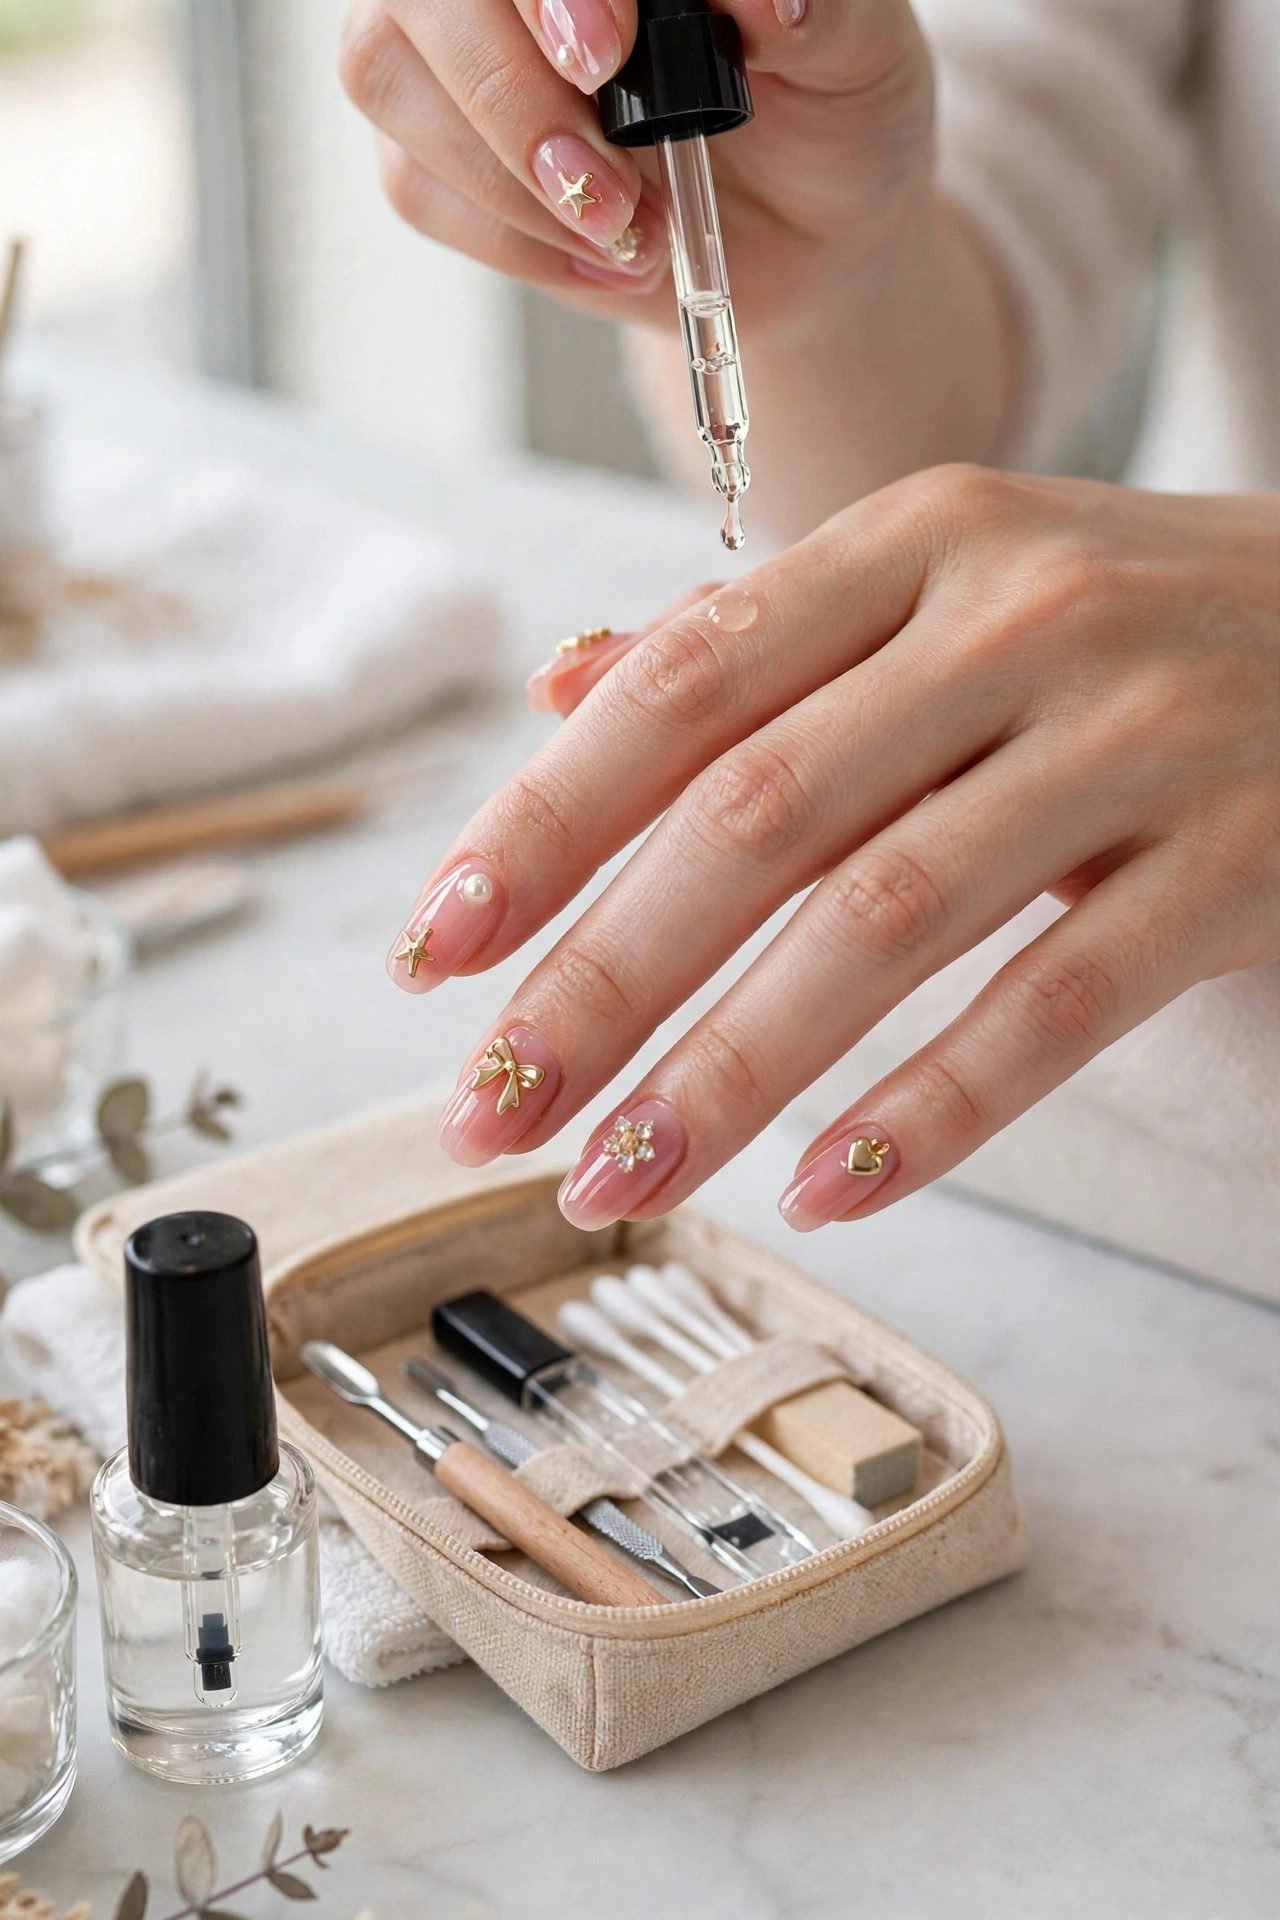
Here is the honest part of the charm conversation: a charm is only as good as its anchor. Most charm failures are not the charm’s fault — they are attachment failures, and there are four ways to fix charms to a nail. The difference between them is the difference between four days and four weeks of wear, so choose by how long you need the set to survive.
Nail glue (3–7 days). Instant and perfectly fine for flatback charms under 2 mm, but glue bonds are brittle — hot showers, hand sanitizer and hair ties work them loose surprisingly fast. Best for one-night looks and press-on sets where the whole nail is disposable anyway.
UV gel bead (2–3 weeks). The salon standard, and how almost all professional gel nail designs with charms stay on. The charm is pressed into an uncured bead of gel, then cured, so it sits in a custom-built socket instead of floating on a film of glue. If you are paying for charms at a salon, this is the method you are paying for.
Acrylic encasement (a full fill cycle). The charm is set into wet acrylic and sealed over, leaving only the face exposed — the most secure method on the ladder and the right request for Rung 4 designs. The acrylic-versus-gel debate matters here, and our acrylic vs gel nails breakdown covers exactly how each system holds hardware.
Pre-glued press-ons. Charms arrive fixed to the nail before you ever see it, so the whole set is instant and removable. The honest choice if you love the look but change your mind weekly.
Whichever method you choose, three habits decide everything. First, give nails with charms a full 24 hours before hot water — steam softens even cured gel edges. Second, treat long hair as the natural predator of the trend: blow-dry and tuck with the backs of your fingers, not your fingertips, or you will re-live every charm’s worst day. Third, re-seal weekly — a thin line of topcoat around each charm’s base resets the seal, the same five minutes your nail care routine already spends on the rest of the manicure. And when the party is over, soak — never pry. Warm, soapy water and a gentle twist release a softened charm; forcing one off takes the top layer of nail with it. The same patience that makes gel polish removal safe applies double when hardware is involved. For fresh charm-fail rescues and new charm drops, we post weekly on our Facebook page.
Final Word
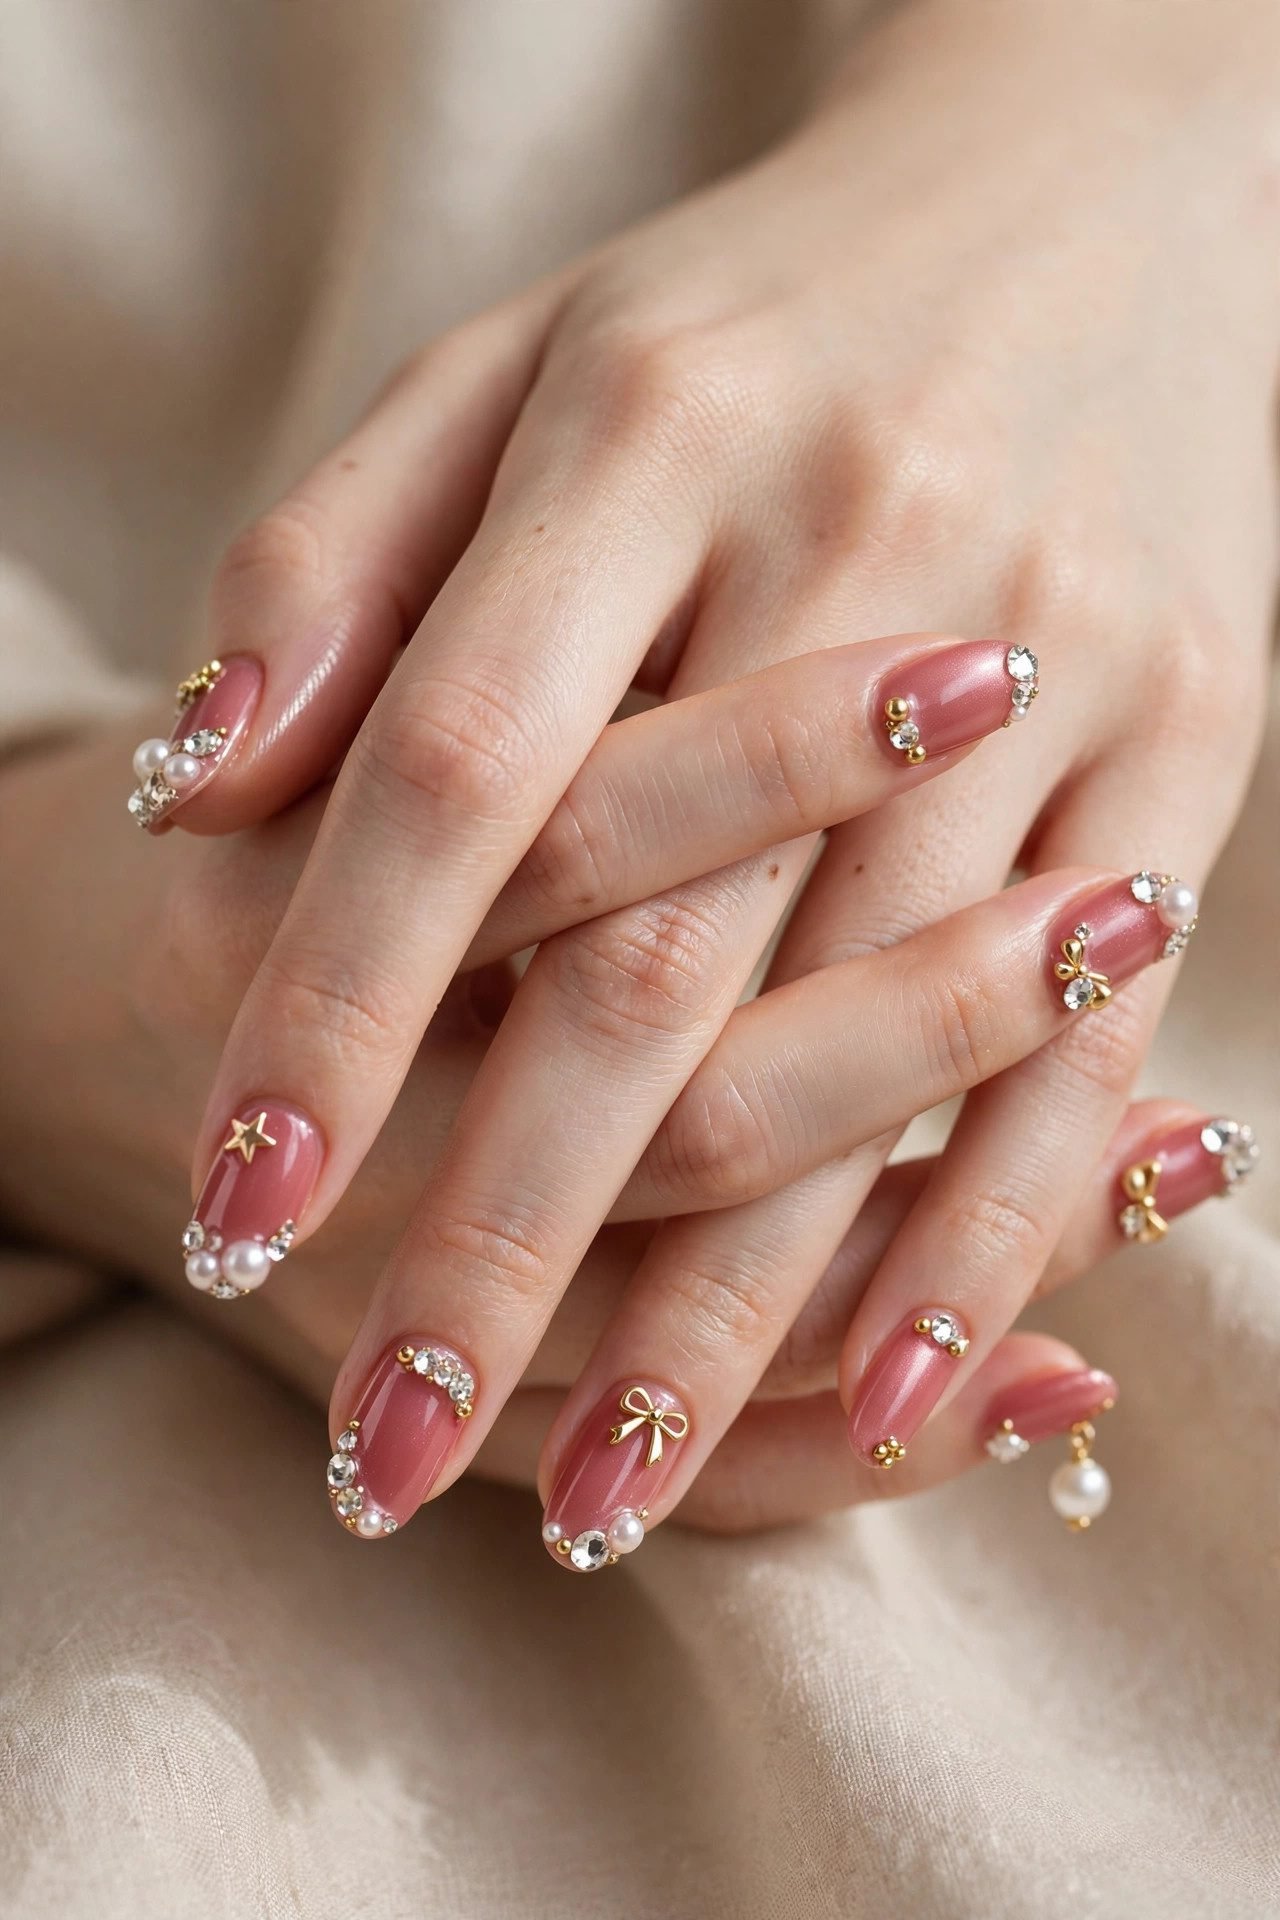
Charms are the most personal thing you can add to a manicure — one pearl says quiet luxury, a hand full of bows says party, and every rung in between belongs to whoever claims it. Start with a single charm, learn how your hands actually live for a week, then climb the ladder as boldly as your calendar allows. Save your favorites to our Pinterest so your nail tech gets the exact brief, and keep the full nail ideas library bookmarked for whatever trend lands next.
FAQs
How do you keep charms from falling off your nails? Ask for the UV gel bead method or acrylic encasement instead of surface glue, and make sure the edges of every charm are capped or ringed with topcoat. Then protect the bond: no hot water for the first 24 hours, and a weekly topcoat re-seal around each charm’s base. Glue-set charms under 2 mm survive longest; tall 3D charms need gel sockets.
How long do nails with charms last? By method: nail glue holds 3–7 days, a UV gel bead holds 2–3 weeks, and acrylic encasement lasts a full fill cycle — often four weeks or more. Pre-glued press-ons last as long as the adhesive tab or glue you attach them with. The heavier and taller the charm, the shorter any method’s timeline.
Do charms damage your nails? No — damage comes from removal, not wear. A charm soaked off in warm, soapy water leaves the nail intact, while a pried-off charm takes surface layers with it. If your nail feels tender after removal, that is a removal issue, not a charm issue; hydrate with cuticle oil and give the nail a few days before the next set.
Can you shower and wash your hair with charm nails? Yes, after the first 24 hours of cure time. The real risk is hair: long strands wrap around raised charms and pull them off mid-shampoo or mid-brush, so low-profile placement at the cuticle or corner matters more than water resistance. Blow-drying with the backs of your fingers solves most of it.
What glue is best for nail charms? Use a nail-specific rhinestone glue or, better, a UV gel cured under a lamp — both flex with the nail instead of cracking. Never use household superglue: it is not made for skin contact, it yellows, and it bonds so rigidly that removal shreds the nail surface. For anything taller than 2 mm, gel beats glue every time.
Do nails with charms work on short nails? Absolutely — short nails are arguably the smartest place for them. Stick to flatback charms 2 mm and under, micro studs and single pearls, and place them at the cuticle or sidewall corner where they cannot snag. One tiny charm on a short, glossy nail reads more expensive than a crowded longer hand.