
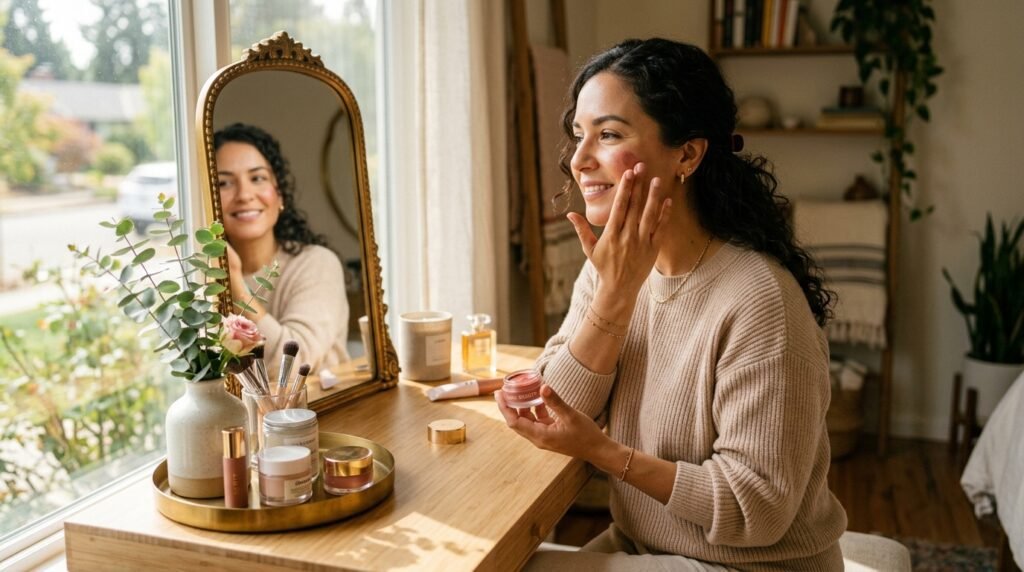

Blush is the magic wand of makeup. A quick sweep of color across your cheeks can take you from looking tired and washed out to radiant, healthy, and glowing in seconds. However, learning how to apply blush correctly is an art. Applied incorrectly, it can look clownish, streaky, or drag your face downward. Applied correctly, it lifts your features and adds a beautiful, natural dimension to your complexion.
The secret to mastering how to apply blush lies in two things: choosing the right formula for your skin type and placing it correctly for your specific face shape. Whether you prefer a dewy cream finish or a matte powder glow, this guide will help you achieve a flawless flush. If you are looking for visual inspiration for your makeup looks, be sure to explore our Pinterest boards. In this comprehensive step-by-step guide, we will walk you through the exact process of applying blush like a pro.
Why Blush Placement Matters

Before diving into the application process, it is important to understand why blush placement is so crucial. Blush is not just about adding color; it is about creating an optical illusion. By strategically placing color on your cheeks, you can visually alter the shape of your face.
For example, applying blush higher on the cheekbones can create a lifting effect, making the face look slimmer and more sculpted. Conversely, applying it too low or too close to the nose can make the face look wider and heavier. To ensure your overall makeup looks seamless, it is highly recommended to first perfect your base by reading our glass skin makeup tutorial for beginners.
Choosing the Right Blush Formula
The first step in learning how to apply blush is selecting the right formula for your skin type.

- Powder Blush: Best for oily or combination skin. It is easy to control, buildable, and lasts longer on oily skin types. It should be applied with a fluffy, angled brush.
- Cream Blush: Best for dry or normal skin. Cream formulas melt into the skin, providing a natural, dewy finish that looks like a true flush from within. They are best applied with a damp beauty sponge or your fingertips.
- Liquid Blush: Highly pigmented and long-lasting. Liquid blush provides a seamless, skin-like finish but requires quick blending before it sets. A little goes a long way.
How to Apply Blush Based on Your Face Shape

The golden rule of blush is that placement should flatter your unique bone structure. Here is how to apply blush for the four most common face shapes.
1. Oval Face Shape

An oval face is slightly longer than it is wide with a softly rounded jawline. Because the proportions are already balanced, you have the most flexibility. The Technique: Smile to find the apples of your cheeks. Apply the blush directly on the apples and blend it slightly upward and outward toward your temples. This creates a natural, healthy flush without altering the face’s natural harmony.
2. Round Face Shape

A round face is as wide as it is long, with soft curves. The goal here is to add length and create the illusion of sharper angles. The Technique: Avoid applying blush directly on the front of the apples, as this can make the face look wider. Instead, apply the blush slightly lower on the apples and sweep it diagonally upward toward the ears. This vertical line visually elongates the face and adds subtle contouring.
3. Square Face Shape

A square face features a strong, angular jawline, and the forehead, cheekbones, and jawline are roughly the same width. The goal is to soften the sharp angles. The Technique: Apply blush in a soft, circular motion directly on the apples of the cheeks. Avoid sweeping it outward toward the ears, as this can emphasize the width of the jaw. Keeping the color concentrated in the center of the face softens the overall look. To balance your features further, you can check out our guide on the best haircut for your face shape.
4. Heart Face Shape

A heart-shaped face is widest at the forehead and gradually narrows down to a delicate, pointed chin. The objective is to balance the width of the forehead with the narrowness of the chin. The Technique: Apply blush starting from the apples of the cheeks and blend it outward toward the ears. Avoid applying blush too high up on the cheekbones, as this can draw attention to the wider forehead. Keep the color focused on the lower cheek area to add width to the narrower part of the face.
Step-by-Step Guide: How to Apply Blush

Now that you know where to place it, here is the step-by-step process for flawless application.
Step 1: Prep Your Skin

Blush applies best on a smooth, hydrated base. Ensure you have applied your foundation and concealer first. If you are using a powder blush, lightly set your foundation with a translucent powder so the powder has something to grip onto. If you are using a cream or liquid blush, apply it before you set your face with powder. You can learn more about base prep in our minimalist makeup routine guide.
Step 2: Tap Off Excess Product

Whether you are using a brush or a sponge, always tap off the excess product before touching it to your face. This prevents harsh, concentrated patches of color that are difficult to blend out.
Step 3: Apply to the Apples of the Cheeks

Smile slightly to locate the apples of your cheeks (the fleshy parts that pop up). If using a powder, swirl a fluffy brush into the product, tap off the excess, and lightly sweep it across the apples. If using a cream, dab a small amount onto the apples using your fingers or a damp sponge.
Step 4: Blend Upward and Outward

This is the most crucial step in learning how to apply blush. Never leave blush as a stark circle on the front of your cheeks. Immediately blend the edges upward toward your temples and downward into the foundation. Blending creates a seamless gradient that looks natural and radiant.
Step 5: Build Color Slowly

It is much easier to add more blush than it is to remove it. Start with a sheer layer and build the intensity slowly until you reach your desired level of flush. If you accidentally apply too much, take a clean, damp sponge and lightly bounce it over the area to lift off some of the pigment.
Common Blush Mistakes to Avoid
Even with a step-by-step guide, mistakes happen. Here are a few common pitfalls to avoid when practicing how to apply blush:

- Applying Blush Too Low: If you apply blush below your nose line, it will drag your face down, making you look tired. Always keep blush above the nostrils.
- Using the Wrong Brush: A dense, stiff brush will apply blush heavily and streaky. Always use a soft, fluffy, slightly angled brush for powder blush to ensure a diffused, soft application.
- Ignoring Your Lip Color: Your blush should complement your lip color. If you are wearing a cool-toned pink lipstick, avoid a warm, orange blush, as the clash will look unnatural.
- Not Blending the Edges: Harsh lines are the enemy of blush. Always ensure there is no visible line where the blush starts and your foundation ends. You can find more expert hacks like this in our makeup tips for beginners guide.
For more daily beauty advice, makeup tutorials, and lifestyle tips, be sure to follow our Facebook page where we share daily updates!
Frequently Asked Questions (FAQs)
1. Should I apply blush before or after foundation?
Blush should always be applied after foundation and concealer. If you apply blush first, you will wipe it away when you blend your foundation. However, if you are using a cream blush, you should apply it before you set your face with translucent powder.
2. Where exactly should I apply blush?
You should apply blush on the apples of your cheeks, blending upward and outward toward your temples. To find the apples of your cheeks, simply smile. However, the exact placement should be adjusted based on your face shape to ensure a flattering, lifting effect.
3. How do I make my blush last all day?
To make blush last all day, start with a good primer. If using powder blush, set your foundation with powder first. You can also layer formulas—apply a cream blush first, set it with a translucent powder, and then lightly dust a matching powder blush over the top for maximum longevity.
4. Can I use lipstick as blush?
Yes, you can! Cream or satin finish lipsticks work beautifully as cream blush. Simply dab a small amount onto the apples of your cheeks and blend it out quickly with your fingertips or a damp sponge. Just ensure the color complements your skin tone.
5. How do I choose the right blush color for my skin tone?
For fair skin, opt for soft pinks and peaches. Medium skin tones look great in rosy pinks and warm apricots. Deep skin tones are beautifully flattered by rich berries, plums, and vibrant terracottas. Always choose a shade that mimics your natural flush when you exercise.

Conclusion
Mastering how to apply blush is a transformative skill that can completely breathe life into your makeup look. By understanding your face shape, choosing the right formula, and blending meticulously, you can achieve a healthy, radiant glow that looks completely natural. Remember to tap off excess product, blend upward and outward, and avoid common placement mistakes. With a little practice and patience, you will be applying blush like a professional makeup artist in no time. Grab your favorite brush and start practicing these steps today!