


A pedicure is the self-care nobody sees and everybody feels — the confidence that starts at your feet and works its way up.
Sandal season arrives, and suddenly the feet that walked through winter in closed shoes are on public display. The heels are rough, the toenails are bare, and the pedicure appointment costs forty dollars plus tip for something you can absolutely do at home with products you already own.
Here is what the salon doesn’t advertise: the professional pedicure is a process, not a mystery — soak, scrub, shape, cuticle care, polish. Every step is learnable, every tool is affordable, and the at-home result matches the salon result when the process is followed properly.
So this guide is the complete pedicure education — the DIY process step by step, the fifteen designs that work on toes, the care routine that keeps feet sandal-ready between pedicures, and the tools that make the home version professional-grade.
Your feet carry you everywhere. Time they looked the part.
Follow our Pinterest boards for daily nail inspiration, and join us on Facebook so you never miss a self-care guide.
The DIY Pedicure (The Complete Process, Step by Step)

The salon pedicure decoded into nine steps — the process that turns bathroom into spa.
Step 1 — Remove old polish. Cotton pad, acetone or non-acetone remover, every trace gone. The bare canvas is where the pedicure begins.
Step 2 — The soak. Ten minutes in warm water with Epsom salt or a splash of body wash. The soak softens the cuticles, the calluses, and everything the next steps need softened.
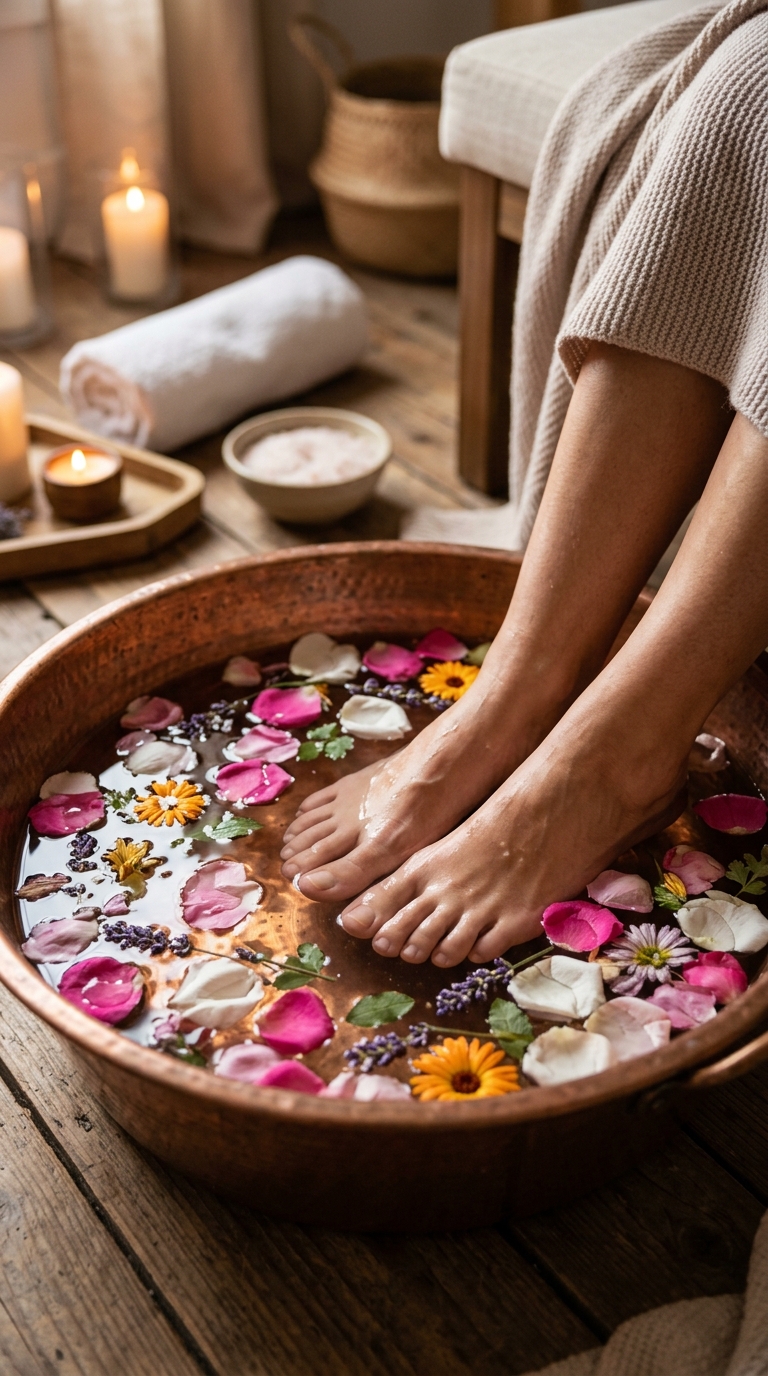
Step 3 — The scrub. A foot scrub or a sugar-and-oil mix, massaged into the soles, heels, and toes. The scrub removes the dead skin the soak loosened — the step that turns rough heels smooth.

Step 4 — Callus care. The pumice stone or foot file on the heels and balls of the feet, gently — the calluses that the soak softened now file away. Gentle circles, never aggressive scraping.

Step 5 — Trim and shape. Toenails cut straight across — never curved, which causes ingrown toenails. Filed square or slightly rounded at the corners.

Step 6 — Cuticle care. Cuticle softener applied, pushed back gently with an orange stick, never cut. The cuticles pushed back read cleaner and protect the nail bed.
Step 7 — Moisturize. A rich foot cream massaged into the feet, heels, and ankles — the hydration that keeps the pedicure’s work lasting.
Step 8 — Clean the nails. Alcohol or polish remover swipe on each nail — the oils removed so the polish adheres properly. The prep that decides whether the pedicure lasts two weeks or two days.

Step 9 — Polish. Base coat, two thin color coats, topcoat — the same three-coat discipline from every manicure guide. Thin layers dry faster and last longer than thick ones.
The total time: forty-five minutes at home. The total cost: the products you mostly own. The salon result: matched.
The Pedicure Tools (The Professional Kit, Home Version)

The tools that make the home pedicure professional — most already in your bathroom.
The essentials: nail clippers, nail file, pumice stone or foot file, cuticle pusher, cotton pads, and the polish kit.
The upgrades that matter: a foot soak basin (or use the bathtub), a callus remover tool, toe separators (or cotton balls between toes), and the foot cream that’s richer than your hand cream.
The total investment: twenty to thirty dollars for everything, once — and the home pedicures cost nothing after. The salon math: forty dollars per visit, twice monthly, is nearly a thousand dollars a year. The home kit pays for itself by the third pedicure.
The 15 Pedicure Designs (Toe Nail Art That Works)
Toe nails are smaller than finger nails — the designs that work on toes are simpler, bolder, and more forgiving than finger nail art.
1. The Classic Solid Color

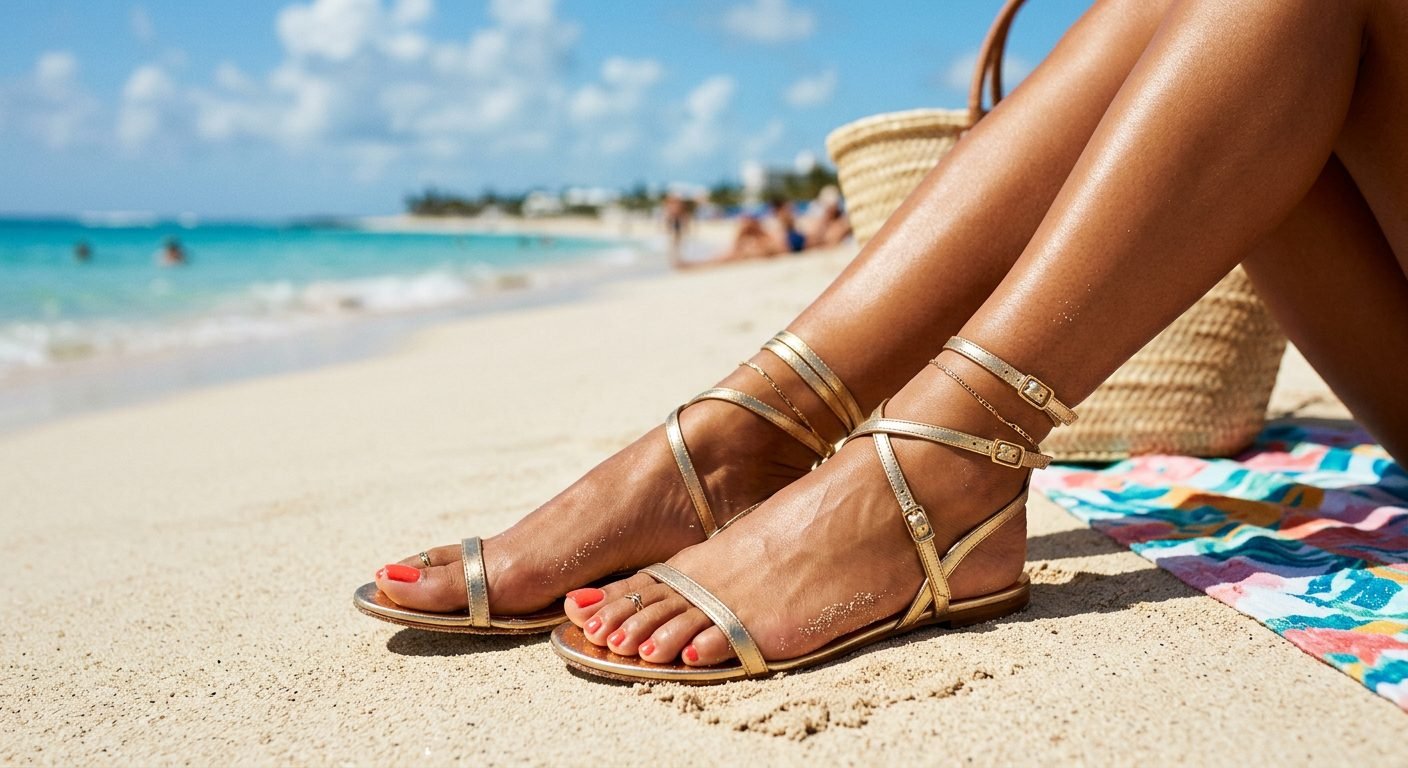
One color, every toe, glossy topcoat. The pedicure that never fails — the shade from our summer nails guide or any color you love. The simplest pedicure and the one that suits every sandal.
2. The French Pedicure

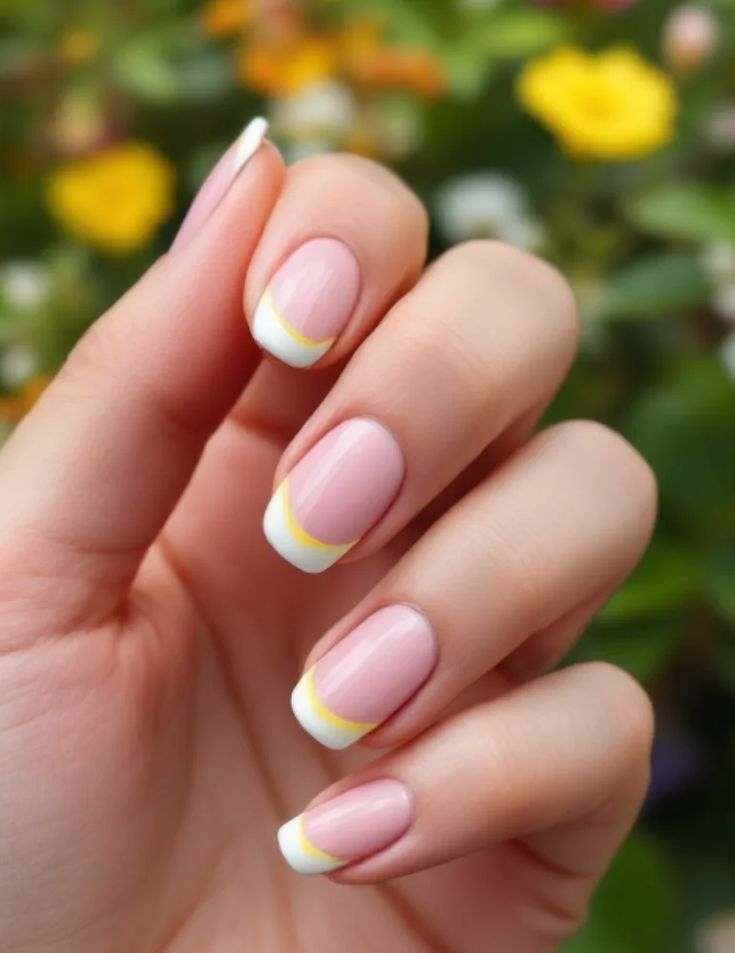
The white tips on toes — the classic pedicure design that reads clean with every sandal. The same french logic from our french tip nail ideas guide, on toes.
The toe version tip: the white line on toes is thicker than on fingers — the smaller canvas reads thinner lines as barely visible.
3. The Glitter Accent Toe

Solid color on all toes with one glitter accent on the second toe (the “party toe”). The one-sparkle pedicure that adds celebration without full glitter commitment.
4. The Ombre Toes

The gradient from light to dark across all toes — each toe slightly darker than the last. The rainbow effect that reads playful and designed.
5. The Flower Accent

Solid base with one small flower on the big toe — the single accent that reads cute without reading busy. The flower from our summer nail designs guide, toe-sized.
6. The Silver Line Art

Nude or pastel base with thin silver lines on the big toes — the minimal art that reads expensive. The line work simple enough for toe-sized canvases.
7. The Dual Color Split

Two colors alternating across the toes — the mismatched-pair pedicure that reads intentional. Navy and gold, coral and white — the pairs that scream summer.
8. The Rhinestone Big Toe

Solid color with one or two rhinestones on the big toe — the single gem that adds sparkle without the upkeep. The rhinestone from a pack, sealed under topcoat.
9. The Gradient Glitter

Base color with glitter fading from tip — the glitter ombré on toes, the sparkle that reads gradual and gorgeous.
10. The Checkerboard Accent

Tiny checkerboard on the big toe, solid on the rest — the retro-cute accent that reads playful. The checkerboard pattern from our polka dot nail art tutorial’s dot-method cousin.
11. The Matte Finish Pedicure

Any color with a matte topcoat — the matte pedicure that reads modern and different. The matte finish on toes reads velvet-soft and unexpected.
12. The Half-Moon Toes
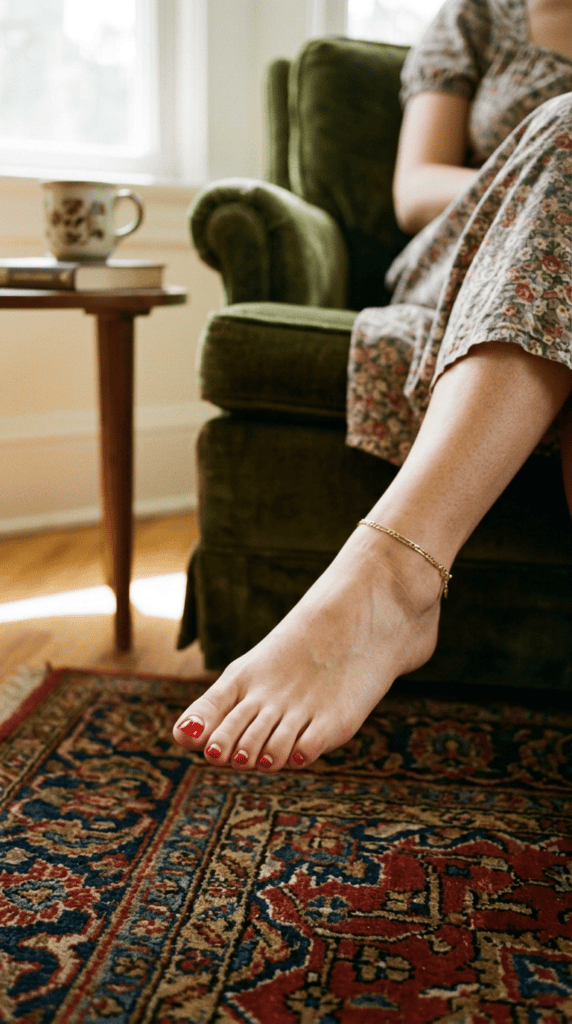
The half-moon at the cuticle left bare or in a contrasting color — the reverse-french pedicure that reads vintage-chic.
13. The Marble Accent

Water-marble or dry-marble on the big toes with solid on the rest — the marble from our christmas ombre nails guide’s technique family, toe-sized.
14. The Neon Pop

Neon shades that glow in summer light — the brightest pedicure family for the boldest sandal wearers. The neon from our halloween nail colors guide’s electric section, in summer form.
15. The Toes-and-Hands Match

The pedicure matching your manicure — the coordinated set that reads intentional from hands to feet. The pairing that makes every sandal-and-ring photo look planned.
The Between-Pedicure Care (Making It Last)

The pedicure lasts two weeks — the care that stretches it to four.
Moisturize daily. The foot cream every night keeps the heels soft and the skin smooth — the hydration that maintains the pedicure’s work.
The touch-up topcoat. Every five days, one thin topcoat over the toes — the refresh that keeps the polish glossy and sealed.
The open-shoe advantage. Toenails chip less than fingernails — no keyboards, no dishes, no daily friction. The pedicure’s lifespan is naturally double the manicure’s.
The bare-feet caution: the floors at home are the pedicure’s enemy — the chipped polish on the big toe is always the hardwood floor’s fault. Slippers are the pedicure’s bodyguard.
The Foot Care Between Pedicures (The Real Self-Care)

The pedicure is every two weeks — the daily care is what keeps the feet between appointments.
The nightly cream. Foot cream every night, socks over it — the overnight treatment that softens the heels between pedicures.
The weekly scrub. The sugar scrub in the shower keeps the soles smooth — the maintenance that extends the pumice work.
The shoe rotation. The shoes that rub the same spot create the same callus — the rotation that prevents the pressure points.
And the complete foot health system — the deeper care, the medical notes, and the conditions that need more than cosmetic care — lives in the resources at American Podiatric Medical Association — the feet that carry you deserve the professional attention when the cosmetics aren’t enough.
Pedicure Ideas FAQ
How do I give myself a pedicure at home?
The nine-step process: remove old polish, soak ten minutes, scrub, file calluses gently, trim straight across, push cuticles back, moisturize, clean the nails with alcohol, and polish with base-color-topcoat. Forty-five minutes, twenty dollars of tools bought once, and the salon result matched at home.
How often should I get a pedicure?
Every three to four weeks for the maintenance cycle — the polish grows out slower on toes than fingers, and the skin care between pedicures extends the interval. The home pedicure every three weeks matches the salon cycle at a fraction of the cost.
What color pedicure is most popular?
Nude and blush tones lead for versatility, red remains the classic statement, and the pastel family dominates spring and summer. The color that matches every sandal in the closet is the pedicure that gets the most wear per application.
How do I prevent ingrown toenails when trimming?
Cut straight across — never curved into the corners. The curved trim is what sends the nail growing into the skin, and the straight-across cut is the single prevention that matters most. File the corners gently smooth after cutting.
Why do my heels stay dry even after a pedicure?
Daily maintenance is missing — the pedicure removes the buildup, but the nightly foot cream and the weekly scrub are what prevent the buildup from returning. The pedicure is the treatment; the daily cream is the prevention that makes it last.
More questions? Ask us on Facebook and we will help you build the home pedicure routine that matches your feet and your schedule.

The Feet That Carry You Deserve It
The nine-step process, fifteen designs, and the care system between pedicures — the complete pedicure education turns the salon expense into a home skill and the neglected feet into sandal-ready confidence.
Run the nine steps this weekend. Pick a design. Book nothing — because the bathroom is the spa now, and the pedicure that carries you everywhere starts at your own feet.
Save this guide to our Pinterest boards so it is on your phone during your home spa, and pair the pedicure with the sandal-ready nails from our summer toe nails guide and the season’s colors from our summer nail designs 2026 collection — the feet pedicured, the summer ready.
New self-care guides every week. Stay polished, stay pampered!
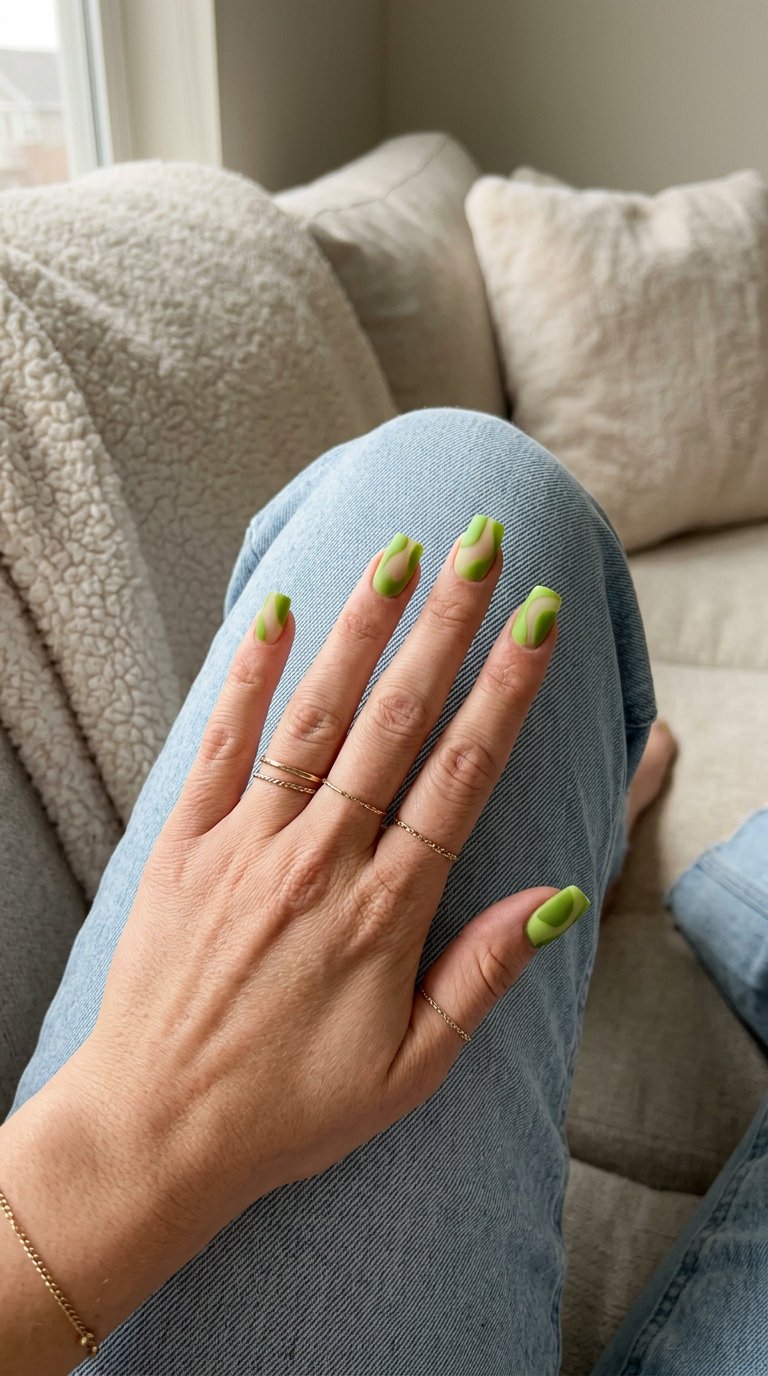
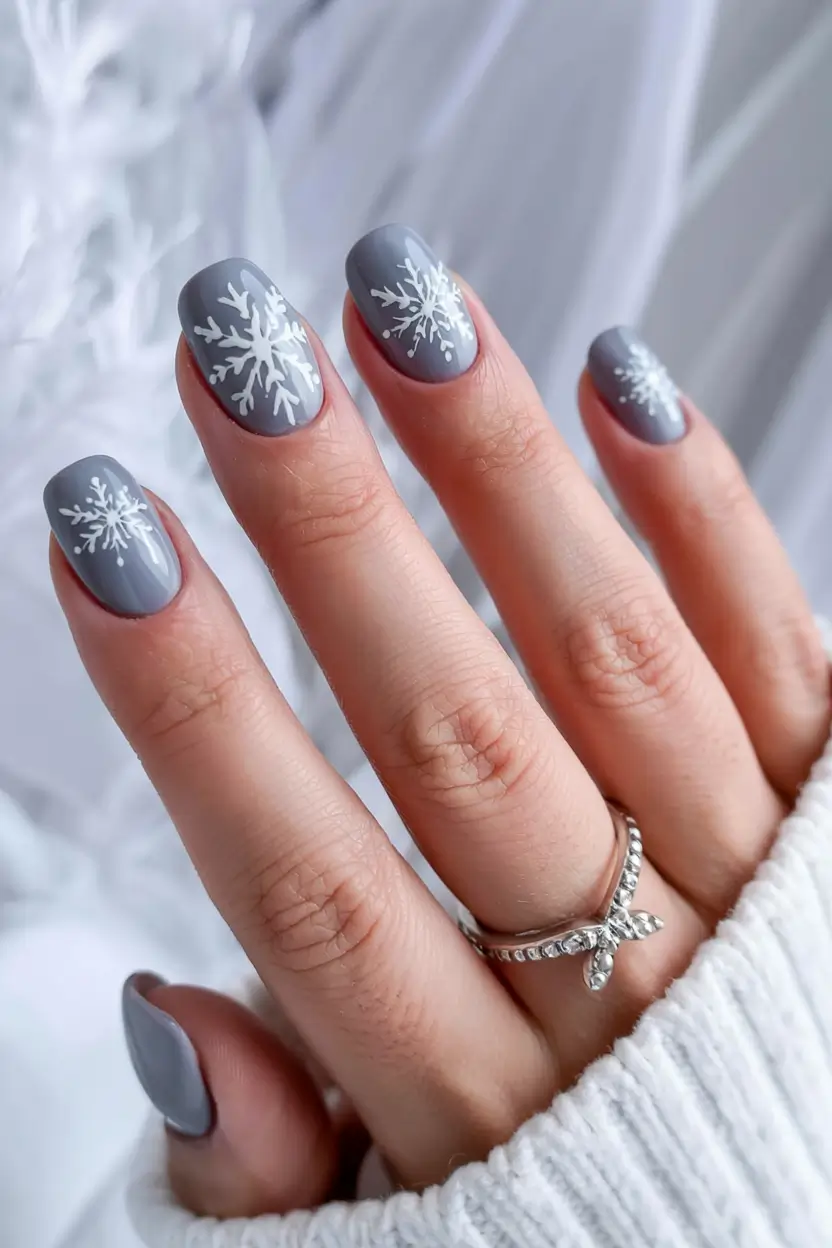
[…] for toenails, which we’ll cover in the FAQ — and a great starting point if you’re browsing pedicure ideas for […]