
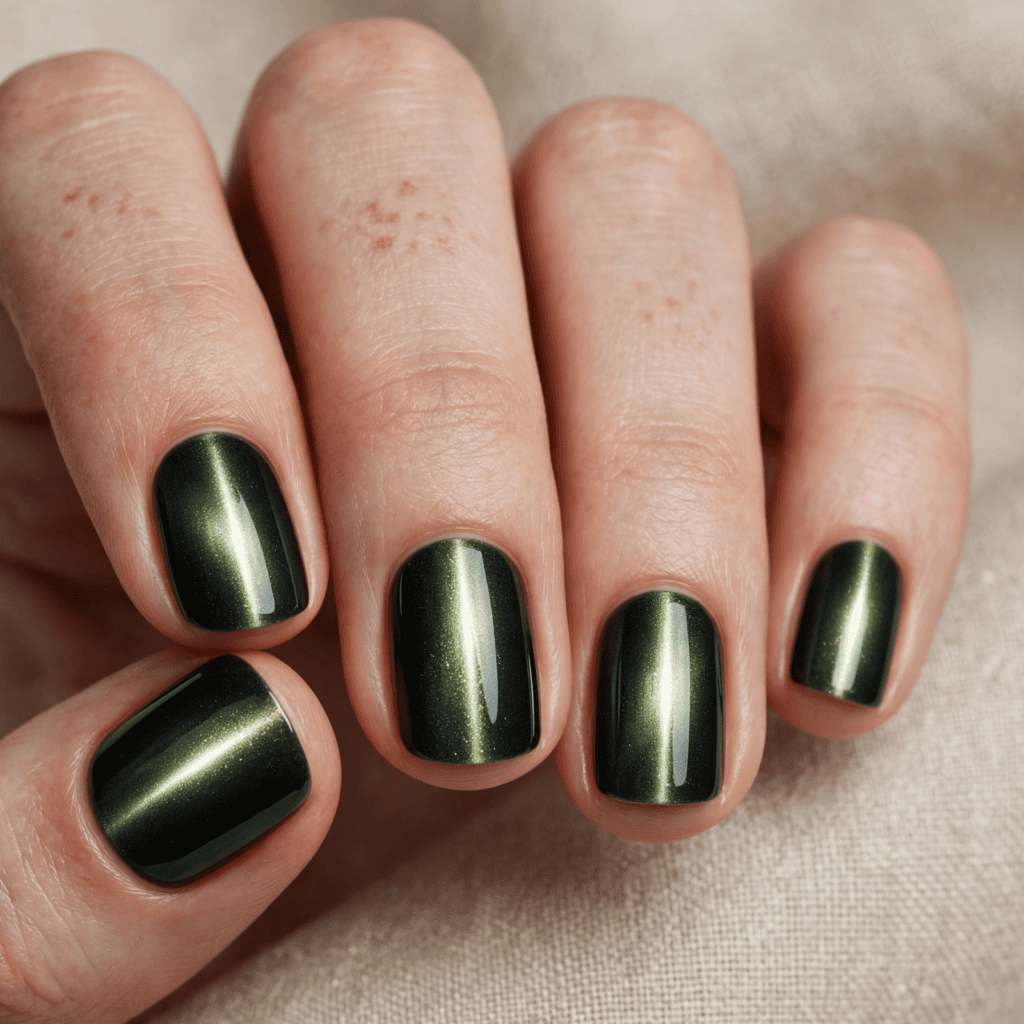
Cat eye nails look like sorcery — a beam of light running through the nail that moves when you tilt your hand.
Here is the secret the sorcery hides: the polish does nothing. The magnet does everything. Sixty seconds of holding a magnet over wet gel, and the particles align into that beam — no brush skill, no steady hand, no art.
This is the sixty-second tutorial — the five steps, the angles that change the design, the mistakes that kill the effect, and the eight looks built from one technique.
Let’s make the magnet work.
Follow our Pinterest boards for daily nail tutorials, and join us on Facebook so you never miss a technique guide.
The 30-Second Answer (Save This)
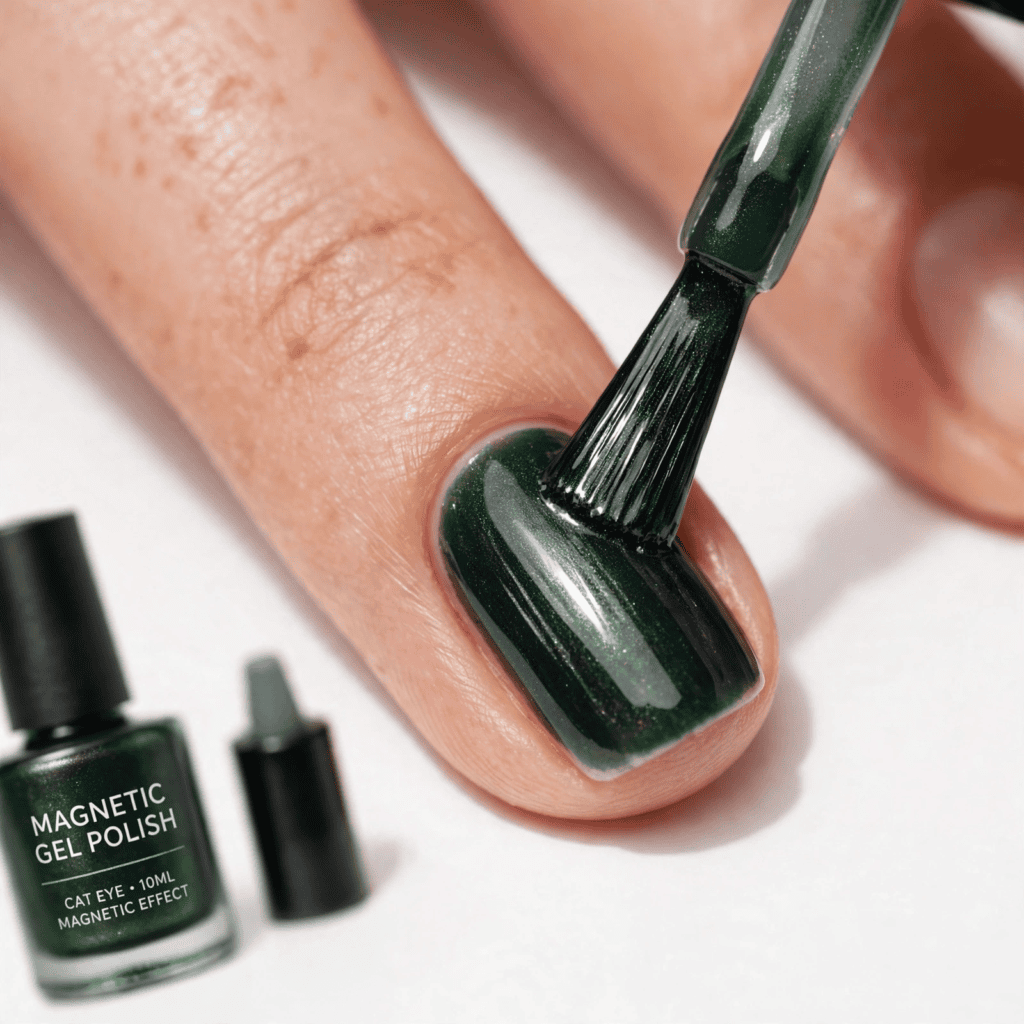
What are cat eye nails? Magnetic gel polish with iron particles that align under a magnet — creating a light-beam effect across the nail.
What you need: magnetic cat eye gel polish, the magnet (usually included), base coat, top coat, LED lamp.
The time: sixty seconds per nail of magnet-holding. That is the entire skill.
The cost: a starter kit runs fifteen to twenty-five dollars — cheaper than one salon visit.
That is the whole summary. Now the steps that make it work.
What You Need (The Full Kit)
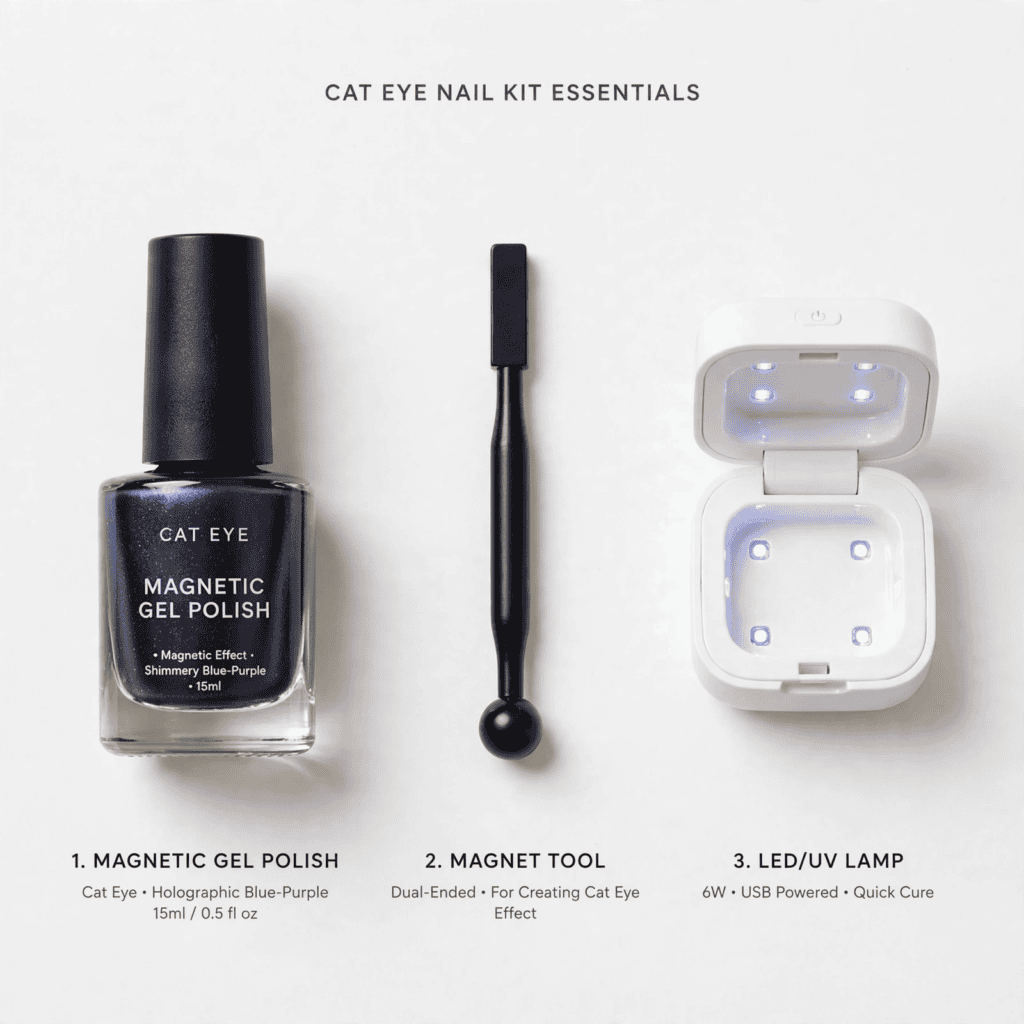
Four items — one of them does the magic.
The magnetic cat eye gel polish — the polish with iron particles inside. Every color exists now: black, burgundy, emerald, blue, purple, and the full jewel family.
The magnet — usually included with the polish. The strength and shape of this magnet IS the design tool.
Gel base and top coat — the system chrome and velvet also use, from the same family in our chrome nails ideas guide.
An LED lamp — sixty-second curing, non-negotiable. Cat eye is a gel-only technique — regular polish cannot hold the effect.
The 5 Steps (The Entire Tutorial)
Step 1 — Base and color: apply the magnetic gel polish in one even coat over the cured base. One nail at a time — the magnet works on WET polish only.
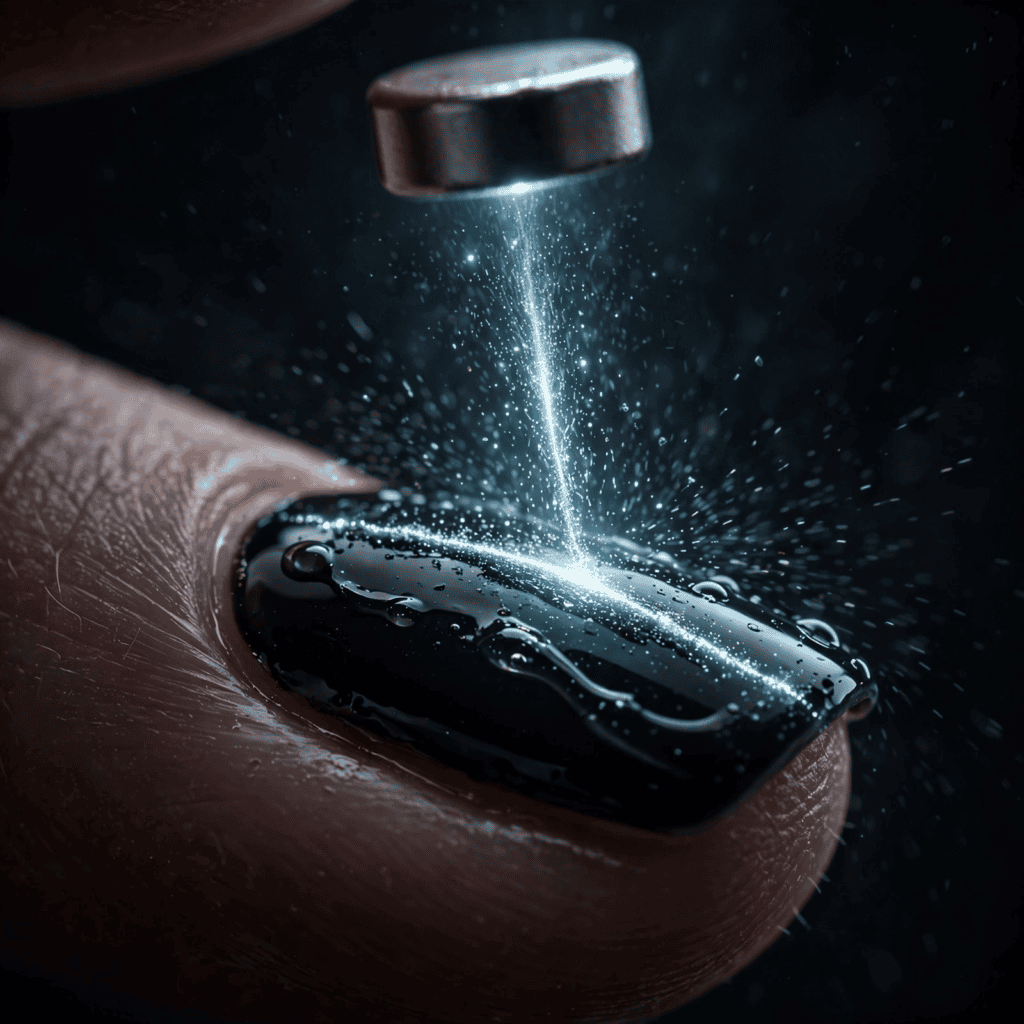
Step 2 — The magnet hold: hold the magnet 3-5mm above the wet nail for thirty to sixty seconds. Do not touch the polish. Do not rush. The particles are moving toward the magnet the whole time — this is the sixty seconds that does all the work.
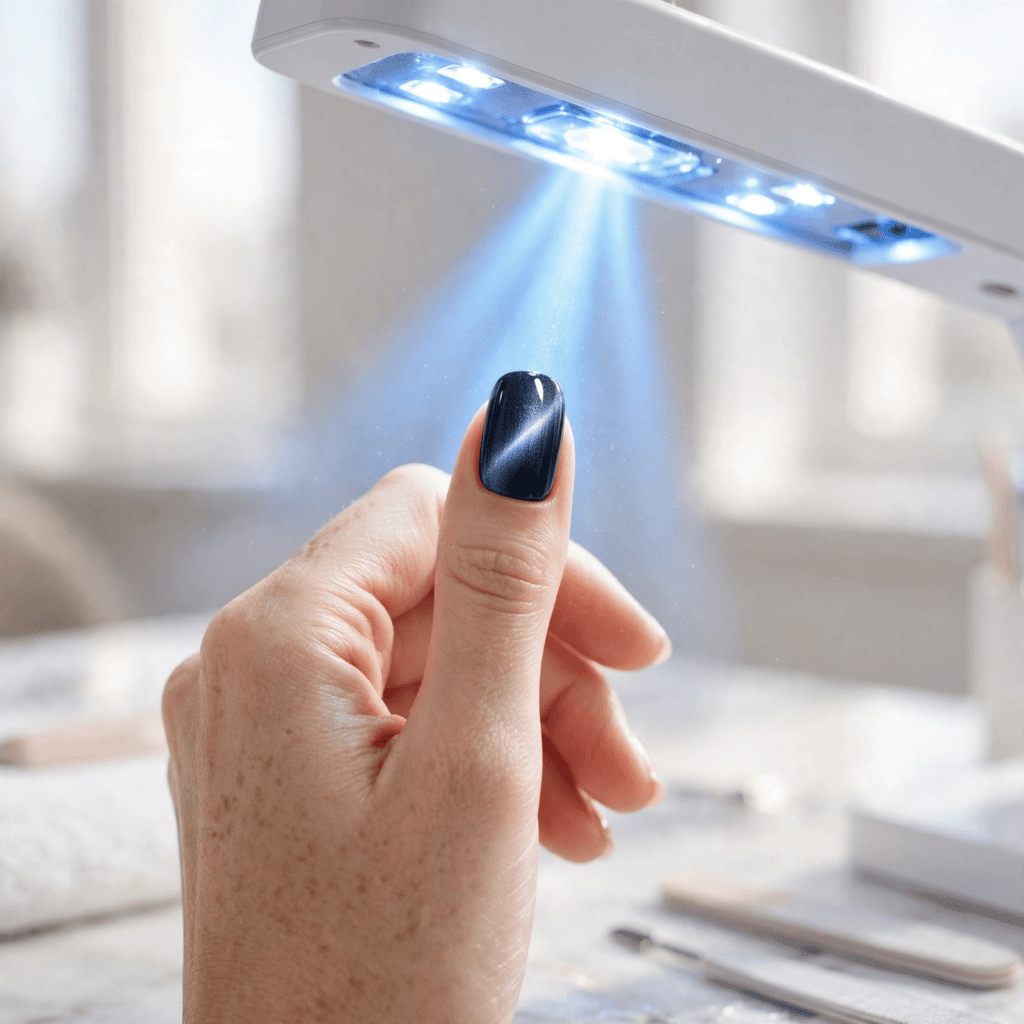
Step 3 — Cure it: LED lamp, sixty seconds. The beam is now locked.
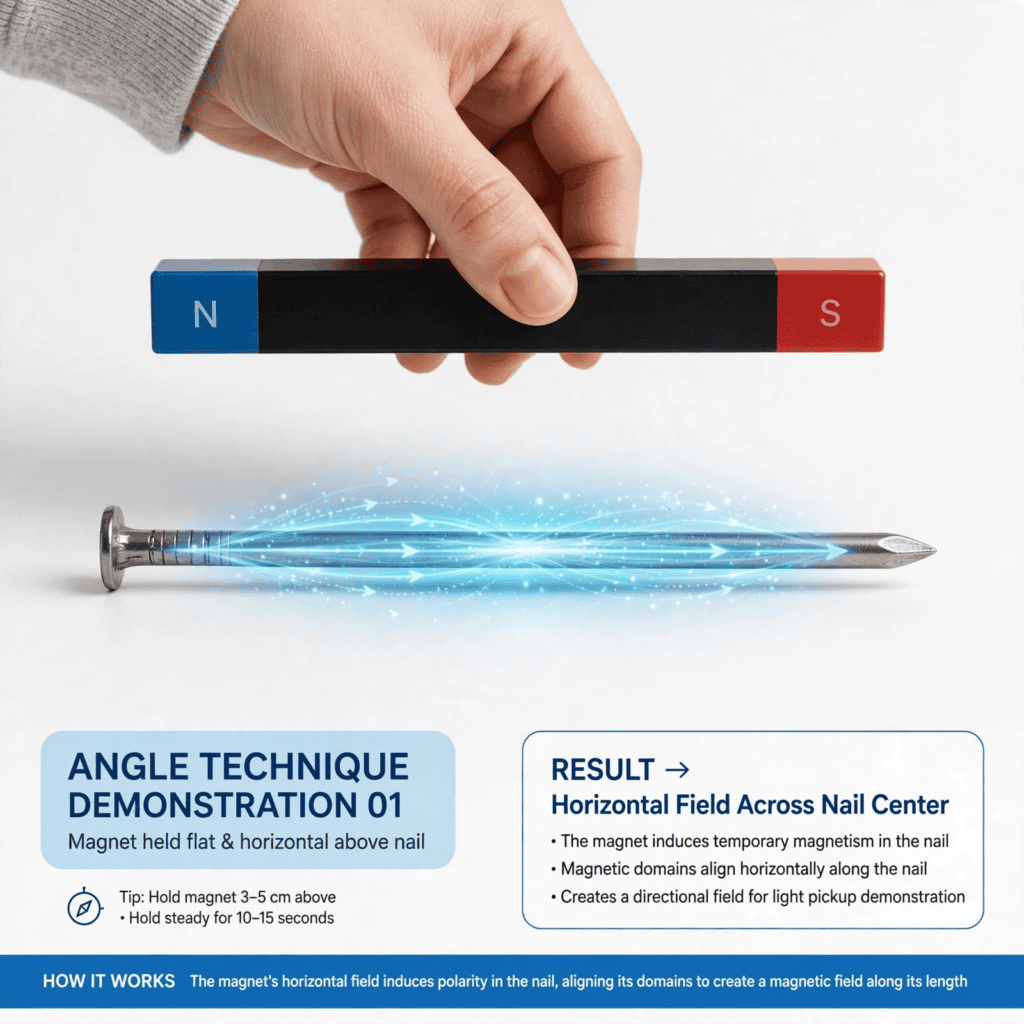
Step 4 — Repeat per nail: one nail at a time, wet polish, magnet, cure. The sequence never changes.
Step 5 — Seal it: top coat over everything, cure again. The seal is what makes the beam last three weeks.
Five steps. Sixty seconds each. The tutorial is genuinely over — everything after this is the angles and the designs.
The Angles (Where the Designs Come From)

The magnet’s ANGLE decides the beam — this is where one technique becomes eight designs.
Straight-on hold = the beam runs horizontally through the nail’s center. The classic cat eye.
Vertical hold = the beam runs cuticle to tip. The elongating version — vertical beams stretch short nails visually.
Diagonal hold = the beam sweeps corner to corner. The modern asymmetric take.
Side hold = the beam gathers at one edge only — the half-lit look, the subtlest version.
The double hold = magnet from two sides for a few seconds each — two beams crossing. The advanced build.
Same polish, same sixty seconds — the angle is the only variable between eight completely different designs. This is why cat eye is the highest design-per-effort technique in nail art.
The 8 Designs (One Technique, Eight Looks)
Design 1 — The Classic Horizontal Beam: straight-on magnet, beam across the center. The design that named the trend.
Design 2 — The Vertical Light-Line: vertical hold, beam running the nail’s length. The elongating build for shorter nails.
Design 3 — The Velvet Halo: magnet held flat and pulled back slowly — the particles scatter into the soft glow instead of a line. The velvet finish from our christmas velvet nail finish guide — same magnet, softer hold.
Design 4 — The Diagonal Sweep: diagonal hold, beam corner to corner. The asymmetric modern look.
Design 5 — The Double Beam: two holds, two crossing lines. The X-effect that reads like a jewel setting.
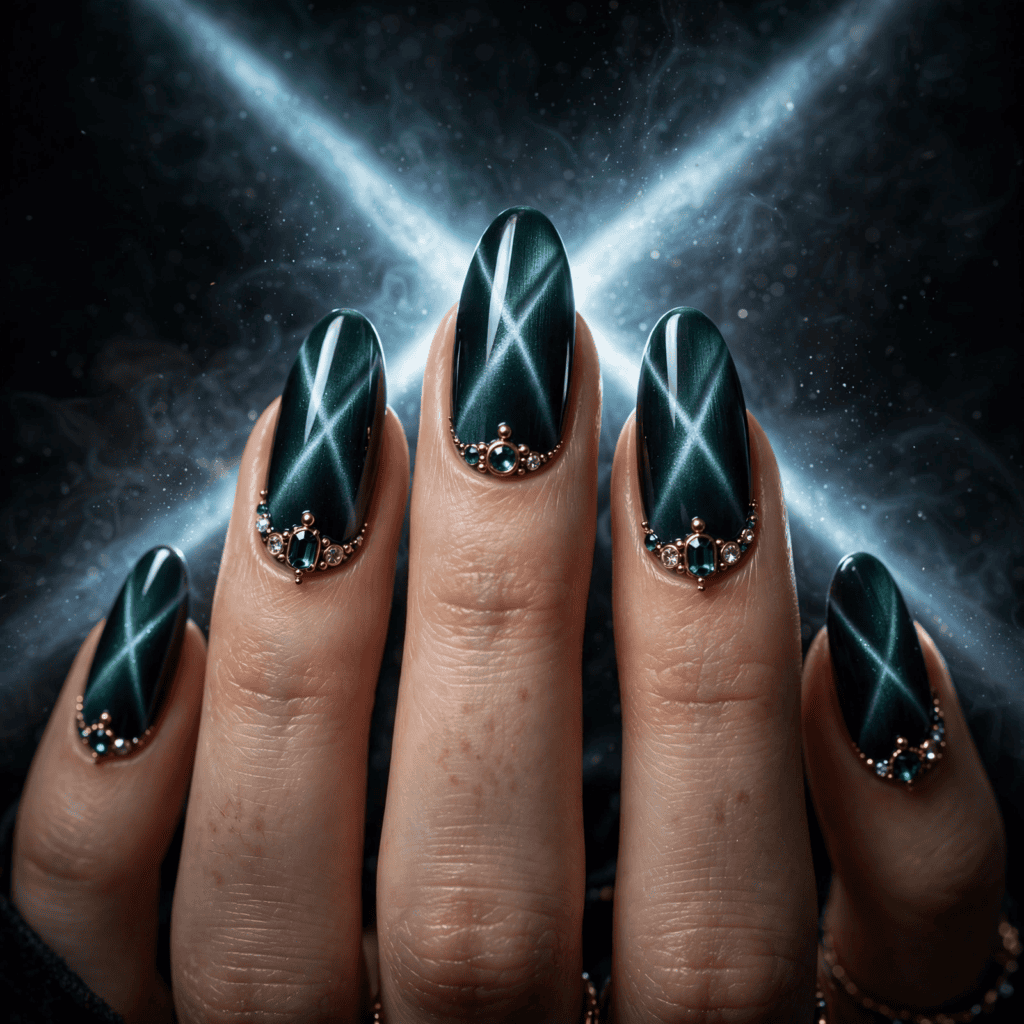
Design 6 — The Cat Eye French: cat eye gel only at the tips over a sheer base — the magnetic french. The tip-line logic from our french tip nail ideas 2026 guide, in magnetic form.
Design 7 — The Edge Glow: side hold, all the light gathered at one edge. The half-lit minimalist version.
Design 8 — The Cat Eye and Chrome Combo: cat eye beam on accent nails, full chrome from our christmas chrome nail ideas guide on the others — the two magnetic finishes sharing one manicure.
The 3 Mistakes That Kill the Beam
Mistake 1 — Working on dry polish. The magnet needs wet, uncured gel. One nail at a time, magnet immediately after application — dry polish has no moving particles.
Mistake 2 — The far-away magnet. The magnet needs 3-5mm — too far and the particles barely move, reading as plain shimmer. Close enough to almost touch.
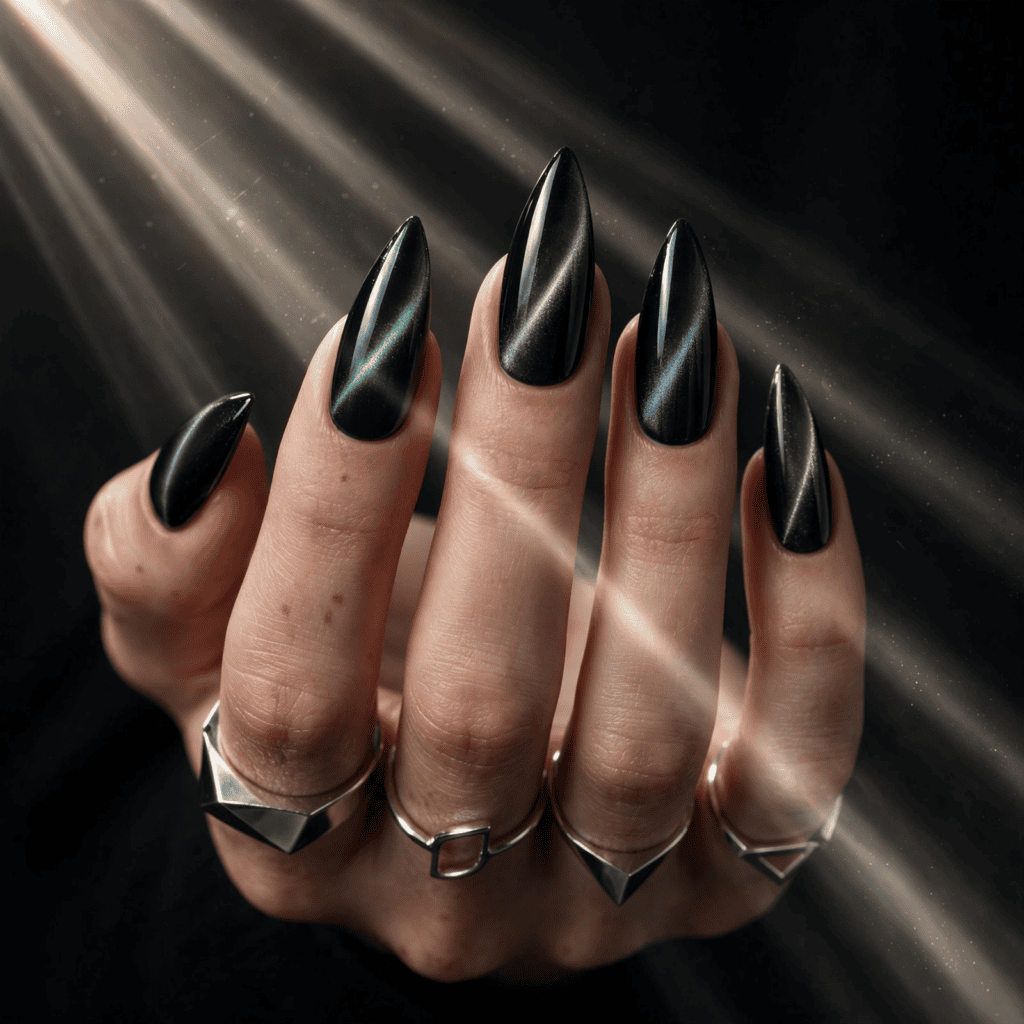
Mistake 3 — Skipping the seal. The beam sits raised after the magnet hold — topcoat is what smooths and locks it. Unsealed cat eye catches and dulls within days.
The Colors That Beam Hardest
Magnetic gel exists in every shade — but the beam reads differently per color.
Black — the strongest beam of all. The contrast between the dark base and the light beam is maximum. The classic that started everything.
Burgundy and plum — the warm jewel beams. The pairing shades from our christmas plum nail trend 2026 report in magnetic form.
Emerald and blue — the cool jewel beams, stunning beside silver jewelry.
Brown and mocha — the trend shades from our chocolate nails report, beaming warm.
The rule: deeper colors beam harder. The particles need darkness to contrast against — pastel cat eyes read whisper-soft.
Cat Eye vs Velvet vs Chrome — The Magnetic Family
Three finishes, one magnetic system — the quick decoder.
Chrome — powder over gel. Full mirror, no beam. Reflects everything.
Velvet — magnet held flat and far. Soft scattered glow, no line. The fabric look.
Cat eye — magnet held close and angled. The sharp beam. The light-line look.
Same magnetic-particle science, three holds, three finishes — and the three guides (chrome, velvet, this one) cover the entire family.
Make It Last (The Three-Week Beam)
Cat eye gel holds three weeks — the longest-wearing design in this guide’s library.
Prep decides the bond: alcohol-cleaned nails before base — oils lift gel first at the edges.
The seal matters double: the beam sits raised — two thin topcoat layers bury it flat and protected.
Gloves for dishes. December and January mean hot water — the beam’s enemy. The full gel care routine lives in our gel nail designs 2026 guide, and the removal in our how to remove gel polish guide keeps February’s nails healthy.
💾 Mid-Article Save Break
This tutorial is long-ish because it is complete. Tap the Pinterest save button now — the steps, the angles, and the mistakes are what you will need on the couch when the kit arrives.
Then keep scrolling for the color guide and the FAQ. 👇
Cat Eye Nails FAQ
How do cat eye nails work?
Magnetic gel polish contains iron particles that align under a magnet — held 3-5mm over wet polish for thirty to sixty seconds, the particles gather into the light-beam effect. The magnet’s angle decides the beam’s direction: straight for horizontal, vertical for length, diagonal for sweeps.
How long does the cat eye magnet trick take?
Sixty seconds per nail of magnet-holding, plus the standard gel application and curing. A full set takes thirty to forty-five minutes including prep — the magnet hold is sixty seconds of that.
Can I do cat eye nails with regular polish?
No — the magnetic particles only align in gel formulas, and the effect needs LED curing to lock. Regular polish cannot hold the beam; the gel system is the technique’s non-negotiable.
Why is my cat eye nail beam weak?
Three causes: the magnet held too far away (needs 3-5mm), the polish was drying when the magnet arrived (one nail at a time, magnet immediately), or too-thin application (the beam needs enough particles to gather). Fix the hold distance first.
What is the difference between cat eye and velvet nails?
The magnet technique — cat eye holds the magnet close and angled for a sharp beam line; velvet holds it flat and farther for a soft scattered glow. Same magnetic system, two finishes: the beam reads like light, the velvet reads like fabric.
More questions? Ask us on Facebook and we will troubleshoot your beam before the kit arrives.

Sixty Seconds, Every Time
Five steps, eight designs, three mistakes skipped — cat eye nails are the nail art technique where the tool does the talent and the sixty seconds do the design.
Order the kit this week. Practice the hold on two nails. And when the beam appears for the first time in the lamp’s glow, the sorcery will be yours — sixty seconds at a time, on every nail, for three weeks.
Save this tutorial to our Pinterest boards so the steps are on your phone when the kit arrives, and complete the magnetic family with the velvet nail finish and chrome nails ideas guides — one system, three finishes, all decoded.
New technique tutorials every week. Stay magnetic, stay shiny! 🧲