
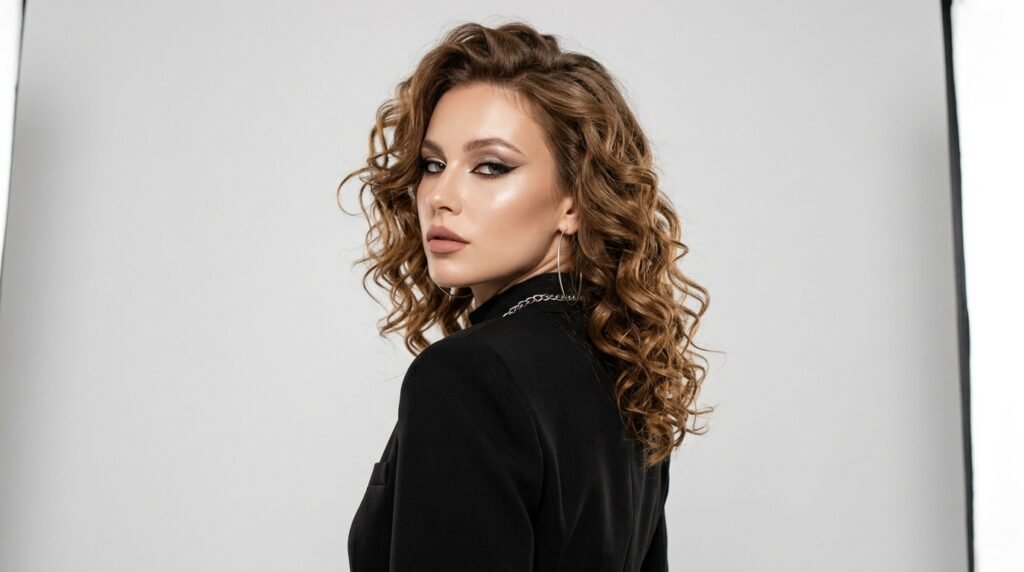

Learning how to curl hair with a straightener is the ultimate beauty hack that can completely transform your hairstyling routine. While curling irons are great, a flat iron (hair straightener) is incredibly versatile. It allows you to achieve sleek, straight hair one day and bouncy, beautiful curls the next, all with a single tool. However, mastering the technique of curling with a straightener can feel a bit tricky for beginners.
Unlike a clamping curling iron, a flat iron requires a specific twisting and pulling motion to create those perfect, beachy waves or tight ringlets. The secret lies in the angle of the iron, the speed of your pull, and the temperature setting. Whether you want soft, everyday waves or glamorous, red-carpet curls, mastering how to curl hair with a straightener will save you time and money. If you are looking for visual inspiration for your hairstyles, be sure to explore our Pinterest boards. In this comprehensive step-by-step guide, we will walk you through the exact process of curling your hair flawlessly with a straightener.
Why Use a Flat Iron to Curl Your Hair?

Before diving into the application process, you might wonder why you should use a straightener instead of a traditional curling iron. The biggest advantage is versatility. If you are traveling, packing a single flat iron saves valuable luggage space compared to packing multiple styling tools.
Furthermore, flat iron curls tend to last longer and look more natural. A curling iron creates a uniform, cylindrical curl, while a flat iron creates a slightly flatter, more modern wave that mimics the natural texture of hair. Because the heat is distributed evenly on both sides of the hair strand, the curl sets faster. However, because you are applying direct heat, it is crucial to establish a solid hair care routine for women to keep your strands healthy and strong.
What You Need to Curl Your Hair

Having the right tools is half the battle when learning how to curl hair with a straightener. Using the wrong type of iron will make the process incredibly difficult. Here is what you need:
- A Flat Iron with Rounded Plates: This is the most important tool. If your straightener has sharp, square edges, it will leave visible creases in your hair. You need an iron with smooth, rounded edges so the hair can glide smoothly as you twist it.
- Heat Protectant Spray: Never apply a hot tool to dry, unprotected hair. A good heat protectant spray creates a barrier that prevents burning and breakage.
- Hair Clips: Sectioning clips are essential for ensuring you curl every strand evenly without missing any pieces.
- A Comb or Brush: To detangle your hair before styling.
- Lightweight Hair Oil or Hairspray: To finish the look, smooth frizz, and lock in the curls.
Step-by-Step Guide: How to Curl Hair with a Straightener
Ready to master the technique? Follow these six easy steps for flawless, long-lasting curls.
Step 1: Prep Your Hair Completely

Your hair must be 100% dry before you use a flat iron. Applying a hot iron to damp hair will literally boil the water inside the hair shaft, causing it to snap and break. Start by brushing your hair thoroughly to remove any tangles. If your hair is oily, wash and blow-dry it first. Clean, smooth hair holds curls much better than dirty hair. If you are trying to grow your hair out while heat styling, be sure to check out our guide on how to grow hair faster to keep your length intact.
Step 2: Apply Heat Protectant

Spray a generous amount of heat protectant all over your hair, focusing on the mid-lengths and ends. Comb it through to ensure even distribution. This step is non-negotiable if you want to prevent heat damage. Next, set your flat iron to the correct temperature. Fine or thin hair should be styled at 300°F to 350°F. Medium hair can handle 360°F to 380°F. Thick or coarse hair requires 390°F to 420°F.
Step 3: Section Your Hair

This is a crucial step in learning how to curl hair with a straightener. Working in small sections ensures that every strand gets evenly curled. Use your clips to divide your hair into three horizontal sections: the bottom (nape of the neck), the middle, and the top (crown). Leave the bottom section down and clip the rest up.
Step 4: The Twisting Technique

Take a one-inch piece of hair from the bottom section. Clamp the flat iron down near the root of the hair. Then, twist the iron 180 degrees (a half-turn) away from your face. Slowly pull the iron down the length of the hair. The slower you pull, the tighter the curl will be. If you pull too fast, the curl will be loose and might fall flat. Keep the tension consistent as you pull down to the very end.
5: The Pull-Through Method (For Soft Waves)

If you want softer, beachy waves instead of tight ringlets, try the pull-through method. Clamp the flat iron near the root, twist it 180 degrees, and pull it down a few inches. Pause, un-twist slightly, and clamp again. Twist the opposite way and pull down a few more inches. Continue this zigzag motion down the hair shaft. This creates a beautiful, natural-looking wave.
Step 6: Let the Curls Cool and Set

This is where most beginners fail. When hair is hot, it is malleable. If you brush it immediately, the curl will fall out. As you finish curling each section, coil the curl into a ringlet and pin it to your head with a bobby pin, or just let it fall and cool naturally on your shoulder. Do not touch or brush the curls until your entire head is styled and the hair has completely cooled to room temperature. To ensure your new curls perfectly frame your face, be sure to consult our guide on the best haircut for your face shape.
Different Types of Curls You Can Create

The beauty of learning how to curl hair with a straightener is the variety of styles you can achieve by slightly adjusting your technique:
- Tight Ringlets: Take very small sections (half-inch), twist the iron a full 180 degrees, and pull down very slowly.
- Loose Beach Waves: Take larger sections (two inches), twist the iron only 90 degrees, and pull down a bit faster.
- Vintage Hollywood Waves: Curl all sections in the same direction (away from the face). Once cooled, brush through the curls with a paddle brush to connect them into a single, smooth wave.
Common Flat Iron Curling Mistakes to Avoid

Even with a step-by-step guide, mistakes happen. Here are a few common pitfalls to avoid when practicing how to curl hair with a straightener:
- Clamping Too Hard: If you press the iron too tightly, you will get harsh, 90-degree creases in your hair. Clamp firmly but gently.
- Taking Sections That Are Too Big: If you try to curl a massive chunk of hair, the outer layers will get curled, but the hair in the middle won’t receive any heat. Stick to one-inch sections.
- Using the Wrong Iron: As mentioned, an iron with sharp, square plates will snag the hair and leave dents. Always look for rounded plates.
- Pulling Too Fast: If you pull the iron down too quickly, the heat doesn’t have time to penetrate the hair shaft and set the curl. Slow and steady wins the race.
For more daily beauty advice, hair tutorials, and lifestyle tips, be sure to follow our Facebook page where we share daily updates!
Frequently Asked Questions (FAQs)
1. Can you curl your hair with a flat iron?
Yes, absolutely. A flat iron is incredibly versatile and can create a variety of curls, from tight ringlets to loose beach waves. The technique involves clamping the hair, twisting the iron 180 degrees, and slowly pulling it down the length of the hair.
2. What temperature should I use to curl my hair?
The temperature depends on your hair type. Fine or thin hair should be styled at 300°F to 350°F. Medium hair can handle 360°F to 380°F. Thick or coarse hair requires 390°F to 420°F. Always use a heat protectant, regardless of the temperature.
3. Why do my flat iron curls fall out quickly?
If your curls fall out quickly, it is usually because you are touching or brushing them while they are still hot. Hair needs to cool completely to set the curl. Pin the curls to your head and let them cool before running your fingers through them.
4. Do I need a specific type of straightener to curl my hair?
Yes, you need a flat iron with rounded plates. If your straightener has sharp, square edges, it will snag the hair and leave visible creases or dents in your curls. Look for an iron with smooth, curved edges.
5. How do I prevent creases when curling with a straightener?
To prevent creases, avoid clamping the iron too tightly. Keep a consistent, gentle pressure as you twist and pull. Also, ensure you keep the iron moving continuously without pausing in the middle of the hair shaft.

Conclusion
Mastering how to curl hair with a straightener is a transformative skill that will elevate your entire hairstyling game. While it may feel a bit awkward at first, with a little practice, you will be creating gorgeous, bouncy curls in no time. Remember to always use a heat protectant, work in small sections, and let your curls cool before touching them. Whether you want tight ringlets for a night out or effortless beach waves for the weekend, your flat iron is the only tool you need. Practice these steps, avoid the common mistakes, and enjoy the stunning, versatile results of beautifully curled hair!
[…] reads shorter; the textured medium hair reads fuller and longer. The wave methods from our guide on how to curl hair with a straightener are the […]