
Slick back hairstyles are the only style that costs nothing and reads like money.
No expensive products. No salon skills. No twenty-minute routine. Just a brush, a gel, an elastic — and the style that makes every outfit read intentional, every face read structured, and every budget read like it doesn’t matter. The slick back is fashion’s great democratizer: it looks the same on a CEO and a student, and both read expensive.
Here is why it took over: slicked-back hair removes every distraction and leaves only bone structure. The cheekbones, the jawline, the eyes — everything the slick back exposes is the face’s real architecture, read without a single strand hiding it. The style doesn’t decorate the face; it reveals it.
So this guide covers the slick back completely — the product system that decides the finish, the ten variations from the sleek bun to the slick ponytail, and the five tricks that keep the style flat, smooth, and expensive-looking from morning to midnight.
The brush is the only tool. The bone structure is the talent.
Follow our Pinterest boards for daily hairstyle inspiration, and join us on Facebook so you never miss a style guide.
The Slick System (Products Decide the Finish)

The product choice IS the design choice — four finishes, four personalities.
Gel — the strongest hold, the wet-look finish. The gel slick reads editorial and holds through everything — rain, dance floors, fourteen-hour days. The formal events’ product.
Gel plus oil combo — gel for the structure, a drop of oil for the shine. The combo that reads expensive-glossy instead of wet-hard. The going-out upgrade of the gel slick.
Styling wax or pomade — the matte hold. The finish that reads expensive and lived-in — the matte slick for the offices that read gel as too wet.
Edge brush and mousse — the lightest hold. The soft slick for the days when the hair needs taming but the style shouldn’t read done. The air-dry slick for the weekends.
The product decides the personality. Pick the finish that matches the day, and the slick back reads right for every room it walks into.
The Base Technique (The Five-Step Foundation)

Every slick back variation builds on the same five steps — the technique learned once, used forever.
Step one: start with damp or day-old hair — freshly washed hair is too soft to slick. The second-day grip is the slick back’s ally.
Step two: apply the product through the TOP section only — the roots and the first two inches. The product’s job is the top; the length stays product-free unless it joins the bun.
Step three: brush from the hairline straight back — one continuous stroke with a bristle brush, pressing the product down as you go. The first stroke sets the part or the no-part decision.
Step four: decide the part — middle part for the editorial look, no part for the sleek classic, deep side part for the volume-and-asymmetry version. The part decision changes the whole face-frame.
Step five: gather into the chosen style, smooth the flyaways with the edge brush, and finish with the spray. The five steps build every variation below.
Variation 1 — The Sleek Low Bun

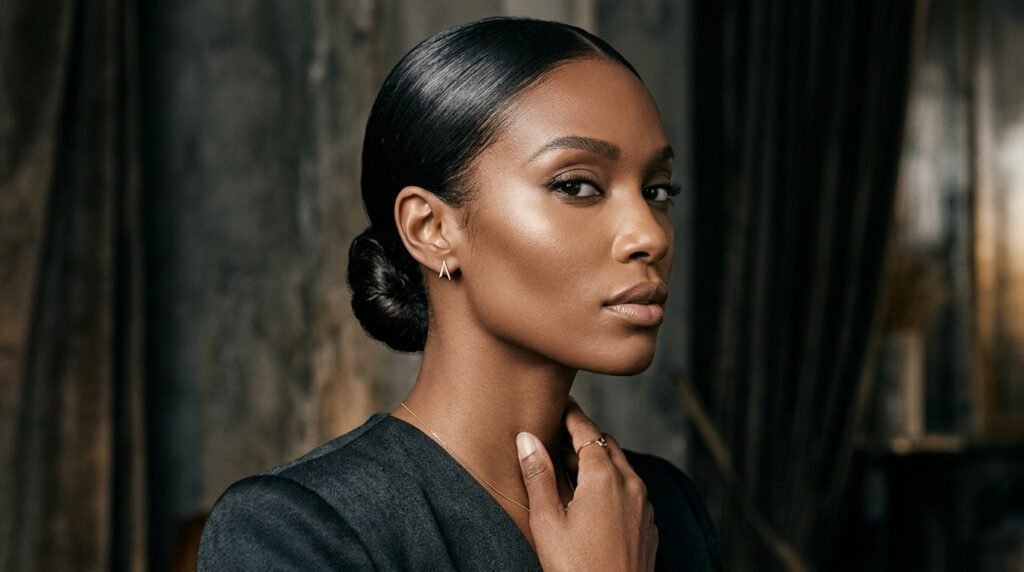
The going-out and office uniform — slicked back and gathered into a low bun at the nape. The bun that reads formal, minimal, and expensive at once.
The build: slick back with gel, gather at the nape, twist the tail into the bun shape, pin through, smooth with the edge brush, spray. The bun that reads put-together from every angle including the back — the angle family photos always catch.
The pairing: the low bun pairs with every neckline from our office outfits women guide — high collars, wrap necklines, and statement earrings all frame the sleek bun identically. The most versatile bun in the entire style book.
Variation 2 — The Slick High Pony

The slicked roots feeding into a high ponytail — the pony that reads sharp, tall, and photographed from every angle.
The build: slick the top back with gel, gather at the crown height, smooth the tail with a brush and gel mixture, wrap a strand around the elastic. The high pony that reads runway instead of gym.
The height trick: the pony sits at the crown, not behind the ears — the height difference is what separates the editorial pony from the everyday one. Our cute easy hairstyles guide’s pony section covers the placement in detail.
Variation 3 — The Slick Mid-Part Bun

The part that changed everything — the middle part slicked into a low bun, the hairstyle that reads editorial and modern.
The build: precise middle part with a tail comb, gel each side flat toward the center-back, gather into the low bun, smooth and spray. The symmetry reads deliberate in a way side-parts don’t — the editorial signature.
The face logic: middle parts flatter oval and heart faces most, and read striking on square jaws — the part that frames by geometry. The part decision from our black dress style guide guide’s minimal aesthetic pairs with this bun exactly.
Variation 4 — The Wet-Look Slick
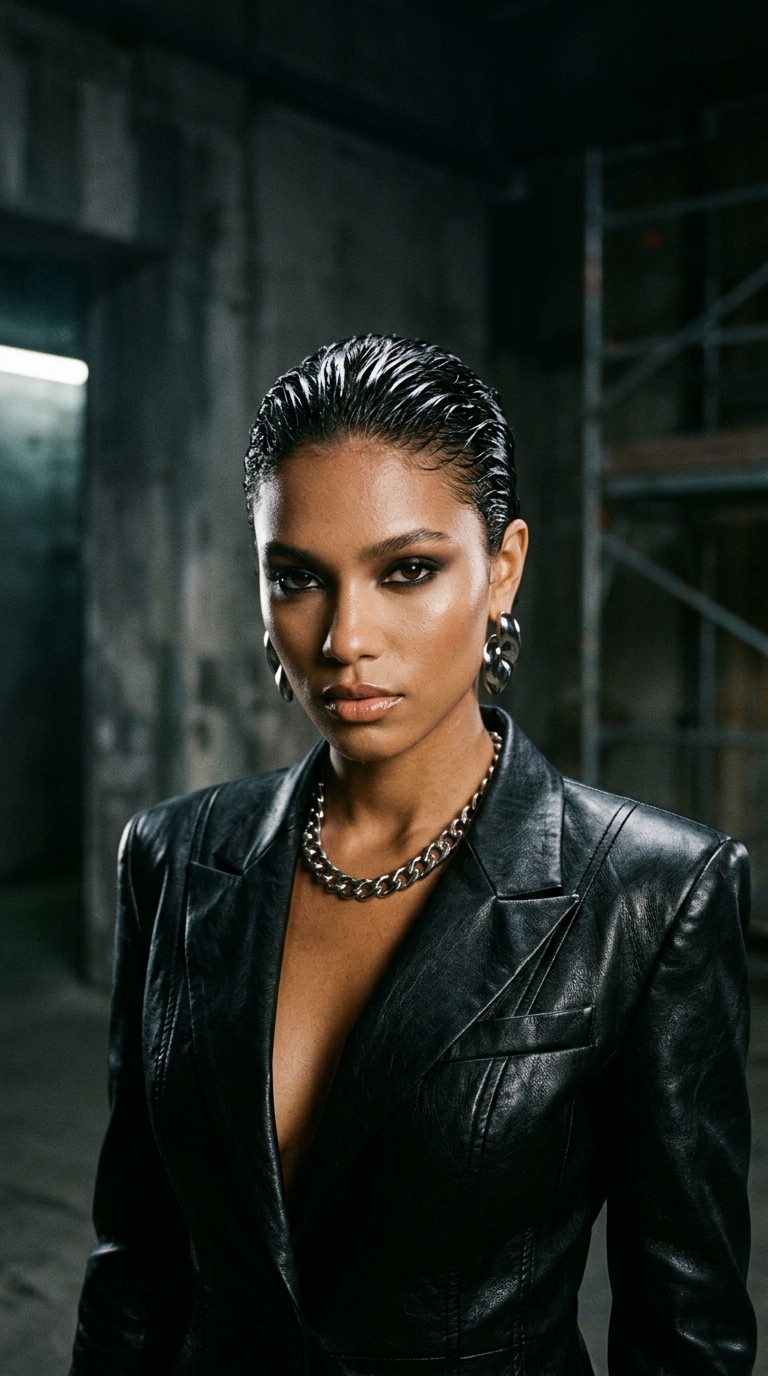
The full gel finish left visibly wet — the editorial slick that reads high-fashion rather than styled. The wet look is the slick back at its most confident.
The build: generous gel through the top, combed through completely, left to set wet-looking — no brushing out, no softening. The look that reads runway and photographs like a magazine spread.
The wear warning: the wet look is a going-out style — the office reads it editorial, the conservative office reads it bold. Know your room before the full gel.
Variation 5 — The Slick Back with Braids
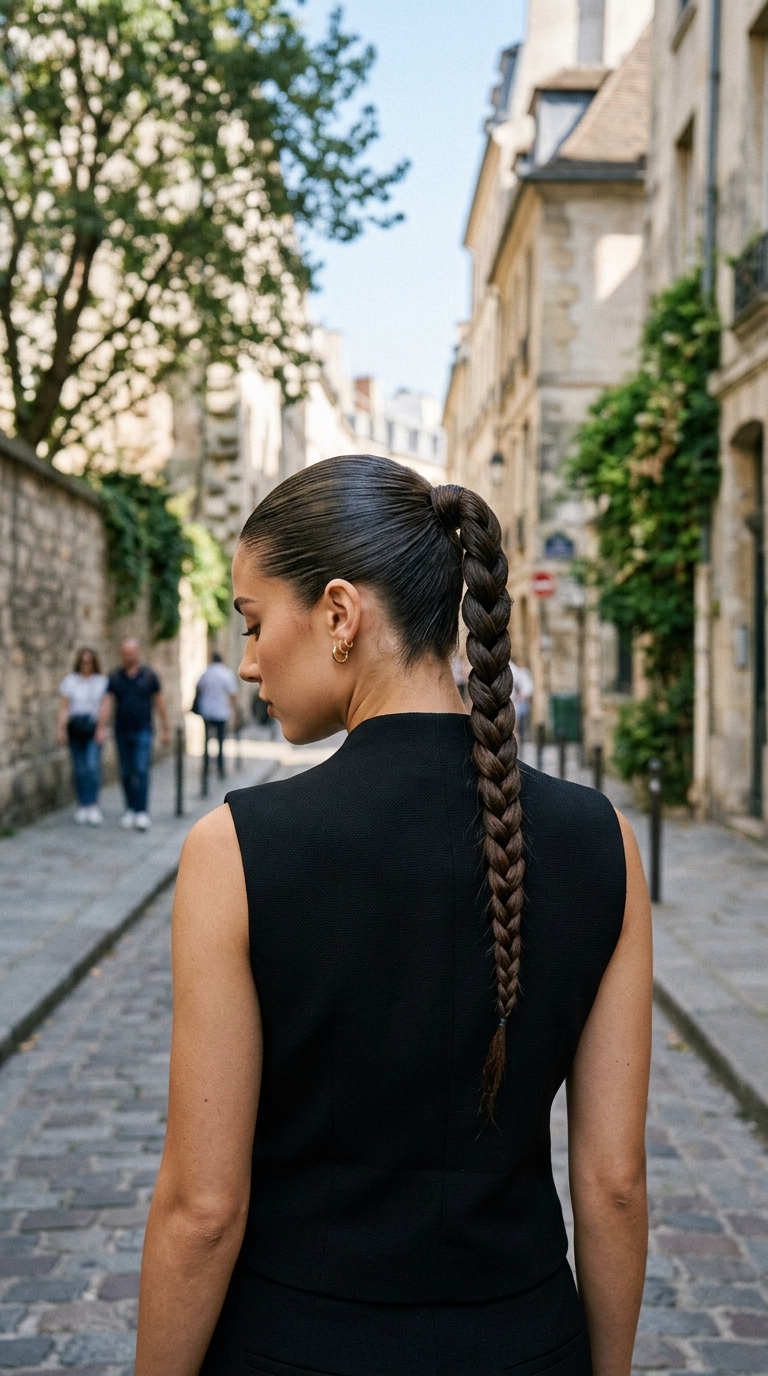
The slicked front feeding into braids — the structure up top flowing into the braid texture behind. The slick and the braid in one hairstyle.
The build: slick the front section back with gel, braid the gathered length into a single braid or two braids, secure the ends. The combination that reads both polished and textured — the slick’s structure leading into the braid’s movement.
The pairing: this style pairs with the braid families from our braids for black women guide — the slick front feeding into any braided back build.
Variation 6 — The Slicked-Back Curls

For the curly girls — the slicked roots with the curls left free behind. The slick and the curl in one style — the style that reads intentional while honoring the texture.
The build: gel the roots and the first two inches back, leave the curl pattern from mid-length down untouched, gather or leave down per the mood. The roots read sleek; the curls read celebrated.
The curly-girl note: the gel amount is lighter than straight-hair slicks — the curl pattern needs product at the roots only, and the mid-lengths stay product-light. The texture logic from our natural hairstyles guide’s sectioning applies to the slick build.
Variation 7 — The Baby Hair Art Slick

The slick back with the baby hairs styled — the edges laid in the swirls and patterns that turn the hairline into art.
The build: the slick back with gel, then the edge brush creating the baby-hair swirls at the hairline — the artistry that personalizes every slick back. The laid edges are the style’s signature and its crown.
The artistry note: the edge brush plus a light gel creates the swirls, waves, and curls along the hairline — the detail that reads heritage and artistry in every slick back.
Variation 8 — The Deep Side Slick

The deep side part slicked back with volume on the heavier side — the slick back with movement instead of flat symmetry.
The build: deep side part, gel the heavier side back and down, tuck behind the ear, pin if needed. The side with volume reads styled; the tucked side reads clean. The asymmetry that reads intentional.
Variation 9 — The Slick Back with Face-Frame Pieces

The slick back with two face-framing pieces left out — the soft slick for the faces that want structure without the full pull-back.
The build: slick everything except two front sections, curl the pieces with the flat-iron method from our how to curl hair with a straightener guide. The pieces soften the slick while the rest reads sleek.
The face logic: the face-frame softens longer faces and adds the gentleness the full slick skips — the variation that reads slick-back for the faces that full-slick doesn’t flatter.
Variation 10 — The Slick Bubble Pony

The slicked front feeding into the bubble ponytail — the two techniques in one style. The slick roots leading into the bubbles from our fall hairstyles 2026 guide’s trending list.
The build: slick the top with gel, secure the pony, add the bubble elastics down the tail, puff each section. The slick and the bubbles in one hairstyle — the editorial-meets-playful build.
The Flyaway Tricks (The Slick Back’s Real Skill)

The difference between expensive slicks and messy slicks is the flyaway management — five tricks.
The toothpick trick: a clean toothpick with a tiny amount of gel picks up individual flyaways — the precision tool for the strays the brush misses.
The hairspray-and-brush combo: spray the brush lightly and brush the flyaways down — the technique that sets the strays without the helmet feel.
The scarf finish: a satin scarf wrapped over the slick for ten minutes sets everything — the smoothing that the scarf does while you finish your makeup.
The hand-and-gel trick: a tiny drop of gel on the palms, pressed gently over the surface — the palm-press that smooths without disturbing the style beneath.
The boar-bristle advantage: the boar-bristle brush distributes the natural oils and grabs every strand — the brush that slick backs were designed for. The plastic brush skips half the strands the boar catches.
Slick Back Hairstyles FAQ
How do I slick back my hair without bumps?
Start with day-old hair, apply gel through the top section only, brush with a boar-bristle brush in one continuous stroke from the hairline back, and smooth the flyaways with an edge brush as you go. The bumps come from uneven product and rushed brushing — the continuous stroke prevents both.
What product holds a slick back best?
Gel holds strongest with the wet-look finish, styling wax holds with a matte finish, and the gel-plus-oil combo holds with an expensive-gloss finish. The formal events want gel; the offices want wax; the going-out nights want the gel-oil combo.
How do I slick back short hair or a bob?
The same five-step technique works — gel through the top, brush back, and secure the length with bobby pins crossed underneath at the nape. Bob-length slicks read chic with the ends tucked or pinned flat, and the short slick back is the pixie-and-bob upgrade that reads editorial.
Does slicking back hair damage your hairline?
Not if done correctly — the damage comes from the tension, not the product. Keep the gel at the roots only, avoid pulling the hairline itself, skip the style when the hairline feels sore, and alternate slick days with looser styles. The slick back done gently protects the edges it frames.
What face shape suits slick back hairstyles?
Every face shape has a version — oval faces wear all parts, round faces suit the deep side part and the volume-and-asymmetry build, square faces soften with the middle part, and longer faces suit the low bun with face-frame pieces. The part decision is the face-shape decision.
More questions? Ask us on Facebook and we will help you master the slick for your hair type and your schedule.

The Brush Is the Only Tool You Need
Ten variations, one five-step foundation, and the product system that decides every finish — slick back hairstyles are the style that proves the most expensive look costs the least.
Pick your product finish tonight. Practice the five steps once. And the morning after, the style that reads expensive on every budget will be the one that took four minutes — the brush, the gel, and the bone structure doing the rest.
Save this guide to our Pinterest boards so it is on your phone every morning, and pair the slick looks with the outfits they frame in our office outfits women guide and the going-out versions in our going out outfits collection — the slick back styled for every room it enters.
New hairstyle guides every week. Stay slick, stay expensive! ✨


[…] five minutes. Length: short to long. The full technique lives in our slick back hairstyles […]
[…] you love these looks, you will also enjoy slick back hairstyles and layered hair — they pair perfectly with the styles in this post and give you even more ideas […]
[…] along the seam in X patterns and smooth the top with a brush dipped in gel. Of all the slick back hairstyles, this one reads the most formal while still looking current. It holds without visible hardware on […]
[…] orange rather than add shine. It flatters cool and pink undertones, and it looks sharpest in slick back hairstyles where the smoke reads clean at the part. Ash balayage fades fast and can drift muddy, so alternate […]